

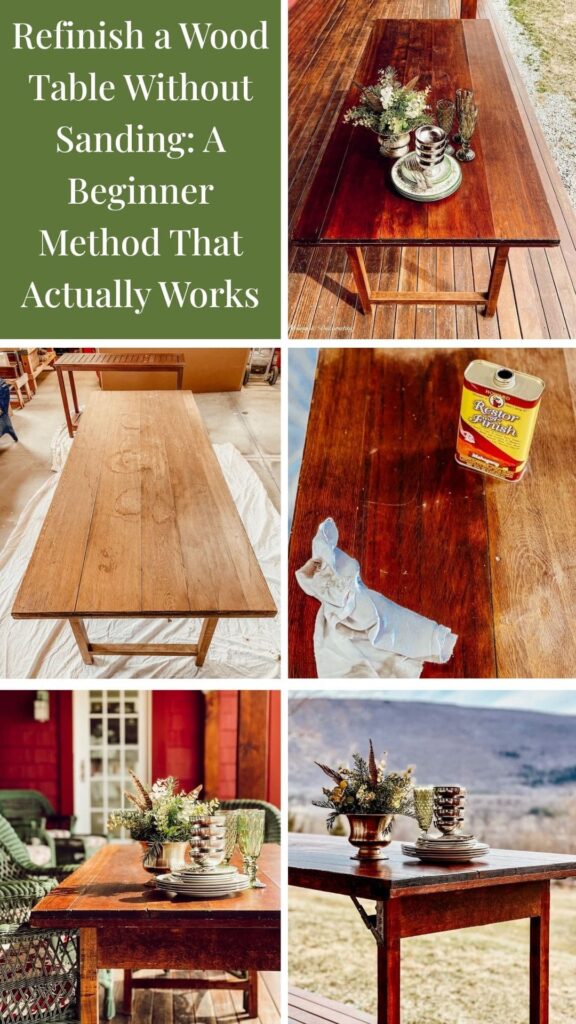
Refinish a wood table without sanding in under an hour using a simple beginner method. This easy approach refreshes worn finishes with beautiful, low-stress results.
If you want to refinish a wood table without the mess, noise, or intimidation of sanding, this simple method is a great place to start. In this beginner-friendly guide, I’m sharing how I refreshed a timeworn vintage wood table using two of my most trusted products, Howard Restor-A-Finish and Feed-N-Wax. This approach works best on solid wood tables with a dull or worn finish and delivers a noticeable glow-up in under an hour, no power tools, no dust, and no stress.
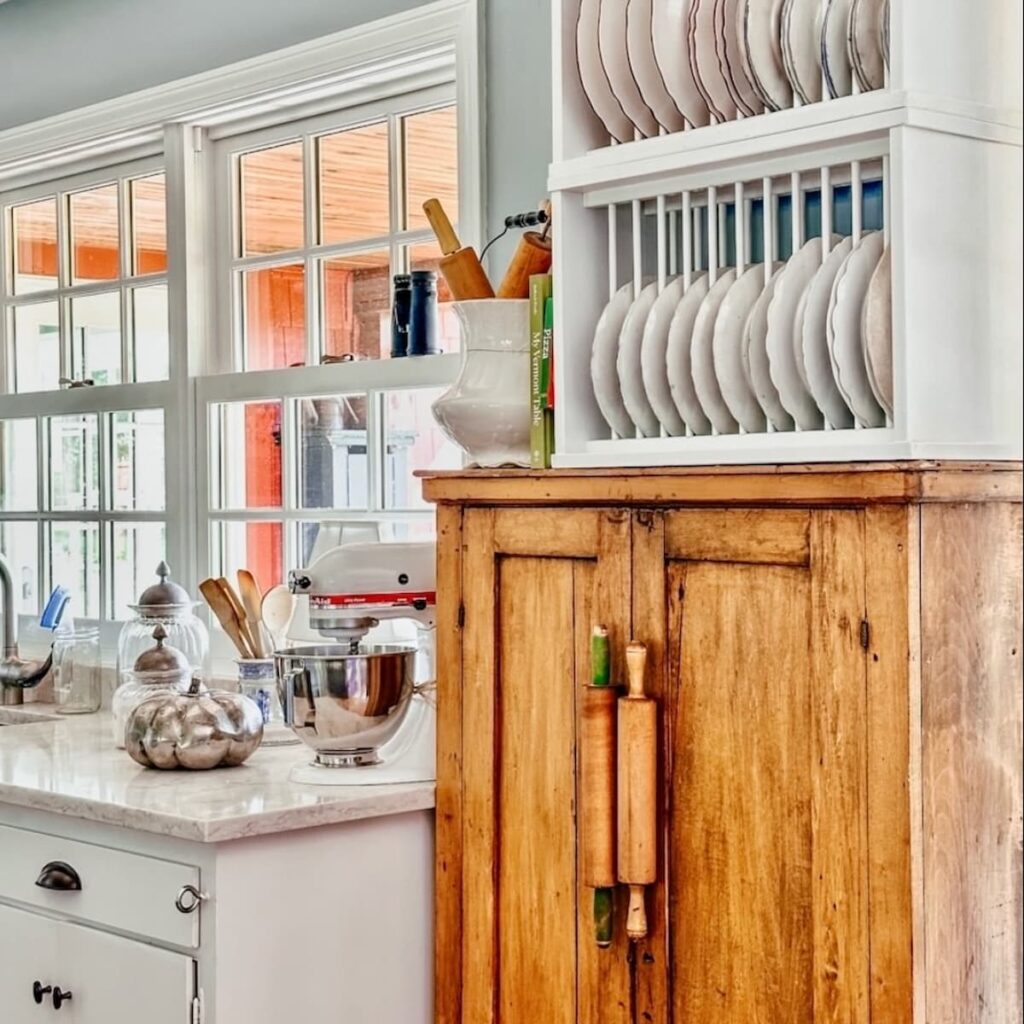
Easy DIY Home Decor Projects with Vintage Style
Explore our easy DIY home decor guide with vintage style, using thrifted and repurposed finds. Simple, beginner-friendly ideas to decorate your home with charm.
Refinish a Wood Table: Starting with a Thrifted Vintage Wallpaper Table
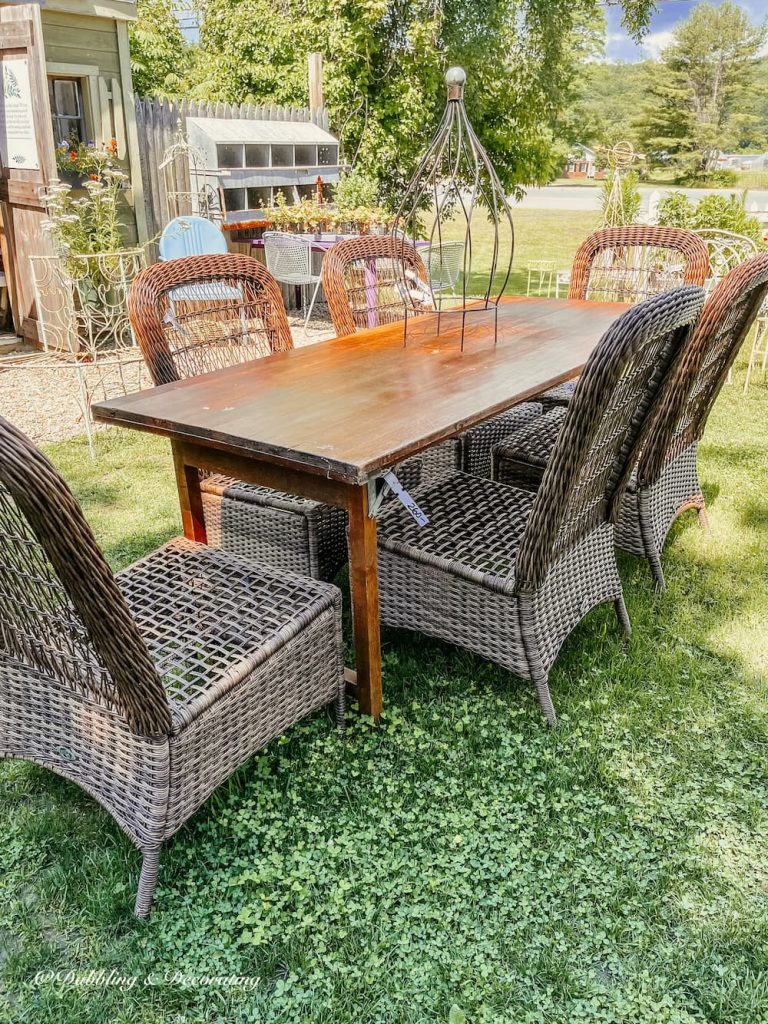
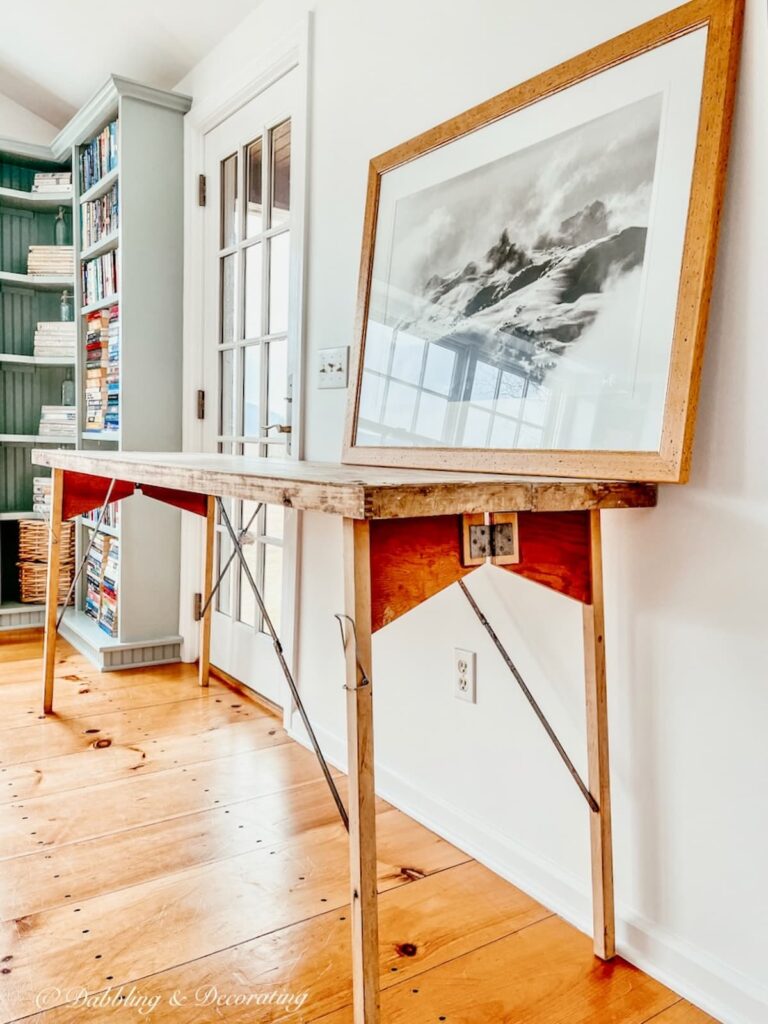
I found this long vintage wallpaper table while out Thrifting with the Gals, and it was too good to pass up. The wood had character, some dings and dents, sure, but nothing a little restoring couldn’t fix. It didn’t need a full makeover, just a touch-up to bring out its original charm.
In this post, I’ll walk you through how I used Howard’s Restor-A-Finish and Feed-N-Wax to breathe new life into it, no sanding required!
And if you’re as smitten with vintage wallpaper tables as I am, don’t miss these other favorites I’ve styled and refinished over the years:


Vintage Home Decorating Guides and Styling Inspiration
Are you curious about vintage decor but don’t know where to start? These cornerstone guides are packed with seasonal styling tips, how-tos, and inspiration to help you confidently decorate with charm and character.
Refinish a Wood Table: Restoring a Thrifted Vintage Wallpaper Table
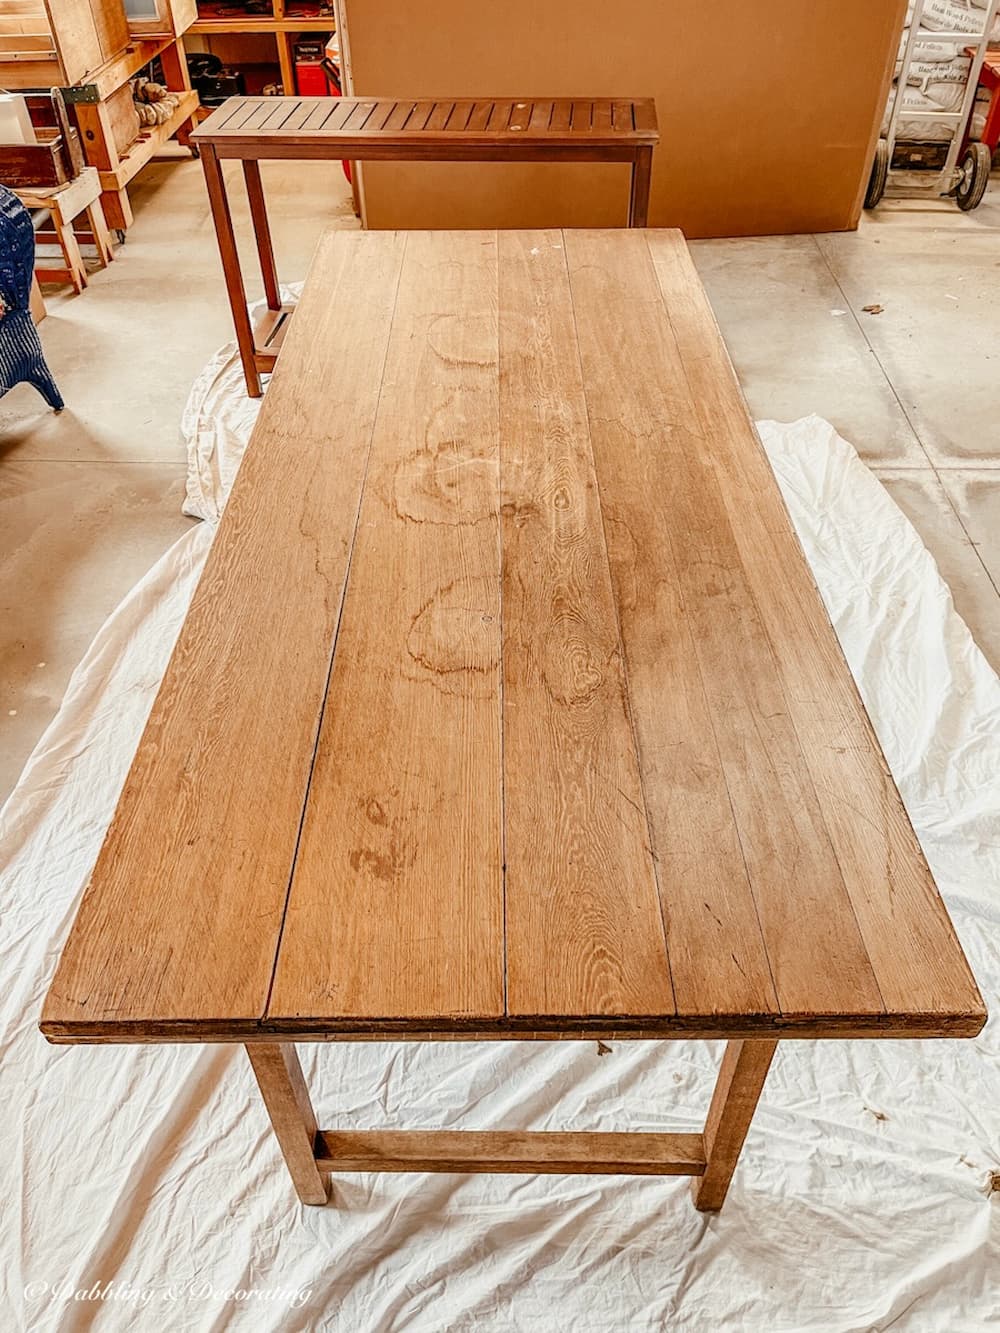
Wood Table Before Refinishing: Weathered and Worn After a Vermont Winter
After a year of sitting out on our covered porch through Vermont’s harsh winter weather, this old wooden wallpaper table was looking pretty rough. I had originally styled it as a display table, but the wood surface had dried out, water rings had set in, and remnants of old wallpaper paste clung to the top.
Honestly, I dreaded refinishing it. Can you relate to that feeling? Here’s what it looked like before… and yes, it really needed some love.

How to Refinish a Wood Table for Beginners (Without Sanding)
If you’re anything like me, patience is not always a virtue when it comes to DIY projects. I don’t want to spend hours sanding or prepping a table just to make it look halfway decent. I want quick, easy, and satisfying results, and that’s exactly what this method delivers. (P.S. I’m not an expert, just sharing what works for me!)
Check out the quick video below to watch the step-by-step transformation in real time.
This post may contain affiliate links, which won’t change your price but will earn us commission.
Restor-A-Finish: The Best One-Step Refinisher for Wood Tables
My go-to for fast, affordable wood furniture restoration? It’s always Howard Restor-A-Finish paired with Feed-N-Wax. This combo brings dull, dried-out wood back to life without sanding, stripping, or staining.
It’s a one-step process that enhances the original finish, blends in scratches, and leaves the wood looking rich and nourished. Plus, it comes in a range of wood tones so that you can match it to almost anything in your home.

The Vintage Posts Readers Love Most
Start with the posts readers come back to again and again. These vintage decorating ideas are rooted in New England, styled with thrifted and antique finds, and filled with real-life tips you can use in your own home. Familiar Finds, Styled Your Way.
How to Start a Vintage Booth: Tips, Display Ideas, and Lessons Learned
Eclectic Decorating Style Guide: How to Layer Vintage, Antique, and Thrifted Decor
9 Vintage Booth Displays That Made Me Stop (And What You Can Learn From Them)
Scandinavian Spring Homes: 10 Light and Airy Cottage Tours to Inspire
Beyond the Flag: What to Look for in Antique Stores for Heritage Americana Decor
How to Refinish a Wood Table (Beginner-Friendly and No Sanding)
Refinishing a wood table doesn’t have to be complicated, messy, or time-consuming. With just a few supplies and my favorite go-to products from Howard, you can transform a tired table in under an hour, no sanding required. Here’s exactly how I refinished my vintage wooden wallpaper table using this easy, beginner-friendly process.
Step 1: Choose the Right Restor-A-Finish Color to Refinish a Wood Table
First things first, pick your Restor-A-Finish color. Howard offers a variety of wood-toned finishes like oak, walnut, cherry, mahogany, and more. I went with Mahogany, a rich brownish-red tone that matched our front porch floors beautifully. Just choose the shade that best complements your table’s wood grain and desired final look.

Step 2: Gather Your Supplies to Refinish a Wood Table
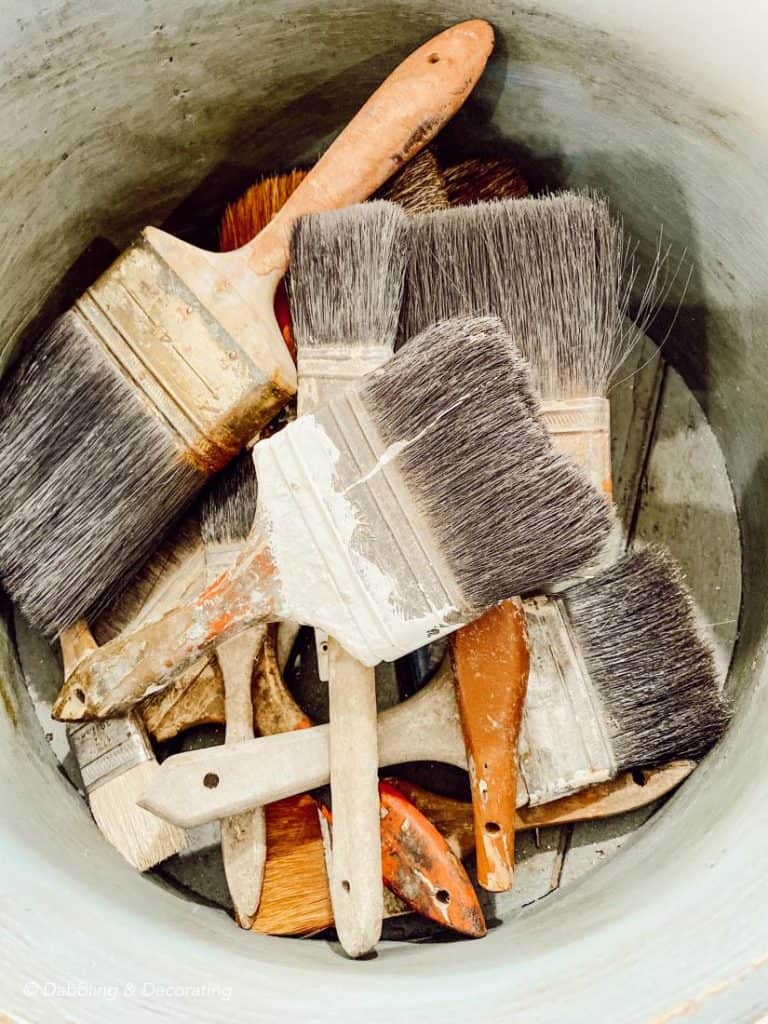
You don’t need a lot, but having the right tools on hand makes all the difference. I laid everything out ahead of time: steel wool, Restor-A-Finish, Feed-N-Wax, clean rags, and protective sheets for the floor. You can find links to everything I used in the “Shop This Post” section below.
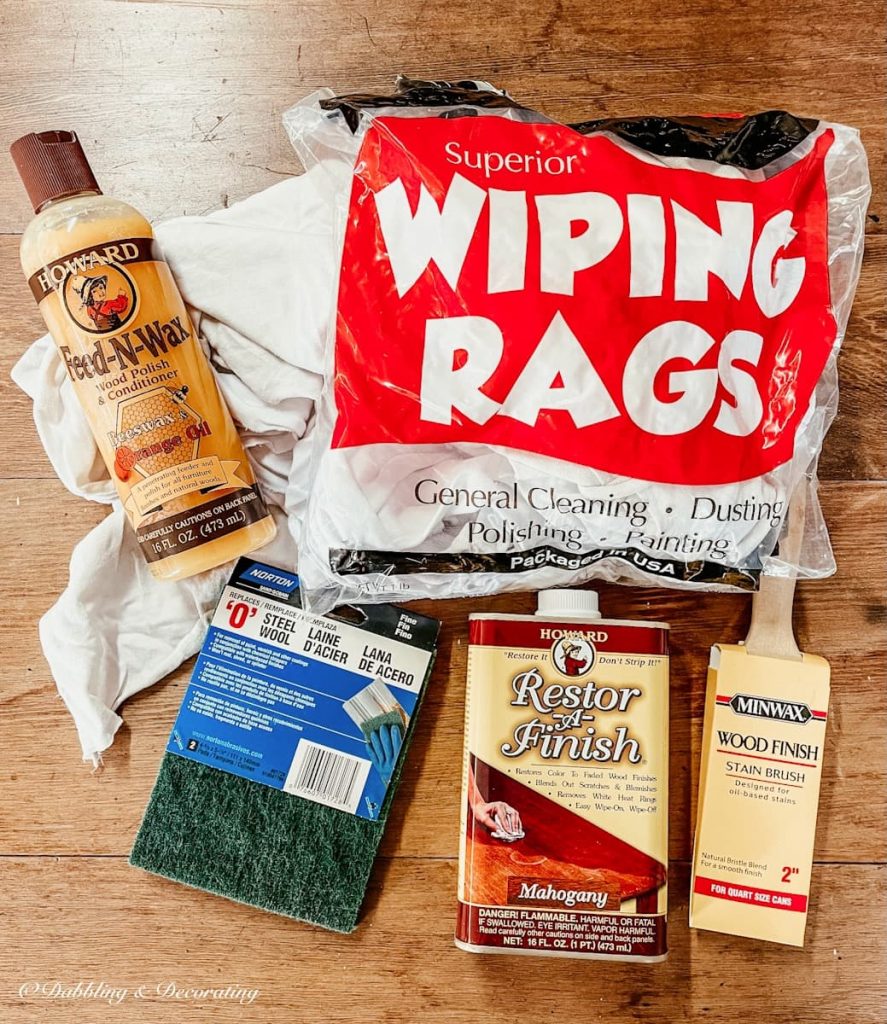
Before You Start Checklist:
• Howard Restor-A-Finish (color of choice)
• Howard Feed-N-Wax
• Fine steel wool
• Clean cloths or rags
• Protective sheet/drop cloth
• Well-ventilated space
Step 3: Prep Your Workspace to Refinish a Wood Table
Refinishing wood table furniture can get a little messy, so make sure your workspace is well-ventilated and protected. I used some old bed sheets I’ve collected over the years to cover the garage floor, but a drop cloth, cardboard, or even thick paper towels work well too.

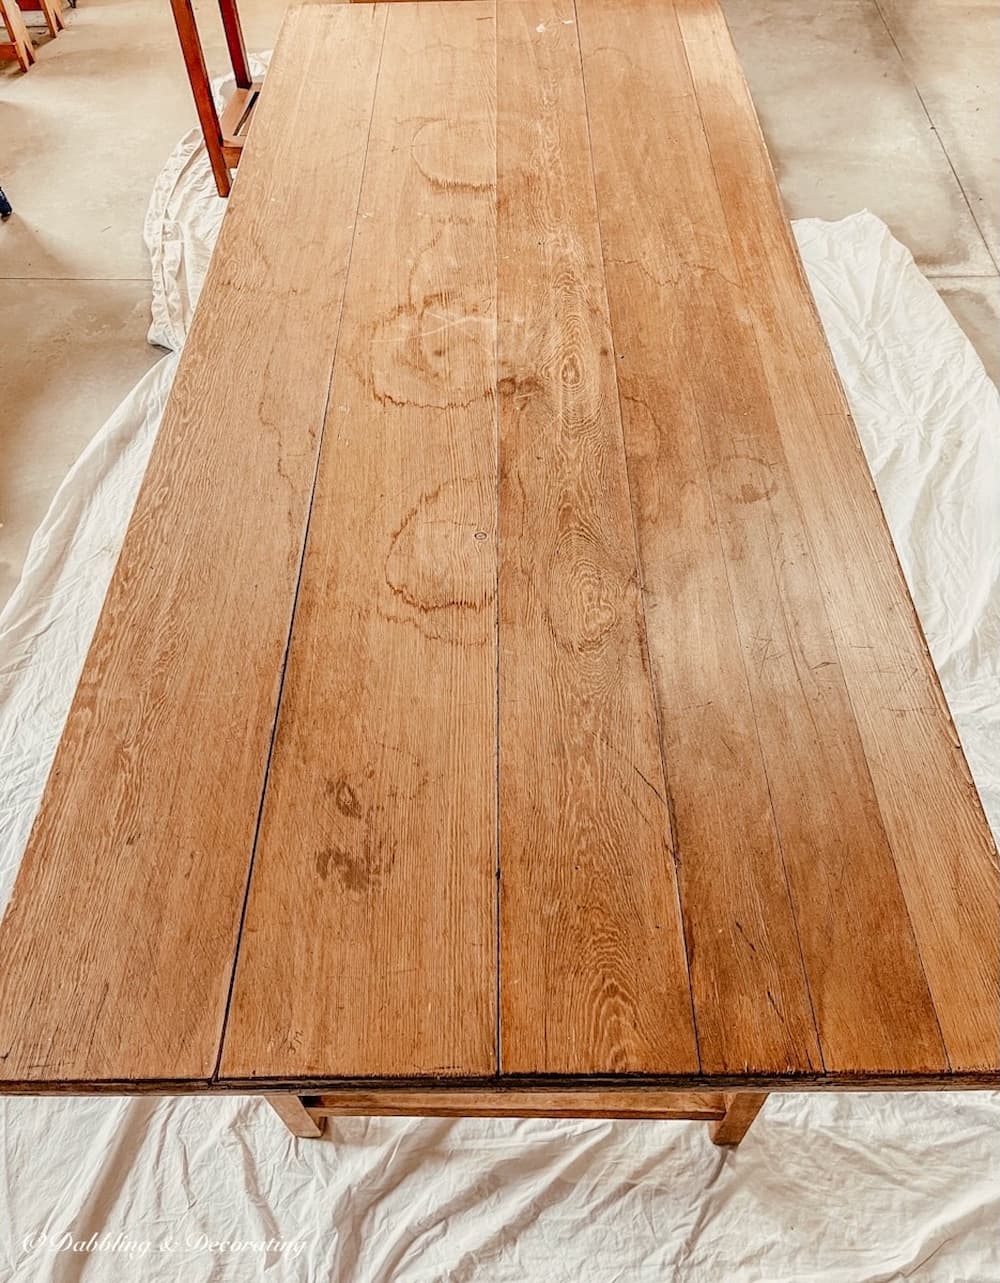
Step 4: Clean the Surface Before You Refinish a Wood Table
Before applying any product, give the table a quick clean. Use a dry cloth to wipe off any dust, dirt, or debris. The cleaner your surface, the better the Restor-A-Finish will absorb and do its job.
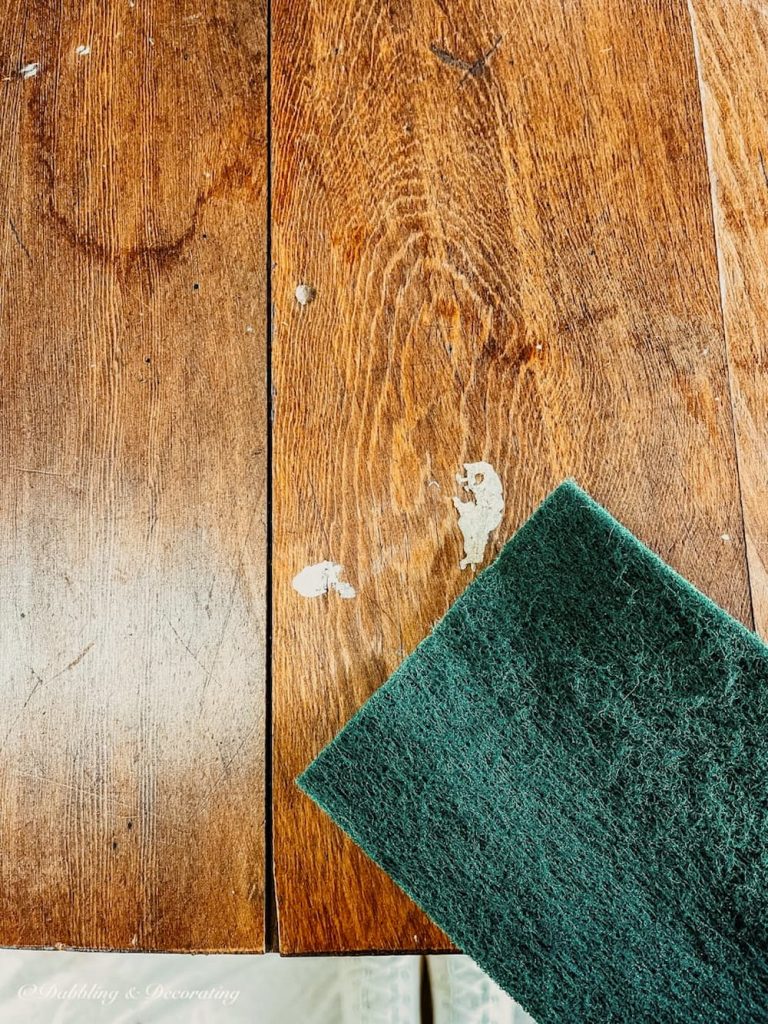
Step 5: Use Fine Steel Wool to Smooth Imperfections Before You Refinish a Wood Table
Next, grab some fine steel wool and lightly rub it across the surface, following the direction of the wood grain. On my table, this step helped remove lingering wallpaper paste and smoothed out minor marks without the need for full sanding.
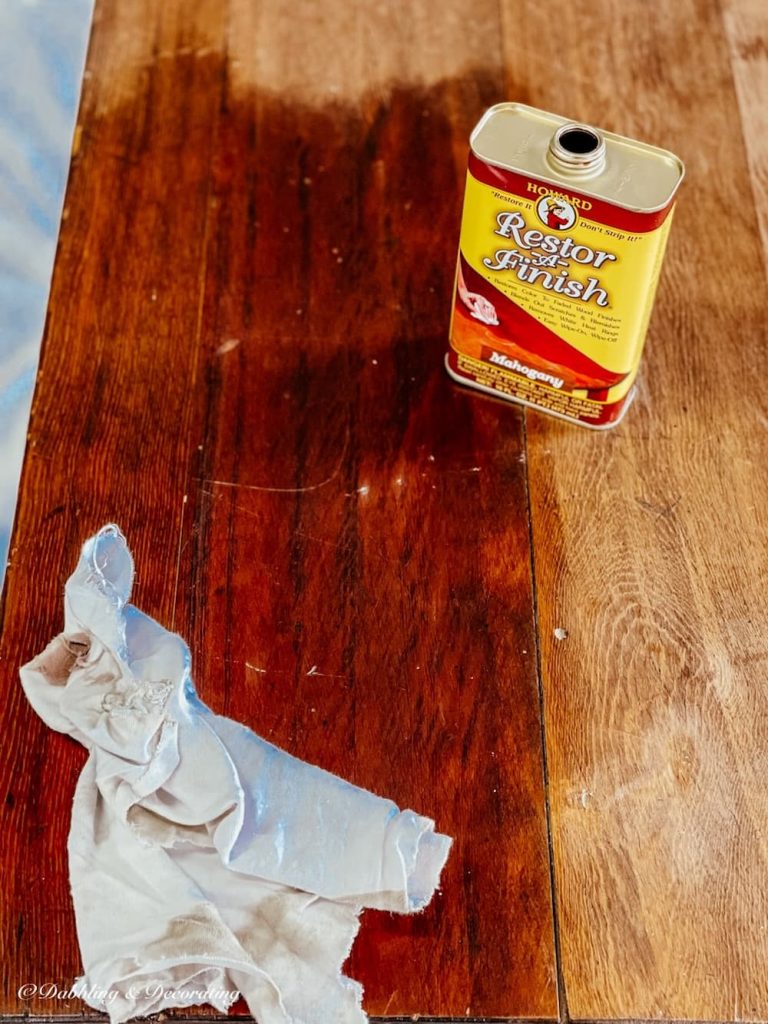
Step 6: Apply Restor-A-Finish to Refinish a Wood Table
Pour a small amount of Restor-A-Finish onto a clean cloth (never directly onto the table) and apply it with the grain of the wood. This table was so dry, it soaked up the solution like a sponge! I generously applied several coats, one right after the other, as it dried quickly and I wanted a deep, rich color.
The Secret Cupboard: One-Day Seasonal Vintage Decorating Ideas
The Secret Cupboard is filled with one-day vintage decorating ideas. You’ll find what to look for, how to style it, and what it might cost, perfect for gathering ideas and decorating with confidence.
Step 7: Let the Table Dry Before You Refinish a Wood Table
Give the surface about 30 minutes to rest and absorb the product. At this point, you’ll already see a big difference! While a few deeper markings remained (which a sanding would have removed), I was thrilled with the finish for such minimal effort.
Step 8: Condition the Wood After You Refinish a Wood Table with Feed-N-Wax
This step is my secret to sealing in all that moisture and richness. Using a clean rag, apply Howard’s Feed-N-Wax liberally across the entire surface. I used almost half a bottle on this one piece, it was that thirsty! The wood came back to life with a hydrated, glowing finish that looked absolutely stunning.
Styling Tip
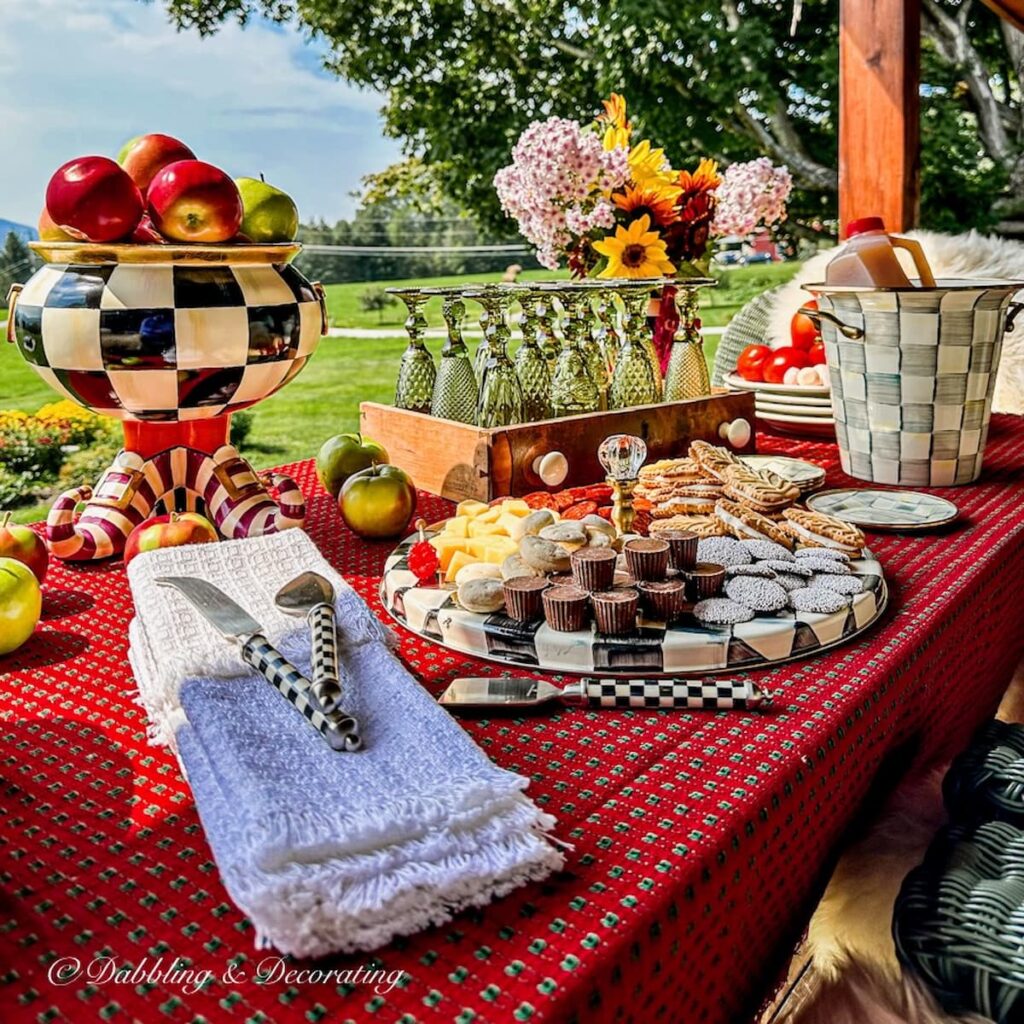
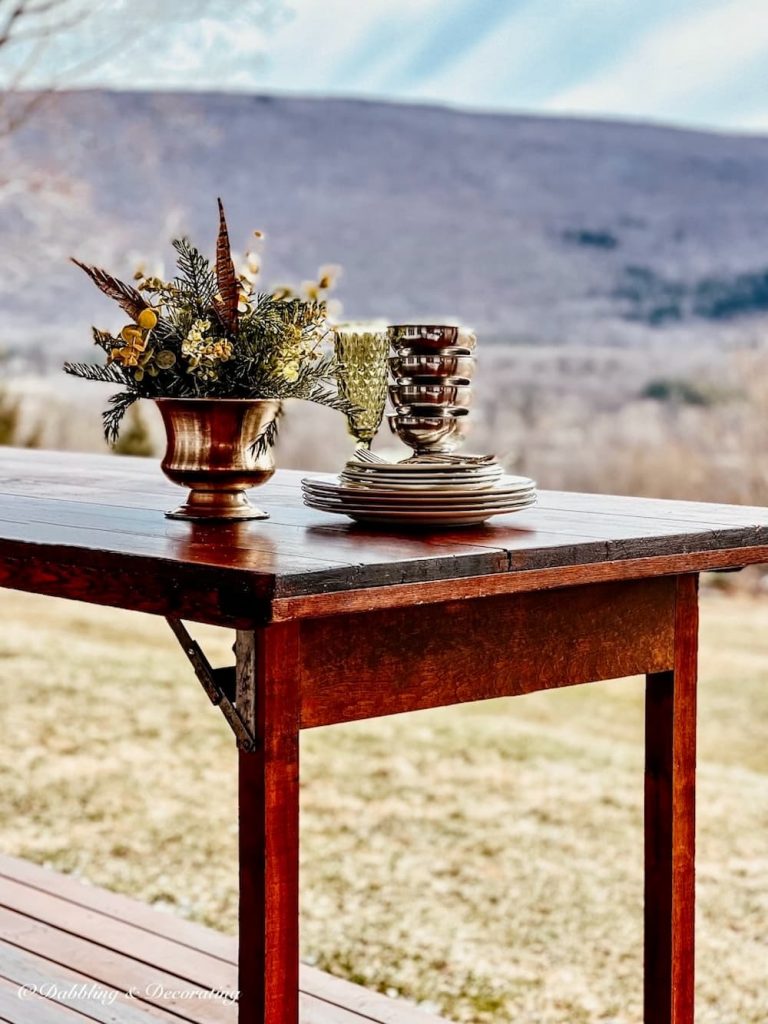
Every spring, I use this same method to refinish a wood table outdoors, refreshing the finish after a long winter. It restores the deep, rich color and helps moisturize the wood, keeping outdoor tables looking their best from spring through fall. I repeat the process as needed to maintain the finish through changing seasons.
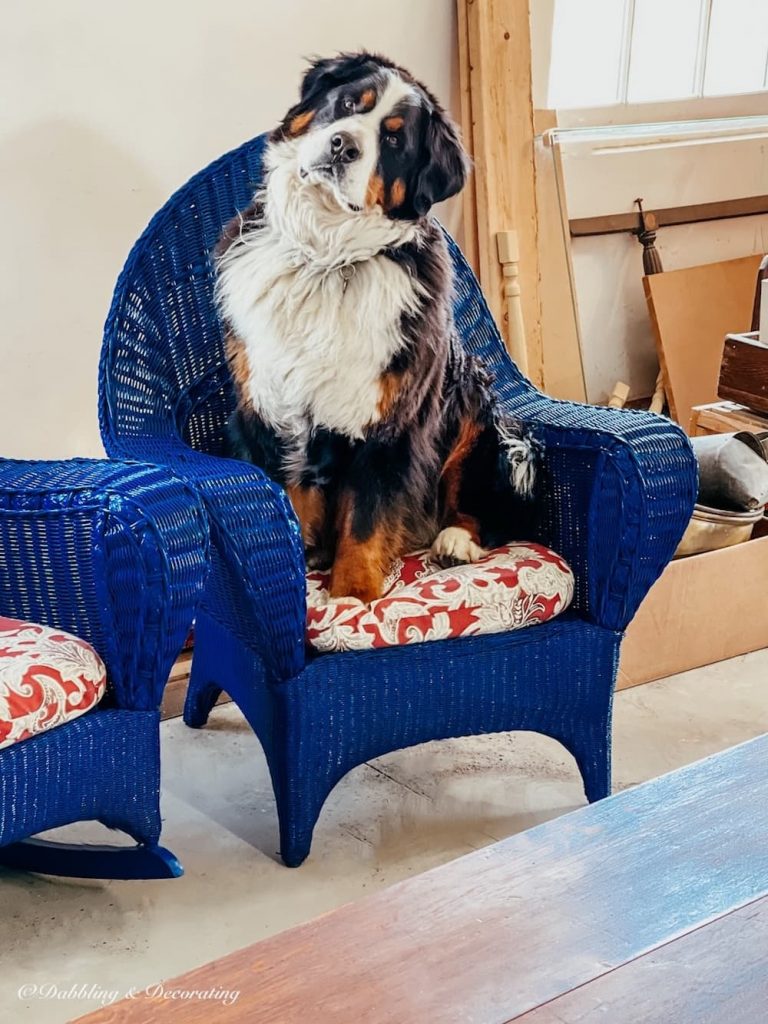
Step 9: Let the Table Dry for 24 Hours After You Refinish a Wood Table
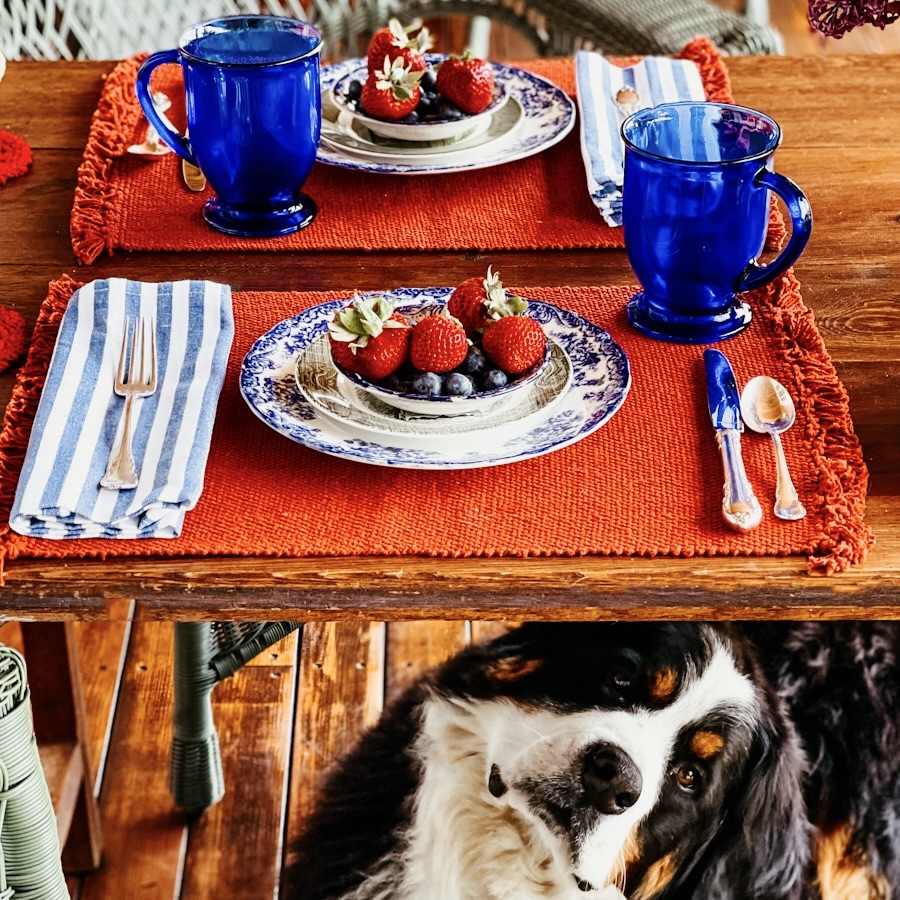
Once you’ve applied the Feed-N-Wax, allow your refinished wood furniture to dry for a full 24 hours before using it. Ella, our Bernese Mountain Dog, was my patient little helper, watching from her cozy blue wicker chair as the table dried in the garage.

Eclectic Decorating Style Guide
Want to create a home that feels cozy, collected, and completely you? This guide dives into how to layer vintage, antique, and thrifted pieces effortlessly, sharing easy tips to help you embrace an eclectic vintage style that tells your story, one thrifted find at a time.
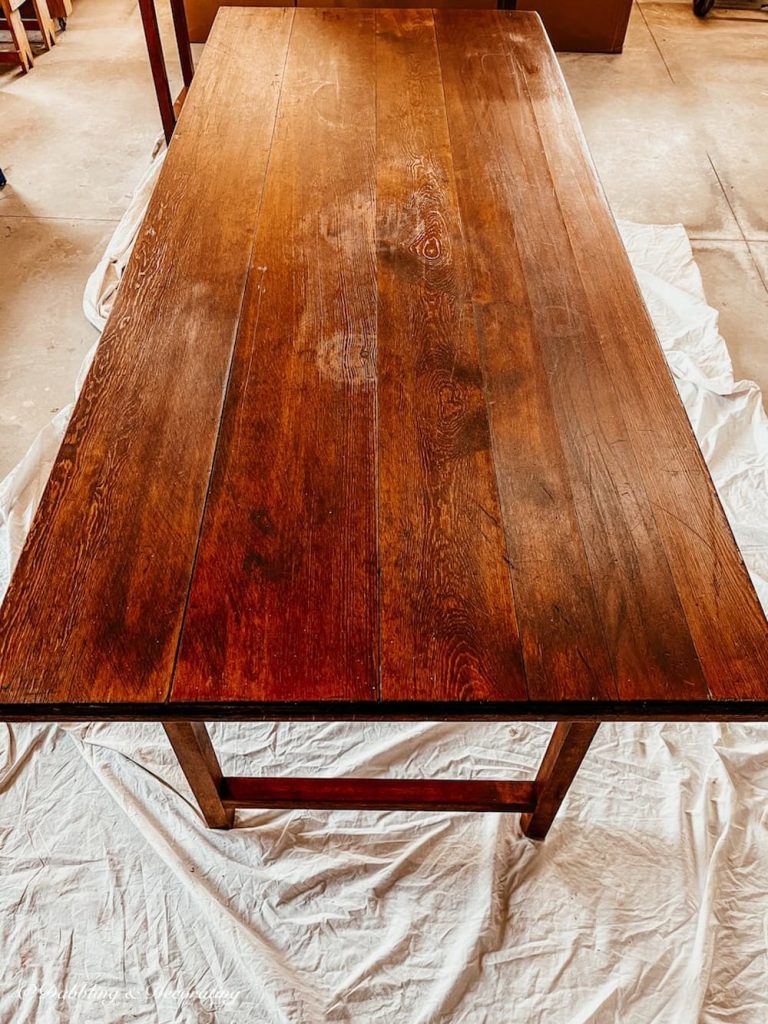
Before and After: Refinish a Wood Table Reveal
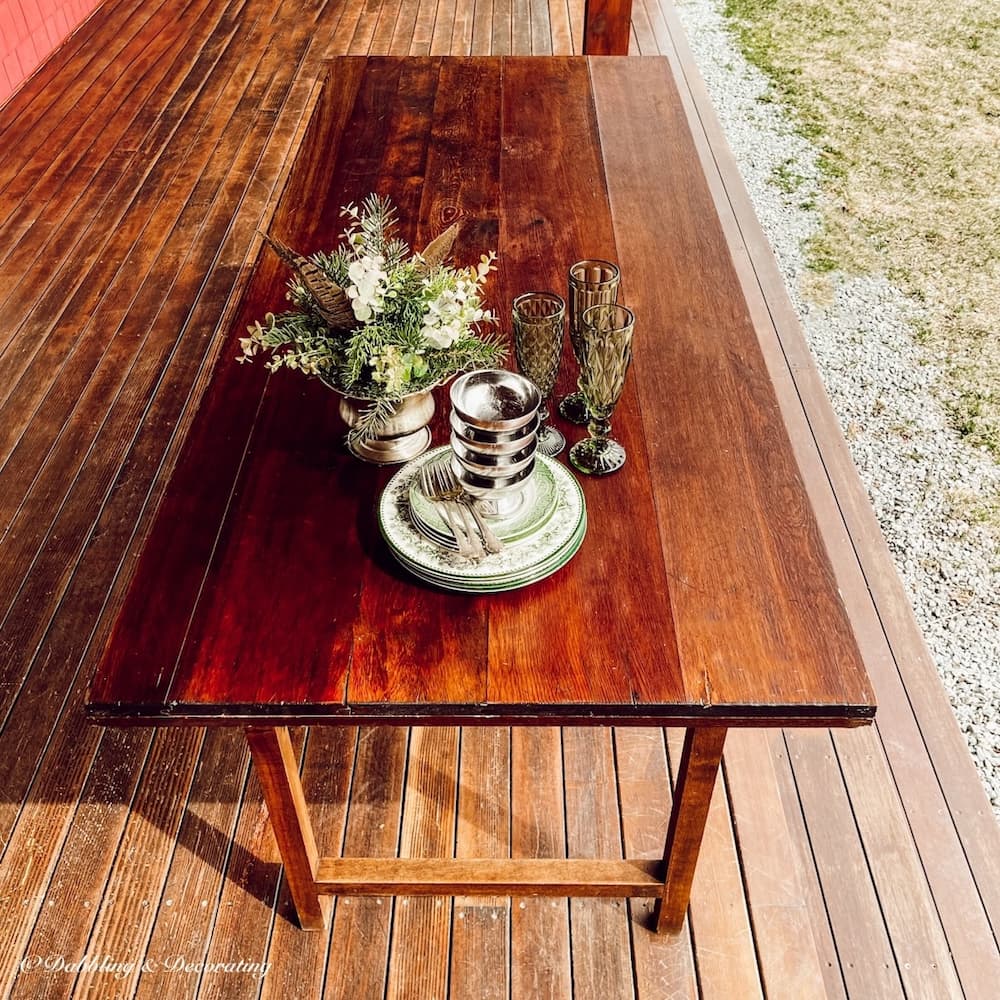
The Final Result: A Rich, Revived Wood Table After Refinishing
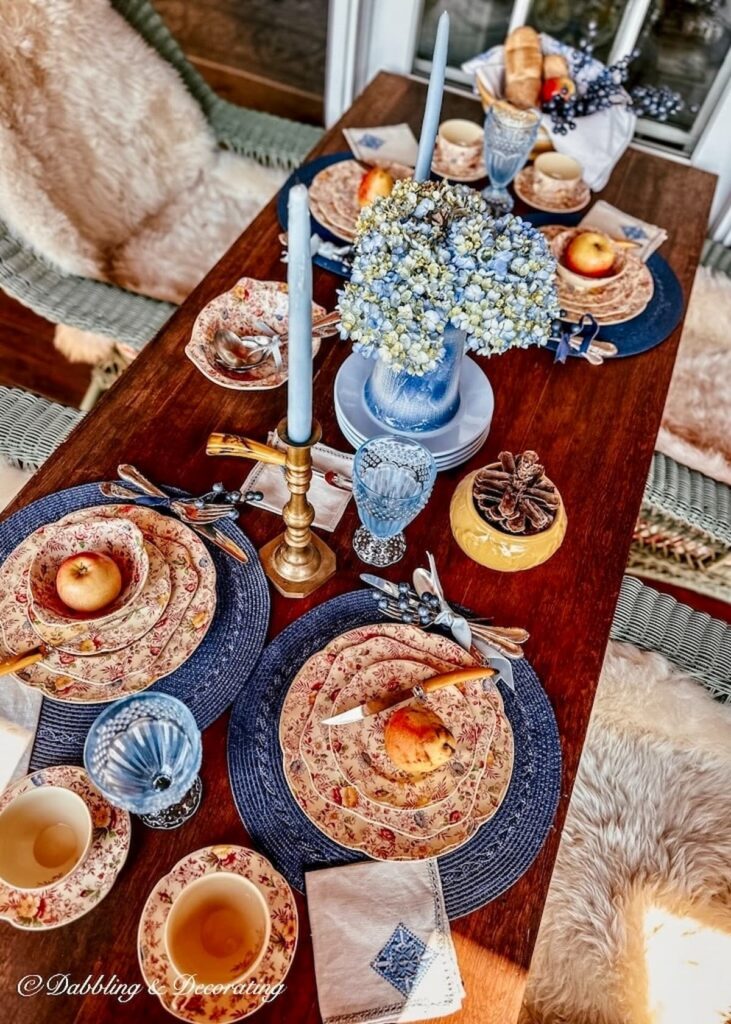
Here she is! Can you believe the transformation? The rich, mahogany color completely changed the look and feel of this old wooden wallpaper table. A little Restor-A-Finish and Feed-N-Wax went a long way, and the result is a deep, warm glow that brings out all the natural charm of the wood.
Ready to Embrace Vintage Decorating?
New to vintage collecting? This beginner’s guide will walk you through how to start collecting vintage home decor, what to look for, where to shop, and how to style your favorite finds with confidence.
Already have a collection you love? Don’t miss my favorite decorating with vintage collections ideas with stylish, creative ways to decorate with what you’ve found.
Before and After Photos of Our Refinished Wood Table
Take a look at this side-by-side comparison. While a few stains and markings in the center didn’t vanish completely, I actually think they add to the beauty and story of this vintage piece. That’s the magic of refinishing old wood furniture: you get to keep the character, while giving it a whole new life.
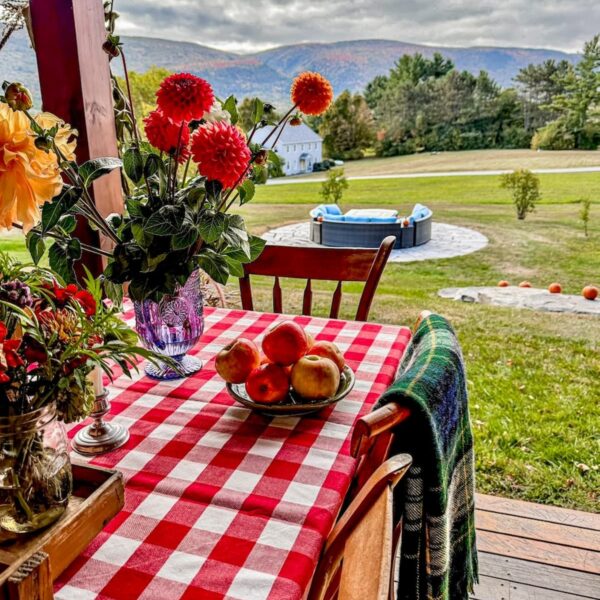
Seasonal Porch Decorating with Vintage Style
From lilacs in spring to ski lodge charm in winter, this year-round guide shares how I decorate our Vermont porch with vintage style through every season. It’s packed with table settings, thrifted finds, cozy layers, and simple decorating ideas to bring timeless charm to your own outdoor space.
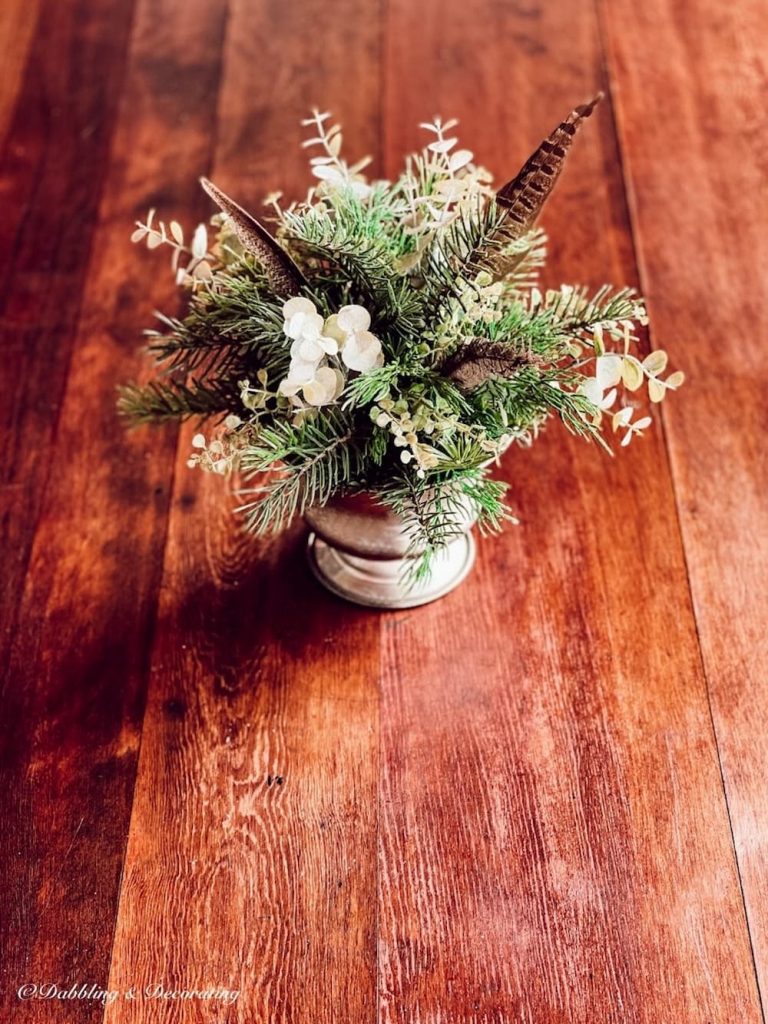
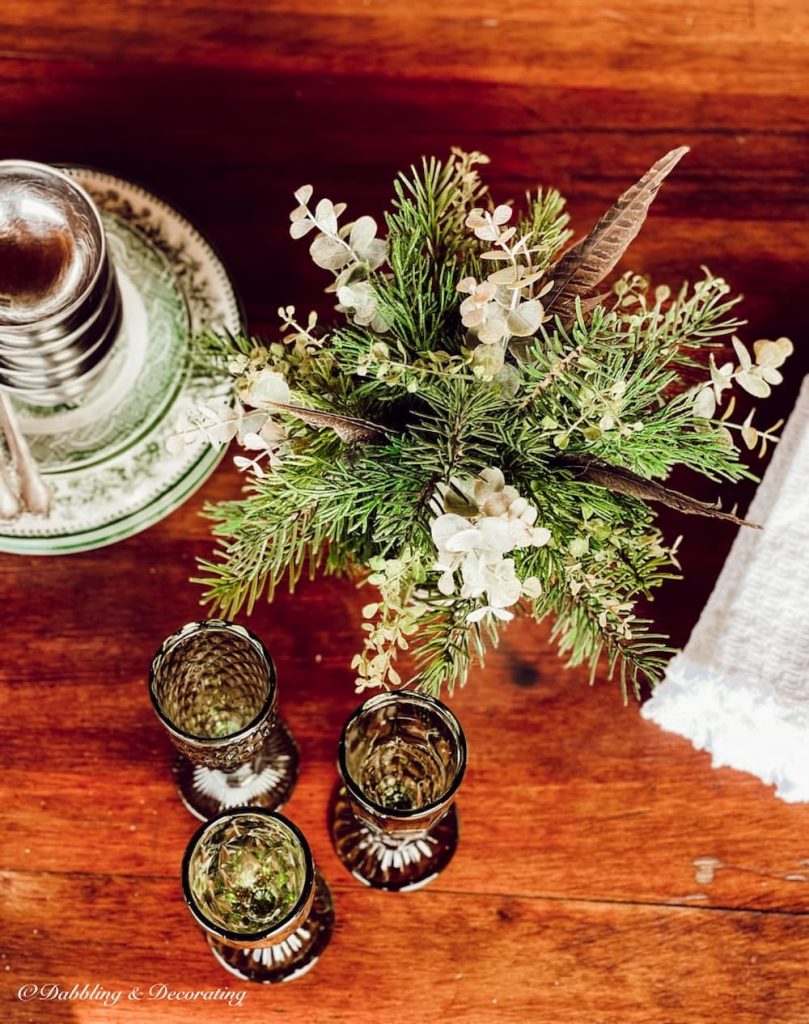
Refinished Wood Table Ready for Spring Styling
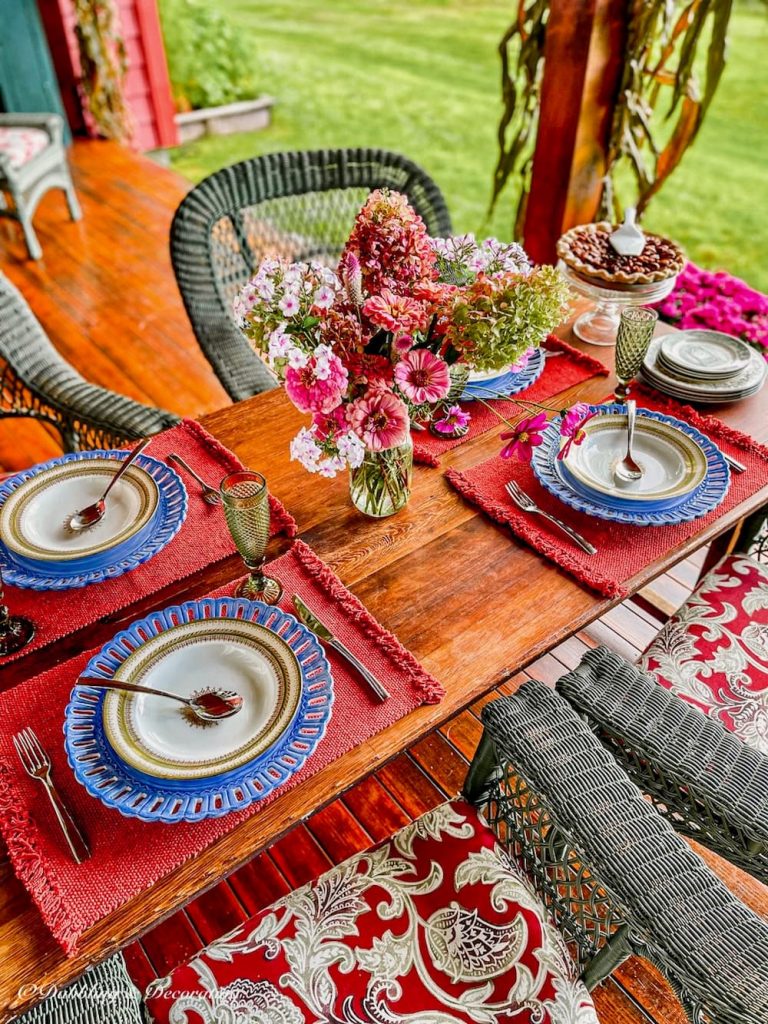
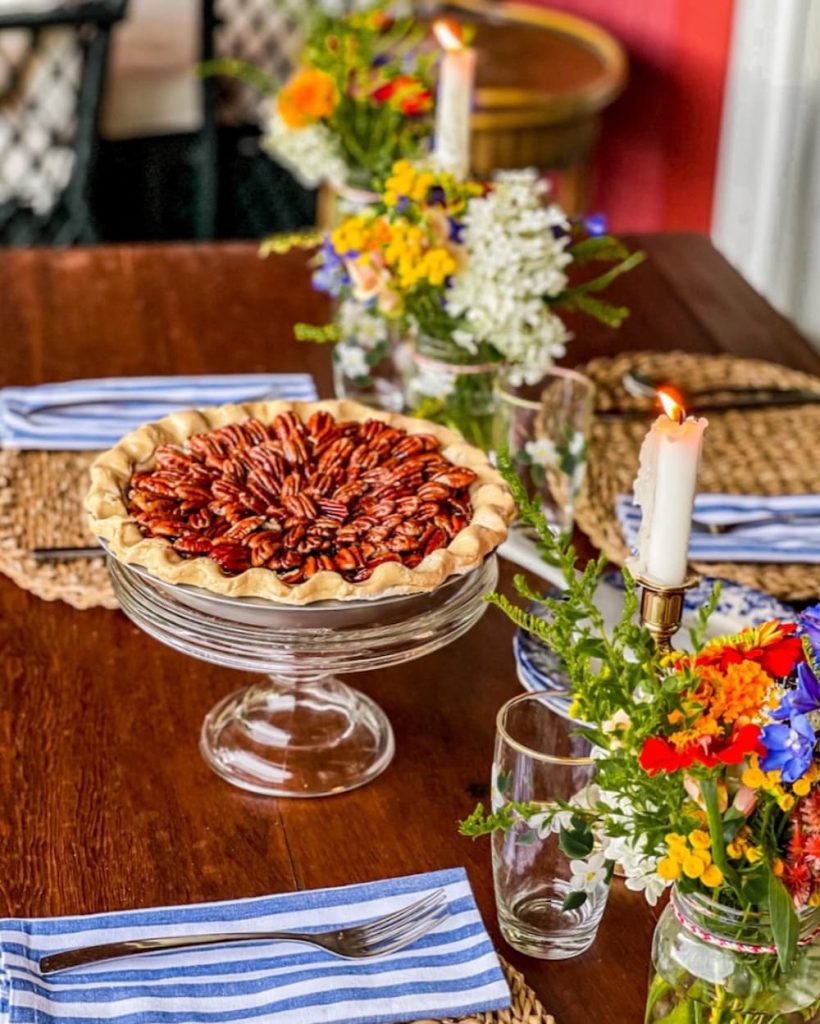
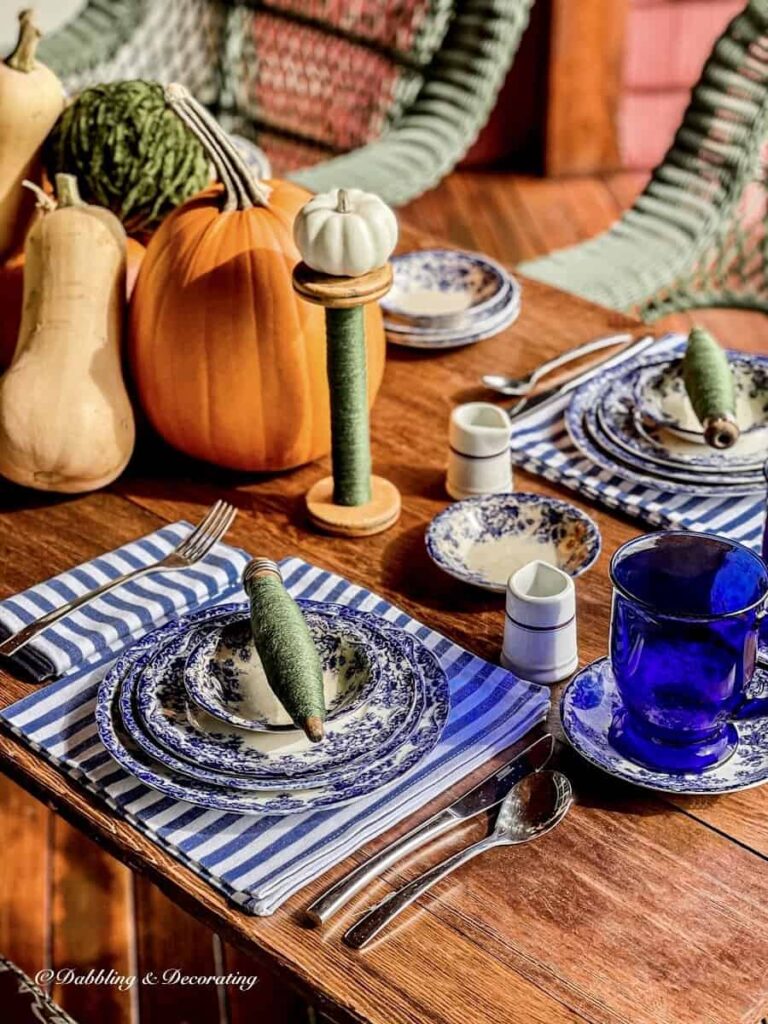
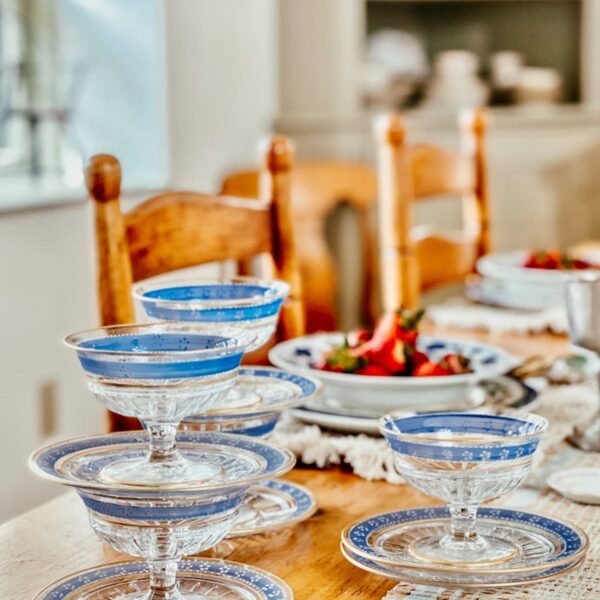
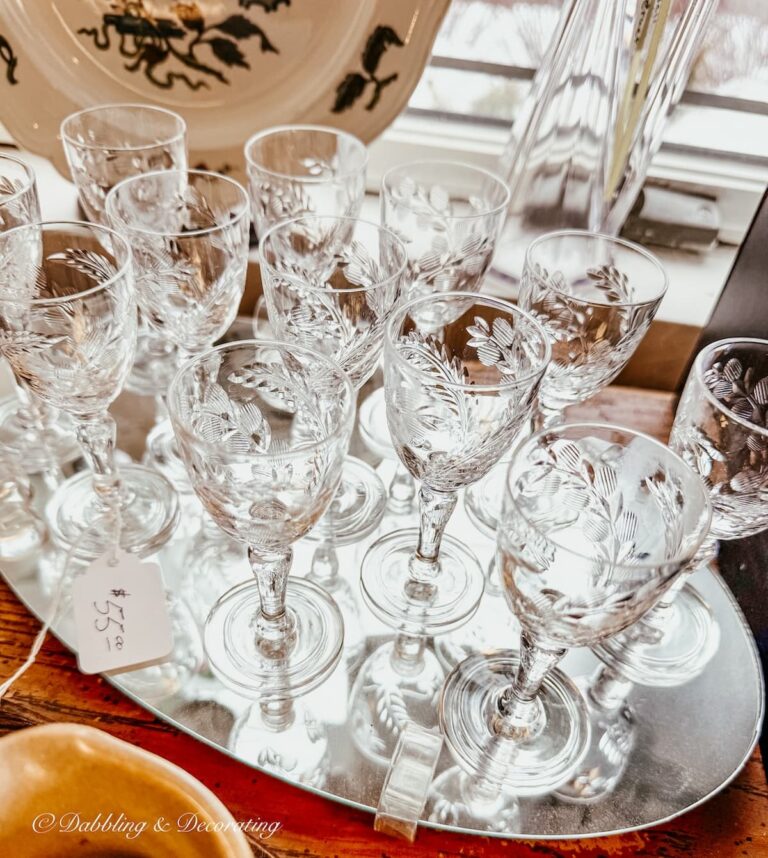
Now that this table is refreshed and ready, I can’t wait to decorate it with a spring tablescape. I’m picturing soft mixed greens, white vintage dishes, and my favorite green champagne flutes.
It’s always such a joy to see a once-weathered piece step into a new season with style and purpose!

Try a Styling Tip!
Looking for simple, vintage-inspired decorating ideas you can try in an afternoon? Explore all my Styling Tips for easy seasonal projects, quick DIYs, and creative ways to style your home with charm.
Refinish a Wood Table the Easy Way: Final Thoughts and Styling Ideas
Refinish a wood table doesn’t have to mean sanding dust, power tools, or an all-weekend project. This simple, beginner-friendly method is perfect for refreshing a worn finish and bringing new life back to a vintage wood table with minimal effort and beautiful results. If you love thrifted finds and well-loved furniture, this is an easy way to preserve their character while giving them a fresh, revived look.
Vintage-Inspired Table Settings for Every Season You’ll Love
From porch breakfasts to holiday gatherings, this vintage tablescape guide includes styling inspiration for every season—indoor and outdoor—using thrifted and antique finds.
If you enjoyed learning how to refinish a wood table without sanding, you may also love these simple furniture refresh ideas and vintage decorating tips using pieces you already own. Explore more easy DIY projects and styling inspiration throughout the blog to keep your favorite finds looking their best.


Whether it’s a vintage table, a thrifted chair, or an heirloom hutch, this no-sanding method is beginner-friendly and oh-so-satisfying.
Frequently Asked Questions About How To Refinish a Wood Table
Yes, you can refinish a wood table without sanding if the existing finish is worn, dull, or faded but not peeling or deeply damaged. Using products like Restor-A-Finish allows you to revive the surface without stripping or heavy prep.
This method works best on solid wood tables with surface wear, light scratches, or uneven color. It is not recommended for tables with deep gouges, water damage, or loose veneer.
Yes, this is a very beginner-friendly way to refinish a wood table. It requires no power tools, minimal supplies, and can usually be completed in under an hour, making it ideal for first-time furniture refinishing projects.
The application process typically takes less than an hour. Afterward, the table should dry for about 30 minutes and then cure for 24 hours before regular use.
Restor-A-Finish is designed to blend and revive existing wood tones rather than dramatically change the color. Choosing the correct shade helps restore richness while keeping the original character of the wood.
When properly conditioned and maintained, a refinished wood table can look refreshed for months or even years. Occasional conditioning with Feed-N-Wax helps extend the results.

Join the Vintage Circle — Familiar Finds, Styled Your Way™
Love vintage treasures, thrifted gems, and a home that tells your story? Leave a comment, share this post with a kindred spirit, or head to my Start Here page to explore more. Want fresh prompts and timeless ideas? Subscribe to join our Seasonal Vintage Decor Styling Challenge for weekly inspiration and behind-the-scenes peeks.
Pin forLater!


Shop How to Refinish a Wood Table
This post may contain affiliate links, which won’t change your price but will earn us commission.

What an amazing difference! I love this table so much.
I think Ella is your best decor asset! She is simply charming! I have never heard of a wallpaper table – thank you for introducing me to them. I have been eyeing the Howards Restore-a-finish. I have a houseful of mahogany pieces that I know will benefit. I already use the Feed-n-Wax (with Murphy’s Oil Soap) and truly there is simply nothing like it. Thank you for sharing your steps and instructions, and helping me feel more confident about taking on this project. I have pinned your blue & white table everywhere. I love how you curate your finds, and pull them together to make such amazing and inviting spaces. I get so tired of the ‘blogger blandness’ I see so much of.
Thank you so much Kristine. I appreciate your kindness so much🙏🏻
Love this! And the Poser.
Thank you so much Karen 🐶
Ann,
What a great tip and boy does it look great. I’ll share a link on Sunday.
Thanks so much Rachel🙏