
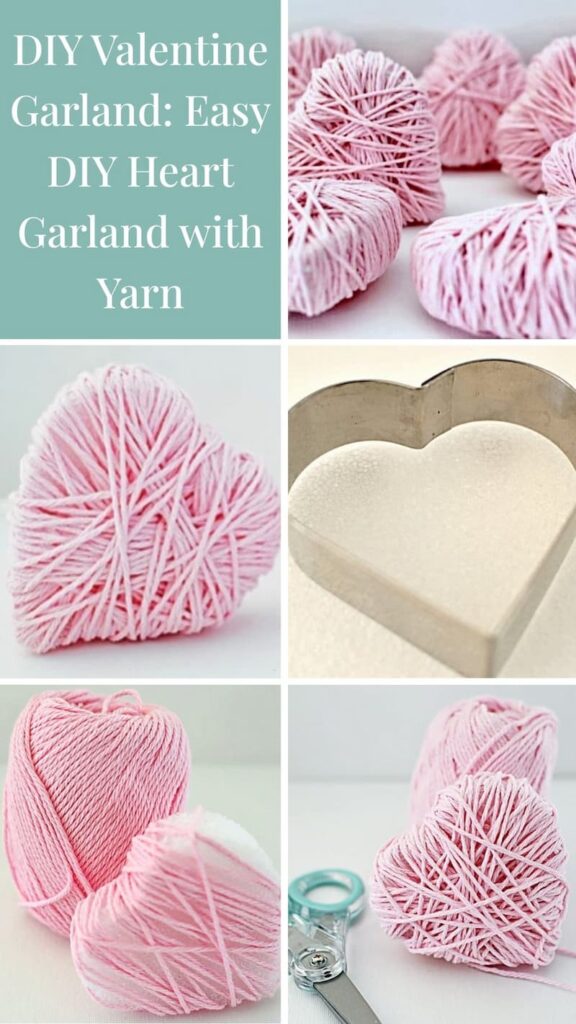
DIY Valentine garland made easy. Learn how to craft a yarn heart garland in minutes using simple supplies. Perfect for kids, parties, mantels, and Valentine’s Day table decor.
Need a little Valentine magic without dragging out a craft bin the size of a suitcase? This DIY Valentine Garland comes together in minutes with yarn and a few simple supplies, and it instantly makes any space feel festive. Hang your heart garland on a mantel, along open shelves, across a table, or in a classroom for a sweet pop of pink that looks charmingly handmade on purpose. Grab your yarn and let’s make the easiest DIY Valentine Garland ever.
Easy DIY Home Decor Projects with Vintage Style
Explore our easy DIY home decor guide with vintage style, using thrifted and repurposed finds. Simple, beginner-friendly ideas to decorate your home with charm.
DIY Valentine Garland with Yarn Hearts
A DIY Valentine garland is one of the quickest ways to add a little heart-day charm to any space. This easy yarn heart garland comes together in minutes with simple craft-store supplies, and it works for everything from Valentine’s Day decor to parties, classrooms, and sweet little table moments. Let’s get started.
DIY Valentine Garland Craft Supplies
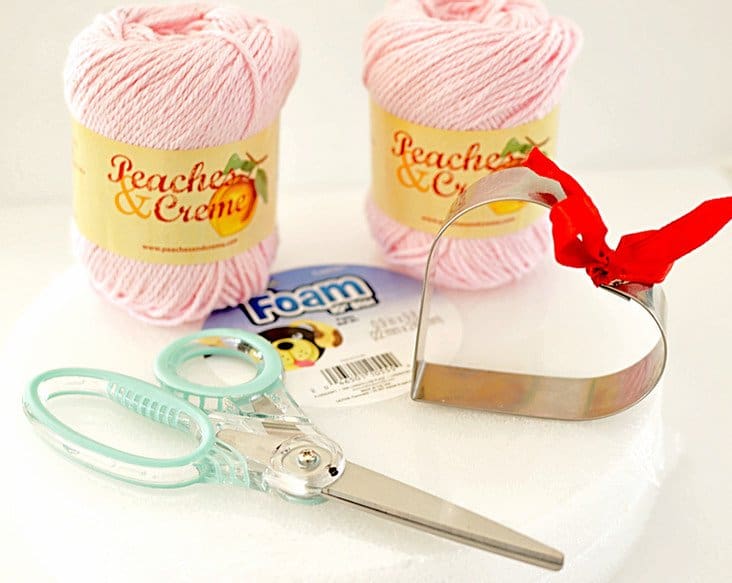

DIY Valentine Garland Yarn
The supplies shown will make about 10 yarn hearts for your DIY Valentine garland. I chose pink, but any Valentine colors work, and I recommend using three balls of yarn (not two), so you have plenty left to string the garland or hang it with twine. I grabbed my yarn and styrofoam at Walmart for about $7 each.
How to Make a DIY Valentine Garland with Yarn Hearts
Ready to make your DIY Valentine garland? These yarn hearts come together fast, and there’s no perfection required, which is half the charm. Follow the simple steps below, and you’ll have a sweet garland ready to hang in minutes.
Step 1: Trace and Cut Your Styrofoam Hearts
Start by pressing a heart-shaped cookie cutter into the styrofoam to outline each heart. The size of your cookie cutter will determine the finished size of the hearts on your DIY Valentine garland.
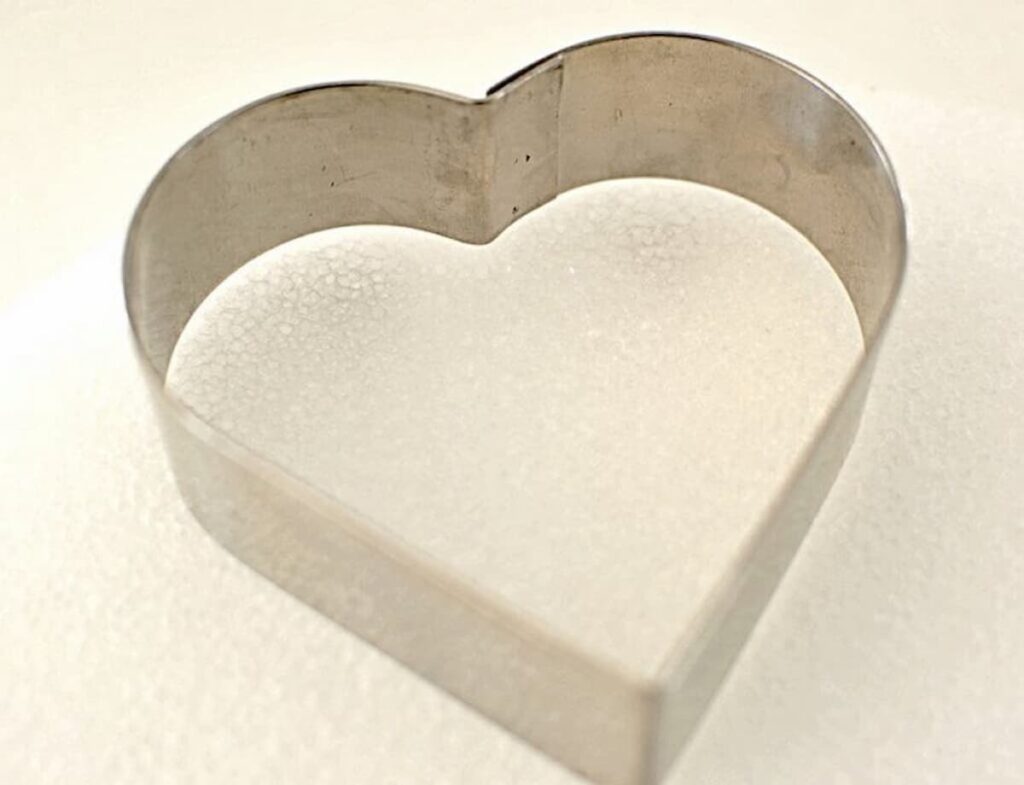
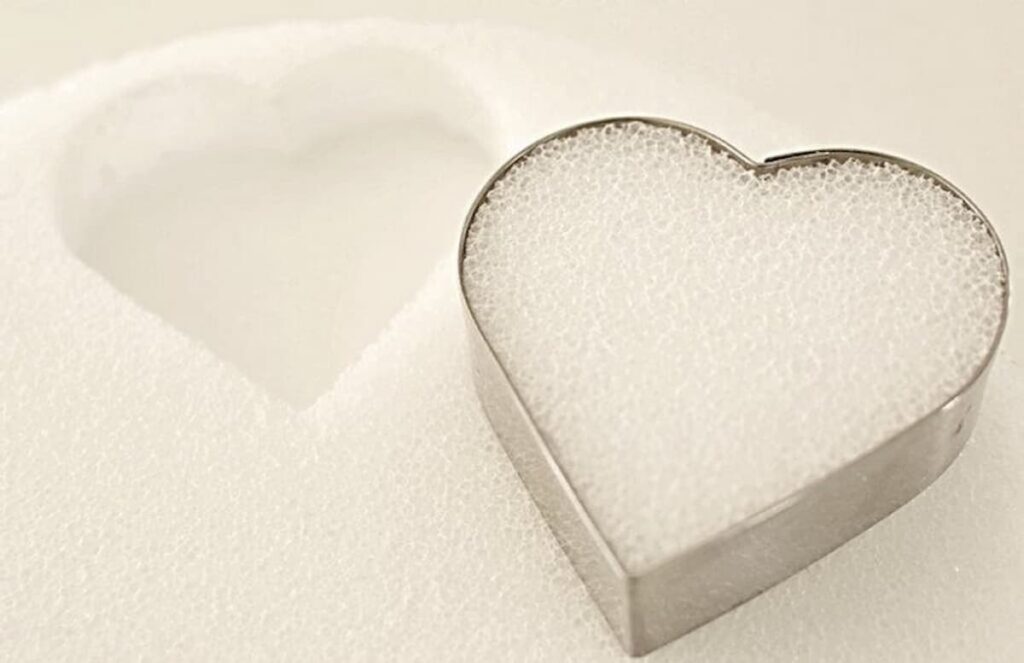
Make as many hearts as you’d like, just be sure you have enough styrofoam cut and ready before moving on.


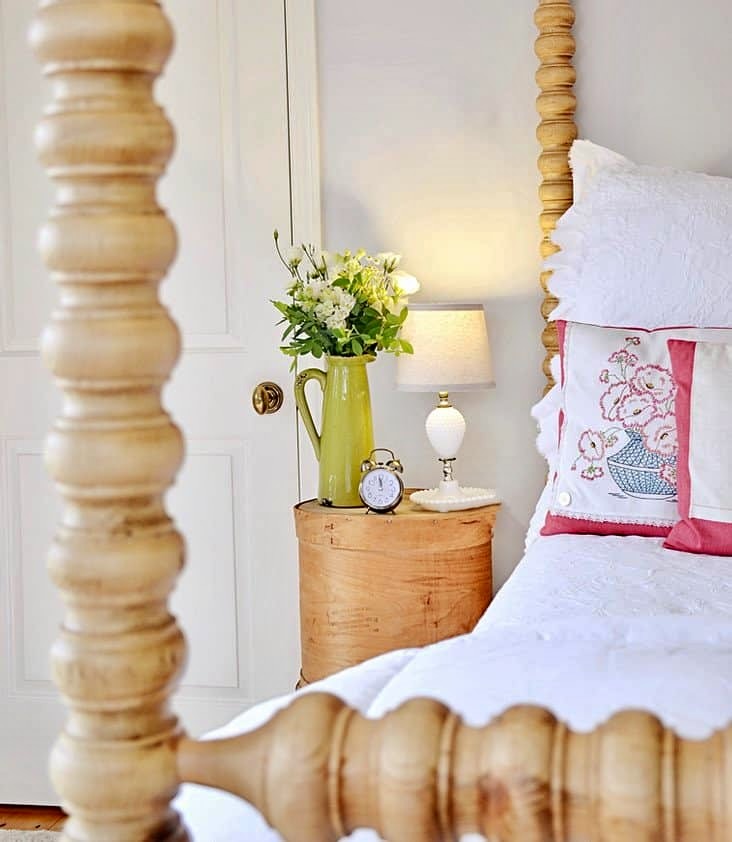
Vintage Home Decorating Guides and Styling Inspiration
Are you curious about vintage decor but don’t know where to start? These cornerstone guides are packed with seasonal styling tips, how-tos, and inspiration to help you confidently decorate with charm and character.
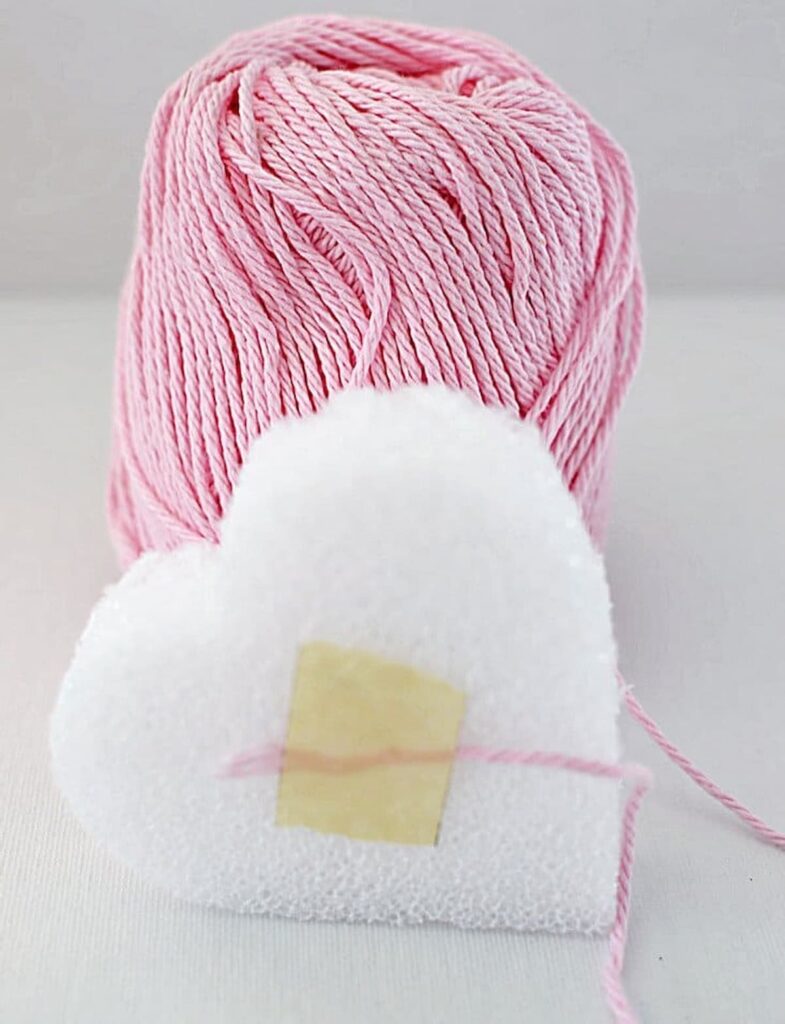
Step 3: Secure the Yarn with Tape
Use a small piece of masking tape to attach the end of the yarn to the back of the styrofoam heart. This little trick keeps the yarn from slipping while you wrap and makes the rest of the heart go much faster.
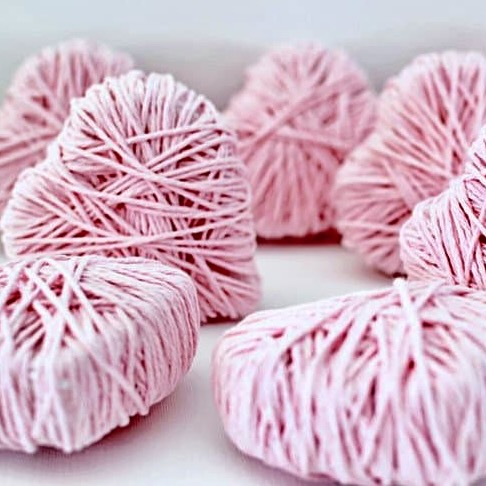
Step 4: Wrap the Heart with Yarn
Wrap the yarn around the styrofoam heart in every direction until the shape is fully covered. There’s no right or wrong here; crisscrossing is what gives your DIY Valentine garland that fun, textured look. Keep wrapping until you can’t see any styrofoam peeking through.

Once your heart is fully covered, cut the yarn and tuck the loose end under a few wrapped strands to hold it in place.
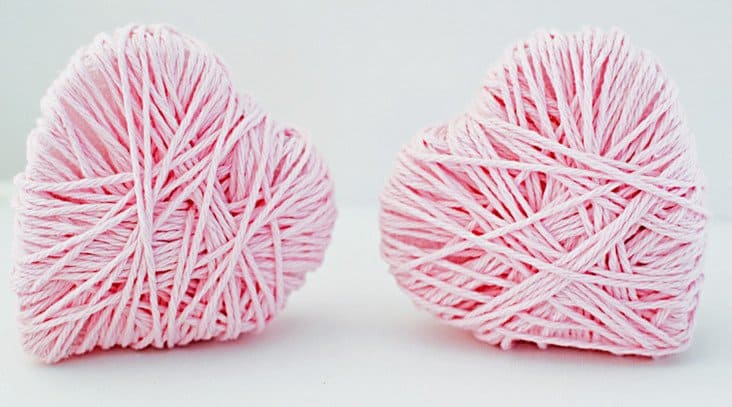
And just like that, your yarn heart is done, easy, cute, and ready to become the star of your DIY Valentine garland.
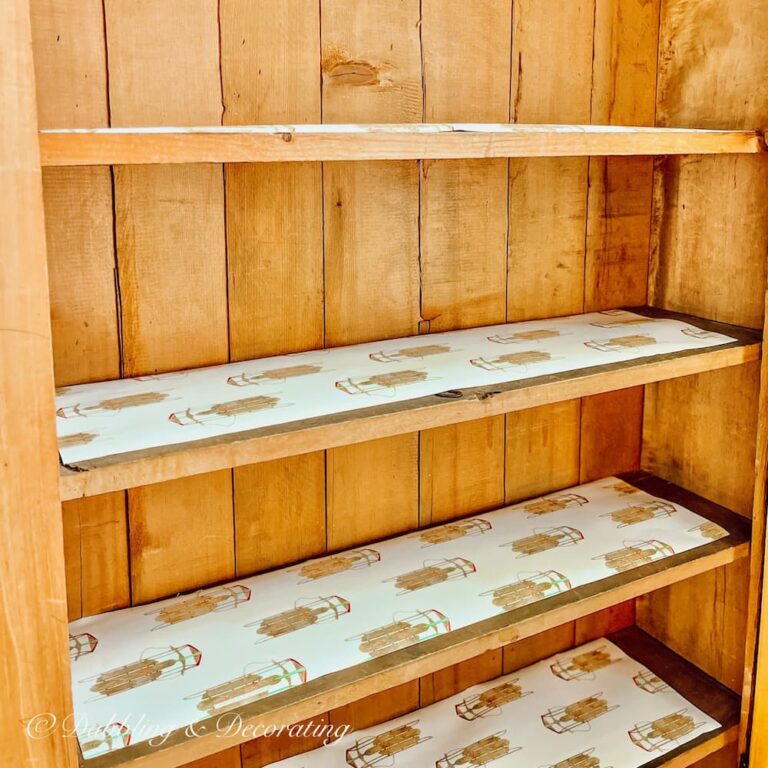
The Secret Cupboard: One-Day Seasonal Vintage Decorating Ideas
The Secret Cupboard is filled with one-day vintage decorating ideas. You’ll find what to look for, how to style it, and what it might cost, perfect for gathering ideas and decorating with confidence.
Step 5: String the Hearts to Make Your DIY Valentine Garland
Now it’s time to turn your yarn hearts into a garland you can hang anywhere.

Thread a large needle with the same pink yarn, then slide the needle through the wrapped yarn on each heart (not the styrofoam) to string them together.

Keep spacing the hearts however you like as you go. Once they’re all strung, tie off the ends and hang your DIY Valentine garland on a mantel for an instant Valentine moment.
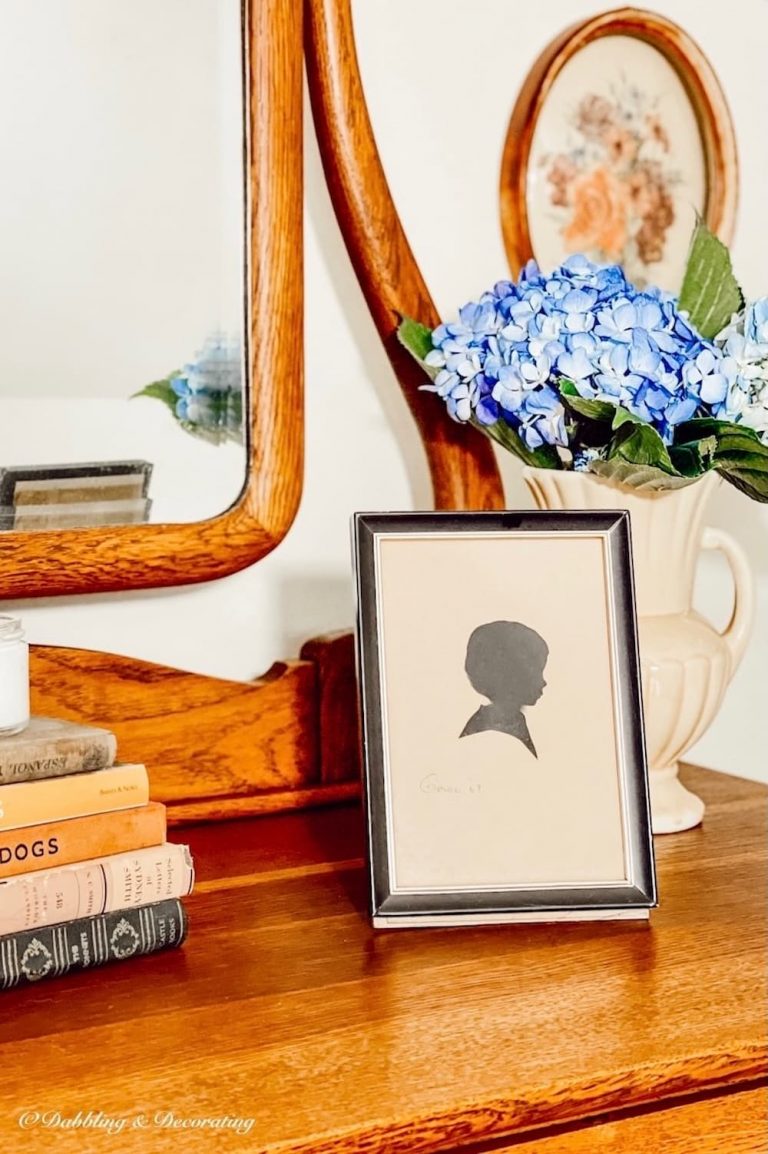
Try a Styling Tip!
Looking for simple, vintage-inspired decorating ideas you can try in an afternoon? Explore all my Styling Tips for easy seasonal projects, quick DIYs, and creative ways to style your home with charm.

Pro Tip
Not feeling the garland look? Pile the yarn hearts in a basket or bowl and set them on your coffee table for an easy Valentine’s Day touch that takes zero hanging.
I’ve had these DIY pink yarn hearts for over four years, and they still come out every Valentine’s Day like clockwork. That’s the best part about a DIY Valentine garland like this: it’s easy to store, easy to reuse, and it never feels too fussy. You can switch up the colors, change the heart sizes, or even mix in different shapes to make it your own each year. Have fun with it and let your garland bring a little extra love into your space.

Watch our Decorating Video Tutorial:
Thrifting with the Gals
Love the thrill of the hunt? Thrifting with the Gals is a blog series packed with secondhand scores, vintage styling ideas, and real-time thrift adventures you won’t want to miss.
DIY Valentine Garland, Sweet Decor Made Simple
If you’ve been craving an easy Valentine project that actually looks adorable once it’s up, this DIY Valentine garland is it. Make a batch of yarn hearts in one sitting, string them into a garland, and you’ve got festive decor you can reuse year after year.
If you try it, leave a comment and tell me what colors you chose, and don’t forget to browse my vintage Valentine’s Day decorating ideas for more simple, vintage-style inspiration.

Frequently Asked Questions About a DIY Valentine Garland
To make a DIY Valentine garland with yarn, cut or trace heart shapes from styrofoam, secure the yarn end with masking tape, then wrap the yarn in different directions until each heart is fully covered. Once the hearts are finished, thread a large needle with yarn and pull it through the wrapped yarn on each heart to string them into a garland.
You’ll need yarn, styrofoam hearts (or a styrofoam sheet), scissors, masking tape, and a heart-shaped cookie cutter for tracing. A large needle is also helpful for stringing the hearts into a DIY Valentine garland.
Yes, this is a kid-friendly Valentine’s Day craft. Younger kids can help with choosing colors and wrapping yarn, while adults can help with cutting the styrofoam hearts and threading the needle for the garland.
You can hang a DIY Valentine garland on a mantel, shelf, mirror, doorway, or wall using removable hooks, painter’s tape, or by tying the ends around nails or knobs. Because yarn hearts are lightweight, the garland is easy to hang in most spaces.
Using a few balls of yarn and enough styrofoam, you can typically make about 10 yarn hearts, depending on heart size and how thickly you wrap the yarn. You can make more or fewer hearts to adjust the length of your DIY Valentine garland.
Classic Valentine colors like pink, red, and white are always popular, but you can also use blush, cream, burgundy, or even neutral shades for a softer look. Mixing two or three colors of yarn can make your DIY Valentine garland feel more custom and layered.
Join the Vintage Circle — Familiar Finds, Styled Your Way™
Love vintage treasures, thrifted gems, and a home that tells your story? Leave a comment, share this post with a kindred spirit, or head to my Start Here page to explore more. Want fresh prompts and timeless ideas? Subscribe to join our Seasonal Vintage Decor Styling Challenge for weekly inspiration and behind-the-scenes peeks.
Pin forLater!


Shop DIY Valentine Garland
This post may contain affiliate links, which won’t change your price but will share some commission.