

An honest look at restoring 30-year-old cedar shake siding. See the exact process, videos, and products that saved our New England shingles.
Is your cedar shake siding looking weathered, faded, or downright tired? You’re not alone, and the good news is cedar shake siding restoration is much more manageable than it sounds.
In this post, I’m sharing exactly how we repaired and restored the cedar shake siding on our coastal Maine home after 30 years of salty breezes, harsh winters, and plenty of New England weather. I’ll walk you through what we did step by step, from cleaning and prep to repairing damaged shakes, then staining and sealing so the shingles are protected for years to come. You’ll also see the before-and-after photos that made me do a double-take, because the transformation is that satisfying.

If you’ve been wondering how to restore cedar shake siding on an older home without losing its charm, you’re in the right place. Let’s jump into the cedar shake siding restoration and get your home’s exterior looking fresh again.
| Siding Finish | Maintenance Level | Long-Term Result | Recommendation |
|---|---|---|---|
| Paint | High (Peels & Traps Moisture) | Ruins the wood over time | Avoid completely |
| Stain | Medium (Re-apply every 5-7 years) | Protects the wood fibers | Best for longevity & color |
| Natural Weathering | Low (Let nature do the work) | Turns a gorgeous silver-gray | Perfect for a classic coastal look |

In My Mother’s Maine Home
Step inside our inherited coastal Maine home where antiques, thrifted treasures, and family memories come together. Explore the full series for room-by-room decorating ideas, restoration updates, and the story behind this special place.
Cedar Shake Siding Restoration Basics: What Cedar Shingles Are and Why They’re Worth Saving
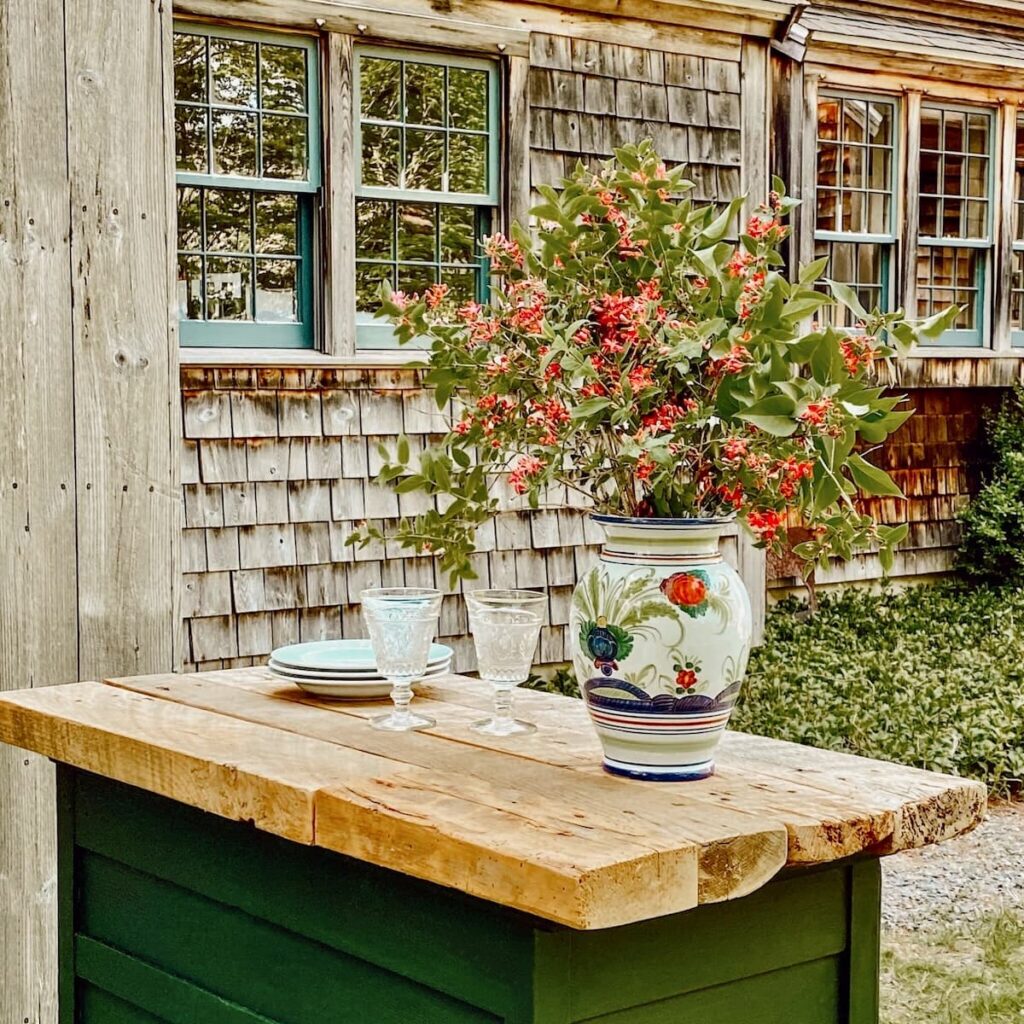
Cedar shake siding is one of the reasons so many New England homes feel instantly warm and timeless. These cedar shingles are wooden shakes, traditionally split from cedar logs, and installed in overlapping rows to create a textured, cottage-style exterior that looks right at home on the coast or in the mountains.
One of the biggest reasons homeowners love cedar is how well it holds up to the elements. Cedar shakes naturally resist moisture and wear, and over time, they develop that soft, silvery-gray patina you see on classic Maine cottages and older coastal homes. It’s part of the charm, and it’s also why cedar shake siding restoration is usually worth the effort instead of rushing to replace everything.
That said, even durable cedar shingles need a refresh eventually. After years of salty air, harsh winters, and humid summers, dirt, mildew, and mold can settle in and dull the surface. You might also spot cracked, curled, or damaged shakes that need repair before you clean or stain.
If your siding is starting to look tired, don’t panic. Cedar shake siding restoration is often a mix of smart cleaning, small repairs, and a protective finish that helps the shingles last longer. Next, I’m sharing exactly what we did on our 30-year-old New England home, step by step, so you can restore the look of your cedar shingles and protect them for seasons to come.

Pro Tip
“Don’t let 30 years of weather fool you, cedar shake siding can come back to life with a little patience and the right touch.”
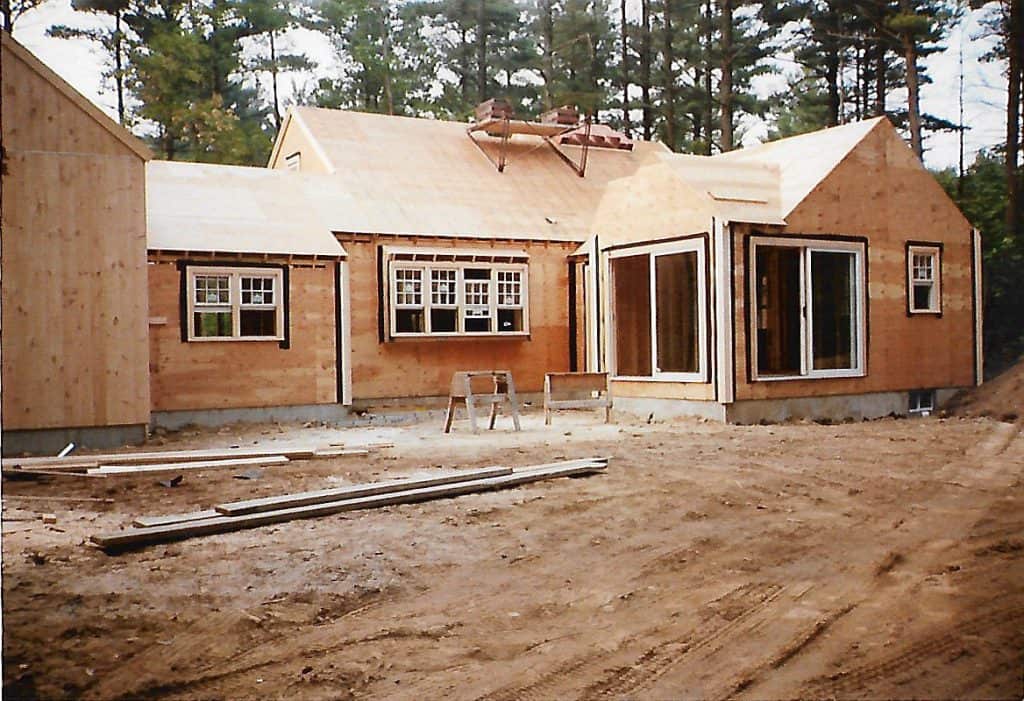
Cedar Shake Siding Restoration on a New England Home: 30 Years of Weathering (Before Photos)
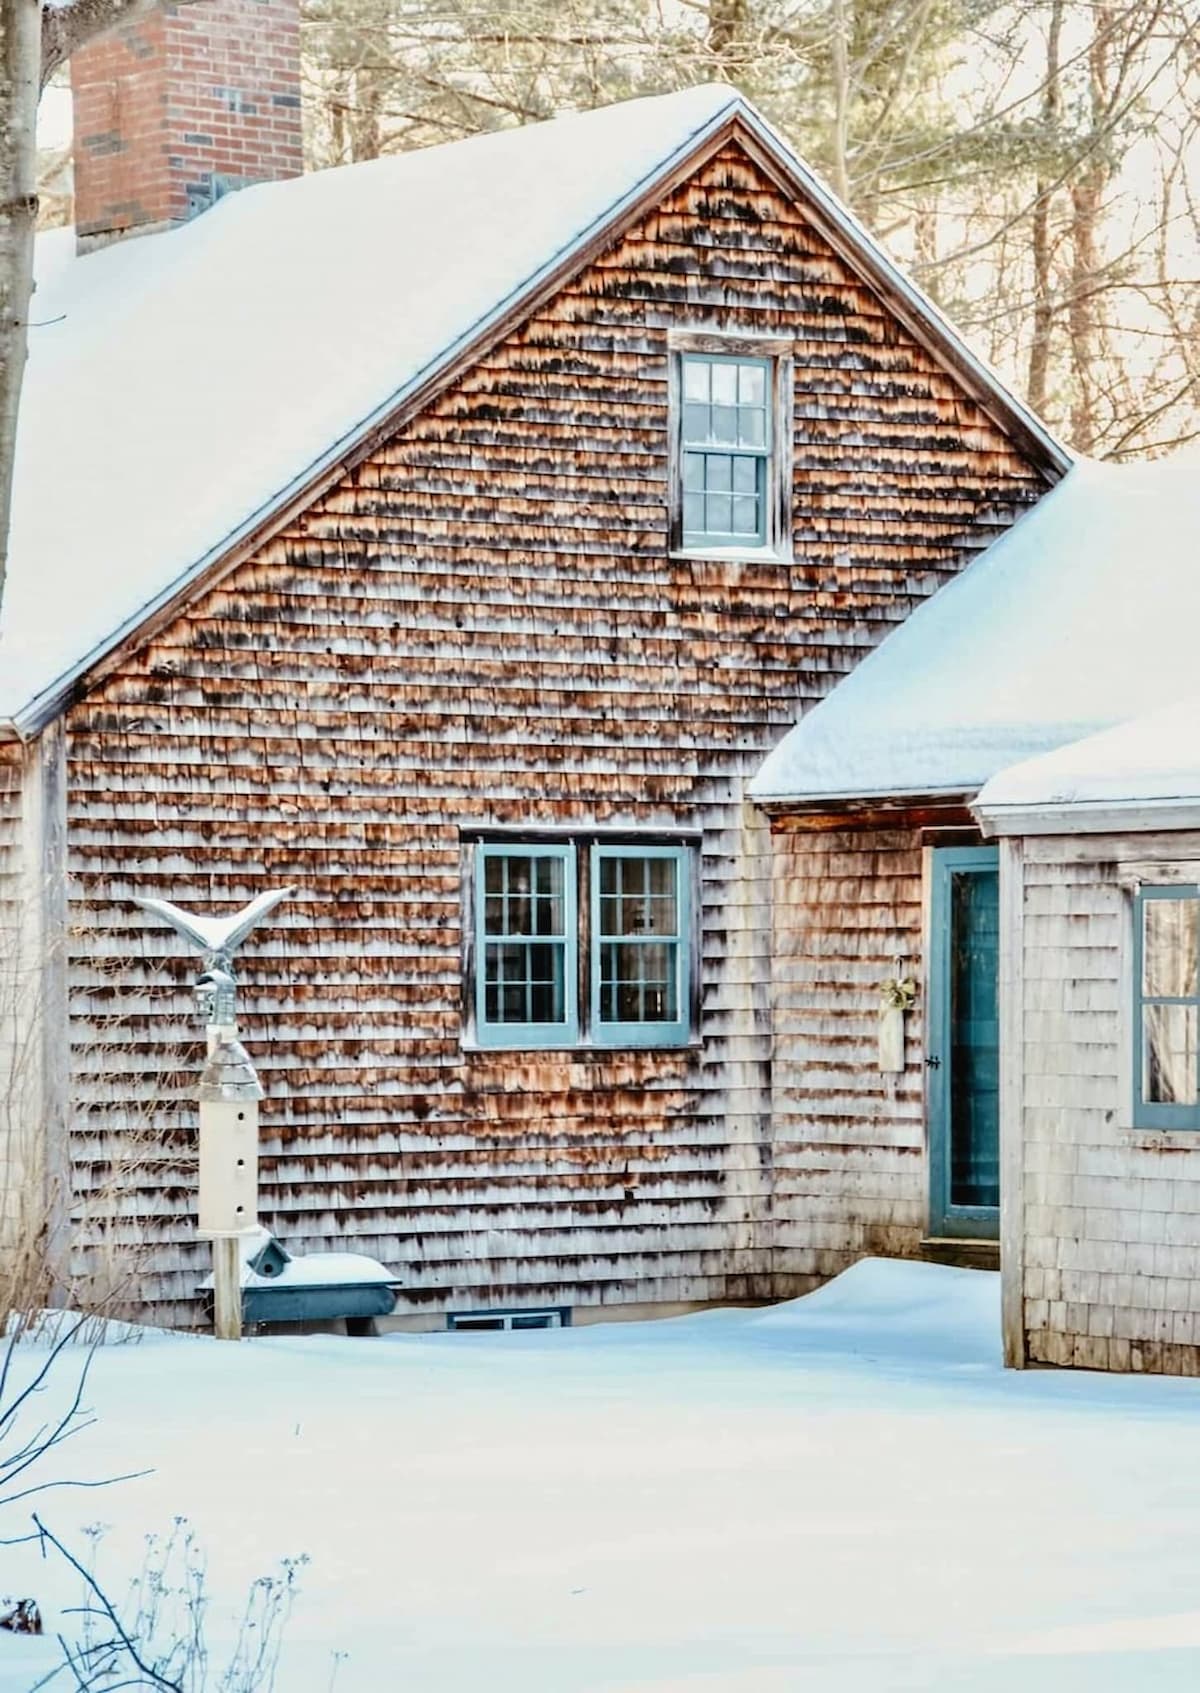
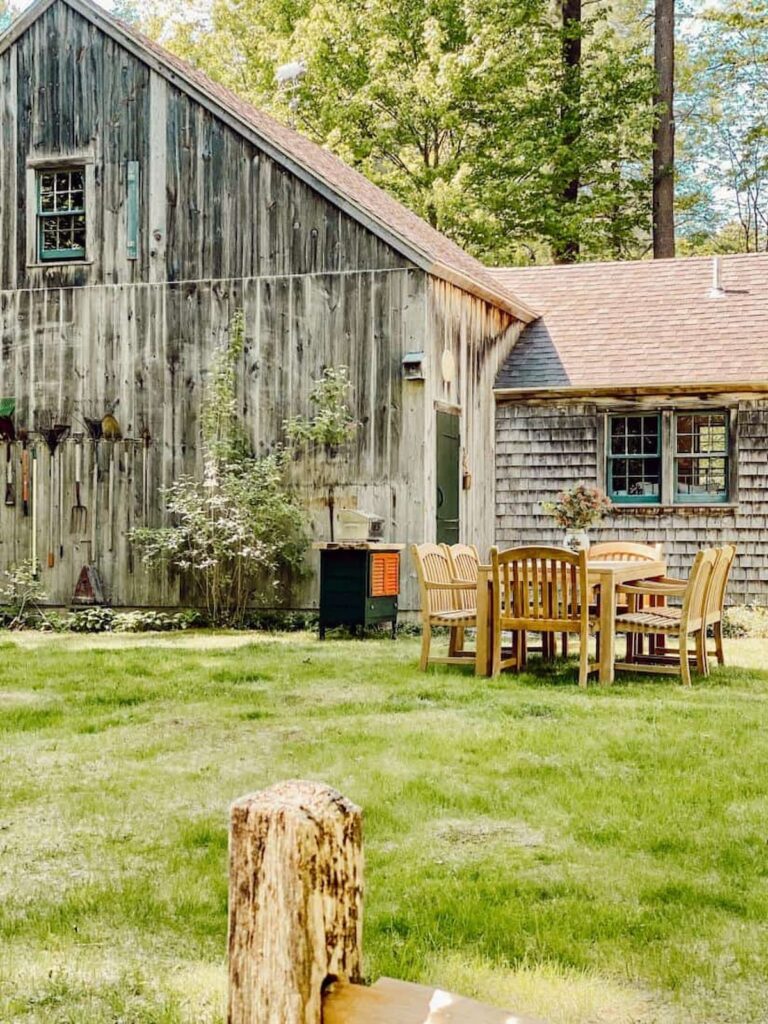
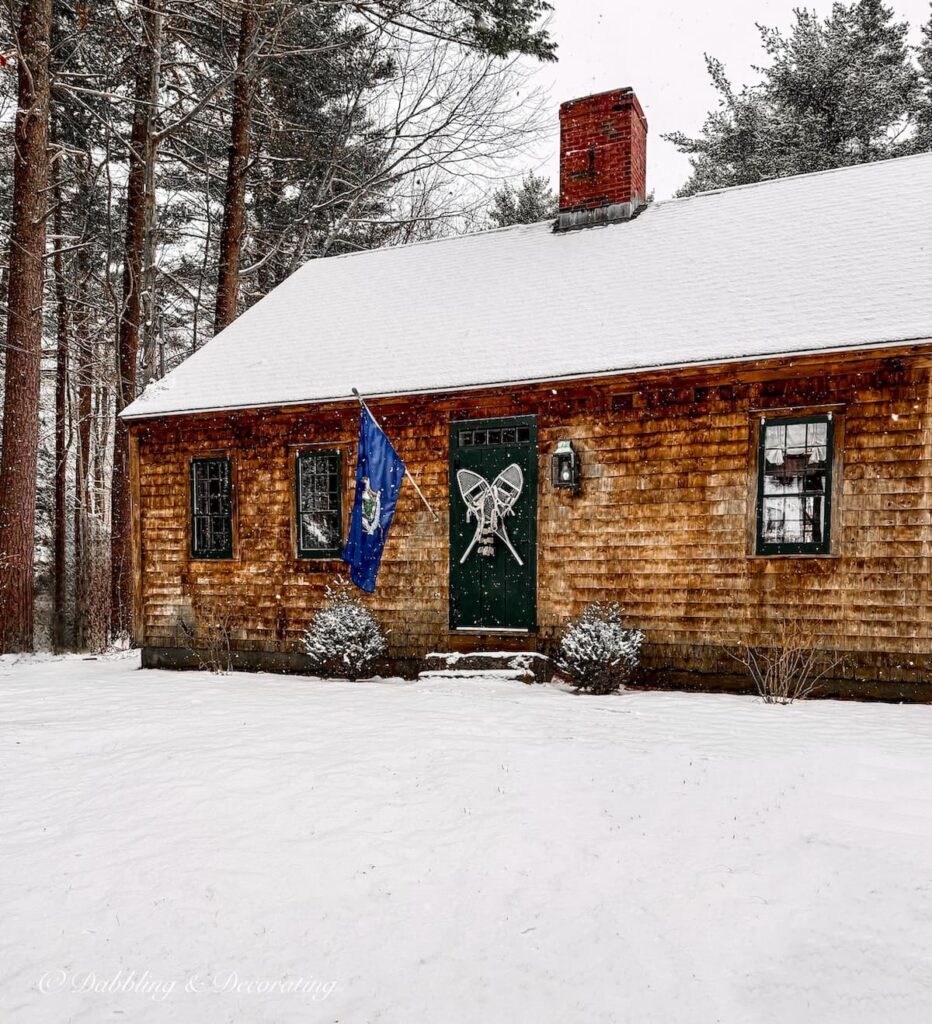
This is where our cedar shake siding restoration story really begins, at our inherited coastal Maine home with 30-year-old cedar shingles that had lived through every kind of New England weather imaginable. Salty ocean air, damp summers, icy winters, and plenty of nor’easters had done what they do best: age the shakes into a rugged, rustic patina that was charming from far away, but clearly ready for some serious TLC up close.
Below is exactly how the cedar shake siding looked when we inherited the house in the fall of 2019. The shingles were weathered and worn, with visible mildew and years of buildup that dulled the natural texture. Looking back now, these “before” photos still surprise me, because I never expected the transformation to be as dramatic as it was.
Recommended REading
Want to learn more about our family’s story here in coastal Maine? Click here to read more in this Coastal Maine Family Heritage | Embracing My Roots post.
And now, here’s the “before” of our cedar shake siding restoration.
Cedar Shake Siding Restoration: How We Cleaned and Revived Weathered Cedar Shingles
By the time we started this cedar shake siding restoration, the shakes had shifted into that flat, tired gray that happens when grime starts to outshine the natural wood. Mildew and buildup had dulled the texture, and the siding had lost that warm cedar tone that makes shingles look so timeless in the first place.
Our goal was simple: clean and restore the cedar shake siding without stripping away its character. I wasn’t trying to make it look brand new. I wanted a refreshed, authentic finish, where the cedar’s natural glow came back through, while still keeping a hint of that classic weathered look that belongs on a New England home.

Pro Tip
A power washer can crack cedar shakes and push water behind the shingles, which can lead to rot or hidden mildew. For cedar shake siding restoration, a garden hose, a gentle brush, and the right wood cleaner are safer ways to get real results without damaging the wood.
And now let’s get into exactly what we did, step by step.
Tools and Materials We Used for Cedar Shake Siding Restoration
Here’s what we used for this cedar shake siding restoration, from cleaning to staining, plus a few basics that made the job easier and less messy:
Tools
Materials
Clean Cedar Shake Siding First: The Most Important Step in Cedar Shake Siding Restoration
Before you stain, seal, or replace a single shingle, cedar shake siding restoration should always start with a careful cleaning. This is the step that removes surface dirt, mildew, and grime so you can actually see what you’re working with, and it helps your next steps (repairs, stain, or sealant) go on more evenly and last longer. The goal is simple: clean the shakes without roughing up the wood or forcing water behind the shingles.
How We Cleaned Cedar Shake Siding Without Damaging the Wood
We kept our approach gentle and cedar-safe. First, we tested a few cleaners in a small, less noticeable area to see how the wood would react. That quick spot test made the whole process feel a lot less stressful, because cedar shingles can vary depending on sun exposure, moisture, and how weathered the siding is.
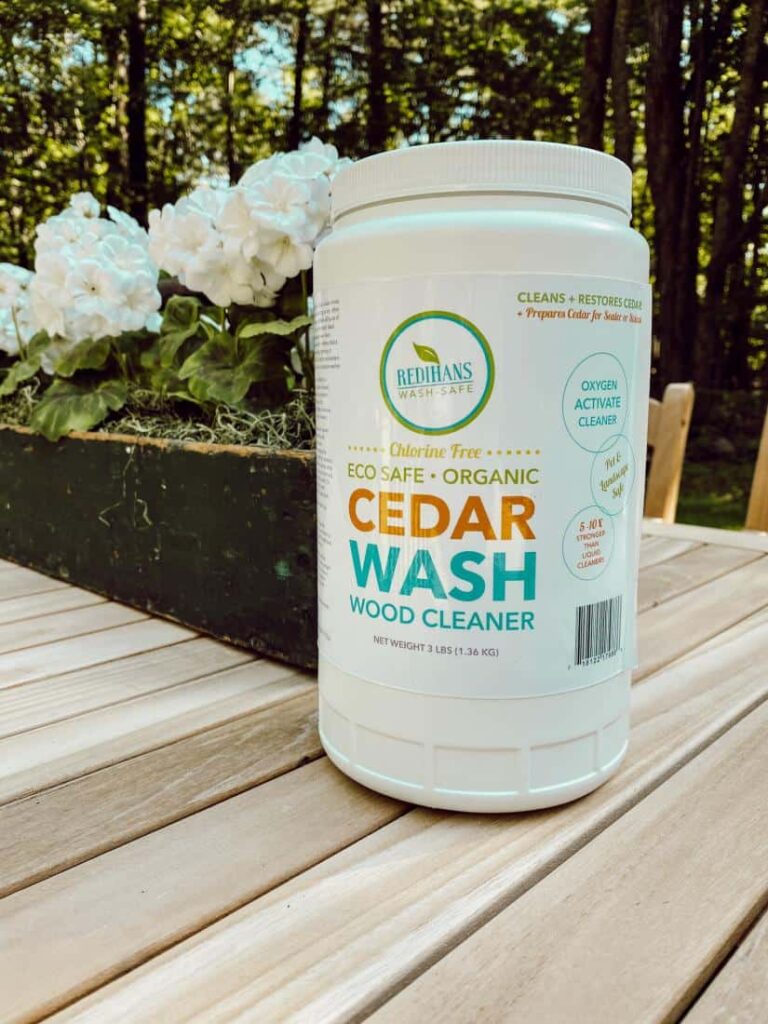
For this cedar shake siding restoration, the cleaner that worked best for us was Redihan’s Cedar Wash Wood Cleaner. It lifted mildew and built-up grime without leaving the cedar looking bleached or dried out. If you’re choosing a cleaner today, look for one made specifically for cedar shingles or exterior wood, follow the label directions closely, and let the product do the heavy lifting instead of scrubbing aggressively.
This post may contain affiliate links, which won’t change your price but will earn us commission.
Next up, I’ll break down the exact cleaning steps we used, from mixing the solution to applying it, letting it sit, and rinsing.
Prep Your Cleaning Solution
For this cedar shake siding restoration, we mixed the cleaner according to the label directions and poured it into a large garden sprayer. If you’re estimating product, we used about four containers total for our two-story Cape. Your exact amount will depend on how porous your cedar shingles are and how much surface area you’re covering, but it helped to have enough mixed and ready, so we could work in sections without stopping.
Spray the Cedar Shake Siding Evenly
Using the garden sprayer, we applied the solution in an even coat over the cedar shakes. Work from one section to the next so you can keep track of where you’ve sprayed, and make sure the shingles look consistently damp with product rather than dripping.
Let the Cleaner Sit
Once sprayed, we let the cleaner sit on the cedar shake siding for about 15 to 20 minutes. This dwell time matters because it gives the cleaner a chance to loosen mildew and grime, which means you’ll need far less scrubbing.
Gently Scrub Without Cracking the Shakes
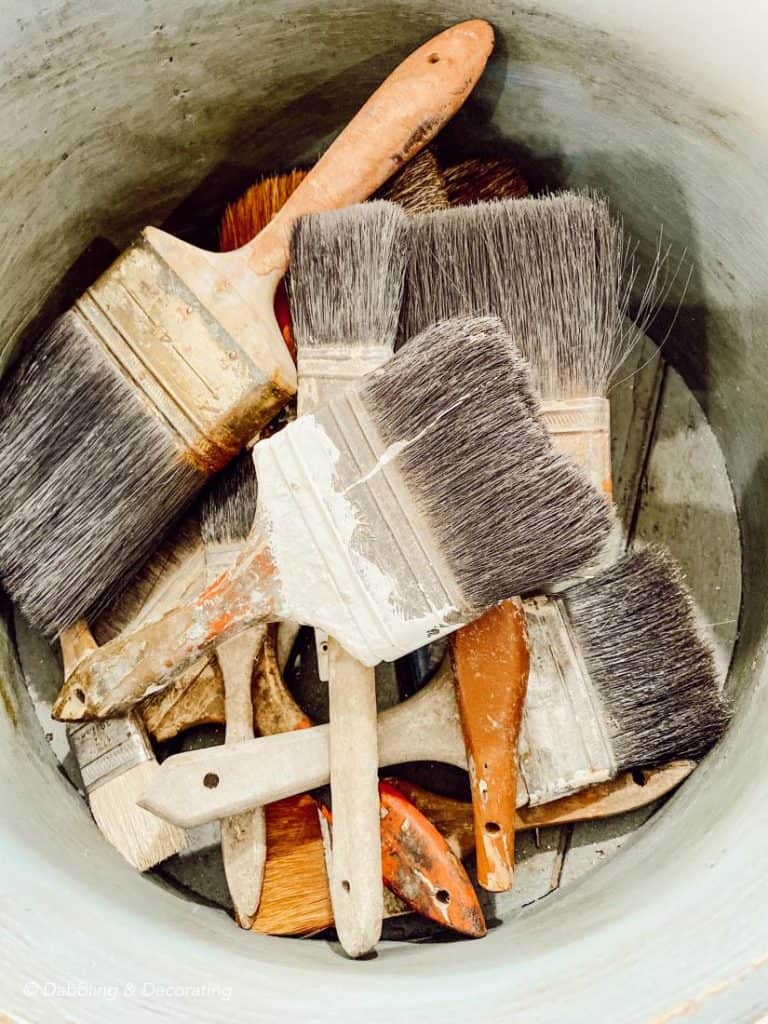
This is where a light touch wins. Using a handled, soft-to-medium brush, we gently scrubbed to loosen stubborn buildup. The goal isn’t to scour the wood, it’s to lift the grime. Pressing too hard can crack or damage cedar shakes, especially on older siding, so think steady and gentle.
Rinse Cedar Shingles with a Garden Hose
After scrubbing, we rinsed everything with a regular garden hose. No power washer. A gentle spray is enough to rinse away the cleaner and the loosened gray film without forcing water behind the shingles.
Watching that gray wash away and the warm cedar tones peek through again was honestly the most satisfying part of the whole cedar shake siding restoration.
Don’t Skip Before-and-After Photos
Take photos before you start and again once the siding is dry. The change can be dramatic, and those photos are not only fun to look back on, but they’re also helpful if you ever need to match stain color later or track maintenance over time.
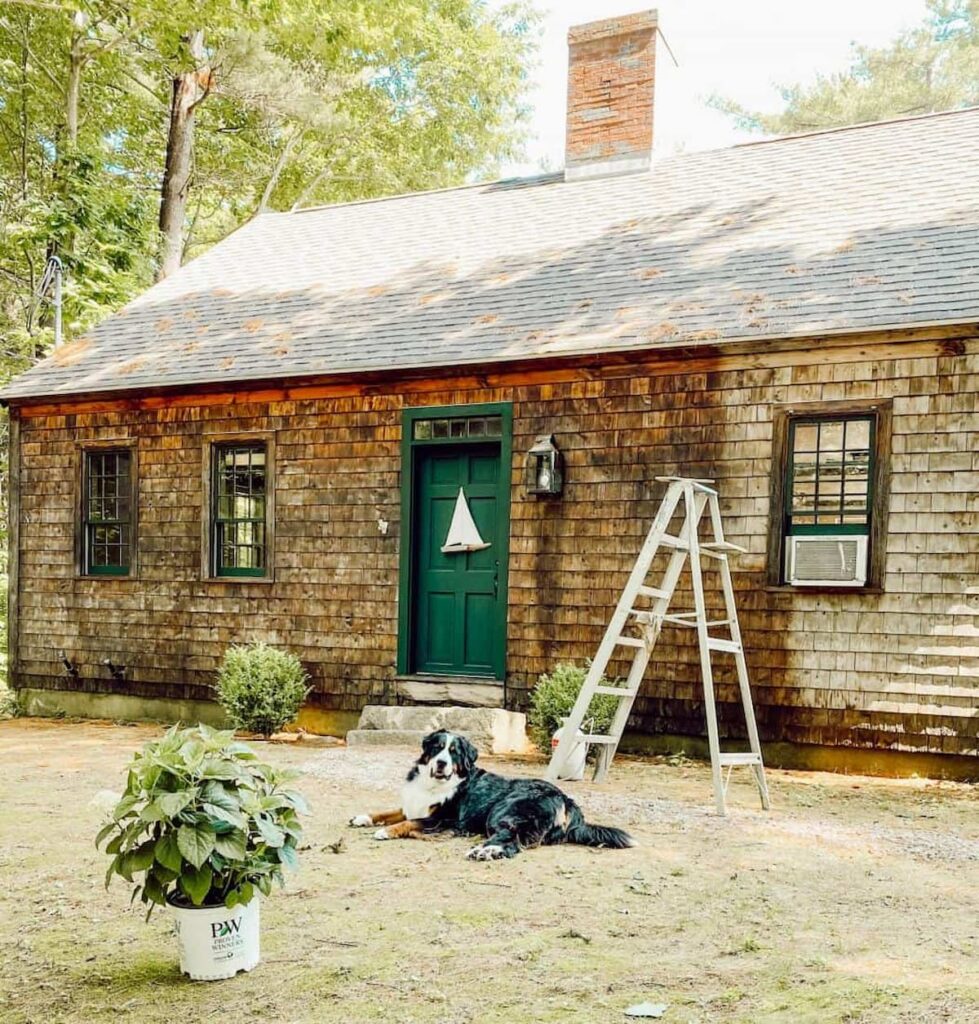
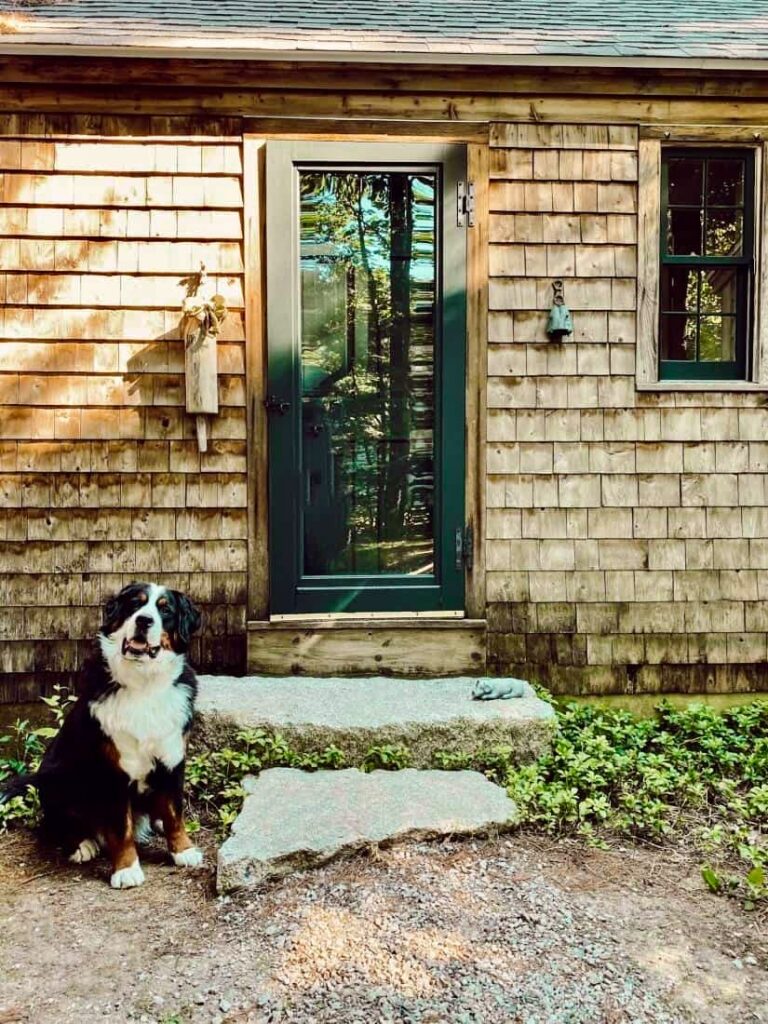
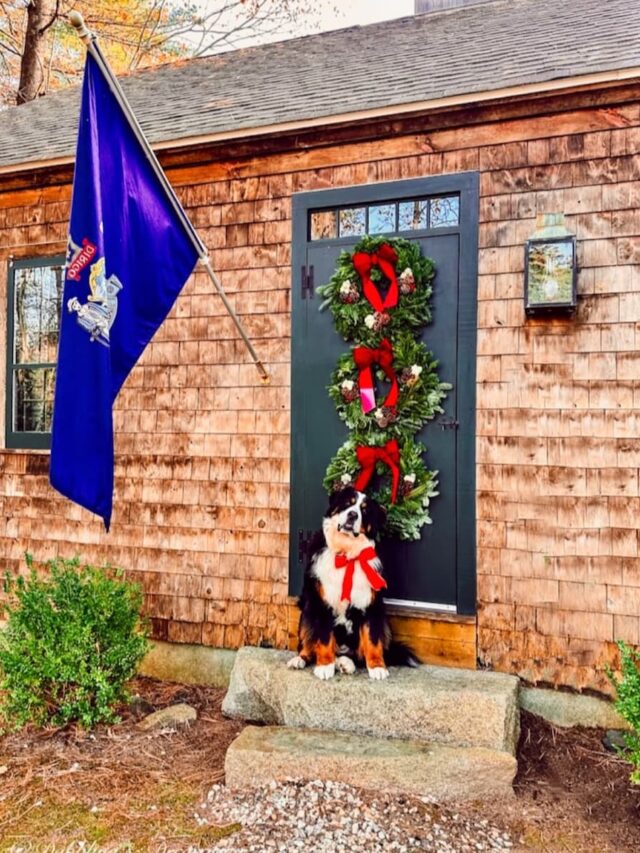
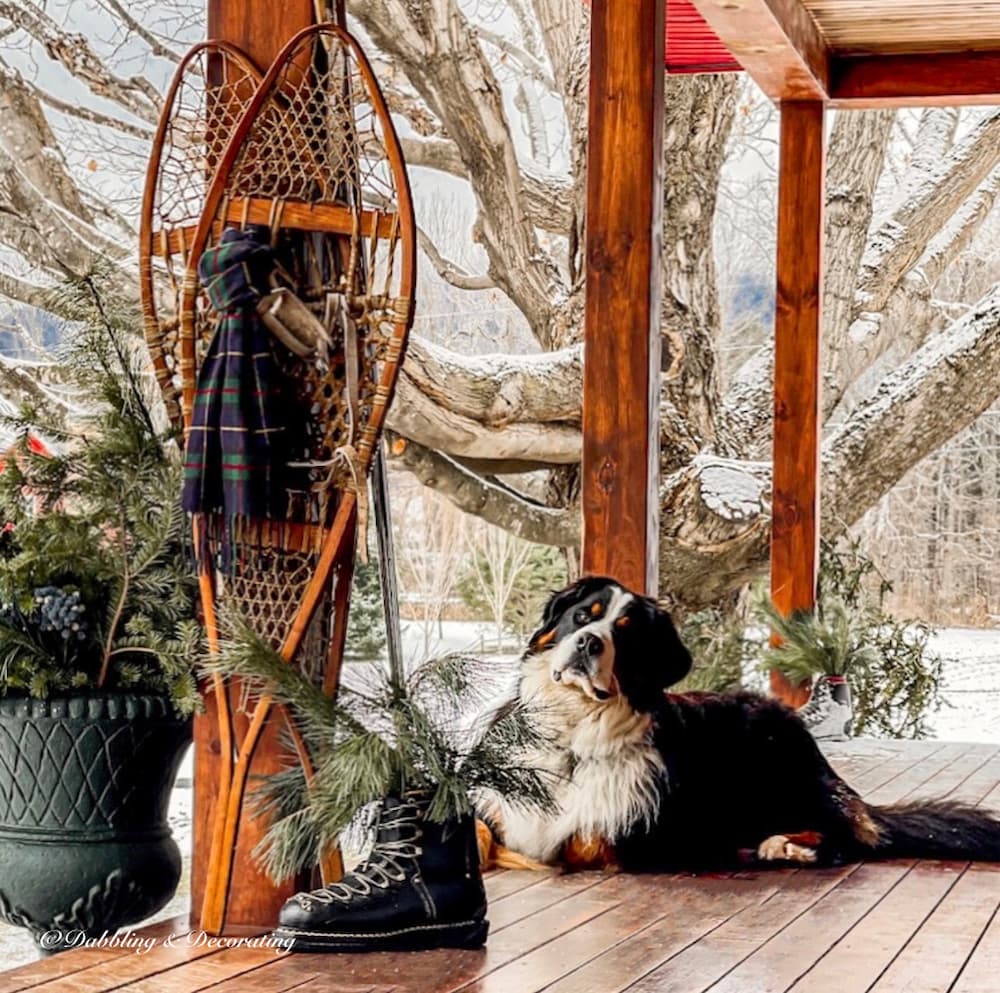
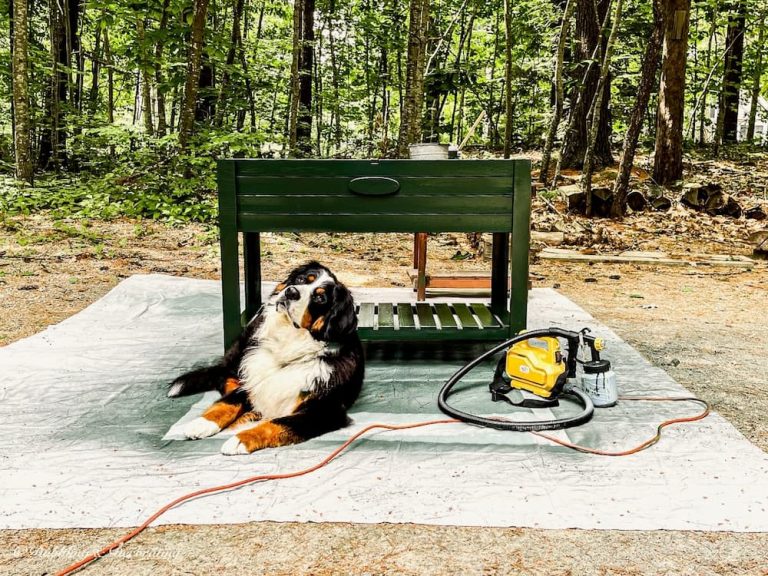
And yes, Ella, our Bernese Mountain Dog, absolutely approved of the big reveal and made sure to pose in front of the clean cedar shake siding like she was on the payroll.
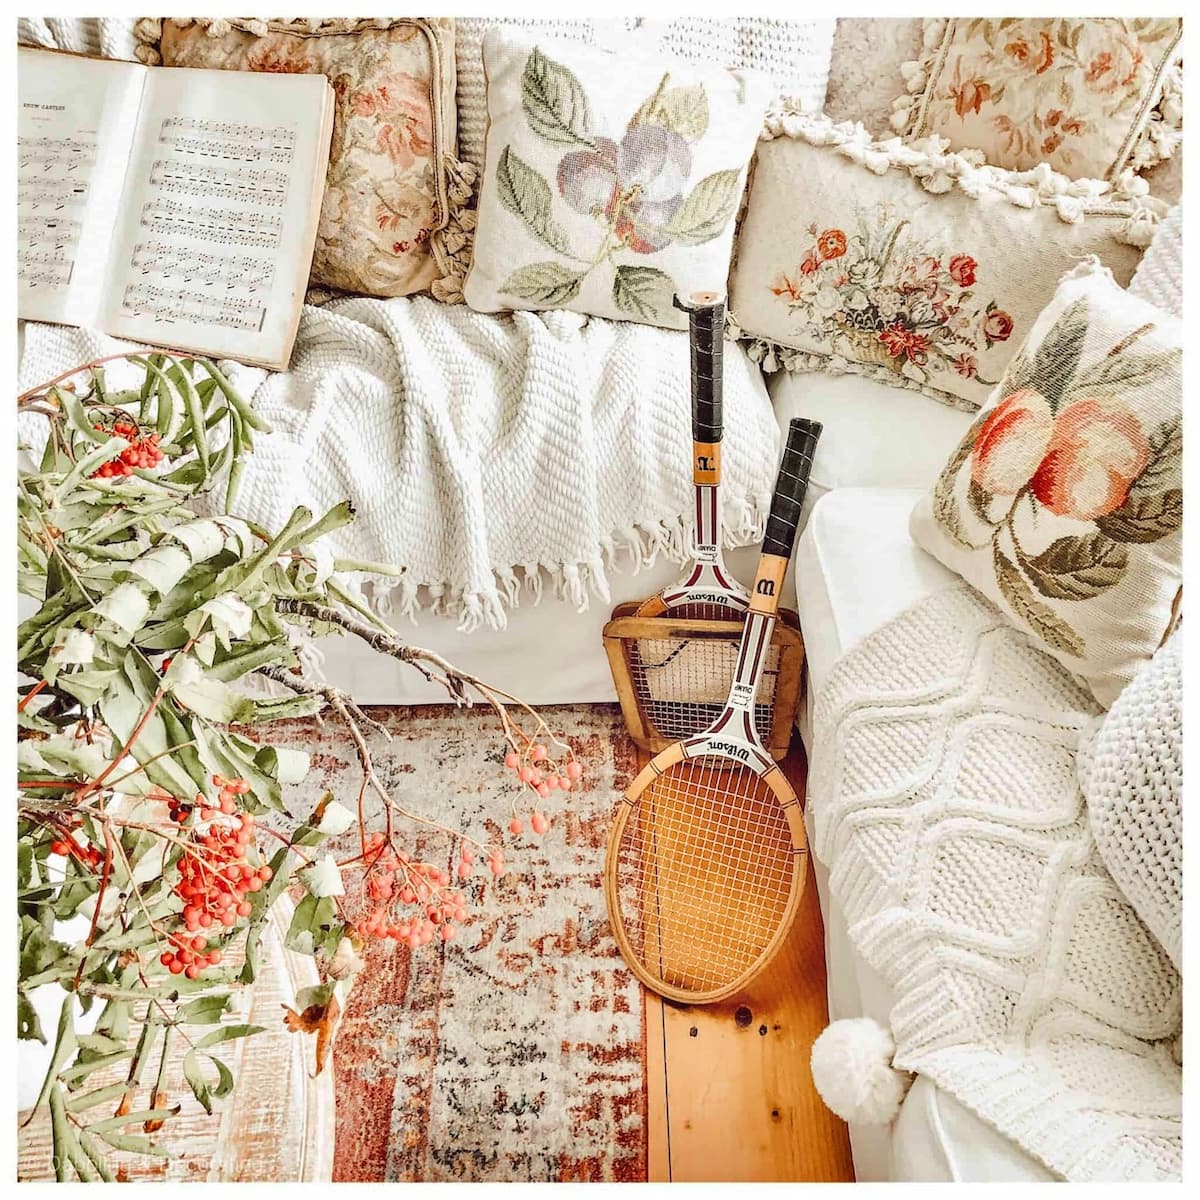
Vintage Coastal New England Decorating Ideas
Looking for vintage coastal decor ideas? Explore timeless New England decorating inspiration, thrifted finds, and creative ways to style your coastal home.
How to Seal and Stain Cedar Shake Siding for Long-Lasting Cedar Shake Siding Restoration
Once the cedar shake siding was clean and fully dry, the next step in cedar shake siding restoration was sealing and staining. This isn’t just the “pretty” step. A quality stain or water sealant helps protect cedar shingles from moisture, UV fading, mildew, and that constant weather exposure that makes siding age faster than it should.
Sealing and staining also let you control the finished look. You can warm the cedar back up with a natural, honey-toned glow, or keep more of that weathered, classic feel while still adding a protective barrier. Either way, the goal is the same: lock in the beauty you just revealed and give your cedar shake siding a finish that lasts.
Choose the Right Sealant or Stain for Cedar Shake Siding Restoration
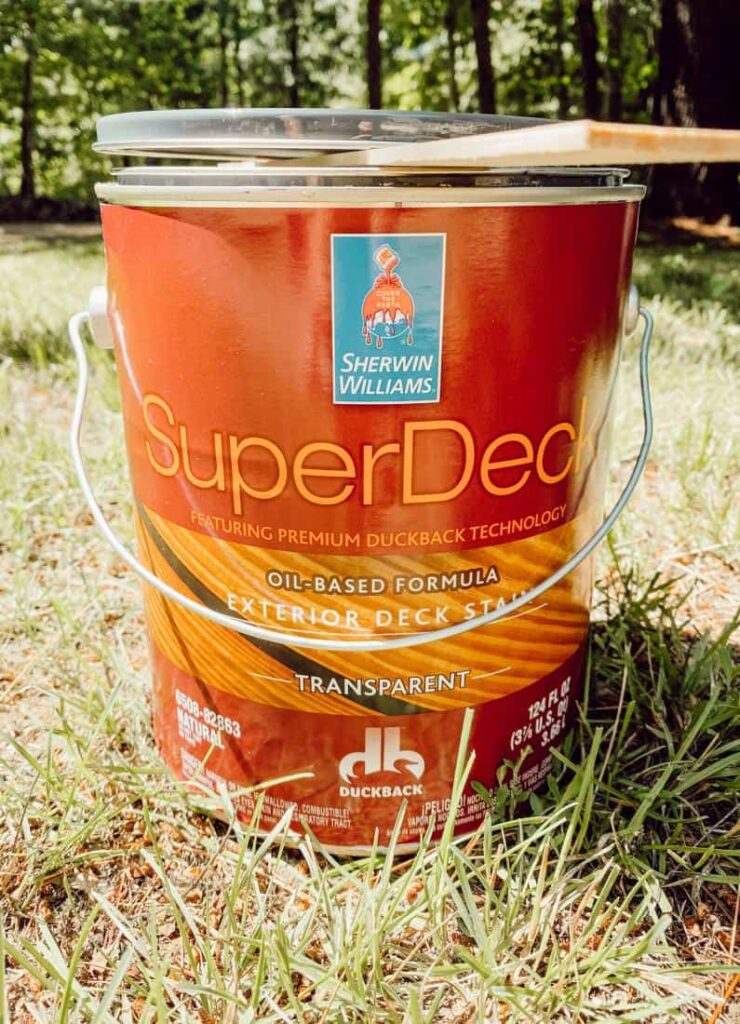
For this cedar shake siding restoration, we wanted a finish that brought back the warm cedar tones without hiding the natural texture and character of the shingles. That’s why we chose Super Deck’s Cedar Transparent Stain. It refreshed the color and evened things out, but still let the cedar grain and that classic, slightly weathered look show through.
Easy DIY Home Decor Projects with Vintage Style
Explore our easy DIY home decor guide with vintage style, using thrifted and repurposed finds. Simple, beginner-friendly ideas to decorate your home with charm.
To cover our full two-story home, we used about 13 gallons total. Your amount will depend on your home’s size, how porous the cedar shingles are, and whether the siding is newer or more weathered, but that gives you a realistic ballpark for planning.
If you’re choosing a product for your own cedar shake siding restoration, look for an exterior stain or sealant made for cedar, check coverage estimates, and spot-test a small area first to make sure you love the tone once it dries.
Here’s how we applied the Cedar Shakes Siding Stain:
Pro Tip
You don’t need to brush every nook and cranny of your cedar shake siding; just a quick pass to prevent streaking and runs. It may seem a bit tedious, but honestly, it goes quicker than you’d think, especially when watching that gorgeous golden cedar tone come back to life right before your eyes.
The Vintage Posts Readers Love Most
Start with the posts readers come back to again and again. These vintage decorating ideas are rooted in New England, styled with thrifted and antique finds, and filled with real-life tips you can use in your own home. Familiar Finds, Styled Your Way.
How to Start a Vintage Booth: Tips, Display Ideas, and Lessons Learned
Eclectic Decorating Style Guide: How to Layer Vintage, Antique, and Thrifted Decor
9 Vintage Booth Displays That Made Me Stop (And What You Can Learn From Them)
Scandinavian Spring Homes: 10 Light and Airy Cottage Tours to Inspire
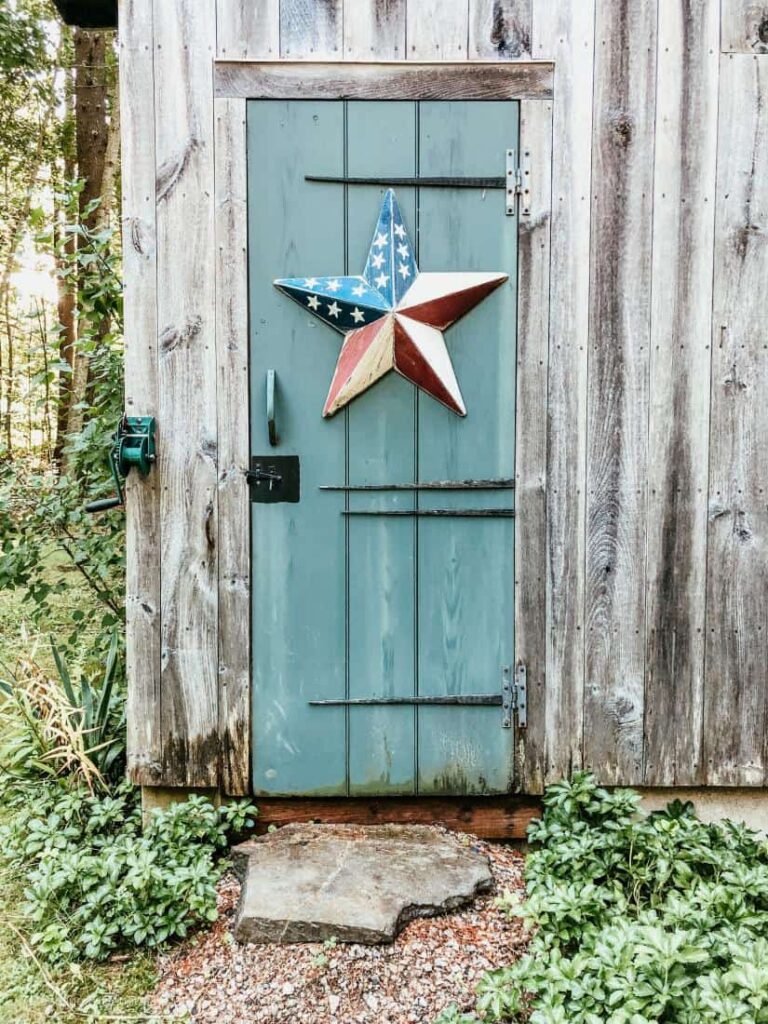
Beyond the Flag: What to Look for in Antique Stores for Heritage Americana Decor
Cedar Shake Siding Restoration: Our 30-Years-Later Restoration Results
One of the best parts of cedar shake siding restoration is that the finish doesn’t stay frozen in time. Once the siding is cleaned, restored, and protected, the cedar shingles continue to age naturally, shifting with the light, the seasons, and the weather in a way that looks authentic, not overly finished.
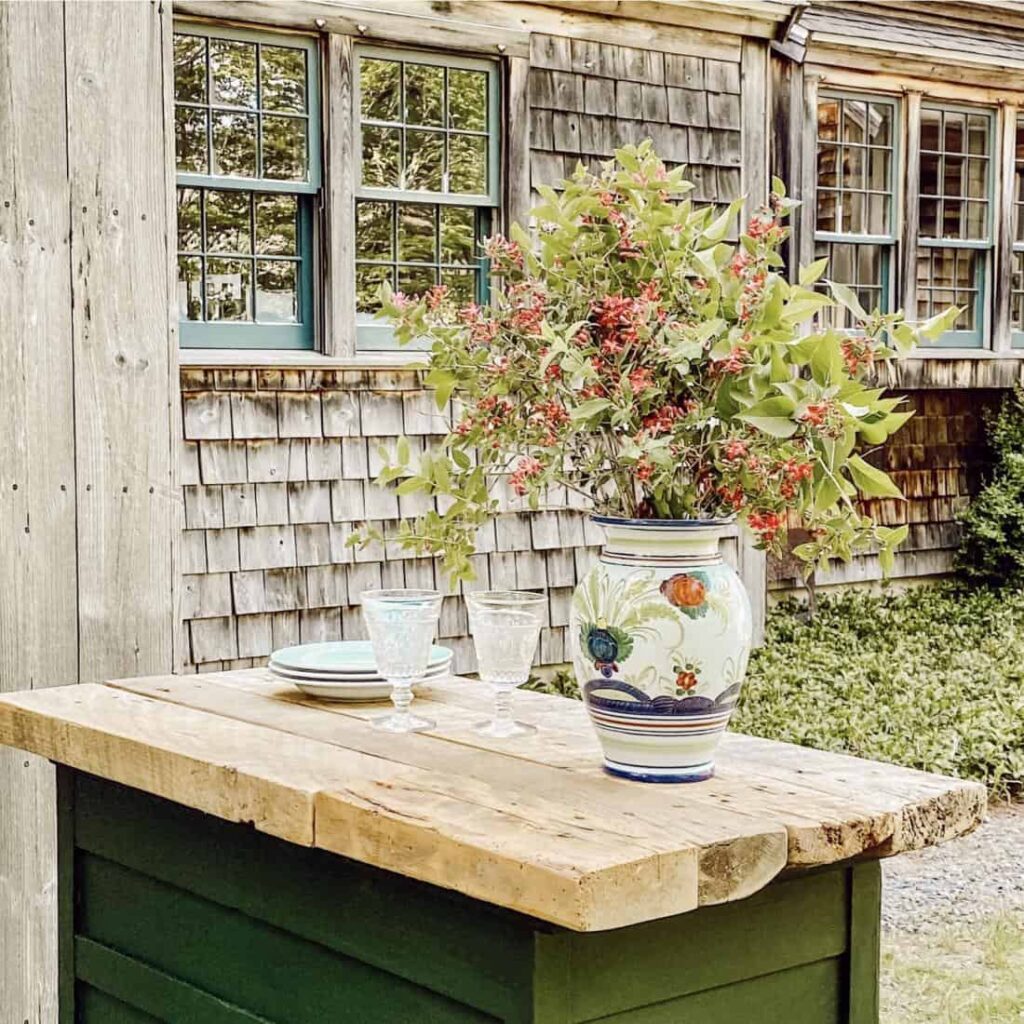
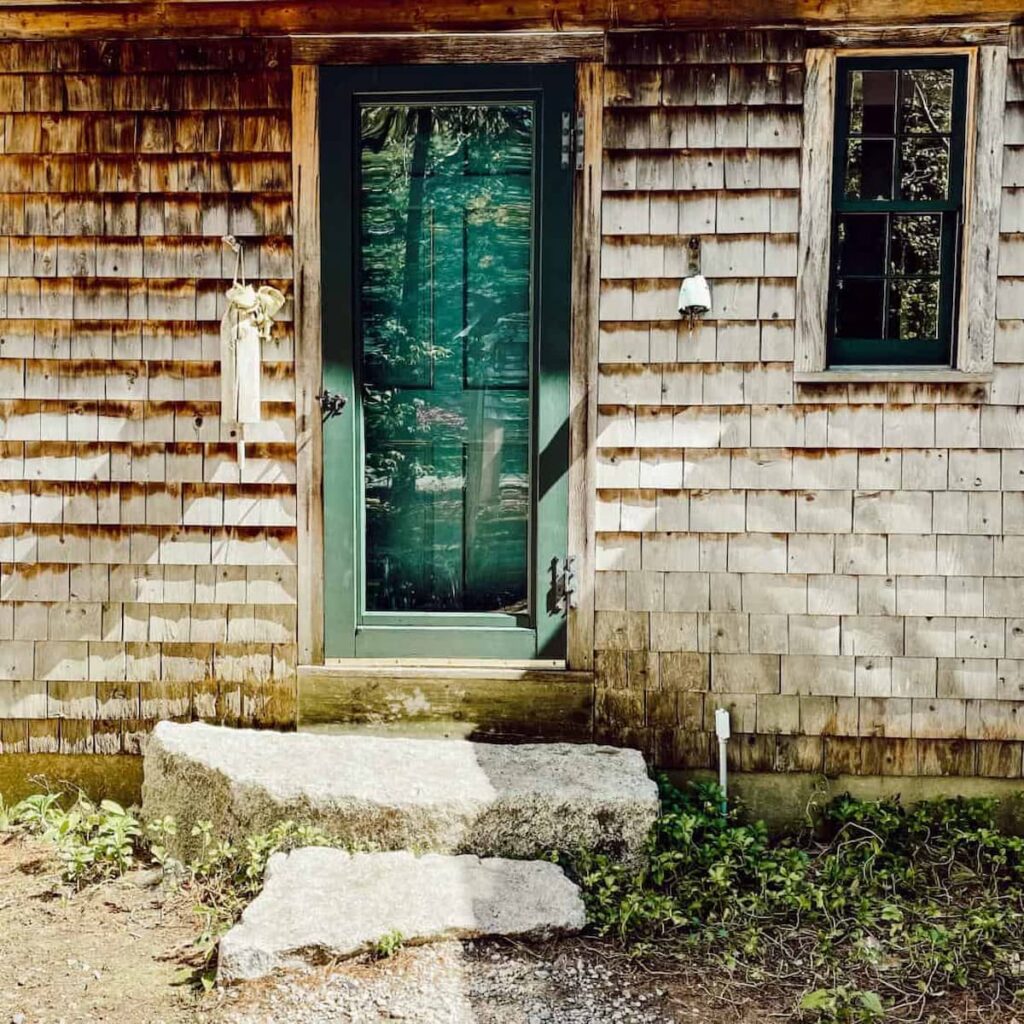
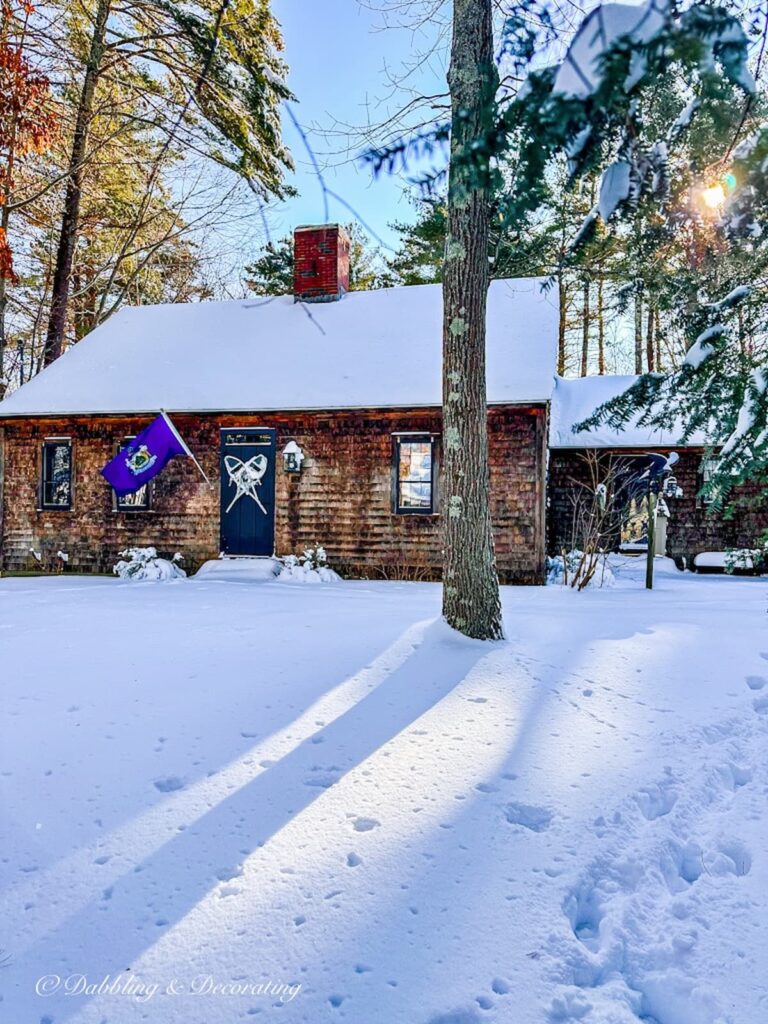
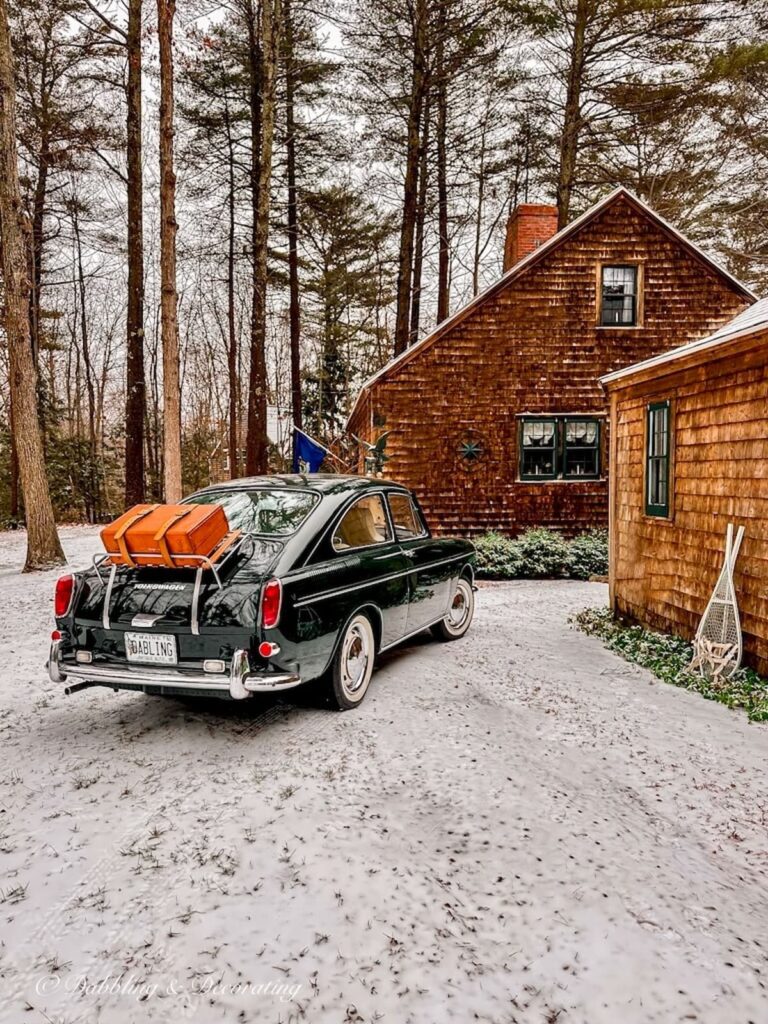
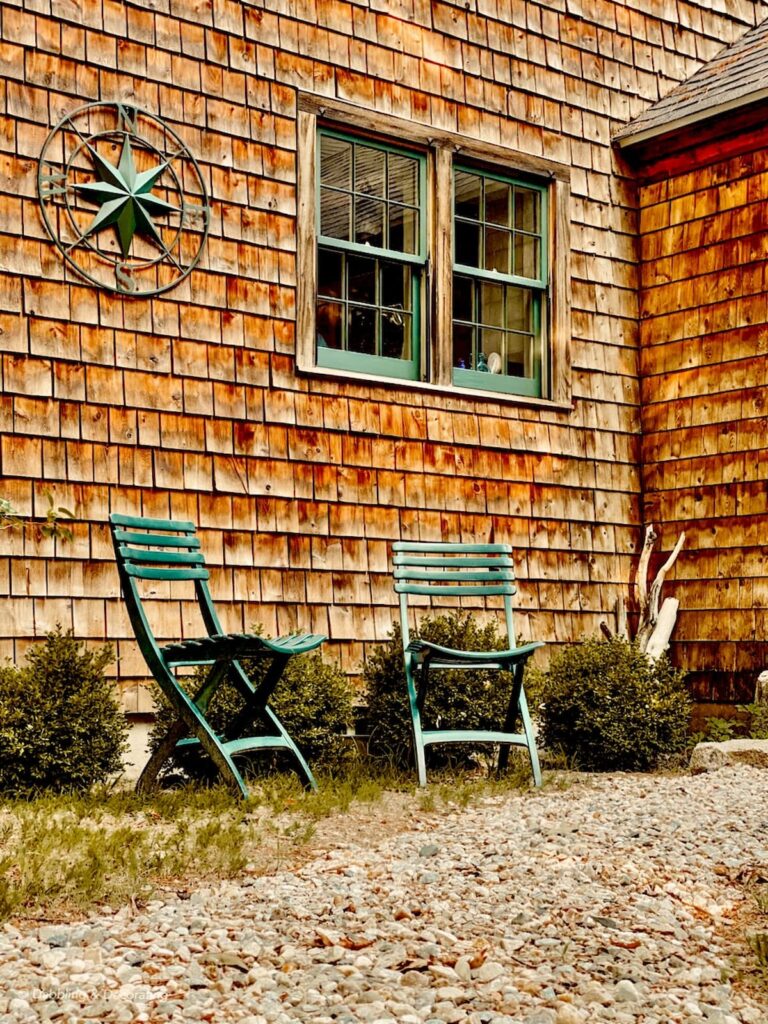
Right now, our restored cedar shake siding has settled into a warm, weathered glow. In bright sun, the shingles read more honey-toned and golden. On foggy mornings or snowy days, the color deepens into a softer, moodier patina that feels perfectly at home on a New England exterior. That subtle variation is exactly why I love cedar; it evolves, and it keeps its character.
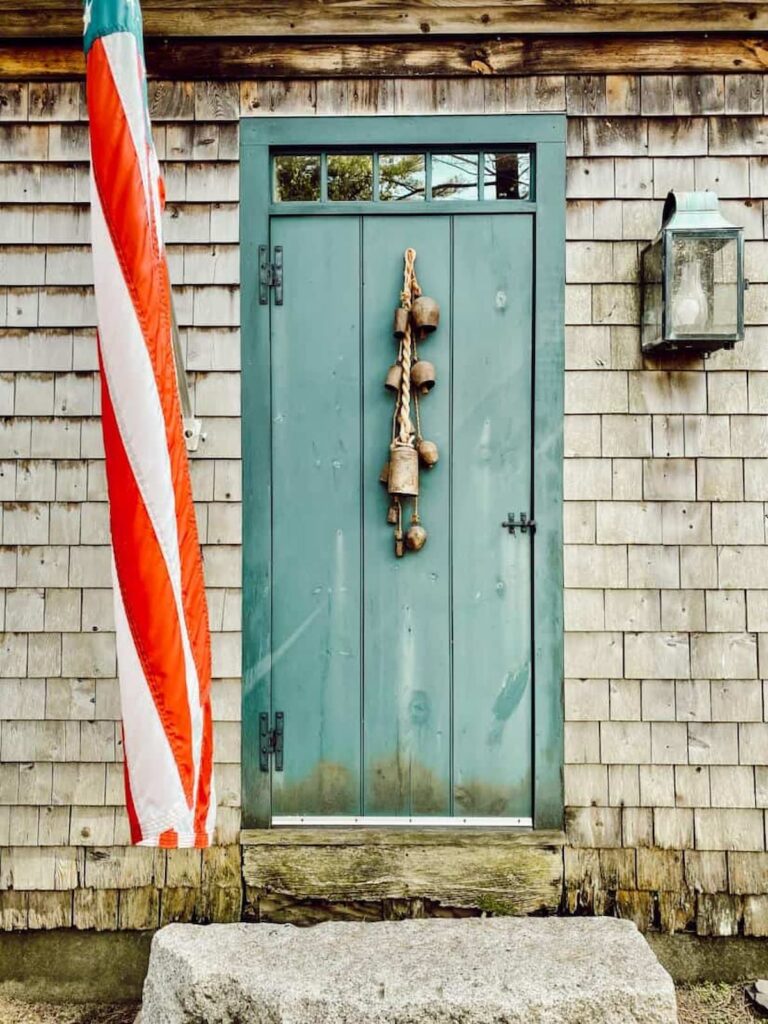
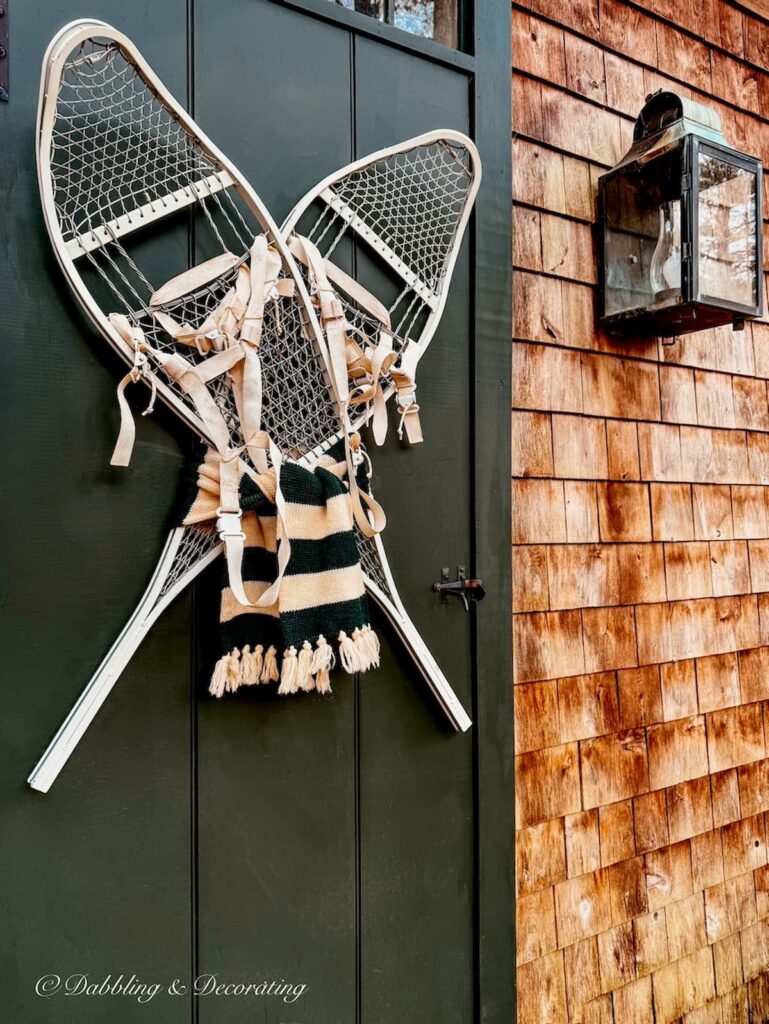
After completing our cedar shake siding restoration, we also refreshed the trim in Essex Green, a classic historic color that pairs beautifully with cedar. The deeper green adds contrast and gives the house a crisp, finished look while letting the natural texture of the cedar shake siding stay front and center.
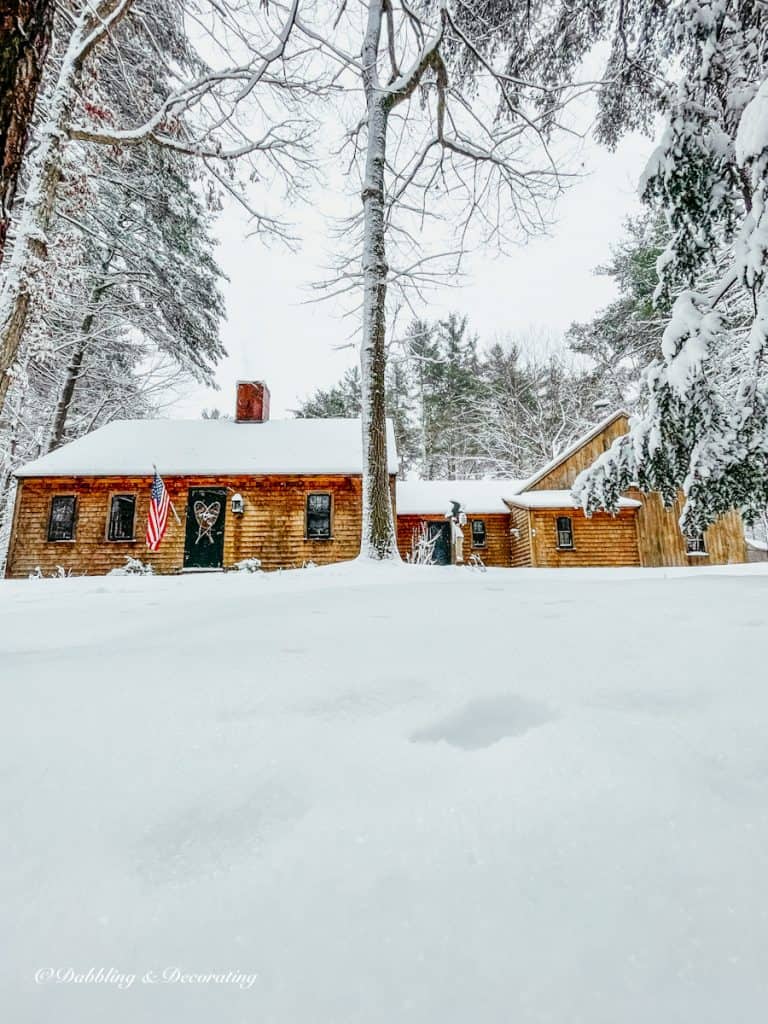
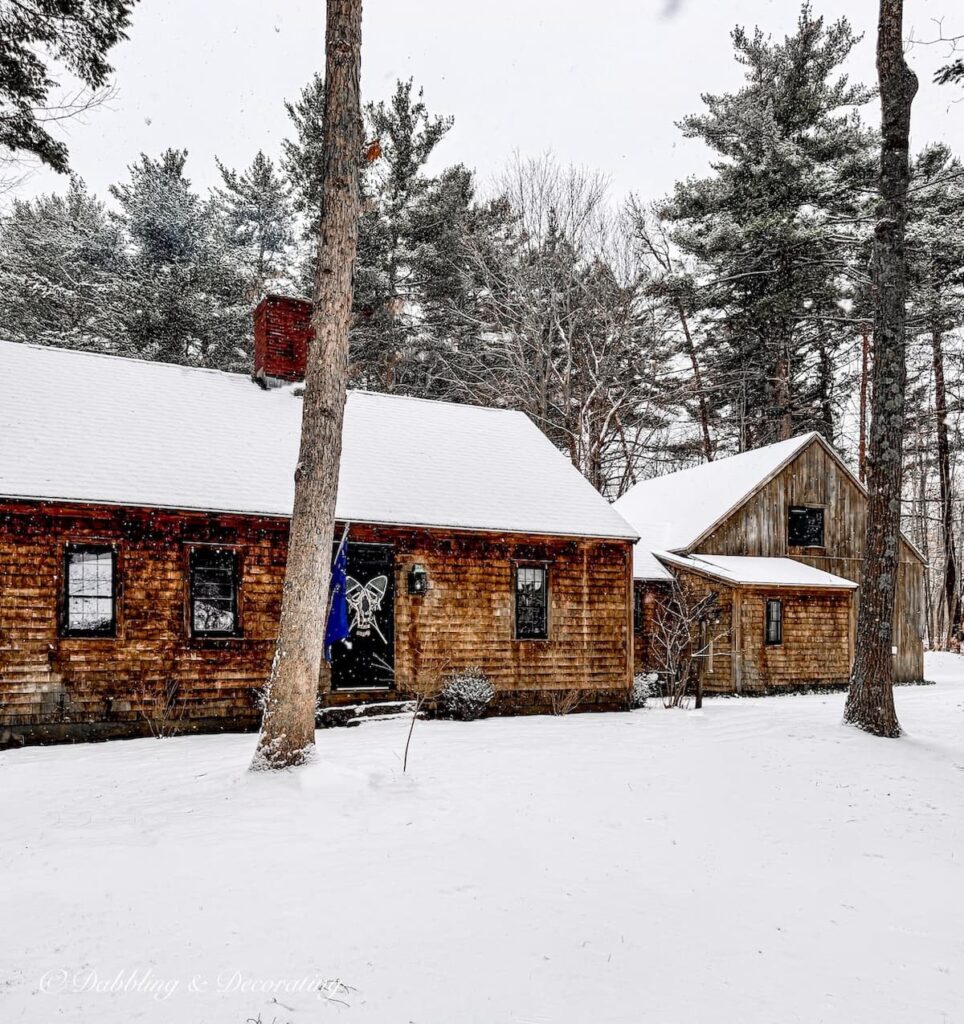
In the video below, you’ll see the restored cedar shake siding in winter after a fresh snowfall, which is such a great way to see how the color and texture hold up through real-life seasons.
In the bright sun, the siding reflects a warm, honeyed tone that pops against the landscape. On misty mornings or snowy afternoons, it deepens into a more moody, charcoal-gray patina, an ever-changing palette that adds so much charm and character to this 30-year-old home.
The Secret Cupboard: Vintage Decorating Ideas Readers Love Most
Peek inside The Secret Cupboard, a cozy collection of vintage decorating ideas readers love most. Filled with thrifted finds, styled corners, and quick home inspiration.
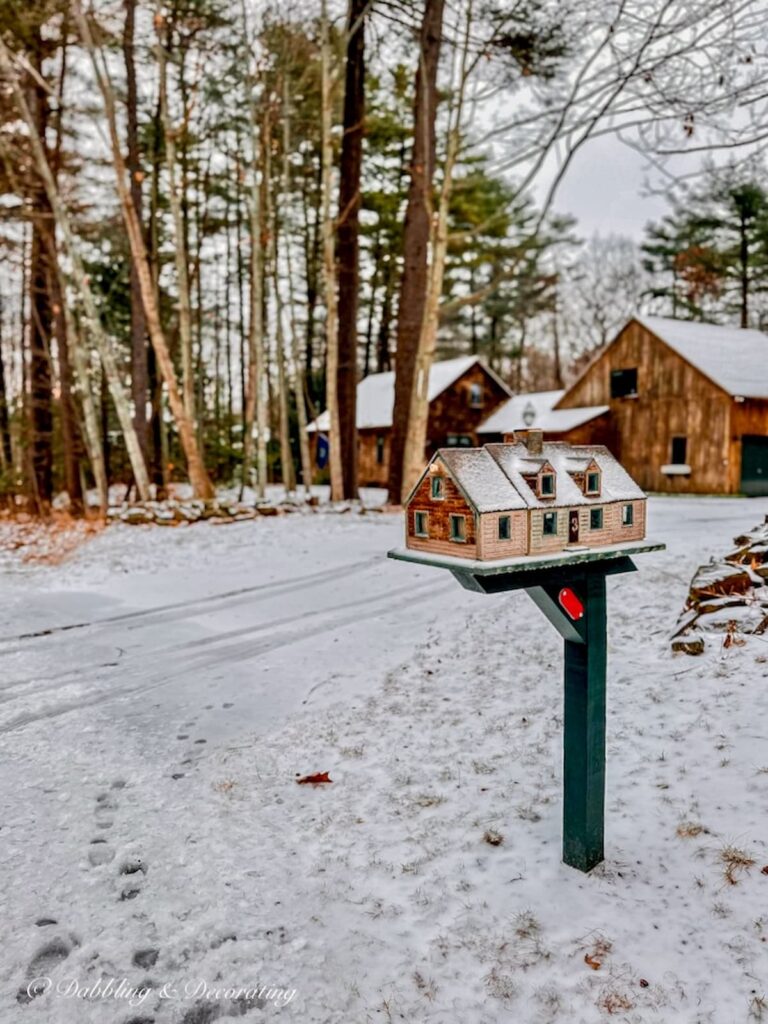
Recommended Reading
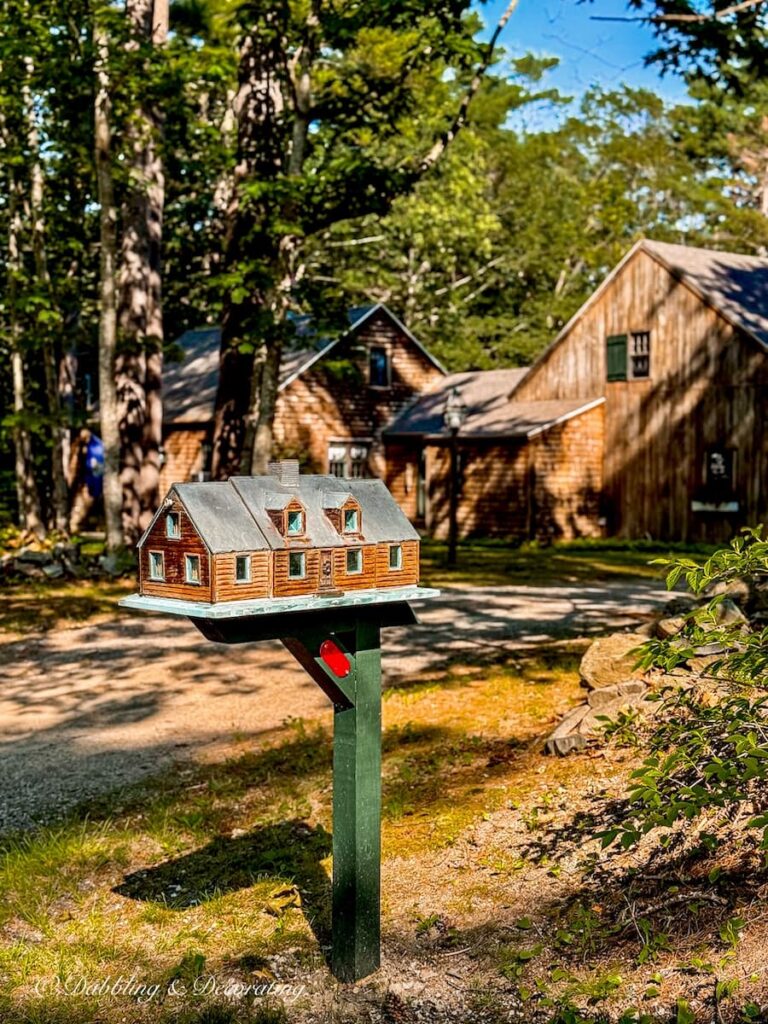
Wait until you see this fabulous mailbox I found that matches our home with cedar shake siding in this Cedar Shake Mailbox Inspiration and Installation for Major Curb Appeal post.
Vintage Home Decorating Guides and Styling Inspiration
Are you curious about vintage decor but don’t know where to start? These cornerstone guides are packed with seasonal styling tips, how-tos, and inspiration to help you confidently decorate with charm and character.
Cedar Shake Siding Restoration Checklist: Quick Steps to Clean, Repair, and Protect Cedar Shingles
If you’re skimming this post and just want the quick roadmap, this cedar shake siding restoration checklist pulls the entire process into simple, repeatable steps. Use it before you start, and again as you go, so you don’t miss a thing (especially the dry time, which matters more than you think).
Restoring the cedar shake siding on our 30-year-old coastal Maine home was one of the most rewarding DIY projects we’ve taken on.
With the right tools, natural cleaners, and a bit of elbow grease, we brought back the warm, rustic charm of the original shakes while protecting them for years to come.
A New England Guide to Vintage Ski Lodge Decor
Love cozy winter charm and antique alpine finds? Don’t miss our Vintage Ski Lodge Decor Guide, where I share nostalgic winter decorating ideas, vintage ski gear styling, and charming pieces inspired by Vermont’s snowy mountain life.
Cedar Shake Siding Restoration: What I’d Do Again (And What I’d Do Differently)
If you’re staring at weathered cedar shingles and wondering if your home has crossed the point of no return, I’m here to tell you it probably hasn’t. Cedar shake siding restoration is one of those projects that looks intimidating at first, but once you break it into steps, it becomes completely doable. Especially on a New England home that’s been through decades of sun, wind, salt air, snow, and all the moody weather in between.
What surprised me most about restoring our cedar shake siding after 30 years was how much life was still hiding under all that gray, tired wear. With the right prep, a little patience, and regular maintenance moving forward, the “before” can turn into a pretty incredible “after.” And the best part is you’re not just making it look better, you’re helping protect your home’s exterior for the long haul.
If you’re planning your own cedar shake siding restoration, my best advice is this: take your time on the cleaning and prep, follow the product directions exactly, and don’t skip the maintenance plan once it’s done. A little upkeep each year beats another big restoration project later.
If this post helped you map out your cedar shake siding restoration, save it for later, pin the before-and-after photos for reference, and leave a comment below with your biggest question. I’m happy to share what worked for us, what I’d avoid next time, and how we’ve kept our cedar shingles looking good season after season. And if you’re tackling your own project, I’d love to hear where you’re located and what your cedar siding is up against, because New England weather definitely has its own opinions.
If your cedar siding is looking tired and gray, it might just need a little love to shine again.

Frequently Asked Questions About Cedar Shake Siding Restoration
The best way to restore cedar shake siding is to clean it with a gentle wood cleaner, sand any rough or damaged areas, replace broken shingles, and apply a high-quality stain or sealant to protect the wood from moisture and UV damage.
It’s recommended to stain or seal cedar shake siding every 3 to 5 years to keep it protected from weathering, mold, and UV rays, depending on your climate and sun exposure.
Yes, but use a low-pressure setting to avoid damaging the soft wood fibers. A pressure washer set below 1,200 PSI can effectively remove dirt, mildew, and old finishes without splintering the cedar. However, this isn’t something I would recommend, as I mentioned above in this post.
Signs your cedar shake siding needs repair include cracked, curled, or missing shingles; excessive mold or mildew; soft or rotting wood; or a faded, patchy stain that no longer repels water.
Use an oil-based, penetrating stain or sealer specifically formulated for cedar. Look for products with UV inhibitors to preserve the wood’s color and protect it from sun damage.
Have a cedar shake siding home of your own? I’d love to hear how you’ve cared for it! Drop a comment below or tag me on Instagram with your restoration story.
If you’re working on cedar shake siding restoration or tackling another exterior refresh, these posts are a great next step. They’re all DIY-friendly, New England home-focused, and full of the little lessons learned that make projects like this feel way more doable.


Join the Vintage Circle — Familiar Finds, Styled Your Way™
Love vintage treasures, thrifted gems, and a home that tells your story? Leave a comment, share this post with a kindred spirit, or head to my Start Here page to explore more. Want fresh prompts and timeless ideas? Subscribe to join our Seasonal Vintage Decor Styling Challenge for weekly inspiration and behind-the-scenes peeks.
Pin forLater!


You mentioned the lower shakes needed to be replaced. How did you do that and did the new ones look weird against the old shingles?
I have the similar problem (the lower cedar trim and ~2 layers of shingles are rotting or too far gone and need replacing) and I am considering replacing these lower layers with stone instead….just not sure how it will work. Any suggestions would be appreciated!
I have yet to replace them Gena and I understand it’s not easy. It hasn’t been a huge priority for us just yet, but we will need to tackle this soon, maybe this summer. I’ll keep it updated here on the blog as we go, I hope you’ll keep joining me and let me know what you decide to do as well. Happy New Year!
You have a great article about your awesome cedar shake restoration project. I’m in the same boat and wanted to test out some different solutions for my own house. We tried several solutions and settled on Redihan’s Cedar Wash Wood Cleaner. It’s eco-safe and organic.
Thank you kindly and I’m glad you liked it as much as we did!
Thank you for giving us a direct and straight to the point answer! It greatly helped in clearing our confusion.
We live in Maine and are going to try to use this technique on our camp. I love the green color on your trim. I have tried 2 different colors and they are not what wanted. Do you know the name and brand of your green trim?
I’m so glad you like it Colleen. Yes it’s an Essex Green a historical green color. It’s beautiful in person. I have a post about it here https://www.dabblinganddecorating.com/beautiful-essex-green-coastal-house-trim/
Beautiful! What a difference blood, sweat and tears together with a big dollop of elbow grease and a whole lot of love has gone into this amazing transformation. Can I please come and live with you
Thank you so much, Jenny! My husband will love hearing this. It was definitely all well worth it, a labor of Love.
I had never known that these roofs can be restored, so I’ll keep them in mind. Thank you for all your helpful information about caring for cedar shingles and applying them properly.
It wasn’t the roof that we restored, but the cedar siding as an FYI. I’m so glad you liked it though! Thanks for stopping by!
What manufacturer/color roof do you have? I need to replace my roof and am struggling with choosing a manufacturer and color! We have the same exterior as yours, which looks beautiful, BTW! Great job!
We used to have cedar shakes on the roof, but my dad replaced it about 10 years ago with asphalt shingles. I don’t know the exact color but they are like a gray to light black. I hope this helps… I have no idea about the manufacturer, unfortunately.
Thank you. Love the home. Looking for information as we have a cedar shake home and it requires some attention. We are in Ontario,Canada,and the cedar shakes have been stained twice since the build in 1971. We would like to stain dark this time around. Any information, knowledge or useful tips would be greatly appreciated. Again thank you for the blog and info.
Thanks for stopping by Alison. Everything I know I put into this blog post. We didn’t have any stain on our shakes to strip, just the weather from over the years. Best of luck to you my friend!