

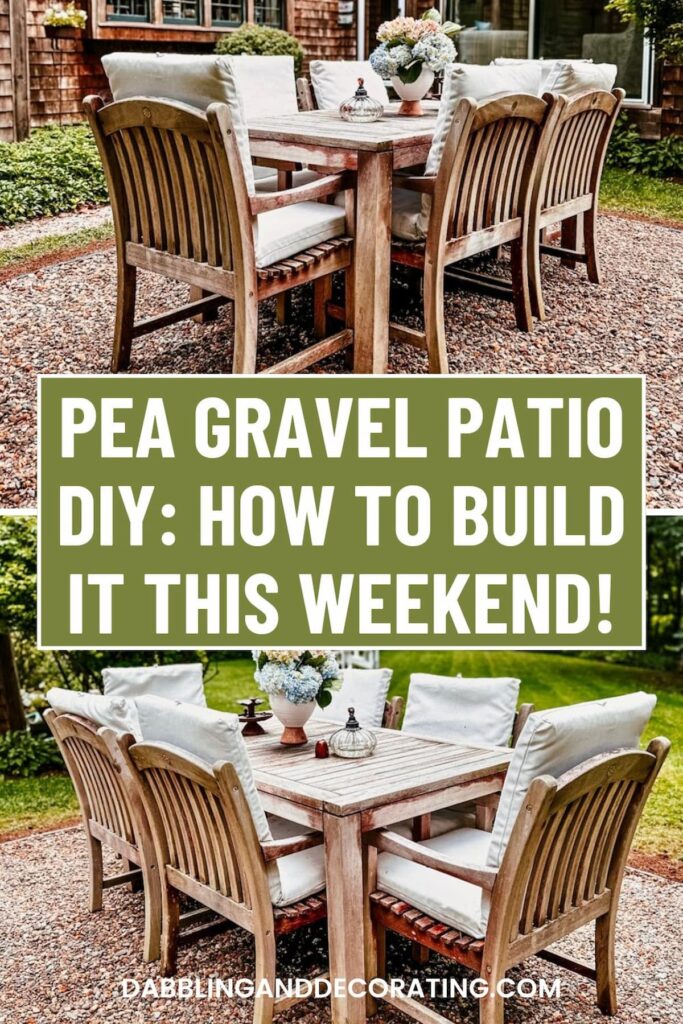
Tired of dragging heavy furniture across the lawn? We were too—so we built a round pea gravel patio in our coastal Maine backyard to fix the problem. In this easy weekend DIY project, I’ll walk you through exactly how we did it, why it worked so well, and how it transformed our outdoor space into a functional and stylish retreat.
If you’re looking for a simple backyard project that adds charm and functionality, a pea gravel patio might be just what you need.
We built ours over a weekend in our coastal Maine backyard, and it turned out to be the perfect solution for keeping our heavy teak furniture off the lawn—and giving our outdoor dining space a much-needed upgrade.
Here’s how we did it, what we used, and why we loved it so much that we built a second one around our fire pit.

Easy DIY Home Decor Projects with Vintage Style
Explore our easy DIY home decor guide with vintage style, using thrifted and repurposed finds. Simple, beginner-friendly ideas to decorate your home with charm.
Small Gravel Patio Ideas for Your Outdoor Dining Space
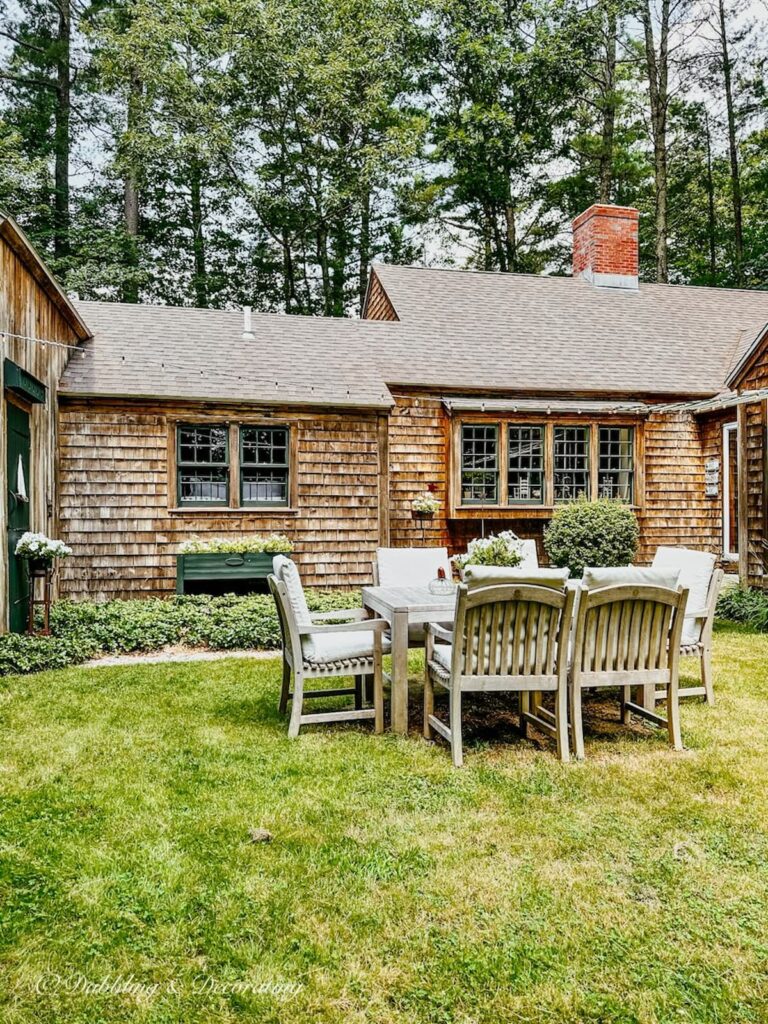
A couple of summers ago, we bought a beautiful outdoor teak table dining set that we absolutely loved using in our coastal Maine backyard. The only one who didn’t love it? Our lawn. The weight of the furniture left a big bare patch in the grass, the chairs were tricky to slide, and we found ourselves shifting everything just to mow the yard.
At first, we made do—but then we decided to fix the problem in a way that would also boost the charm of our backyard space. That’s when we came up with these small gravel patio ideas, using pea gravel to create a defined, low-maintenance area for our dining set.
What a difference! Not only did it solve our lawn issue, but it gave us a cozy, finished look we now enjoy all season long. Below, I’m sharing our step-by-step process in the hope that it inspires you to add some simple, stylish ambiance to your own outdoor living space.
What Is Pea Gravel and Why Use It for Patios?
Pea gravel is a small, rounded stone about the size of—you guessed it—a pea. It’s a popular landscaping material because it’s versatile, affordable, and low-maintenance. Whether you’re creating a backyard dining area, walkway, or ground cover for flowerbeds, pea gravel adds texture and charm without the need for heavy equipment or pouring concrete.
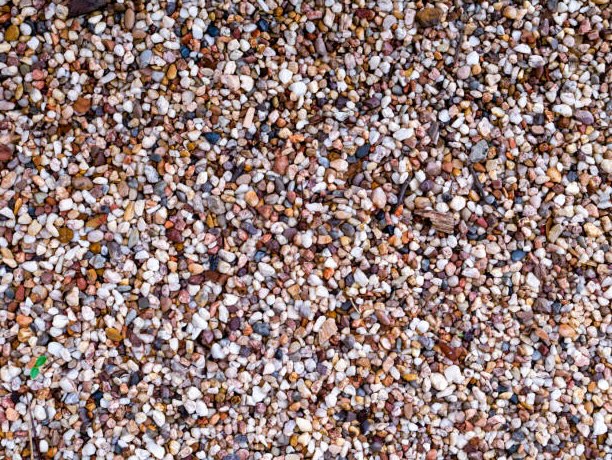
Other options, such as crushed stone, river rock, decomposed granite, and standard gravel, can also be used, but pea gravel stands out for its softer edges, better comfort underfoot, and natural drainage properties.
It’s a favorite for DIY patio projects—especially when you’re building a space on a budget and want quick, stylish results.
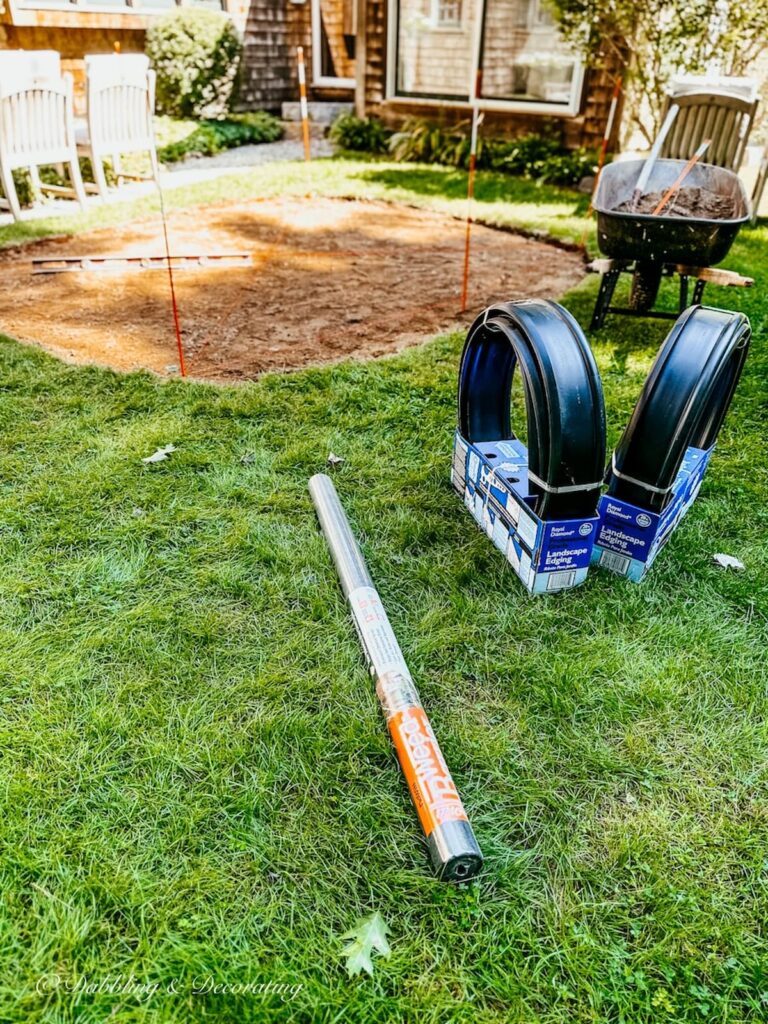
Essential Tools & Materials to Build a Pea Gravel Patio
Tools Needed to Build a Pea Gravel Patio
Materials List for a Pea Gravel Patio
Shop Tools & Materials

This post may contain affiliate links, which won’t change your price but will share some commission.
Recommended REading
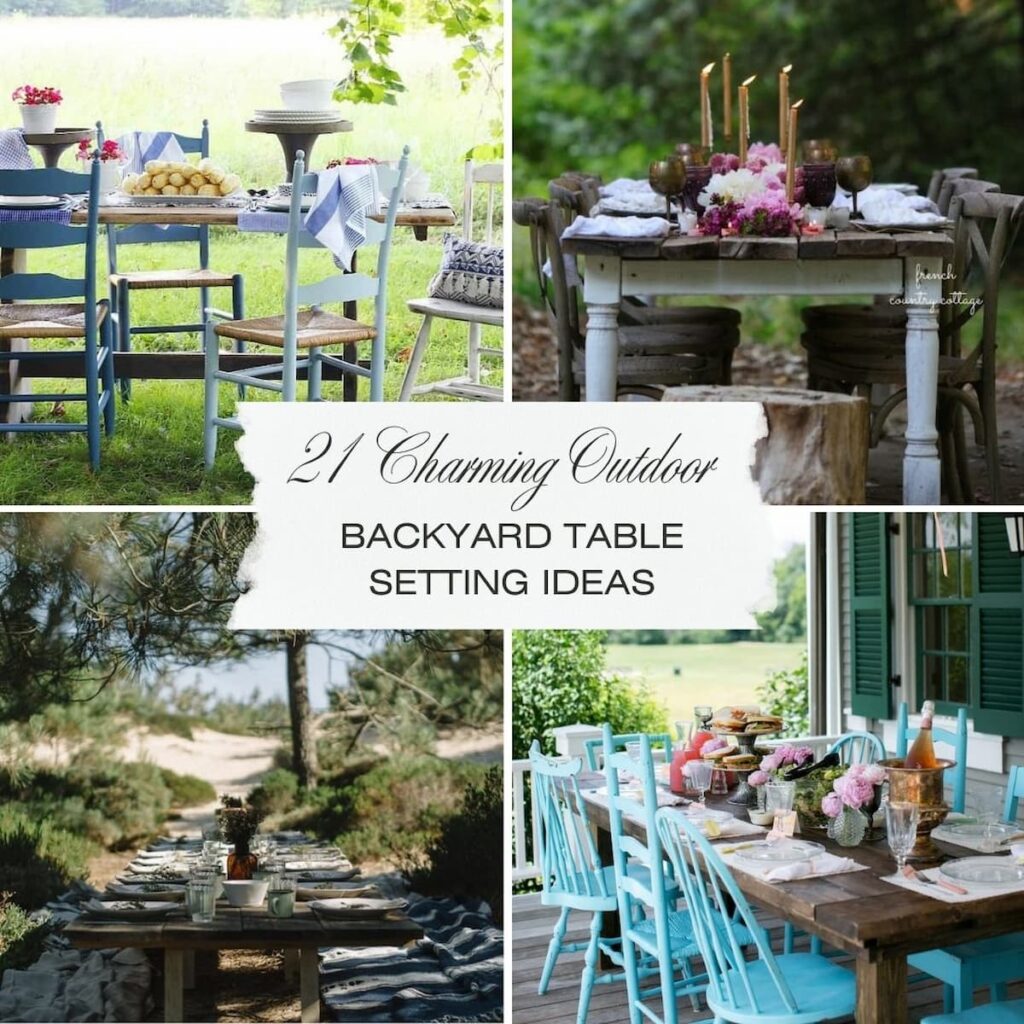
You may also be inspired by this 21+ Charming Backyard Table Settings You’ll Love post.
Budget-Friendly Pea Gravel Patio Ideas for Your Backyard
One of the best parts about building a pea gravel patio is how customizable—and budget-friendly—it can be. Whether you’re working with a small backyard corner or a wide-open lawn, this DIY project can be shaped to fit both your space and your style without breaking the bank.
Pea Gravel Patio Design Ideas for Every Backyard
Start by picking the shape that works best for your space. Do you envision a classic square or rectangle to match a dining set? Or something more free-form and organic, like a circular, oval, or whimsical layout that flows with the curves of your garden beds or walkways?
When you’re working on a budget, let your existing landscape and furniture guide the design. For example, if you’re creating a cozy space for two chairs and a small bistro table, a simple round patio might be all you need. Want something more dramatic? Go for a larger oval or wrap your gravel patio around an existing fire pit or garden feature.
How to Mark and Measure Your Pea Gravel Patio
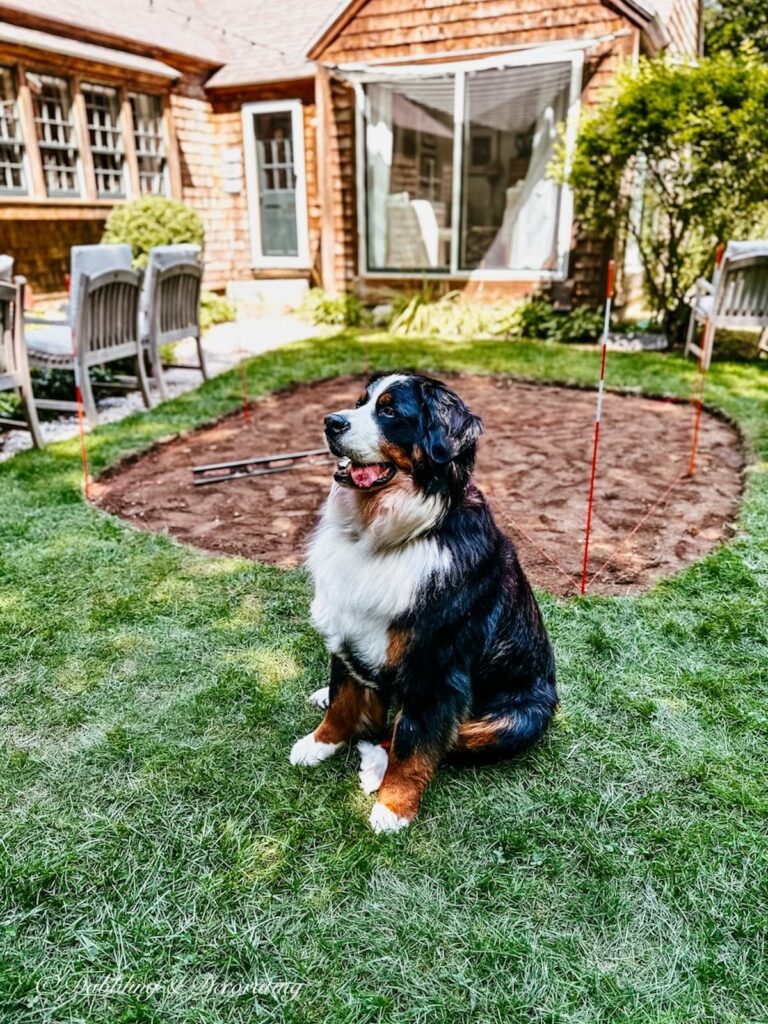
Before you start digging or shopping for gravel, it’s important to mark out your design and really visualize the shape in your yard. We used driveway stakes—the same ones we use for our snowplow markers in the winter—to map out our potential patio space. It’s an easy and inexpensive way to try different layouts and see what works best with your outdoor furniture, walkways, and home architecture.
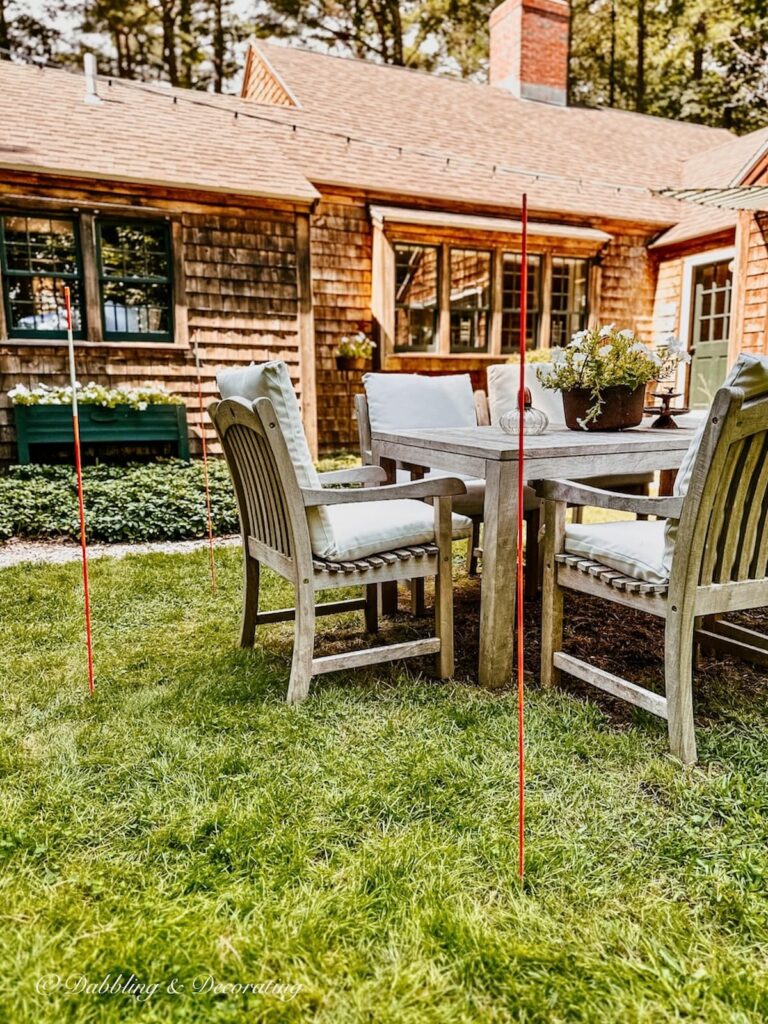
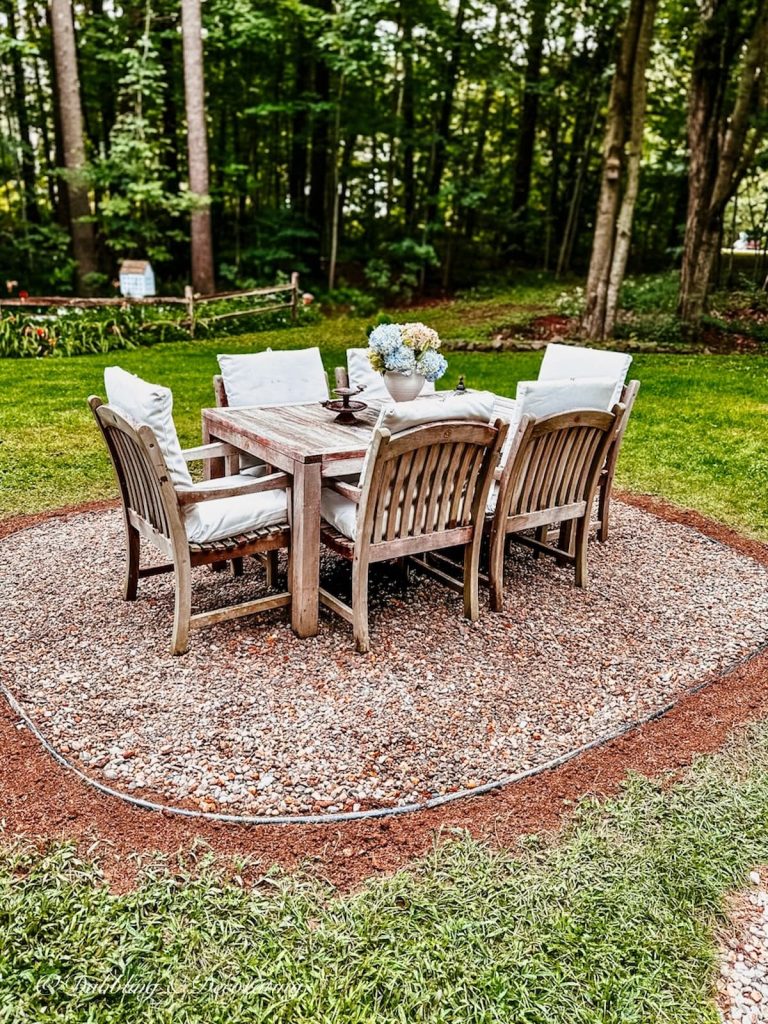
We tested a few designs but ultimately landed on an oval-shaped pea gravel patio. Since it would connect with our whimsical gravel walkway and sit alongside the straight lines of our coastal Maine home, a traditional square or rectangle just felt too rigid. The oval added a soft, organic shape that balanced everything beautifully—even with our rectangular teak table sitting in the center.
How to Outline and Dig the Perimeter of Your Pea Gravel Patio
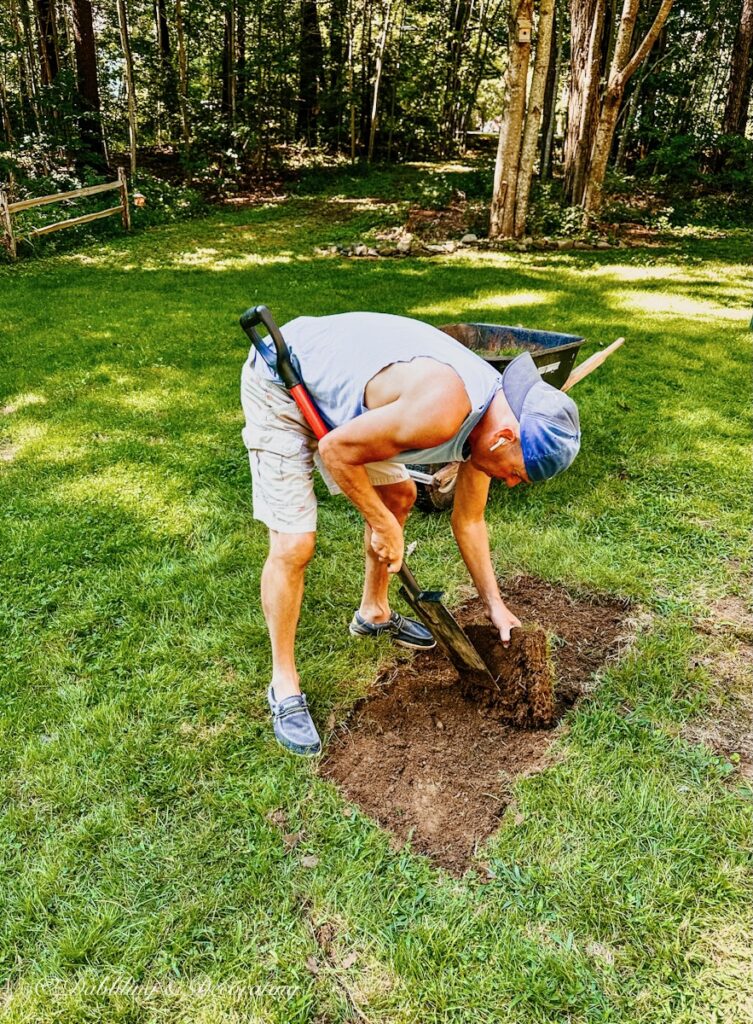
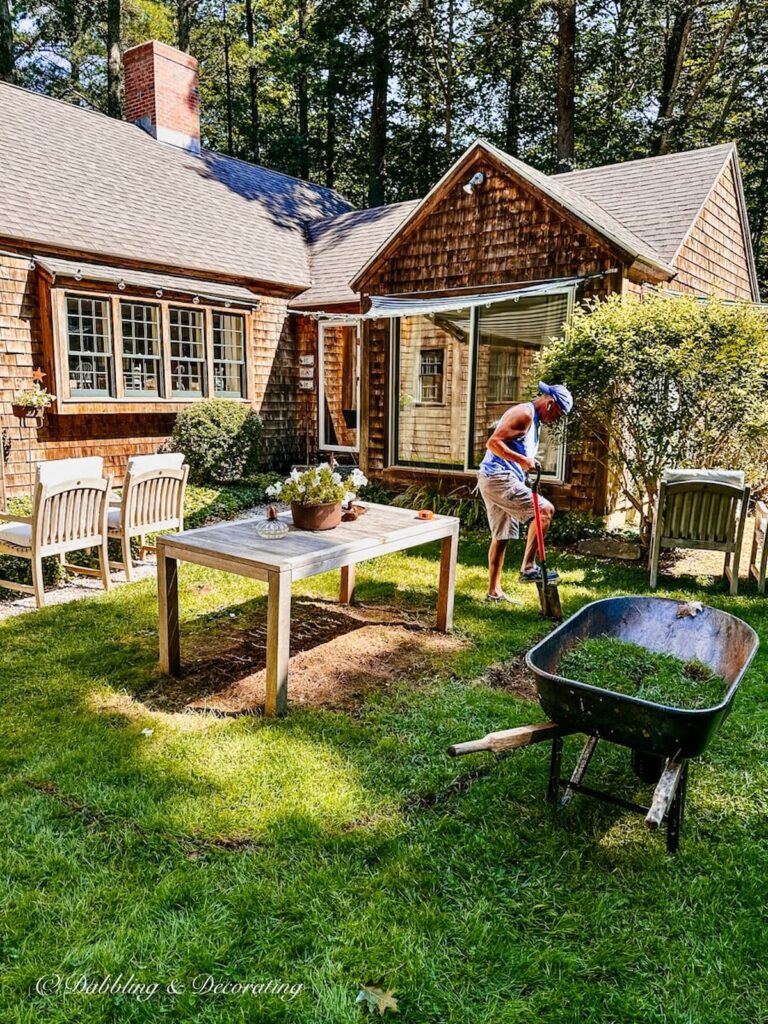
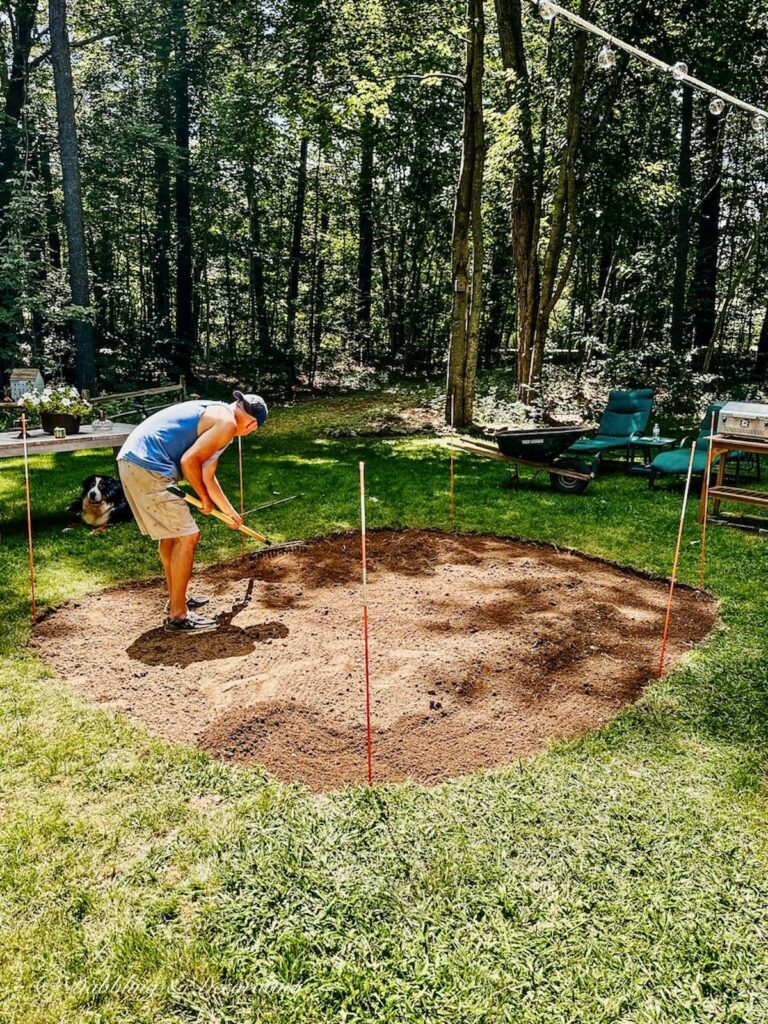
Once we finalized the shape of our pea gravel patio—an oval that would frame our teak dining set—we grabbed a garden spade and started outlining the design. Using the driveway markers as our guide, we dug a 2-inch-deep rim all around the layout. This step helped define the patio’s edge and gave us a clean perimeter to work within.
Before we started digging, we also pulled the chairs back about two feet from the table to ensure there would be enough space for people to move around comfortably. It’s a good reminder to plan for the space around your furniture, not just under it.
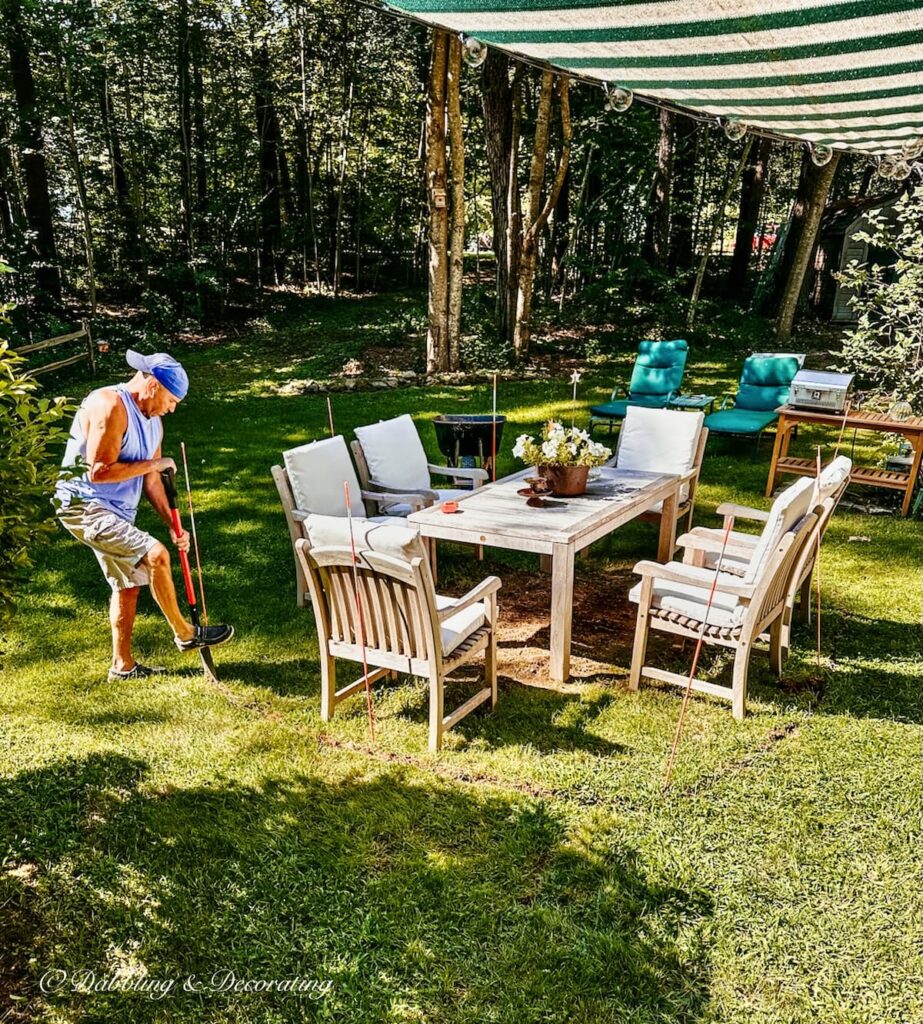
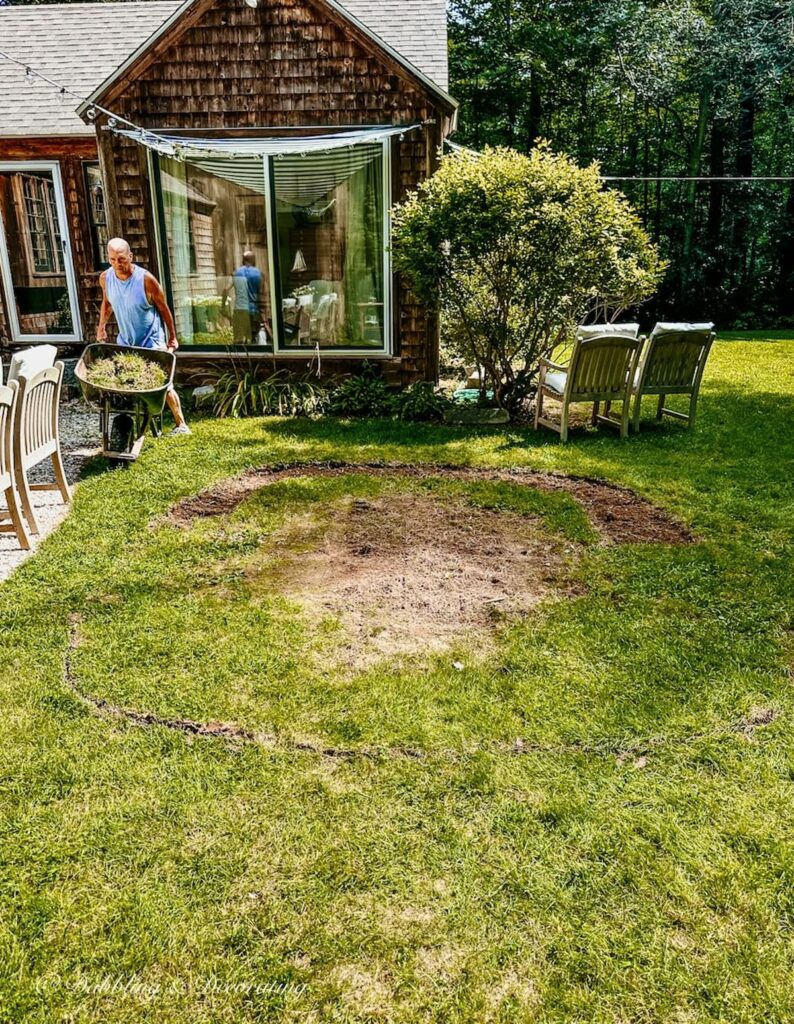
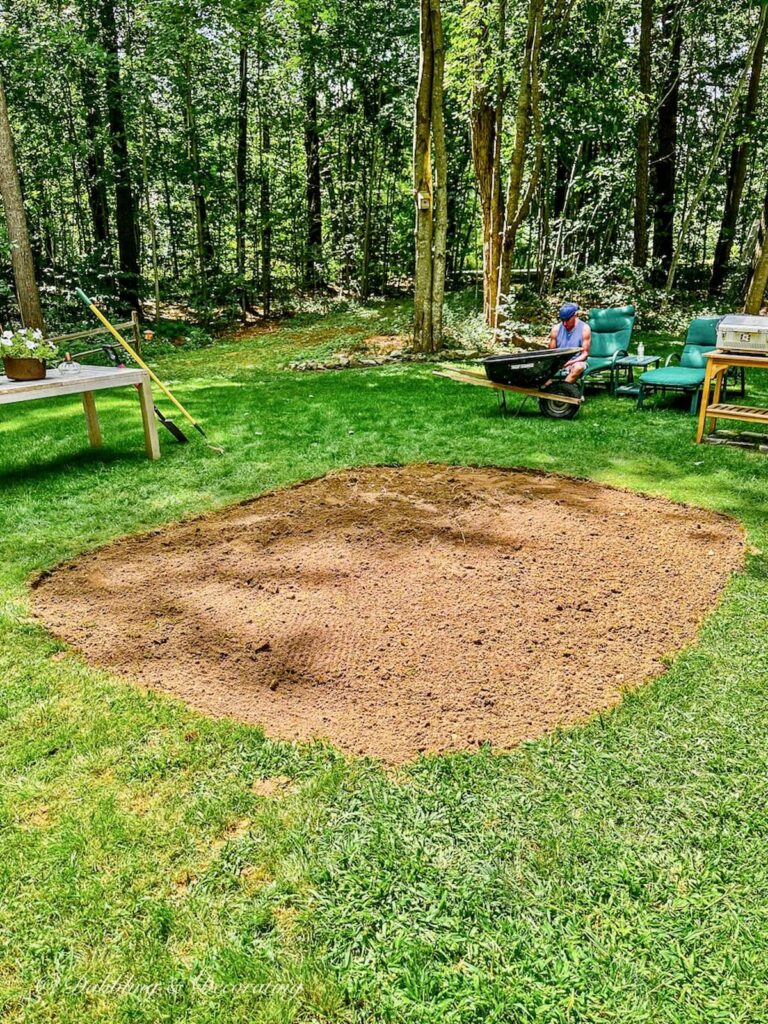
Once the outline was complete, we began removing the grass inside the patio area, rolling it up in manageable sections and placing it into a wheelbarrow for easy disposal.
As we cleared the space, the worn-down patch of lawn beneath the table really stood out. It confirmed that we were making the right call—a pea gravel patio was going to look better and solve the problem in the long term.
Recommended Reading
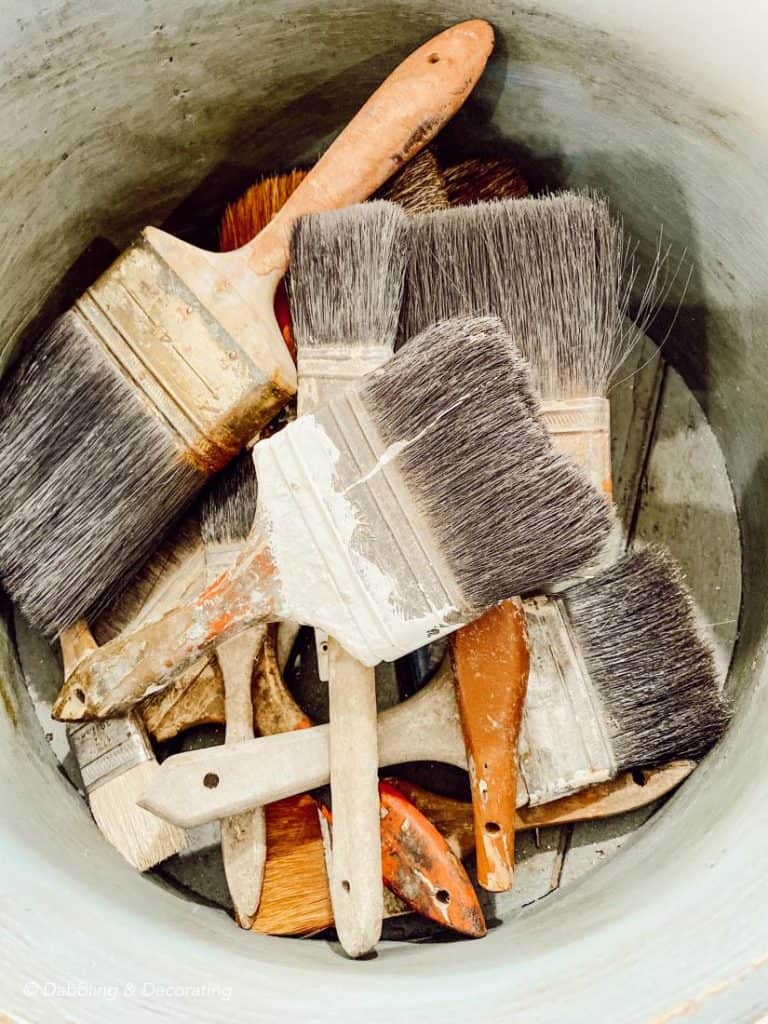
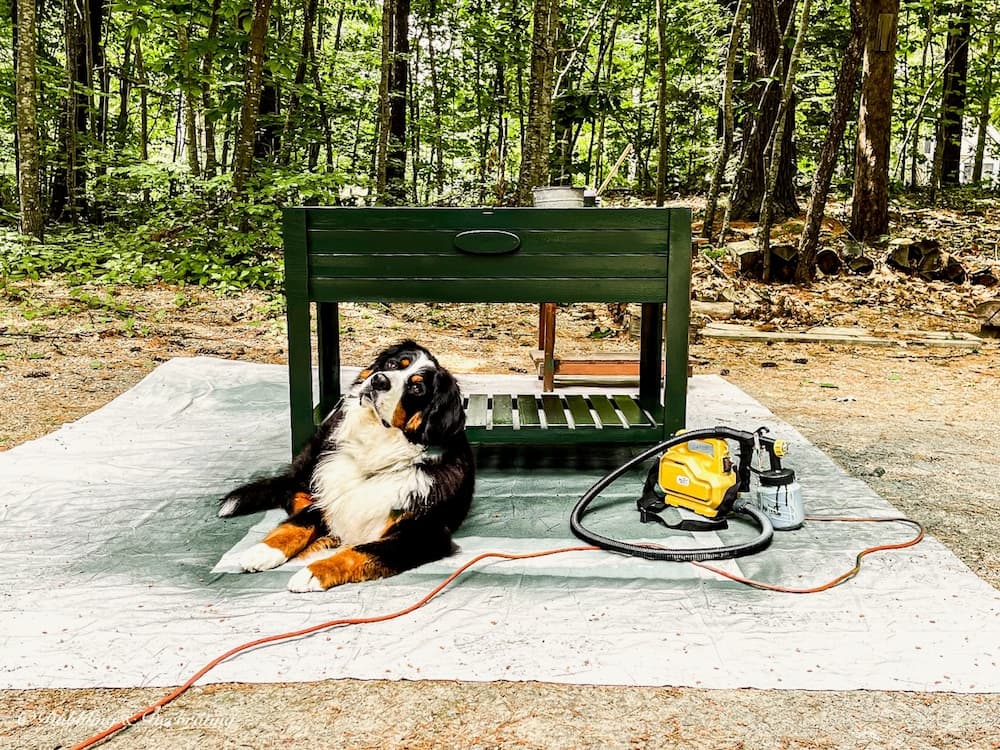
You may also enjoy My First Time Using a Paint Sprayer, What You Need to Know post. And see the raised garden bed painted today with white flowers in it next to our new pea stone patio.
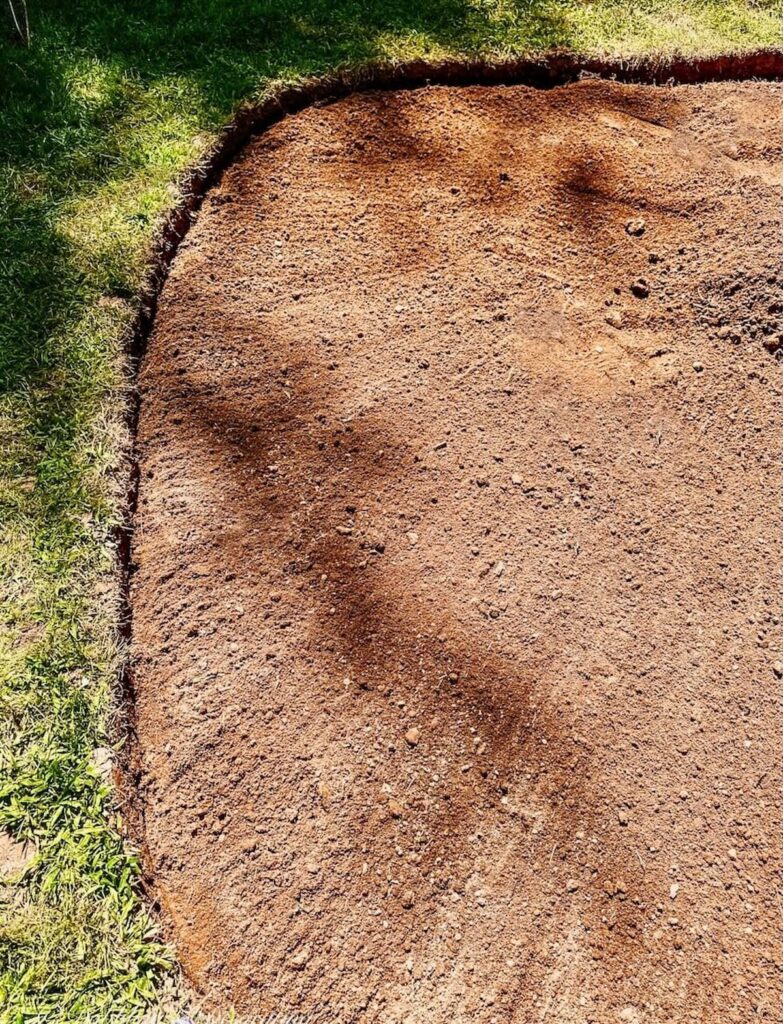
How to Rake and Level the Base for Your Pea Gravel Patio
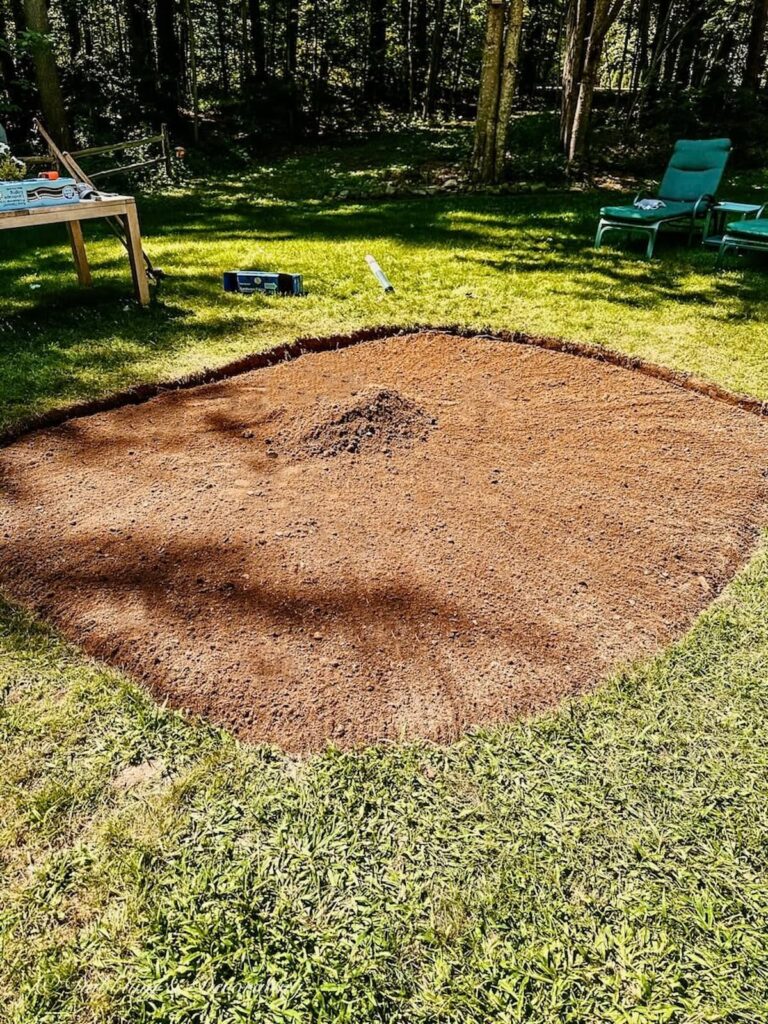
With the grass removed and the patio shape fully outlined, the next step was prepping the base. To do this, we used a garden rake to clear away any leftover rocks, roots, or debris from the freshly exposed soil. This is an important step when building a pea gravel patio, especially if you want a smooth and sturdy surface underfoot.
Our goal was to even out the dirt as much as possible, making sure the space felt level and compact before we added any gravel. While you don’t need to be laser-precise, the flatter and firmer the base, the better your pea gravel patio will settle—and the easier it will be to walk and place furniture on later.
As we raked, we double-checked the flow and shape of our oval patio. The outline really started to come to life once the space was cleared and prepped. If your soil is especially uneven or soft, this is also a good time to consider tamping it down with a hand tamper or rental compactor.
How to Level the Dirt for a Pea Gravel Patio Base
Once our circular pea gravel patio space was dug and raked, it was time to focus on creating a level surface. This part is especially important if you’re planning to add outdoor furniture like a dining table—you’ll want everything to sit flat and stable once the gravel is down.
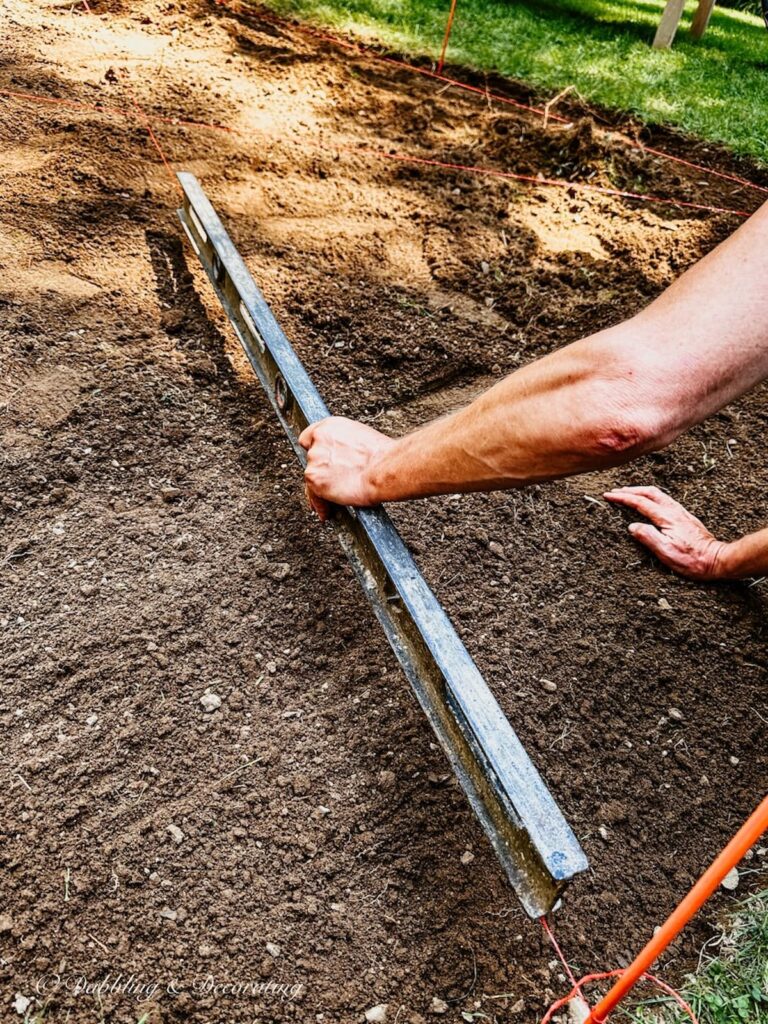
To get the dirt patio perfectly level, we used a clever little method: red twine and our trusty driveway markers.
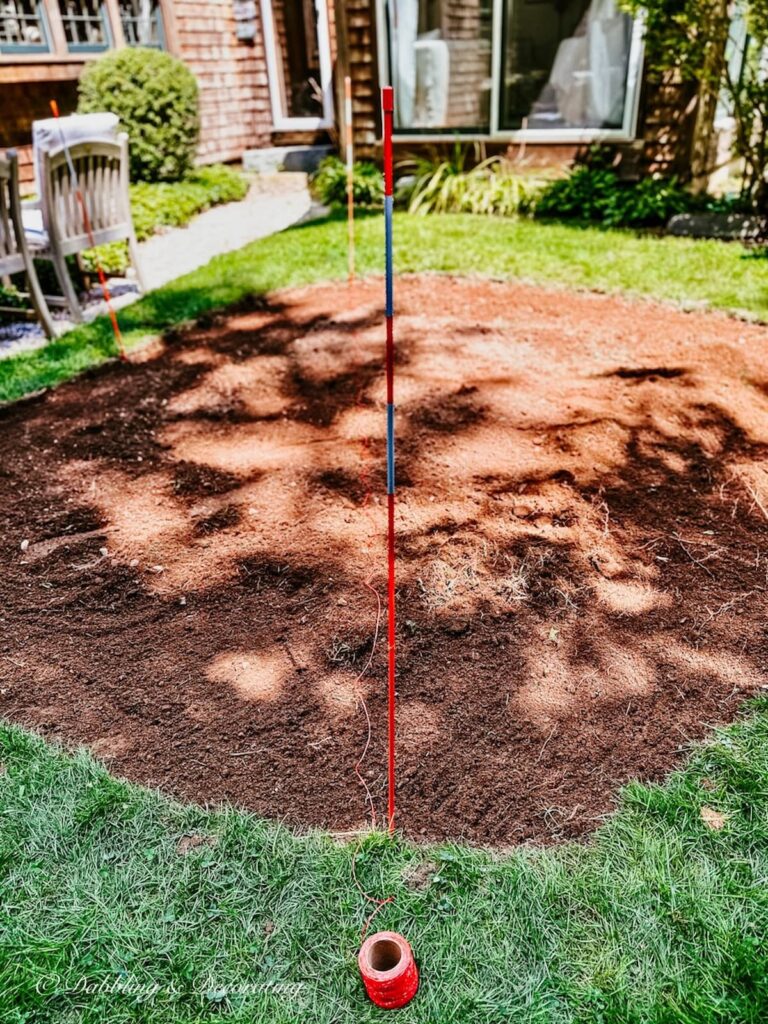
First, we placed the driveway markers back into the ground around the edge of the patio space. Then, we tied the red twine around one marker at the top edge of the dirt and stretched it tightly to the opposite marker. Using a magic marker, we marked where the string landed so we could keep everything consistent and aligned.
We repeated this process across the entire patio space—crisscrossing the twine tightly across the dirt to create a visual grid. This gave us a great reference point for checking the level throughout. It definitely helps to have two people here: one to hold the twine tight, the other to adjust and mark.
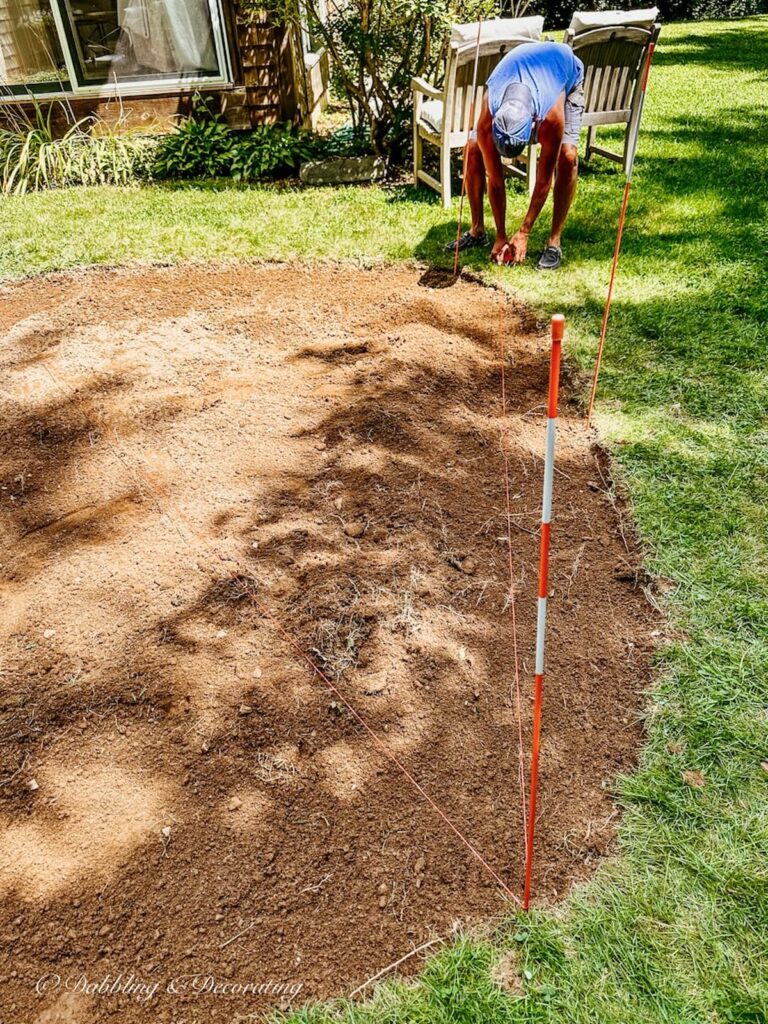
Then came the important part: using a small level, we checked each section of string. Anywhere the dirt was too high or low, we adjusted with the rake until the whole patio base matched up with the level twine lines.
After everything looked even and compact, we removed the driveway markers and twine—it was time to move on to installing the landscape edging and weed barrier before the gravel went in!
Then, pulling it tight, we tied that twine to another driveway marker at the same edge of the patio. We used a magic marker to mark where the twine was tied and did this throughout each marker. The twine should crisscross over the dirt nicely and tightly.
Having two people to do this is helpful, as you want the twine to be nice and tight across.
Then, using a level, we made sure each crossing twine in the dirt patio space was level, and then we raked the dirt again, even to the leveled twine.
After your dirt is leveled, you may remove the driveway markers and twine to lay the landscape edging in preparation next for the weed barrier.
Recommended Reading
You may also enjoy this Backyard Fire Pit and Stone Patio Ideas for New England Living post.
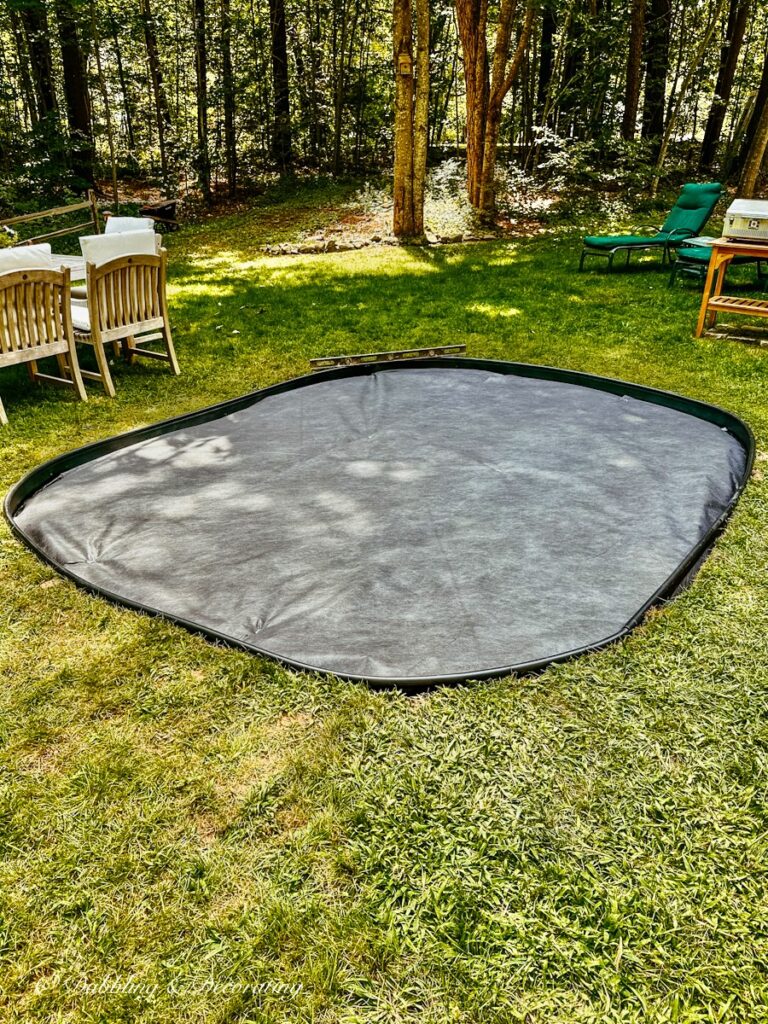
How to Install Landscape Edging and a Weed Barrier
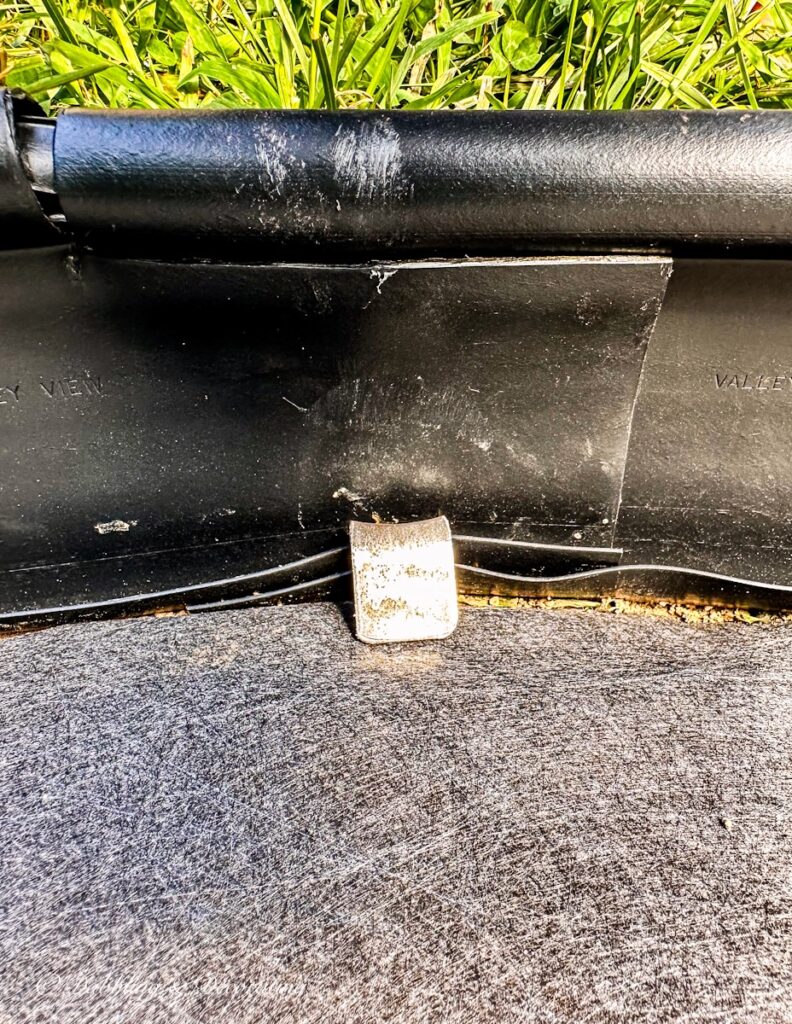
After leveling the base of our patio, we installed plastic landscape edging and a weed barrier tarp to help hold the gravel in place and prevent grass or weeds from growing up through the stones.
We used a simple plastic landscape edging from our local hardware store and dug a shallow “moat” around the perimeter of the dirt patio to nestle the edging down into the ground. The goal was to set the edging deep enough that it would disappear once the gravel was poured in, leaving a clean and seamless finish around the edges.
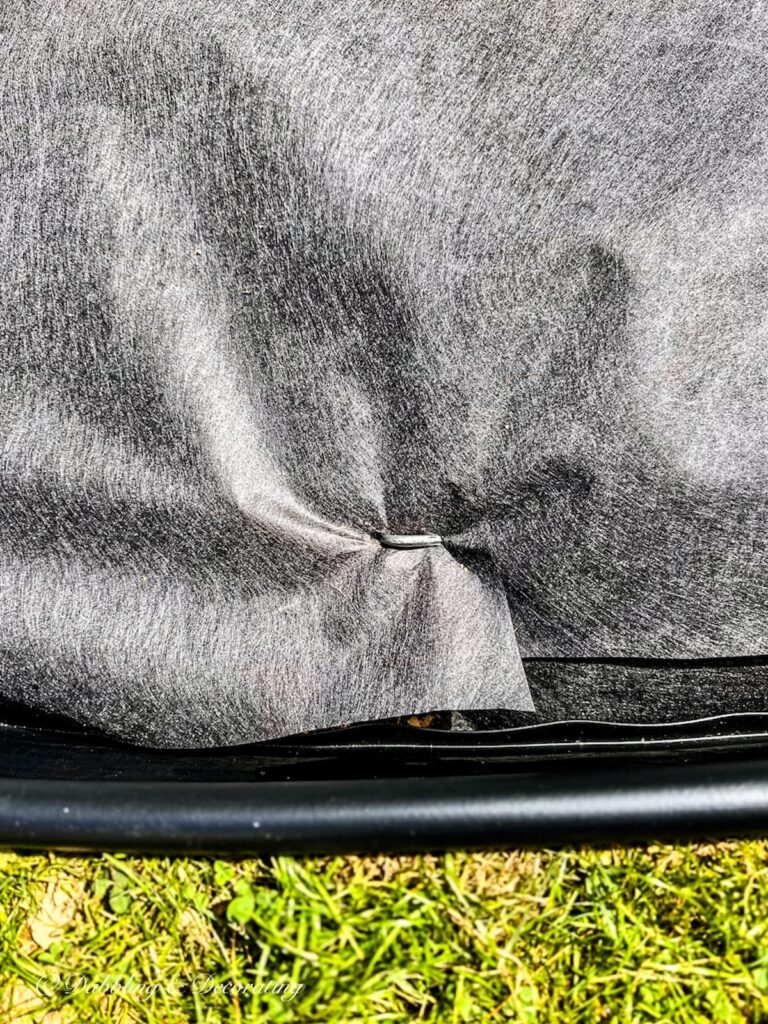
Then we rolled out the weed barrier, pulling it tight across the dirt and securing it with a handful of old landscape staples we had in the garage.

Pro Tip
After completing a similar pea gravel patio around our fire pit, we actually decided to skip the edging altogether—and I ended up loving it even more. It gave the patio a more natural, freeform feel that blends better with our coastal Maine backyard. We eventually removed the edging from this patio, too! It’s totally up to you—edging can create structure, but skipping it can bring a softer, organic touch.
If you don’t have any on hand, they’re easy to find at your local garden center or hardware store. The edging kit we used also came with six-inch anchoring spikes, which made installation even easier.
Seasonal Porch Decorating with Vintage Style
From lilacs in spring to ski lodge charm in winter, this year-round guide shares how I decorate our Vermont porch with vintage style through every season. It’s packed with table settings, thrifted finds, cozy layers, and simple decorating ideas to bring timeless charm to your own outdoor space.
You can install landscape edging in many ways, from adding pavers, rocks, or bricks around the edging to this simple method of using plastic landscape edging.
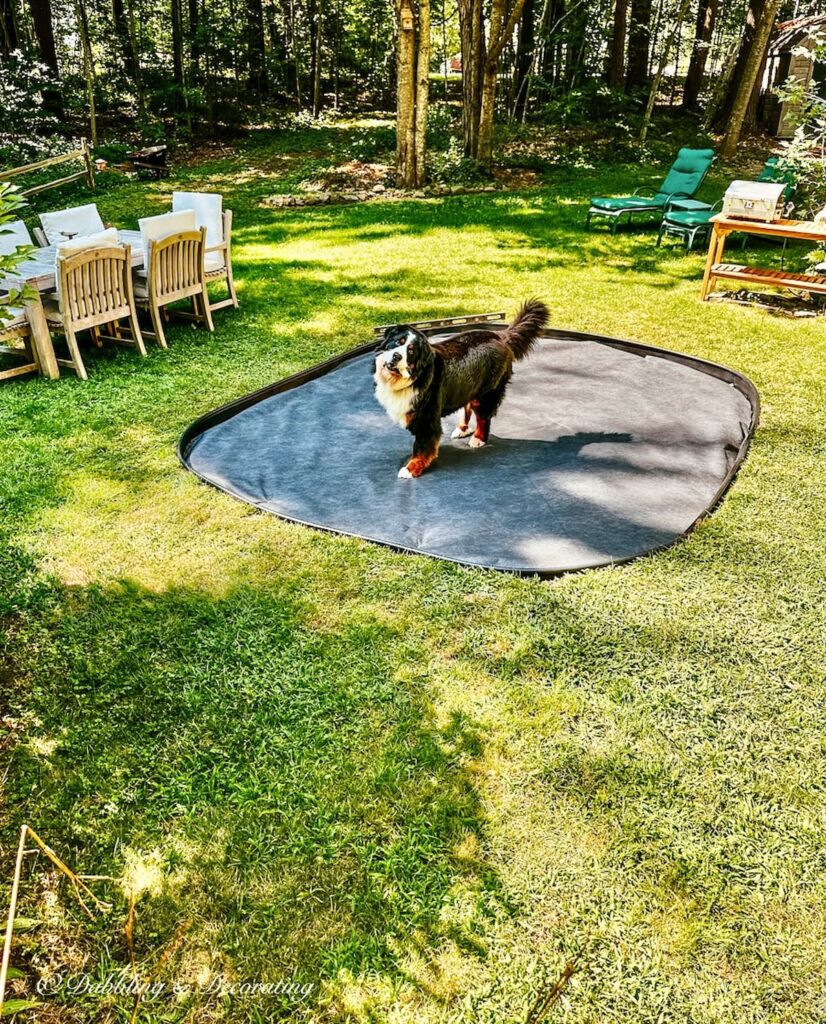
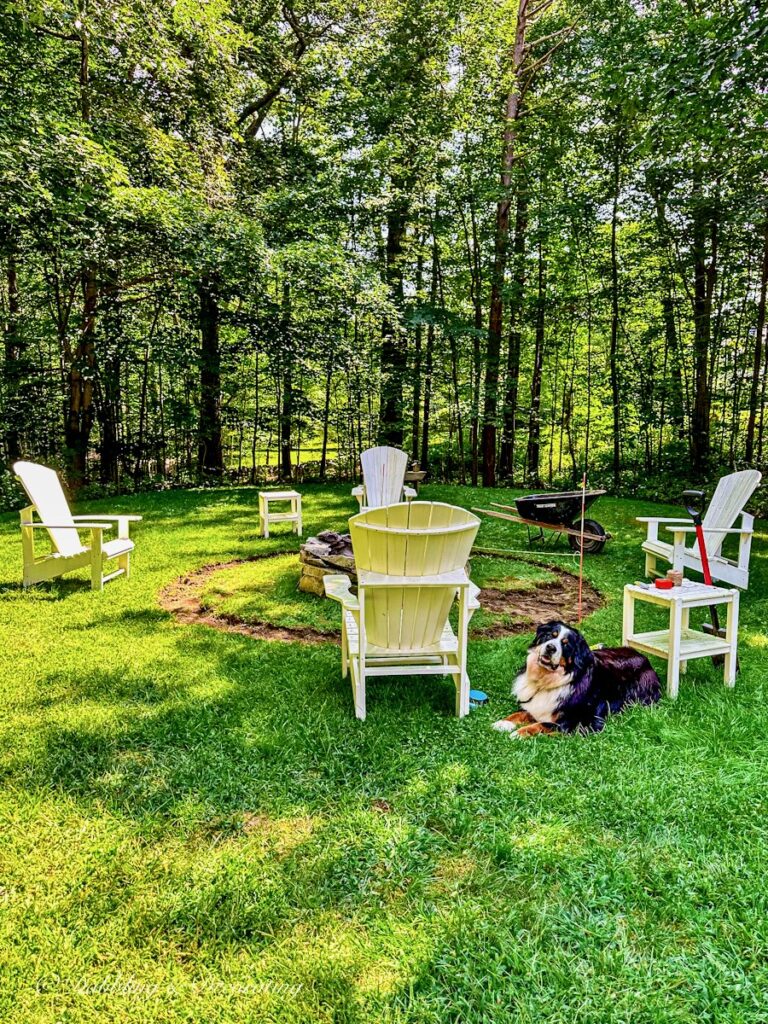
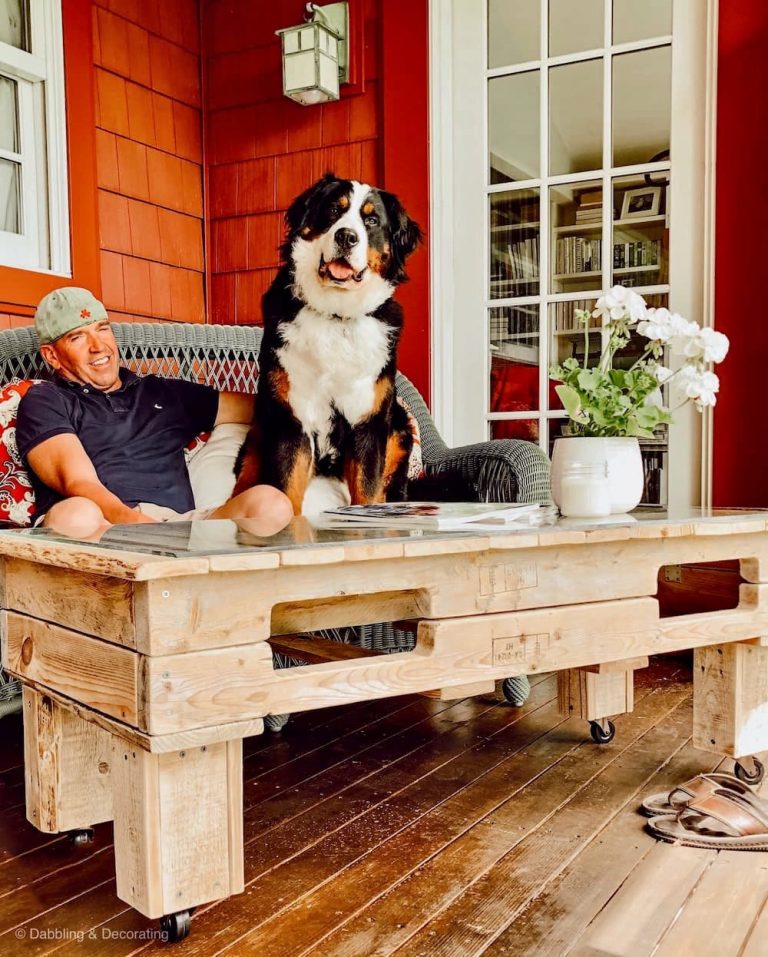
Of course, while we waited for our pea gravel delivery, Ella, our Bernese Mountain dog, made herself quite at home. With just the weed barrier in place, she claimed it as her personal bone-chewing station. It turned out to be a great solution for her, too—Ella has grass allergies, so this gravel-based patio quickly became her favorite outdoor hangout.
By this point, we were about 2.5 days into the project—though we definitely stretched it out. If you plan ahead and have your pea stone delivered in advance, this really can be a one-day DIY patio project. It’s simple, affordable, and transforms your outdoor space fast.
Pea Gravel Patio Ideas in Action:

The Vintage Posts Readers Love Most
Start with the posts readers come back to again and again. These vintage decorating ideas are rooted in New England, styled with thrifted and antique finds, and filled with real-life tips you can use in your own home. Familiar Finds, Styled Your Way.
How to Start a Vintage Booth: Tips, Display Ideas, and Lessons Learned
Eclectic Decorating Style Guide: How to Layer Vintage, Antique, and Thrifted Decor
9 Vintage Booth Displays That Made Me Stop (And What You Can Learn From Them)
Scandinavian Spring Homes: 10 Light and Airy Cottage Tours to Inspire
Beyond the Flag: What to Look for in Antique Stores for Heritage Americana Decor
Wrapping Up Our Pea Gravel Patio DIY
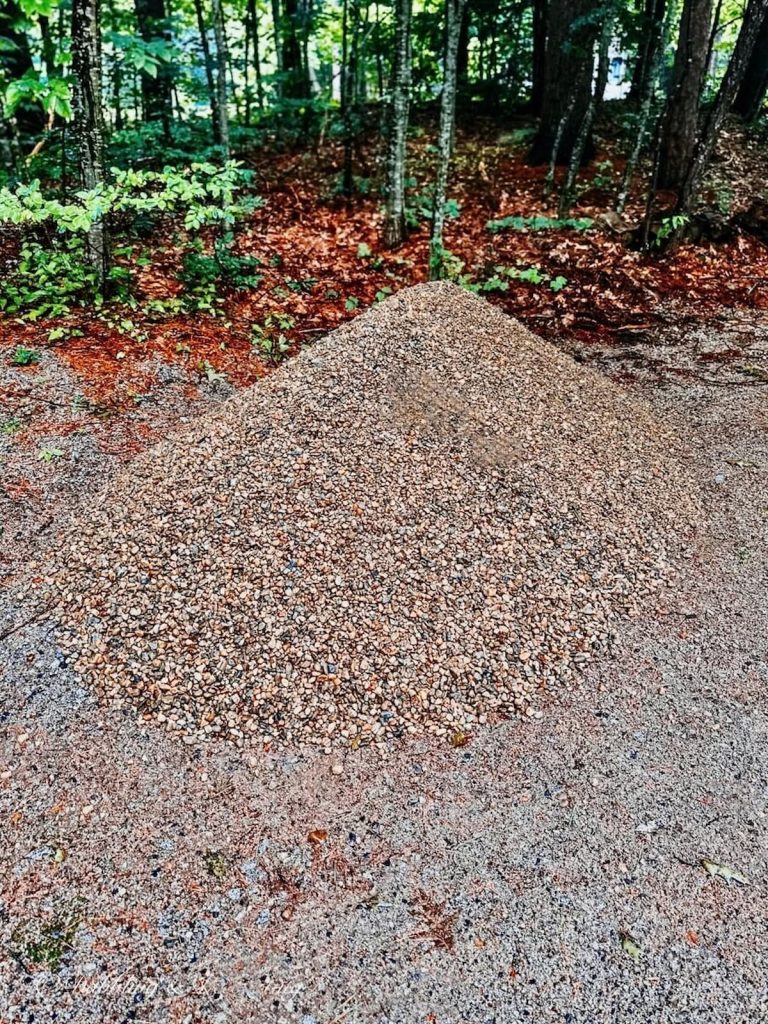
Once the prep work was done, it was time for the most rewarding part—laying the pea gravel and bringing our patio to life.
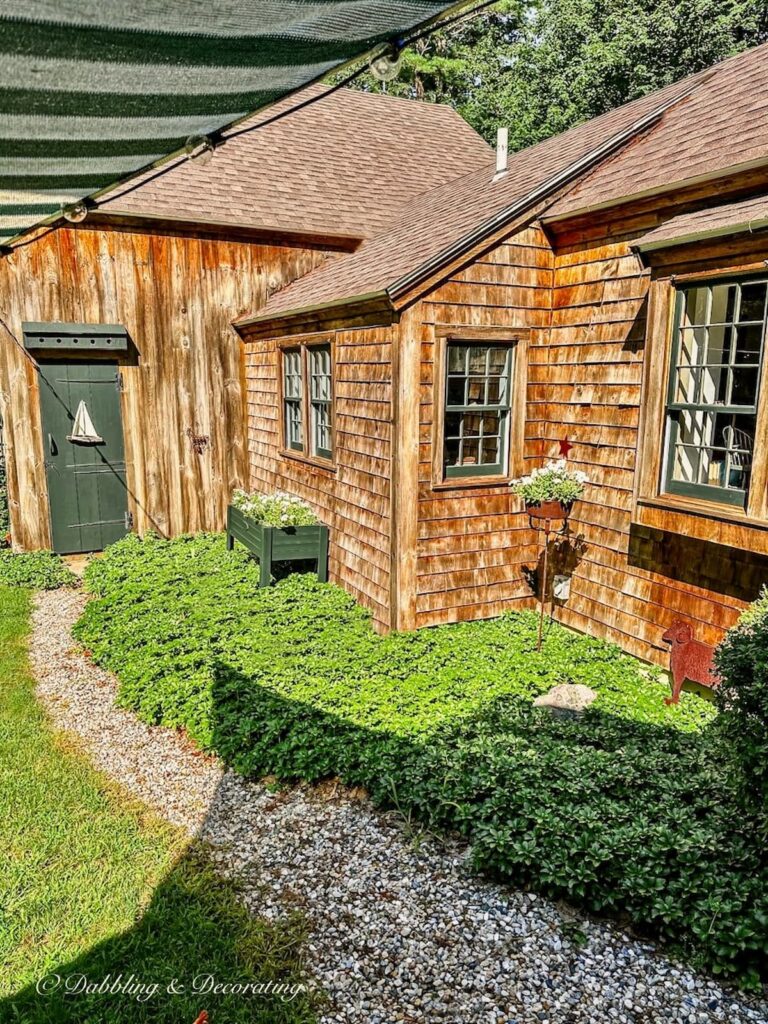
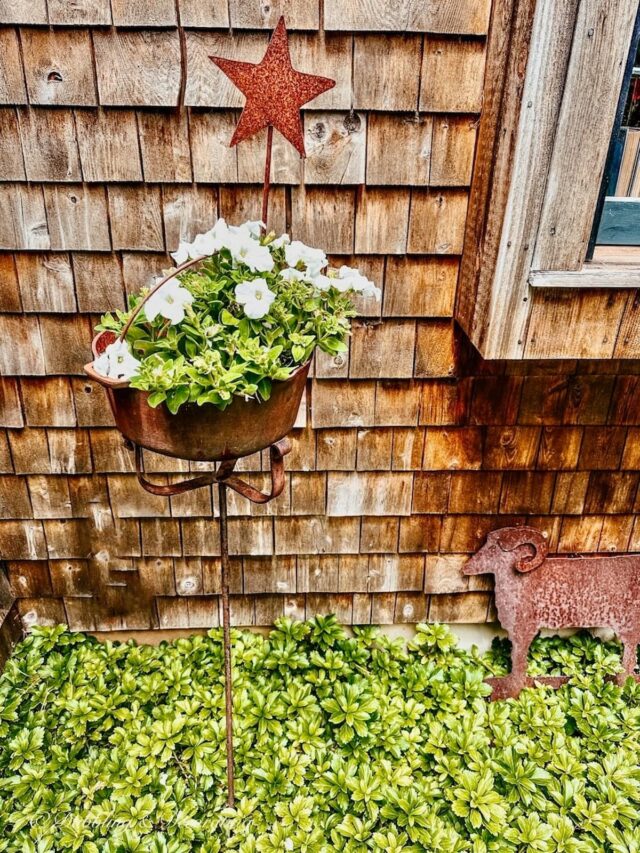
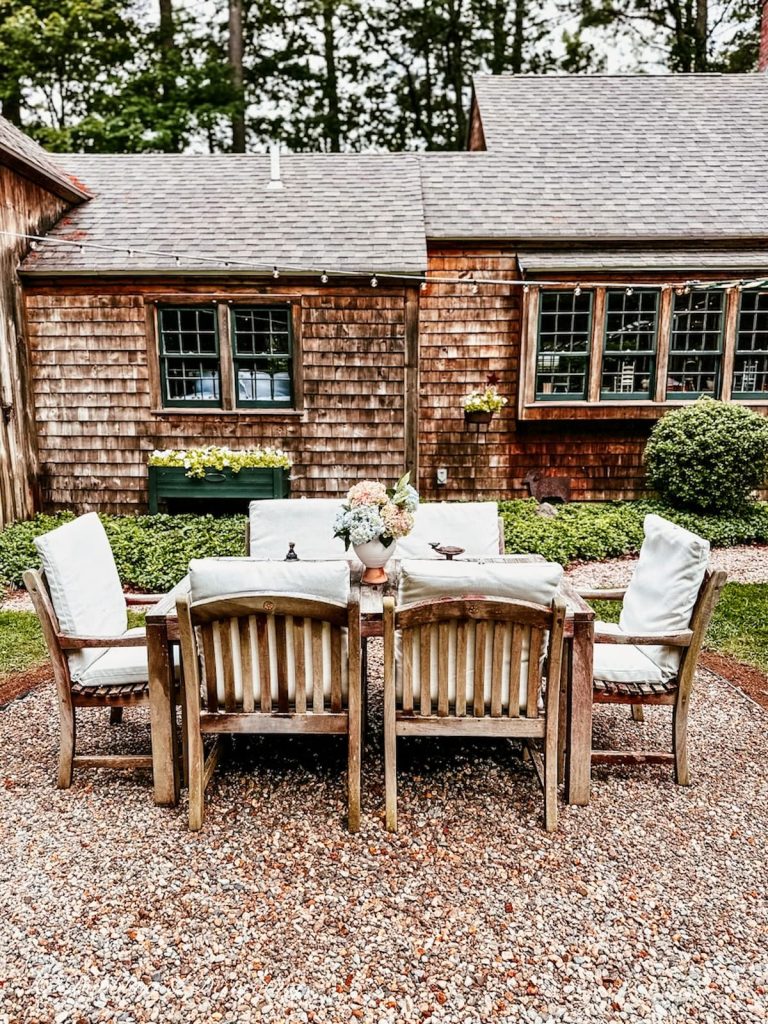
There are many options for purchasing pea gravel or pea stone. You can find it through local landscapers, hardware stores, nurseries, and even Amazon. We chose a River Rock Pea Stone that matched the two gravel walkways already in our coastal Maine backyard. Its natural tones and texture blended beautifully with our cedar-shake home and the surrounding pachysandra gardens.
Recommended REading
You may also enjoy White & Green Rustic Summer Flower Planters Sure To Charm You post with more outdoor landscaping ideas.
How Much Does Pea Gravel Cost?
The cost of pea gravel can vary depending on location and quantity. We paid $61 per yard delivered through our local nursery. If you’re working on a smaller space or just need to top off an existing patio, you can also find bagged pea gravel at most hardware stores—just keep in mind that delivery can be more cost-effective for larger quantities.
How Much Pea Gravel Do I Need?
We had three yards of River Rock Pea Stone delivered, which was the minimum required for delivery. While we didn’t need all of it for the patio, we used the leftover gravel to refresh our two walkways, which made it well worth the order.
For reference, we only used about a quarter of the delivery for this one small circular gravel patio. So if you’re building a similar-sized space, a single yard or a few bags may be more than enough.

Vintage Home Decorating Guides and Styling Inspiration
Are you curious about vintage decor but don’t know where to start? These cornerstone guides are packed with seasonal styling tips, how-tos, and inspiration to help you confidently decorate with charm and character.
Laying the Pea Gravel and Final Touches
We used shovels to spread the pea stone over the leveled, weed-barrier-lined patio base, filling the space up to the top of the dirt rim we’d created. You’ll want to compact the gravel as much as possible for a more stable surface—rolling or pressing it down tightly helps prevent shifting under furniture.
We didn’t have a gravel roller on hand, but if you do, it’s a great tool to ensure a firm, finished surface. Either way, once the gravel was spread and leveled, our DIY pea gravel patio came to life.
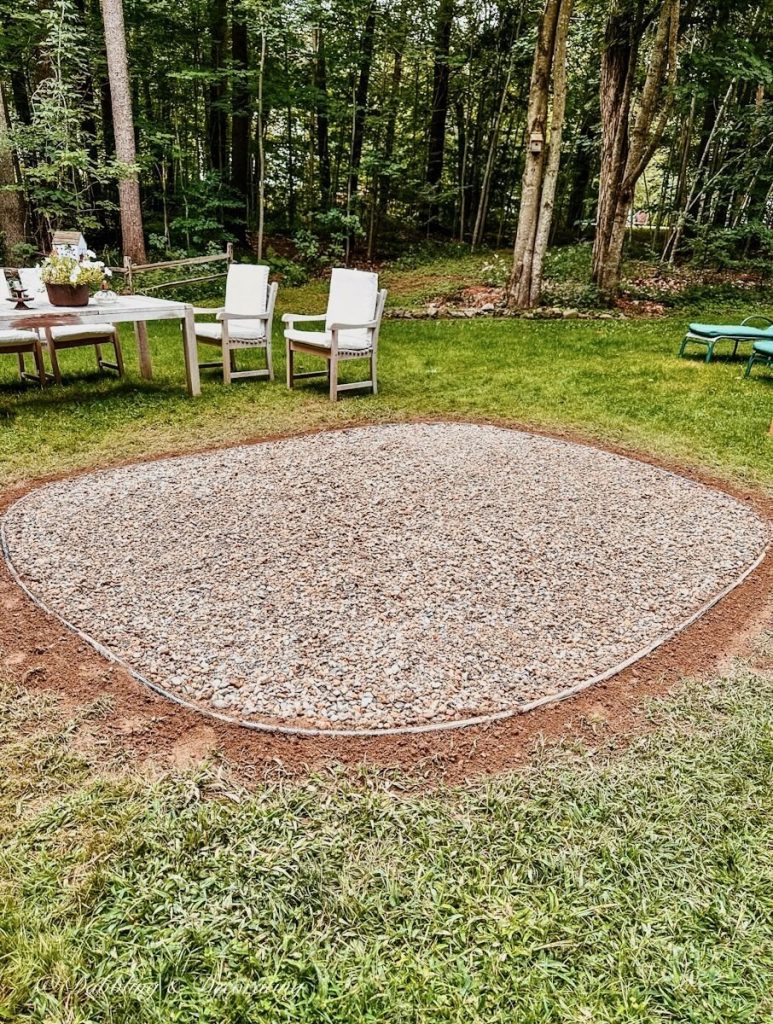
To complete the look, we raked soil around the edges and planted grass seed to soften the patio border. As the grass grows in, it will hide the black landscape edging and create a clean, seamless transition between the gravel and lawn.
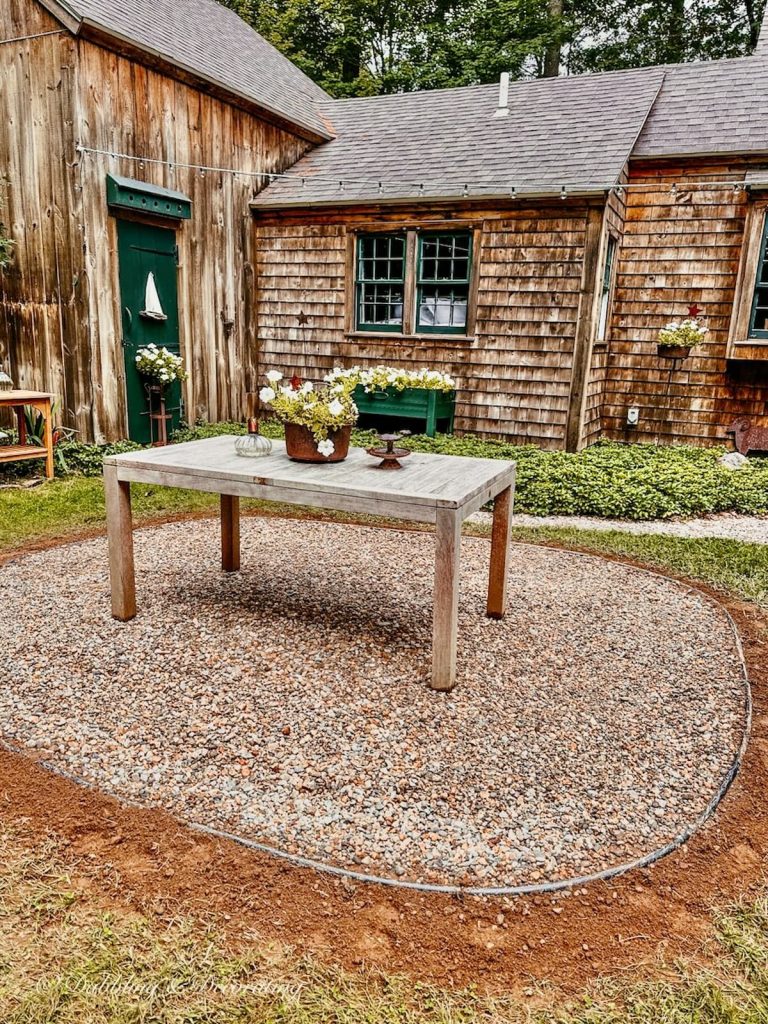
Rain or Shine, It’s Done!
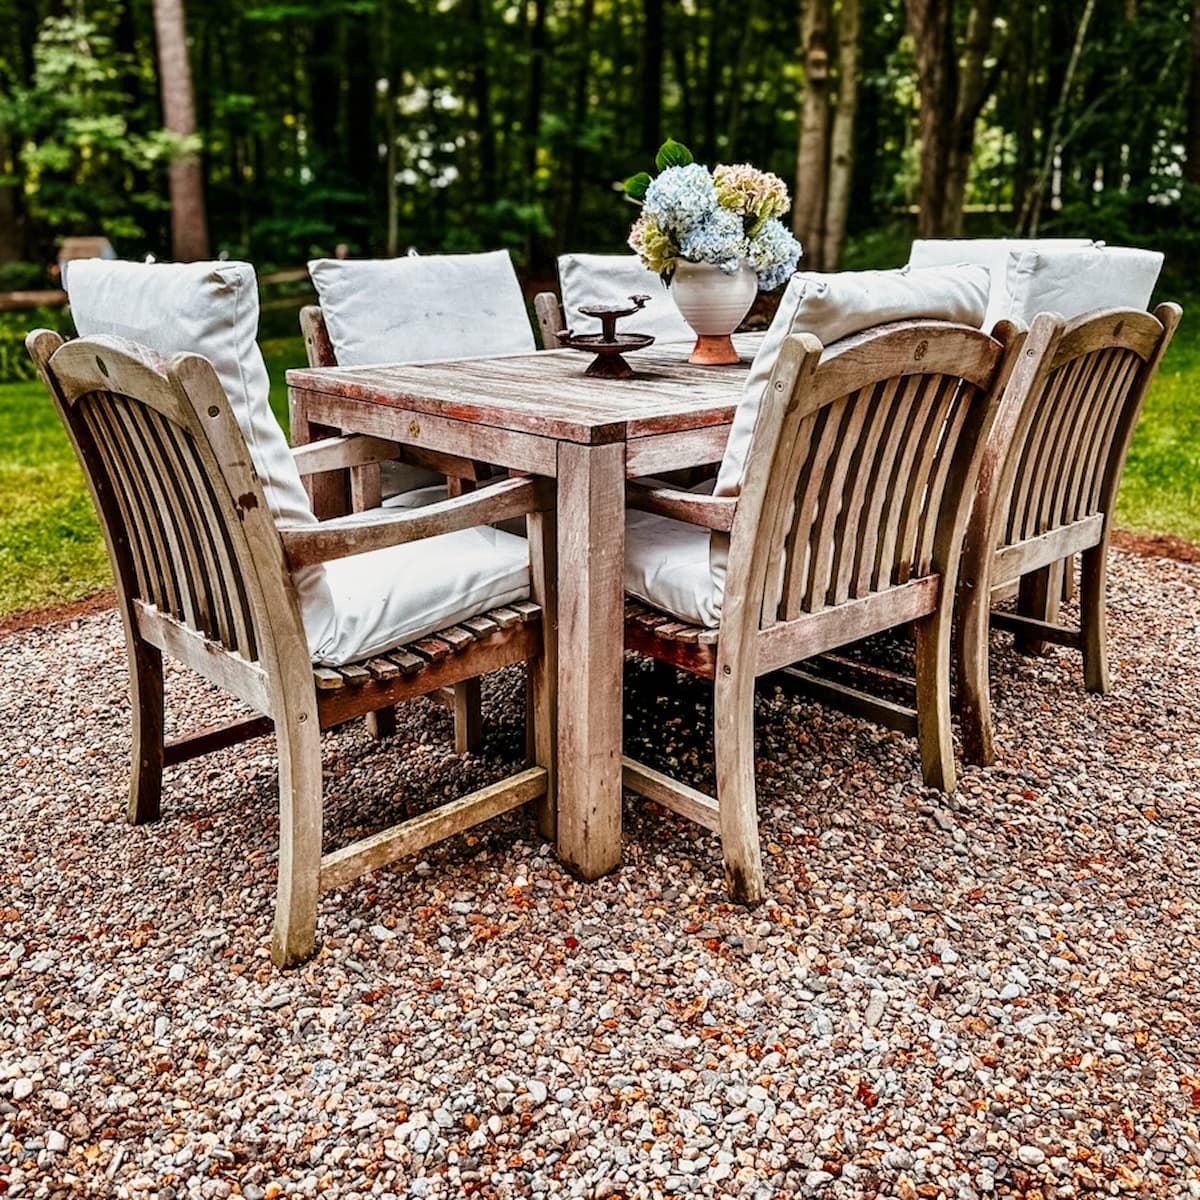
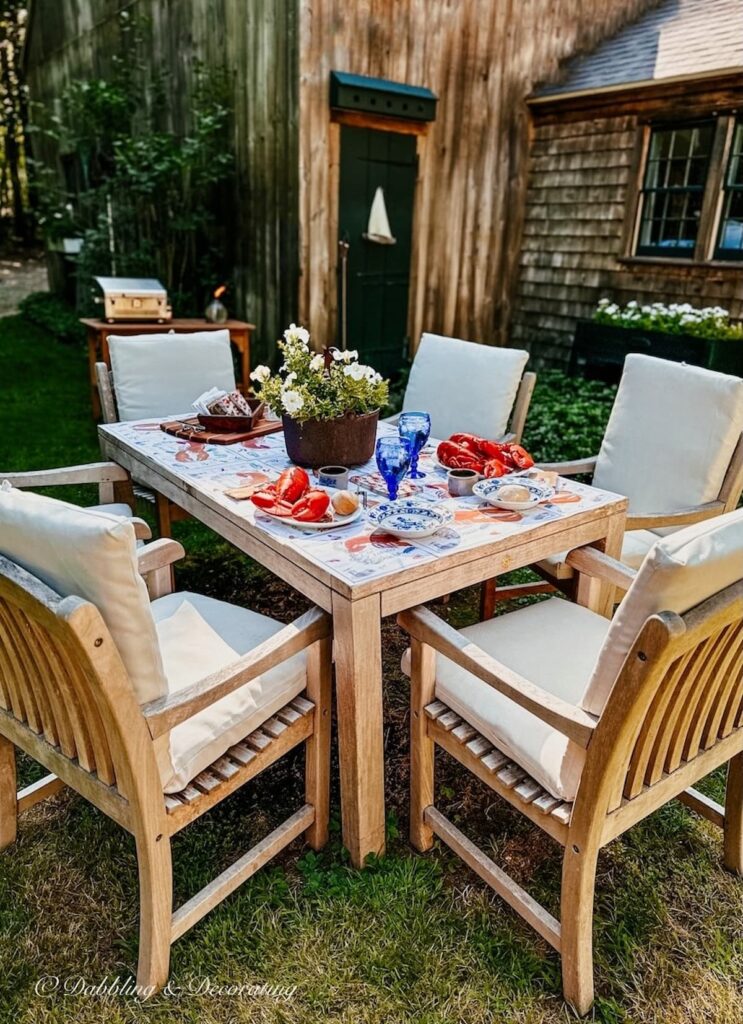
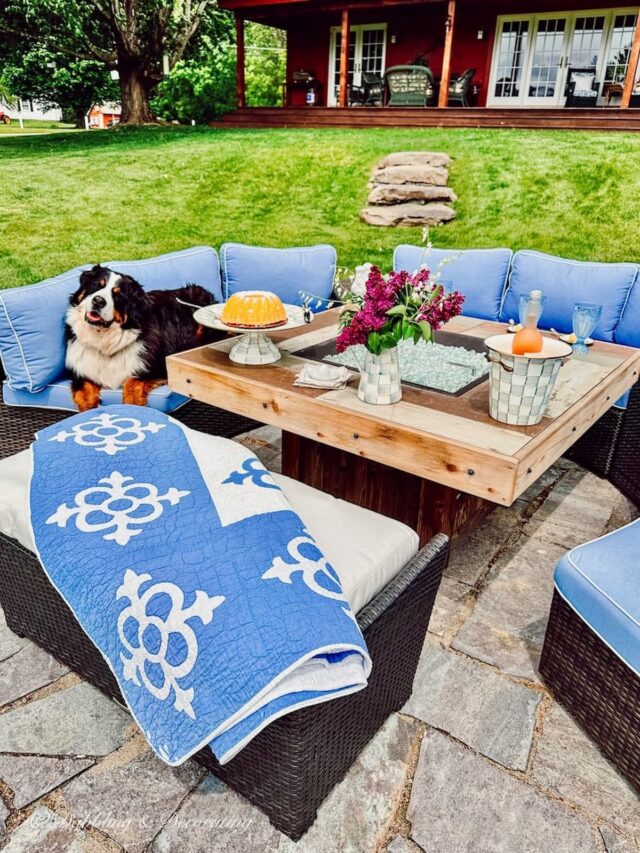
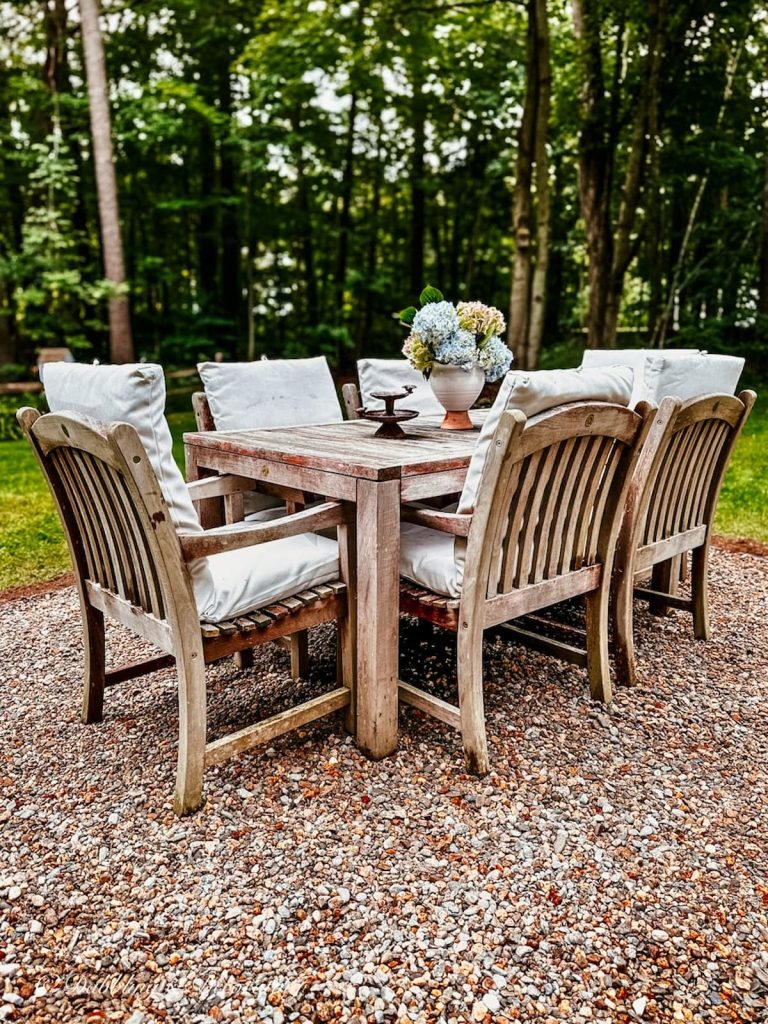
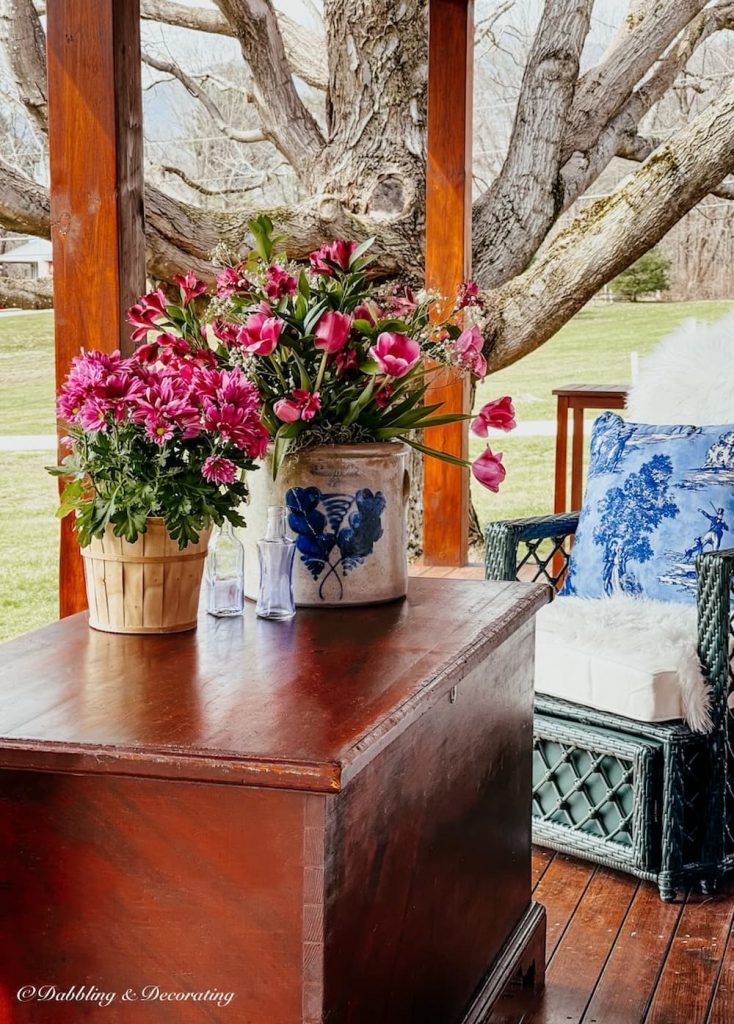
We built this patio over a rainy spring weekend—but we didn’t let the weather stop us. Despite the drizzle, the process was straightforward, manageable, and incredibly satisfying. Once the final layer of pea gravel was in place, we moved our weathered teak dining set back onto the patio and added a few decorative touches—blue hydrangeas in a centerpiece, a little vintage bird statue, and just like that, our coastal backyard had a whole new vibe.
Recommended Reading
Find more inspiration in this 9 Back Porch Summer Decorating Ideas post.
Seasonal Maintenance Tip: How to Keep Your Pea Gravel Patio Looking Fresh
One of the best things about a pea gravel patio is how little maintenance it actually requires. We’ve had ours for years now, and all we really do is apply a bit of natural weed killer each spring to keep things tidy. The gravel settles in beautifully over time, and we haven’t needed to top it off or rake it often. If you do notice shifting or thinning in high-traffic areas, just give it a quick rake and add a thin layer of fresh pea stone to keep it looking new. That’s it—simple, easy, and low-fuss all year long.
→ Watch the full video of our completed pea gravel patio here:

In My Mother’s Maine Home
Step inside our inherited coastal Maine home where antiques, thrifted treasures, and family memories come together. Explore the full series for room-by-room decorating ideas, restoration updates, and the story behind this special place.
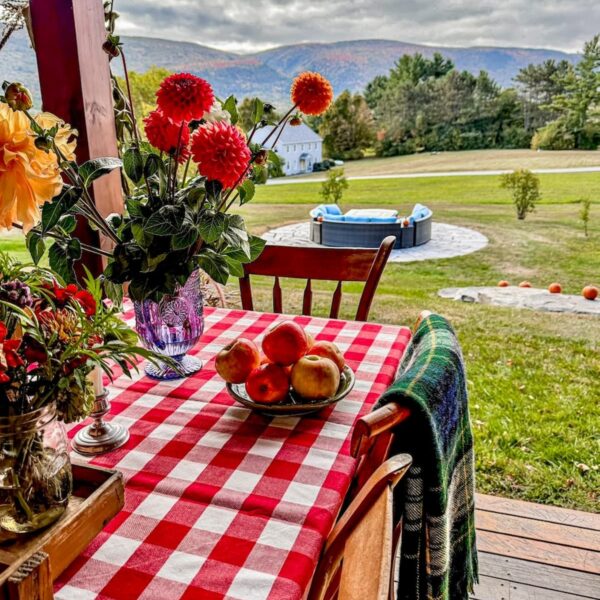
Small Pea Gravel Patio Ideas for a Backyard Fire Pit
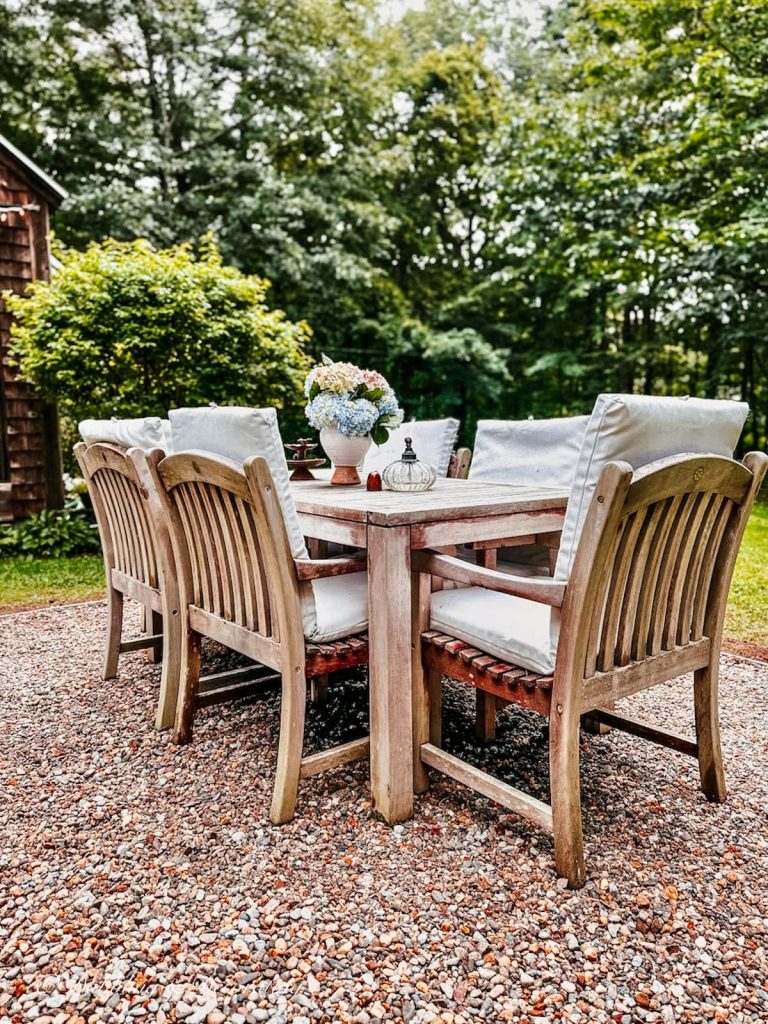
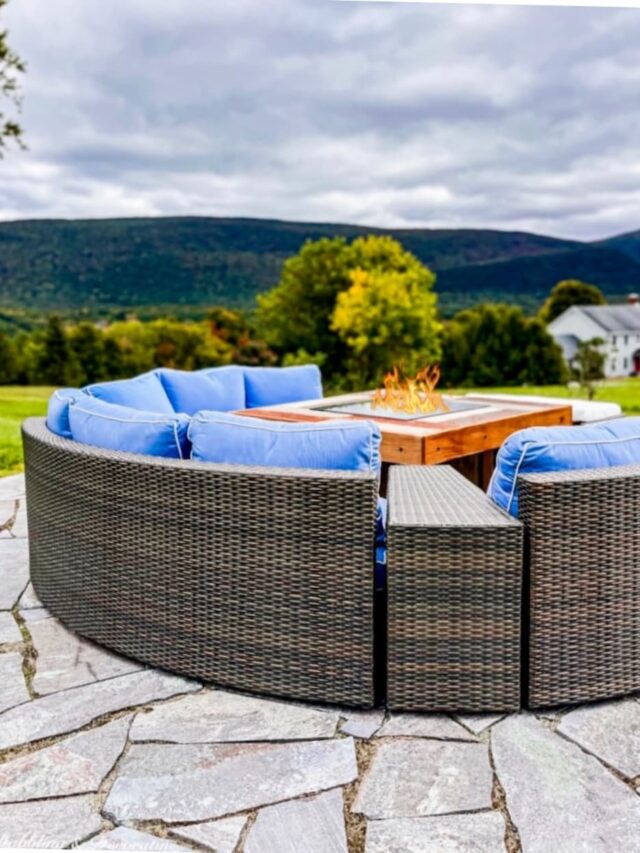
Creating a pea gravel patio at our coastal Maine home has been one of our most rewarding and manageable weekend DIY projects. And we loved the results so much that we extended the same look around our outdoor stone fire pit. The matching gravel ties the two areas together beautifully, creating a cohesive backyard retreat that feels both natural and elegant.
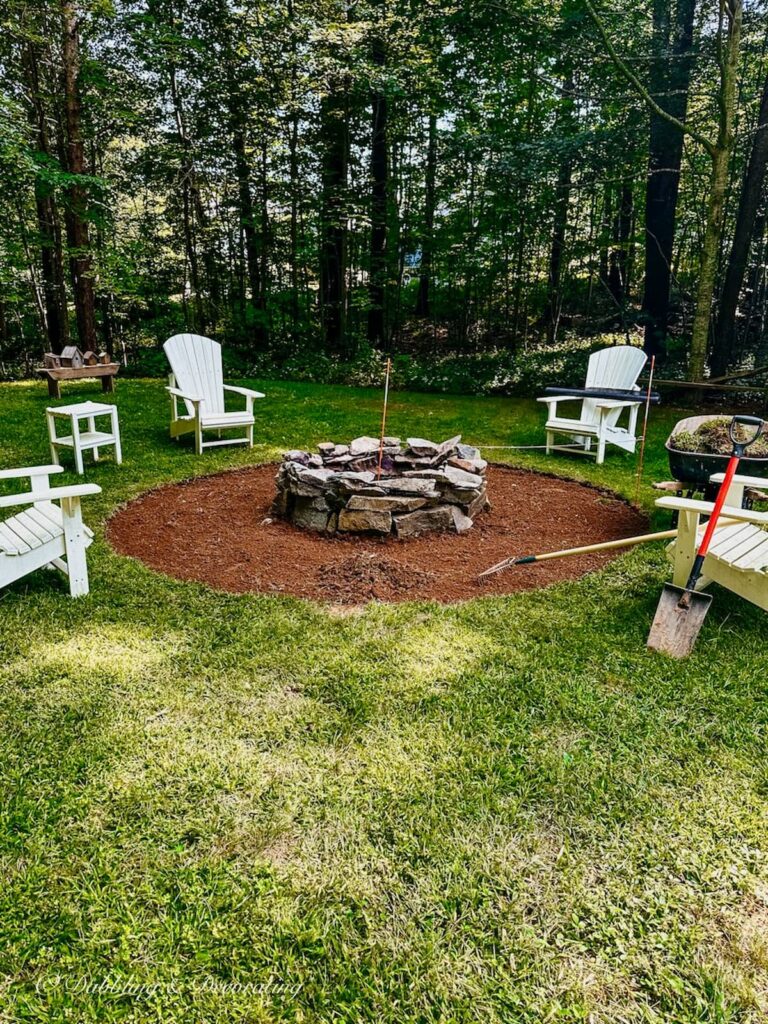
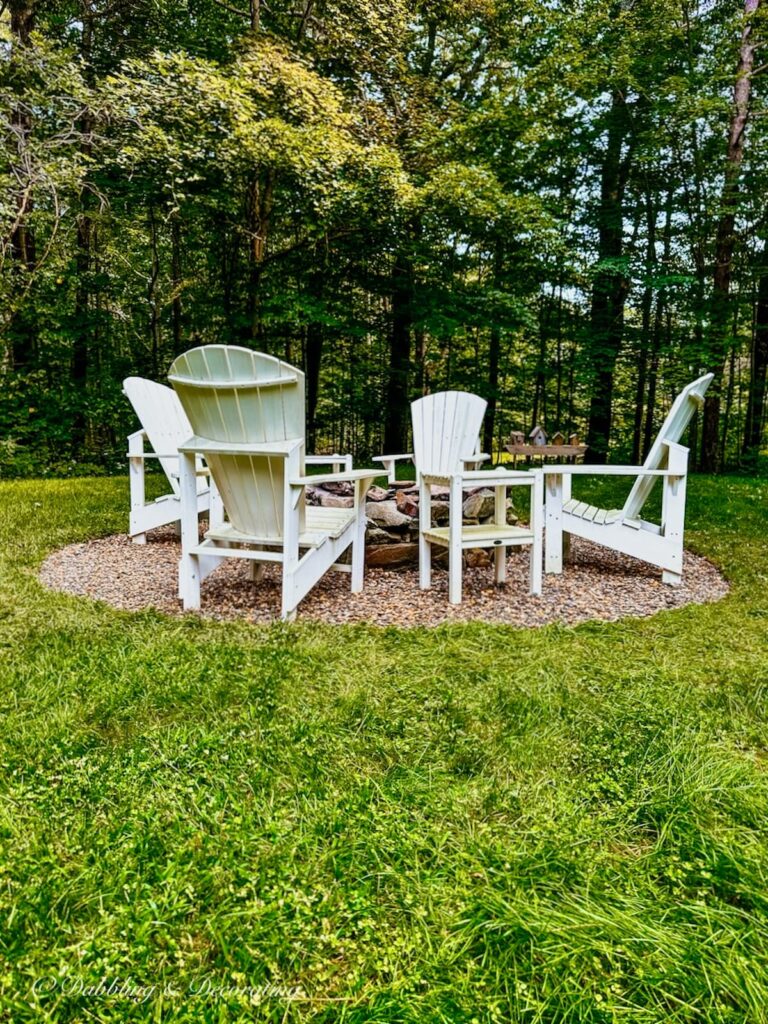
This small pea gravel patio adds a timeless look with clean edges, low-maintenance charm, and zero grass or weeds popping through. Whether you’re hosting friends or soaking in the stillness of a solo evening by the fire, it’s a sturdy and stylish foundation for any outdoor furniture setup.
And the best part? With a little prep and planning, you can build a DIY pea gravel fire pit patio in a single day. It’s a budget-friendly upgrade that’s every bit as enjoyable as it is beautiful.
Quick Recap: How to Build a Pea Gravel Patio
Here’s a simple step-by-step guide to creating your own pea gravel patio in just a weekend:
• Choose your patio shape (round, oval, square, or custom) and mark it out with driveway stakes or string.
• Dig the patio area, remove the grass, and outline the edge with a garden spade.
• Rake and level the dirt, then use string and a level to ensure a flat surface.
• Install landscape edging (optional) and a weed barrier to keep grass from poking through.
• Shovel and spread the pea gravel, aiming for a 2–3 inch depth.
• Compact the gravel as tightly as possible for a smooth, stable finish.
• Style your patio with furniture, planters, and personal touches—and enjoy your new outdoor space!
You May Also Like

Frequently Asked Questions About Pea Gravel Patios
How much pea gravel do I need for a small patio?
What type of gravel is best for a patio?
Do I need landscape fabric under a pea gravel patio?
How do you keep pea gravel in place on a patio?
Can you build a pea gravel patio in one weekend?
Does a pea gravel patio add value to your home?
Have you built a pea gravel patio or thinking about it? I’d love to hear your plans or answer any questions—drop a comment below!

Join the Vintage Circle — Familiar Finds, Styled Your Way™
Love vintage treasures, thrifted gems, and a home that tells your story? Leave a comment, share this post with a kindred spirit, or head to my Start Here page to explore more. Want fresh prompts and timeless ideas? Subscribe to join our Seasonal Vintage Decor Styling Challenge for weekly inspiration and behind-the-scenes peeks.
Pin forLater!

Shop This Post
This post may contain affiliate links, which won’t change your price but will earn us commission.

It turned out so amazing Anne!
Thanks so much Kristin!
The new and improved space looks great Ann. And I see that Ella likes it as well!
Thanks so much Kim!
I love the teak table on the pea stone took. It looks just perfect. And it didn’t take too long to do it your self! And it kept e,la amused too!
Pretty, practical, and Ella approved!!❤️🐾❤️🐾❤️😊😊
LOl, yes we love all that don’t we Kathy! Thanks for popping in today!
Thanks for sharing and this will help me when I put one in.
Looks great Ann! Steve’s shoulder must be feeling better too!
Thanks Lisa, yes he’s been cleared! LOL
I really enjoyed this. Thank you for sharing the steps. It came out great. My son just bought a farm house and I look forward to helping him add little touches like this.
Joann
Thank you Joann, I’m so glad you like it. It’s definitely a very doable and easy project that is so worth it!