


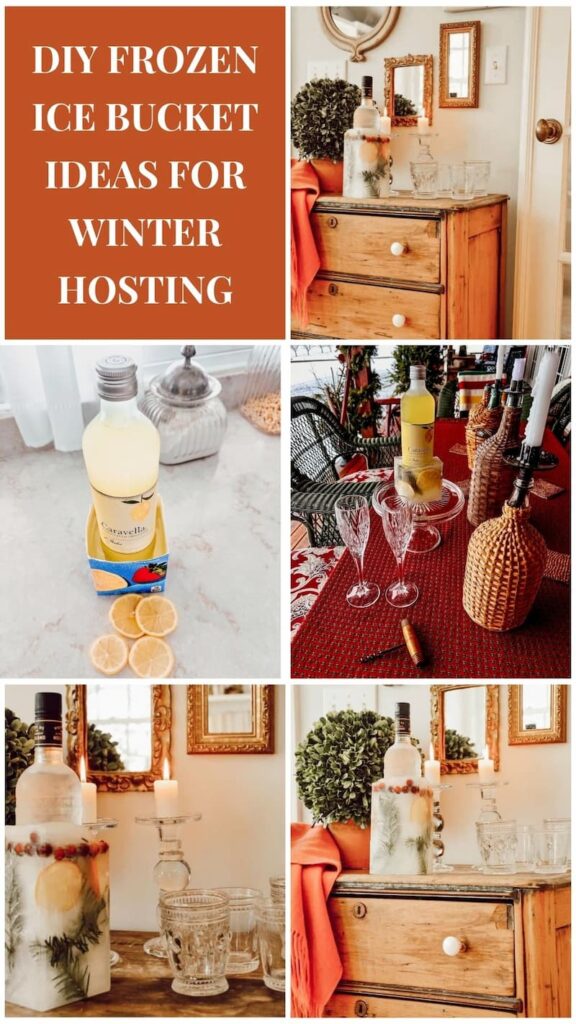
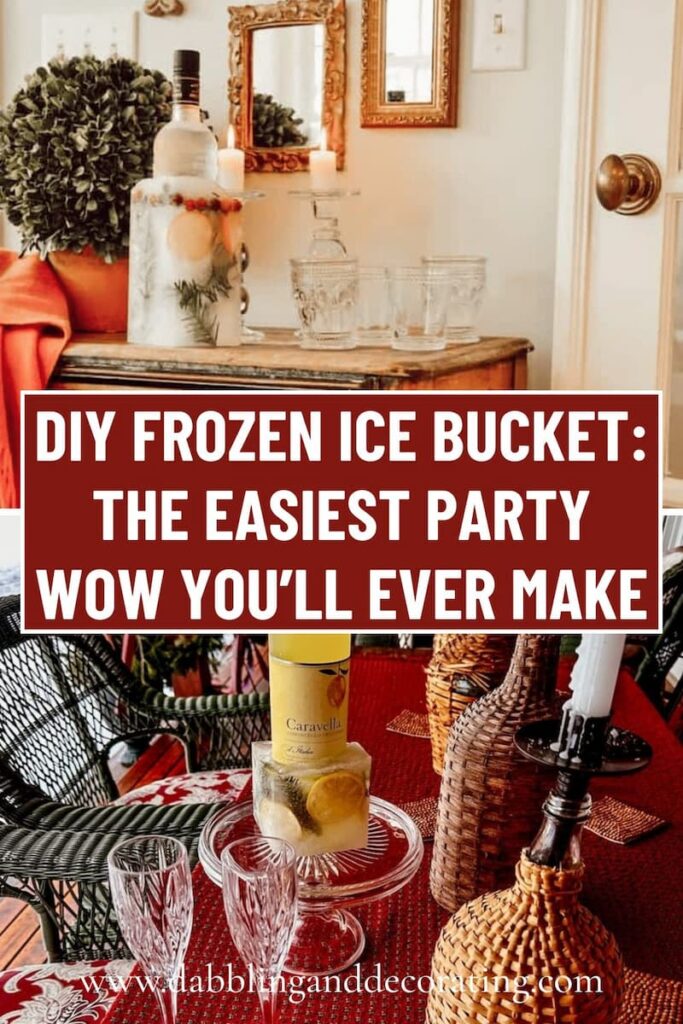
Make a DIY frozen ice bucket that steals the spotlight. This easy tutorial shows you how to freeze one at home using everyday items for a showstopping bar cart or hostess gift.
If you’re looking to add a little winter charm to your next gathering (or need a last-minute hostess gift that feels anything but), these DIY frozen ice bucket ideas are such a fun one to try. I’ve made a few over the years for holiday parties and cozy nights at home, and they always seem to steal the spotlight on the bar cart. They’re simple to make using bowls you already have, and I’ll walk you through exactly how I do it, along with a few tricks to keep them from melting too fast. Whether you’re hosting friends or heading out with a bottle in hand, this is one of those easy DIYs that feels a little magical.
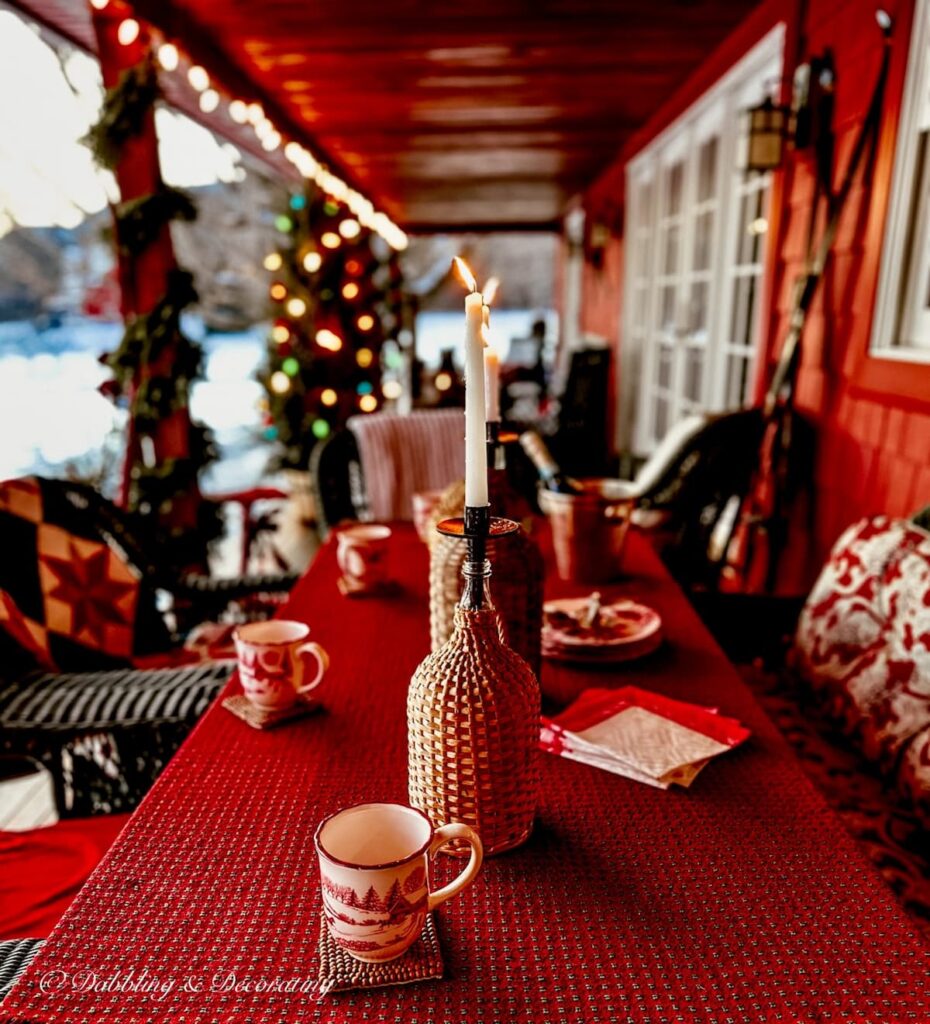
Simple New England Vintage Christmas Decorating Guide for Every Space in Your Room
Discover timeless ways to decorate every corner of your home with cozy, vintage-inspired Christmas charm. From mantel displays to festive porches, this guide brings New England holiday style to life, simply and beautifully.
What Is a DIY Frozen Ice Bucket (And Why Everyone Will Want One)
A DIY frozen ice bucket is exactly what it sounds like: a gorgeous, made-from-ice wine chiller that you create right in your own freezer. No fancy molds, no special tools, just a couple of refrigerator cartons, water, and a little creative layering. I love making these during the winter months because they’re easy, festive, and always get people talking.
You can customize them with whatever you love, greens, dried flowers, herbs, or just keep it simple. They’re perfect for setting out on a bar cart, adding a little sparkle to your holiday table, or wrapping up as a beautiful hostess gift. I’ve made a few over the years, and every time, someone asks me, “How did you make that?” So now, instead of trying to explain it mid-toast, I just smile and say, “I’ll send you the blog post.”
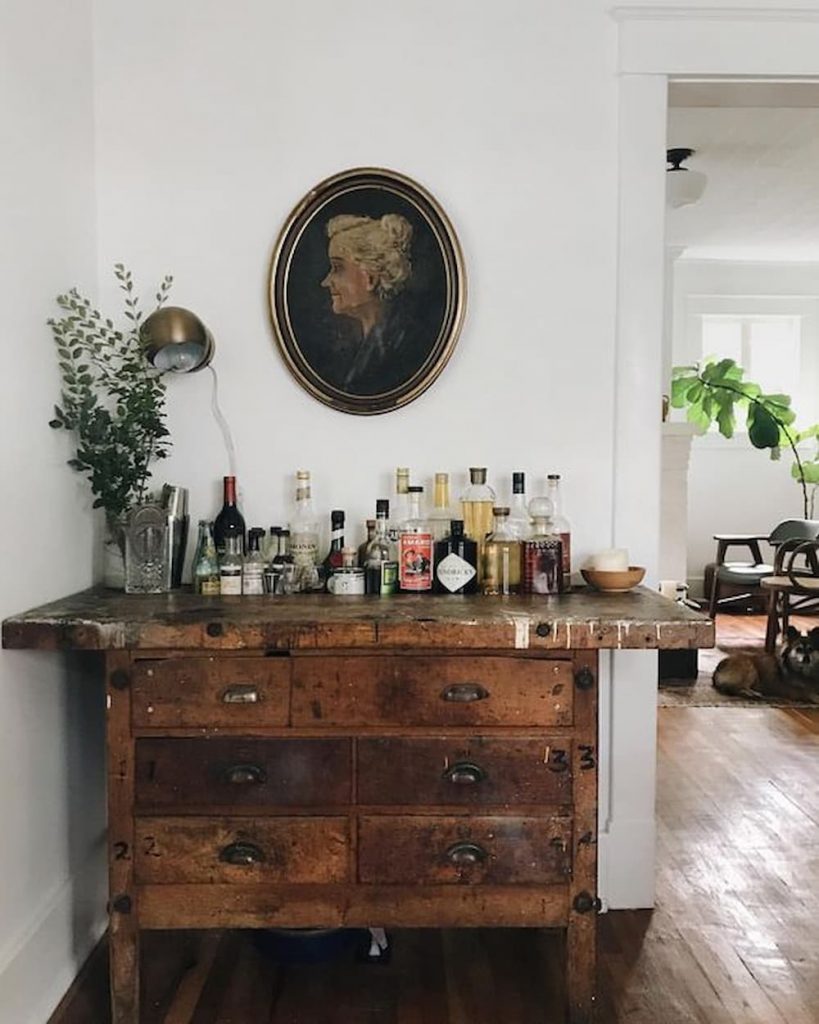
Easy DIY Home Decor Projects with Vintage Style
Explore our easy DIY home decor guide with vintage style, using thrifted and repurposed finds. Simple, beginner-friendly ideas to decorate your home with charm.
How to Make a DIY Frozen Ice Bucket (Step-by-Step)
Ready to make your own frozen ice bucket? It’s easier than you think, and once you’ve done it once, you’ll be hooked. This is the kind of winter DIY that looks like it took hours but comes together with just a few everyday items and a little freezer space.
What You’ll Need to Make a DIY Frozen Ice Bucket
You don’t need much to get started, just a couple of simple milk cartons and whatever decorative touches you’d like to freeze into your bucket. Here’s what I use to make mine:

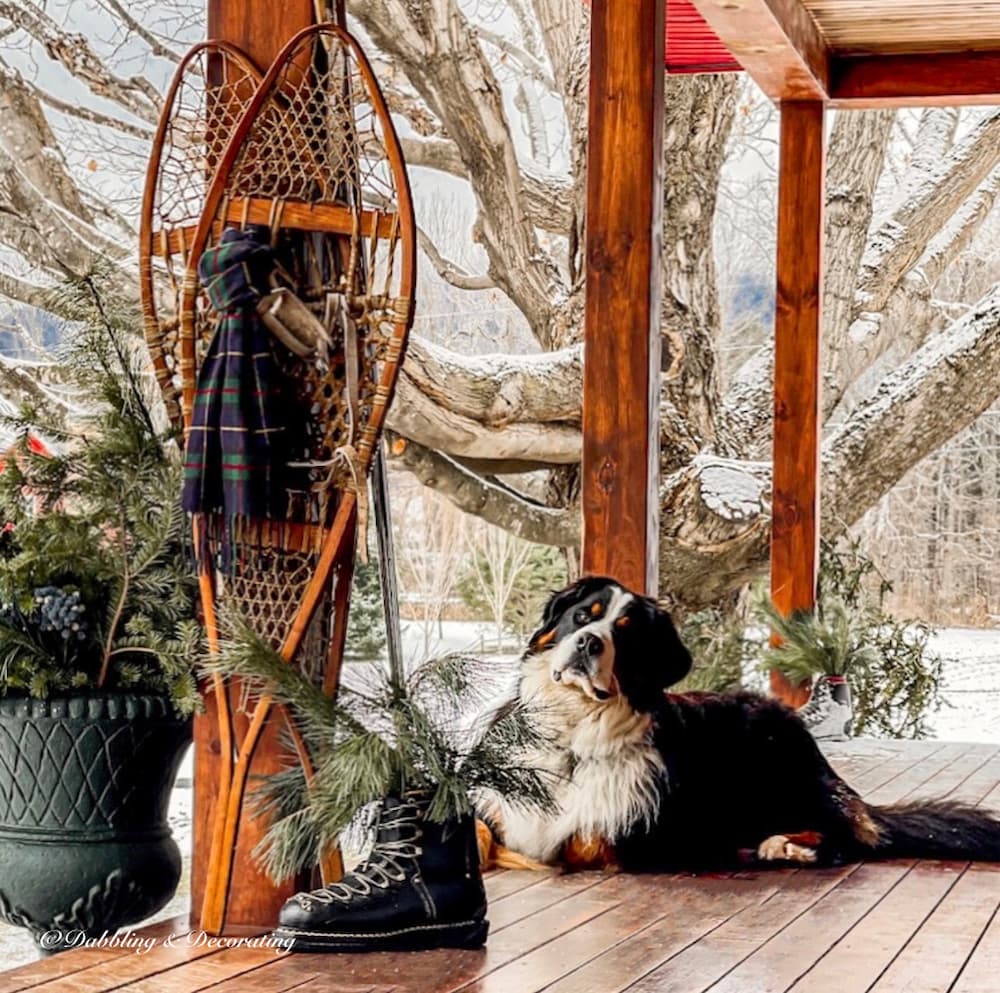
A New England Guide to Vintage Ski Lodge Decor
Love cozy winter charm and antique alpine finds? Don’t miss our Vintage Ski Lodge Decor Guide, where I share nostalgic winter decorating ideas, vintage ski gear styling, and charming pieces inspired by Vermont’s snowy mountain life.
Step 1: Cut the Carton to Create Your DIY Frozen Ice Bucket Mold
Start by cutting the top off your juice or milk carton, just the top quarter, like you see here. You want to leave most of the container intact to give your ice bucket its shape and depth. A simple pair of scissors works great for this. No need to be perfect, just straight enough to hold your bottle in the center without tipping.

Step 2: Place Your Bottle to Build Around It
Next, place your favorite bottled beverage into the center of the carton. I used a tall bottle of vodka for this one; anything with enough alcohol content to stay liquid in the freezer works well, like wine or spirits. Just be sure not to use something that will freeze solid, since that can expand and crack your ice bucket. Center the bottle carefully so the ice forms evenly around it and looks polished when it’s ready to serve.

Step 3: Fill the Carton with Warm Water (But Not All the Way!)
Now it’s time to add your water. Pour warm (not hot) tap water into the carton, filling it about three-quarters of the way full. You want to leave a little room at the top to allow for expansion as the water freezes. Warm water can help create slightly clearer ice, and it gives you a bit more time to adjust your decorations before everything sets.

Vintage Home Decorating Guides and Styling Inspiration
Are you curious about vintage decor but don’t know where to start? These cornerstone guides are packed with seasonal styling tips, how-tos, and inspiration to help you confidently decorate with charm and character.
Step 4: Add Your Florals, Fruits, or Berries for a Festive Touch
Now for the fun part, drop in your florals, fruits, or greenery around the bottle, letting them float and settle naturally into the water. I love using red berries for a pop of color, and lemon slices are always a cheerful addition. You can keep it simple or mix and match depending on the look you’re going for. Just make sure everything stays around the edges so it freezes into the ice and shows through once you unmold. Give the bottle a gentle nudge to re-center it if needed; it may shift slightly as you decorate.

Step 5: Freeze Your DIY Frozen Ice Bucket Overnight
Once your decorations are in place, it’s time to freeze your DIY frozen ice bucket. Carefully place the entire carton upright in your freezer and let it freeze for at least 12 hours; overnight is best. Keeping it standing tall and level will help the ice form with a clean, even shape. This is one of those projects that’s as easy as it gets, as long as you give it the time (and space) to freeze properly.
📸 I’m sharing a peek at mine in the freezer so you can see exactly how I set it up.


Thrifting with the Gals
Love the thrill of the hunt? Thrifting with the Gals is a blog series packed with secondhand scores, vintage styling ideas, and real-time thrift adventures you won’t want to miss.
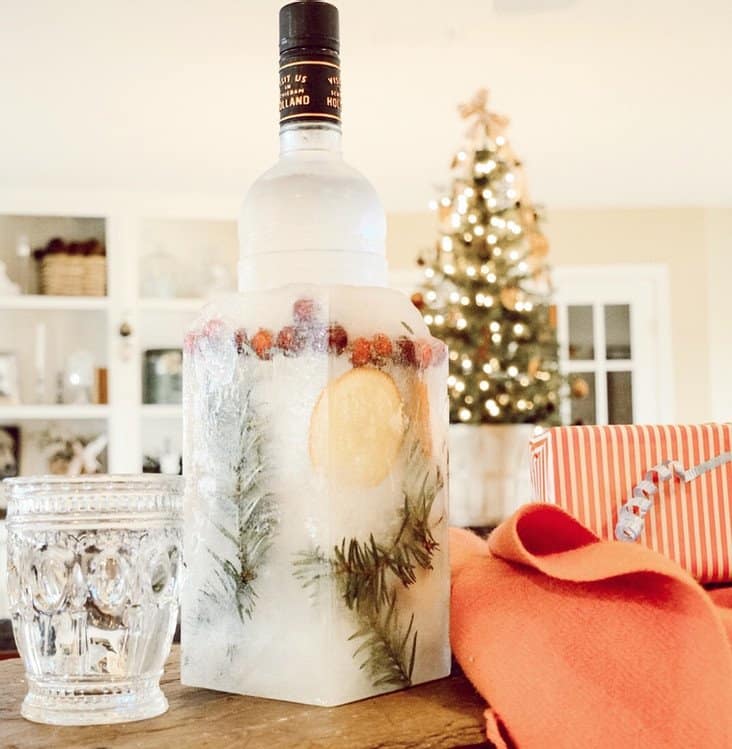
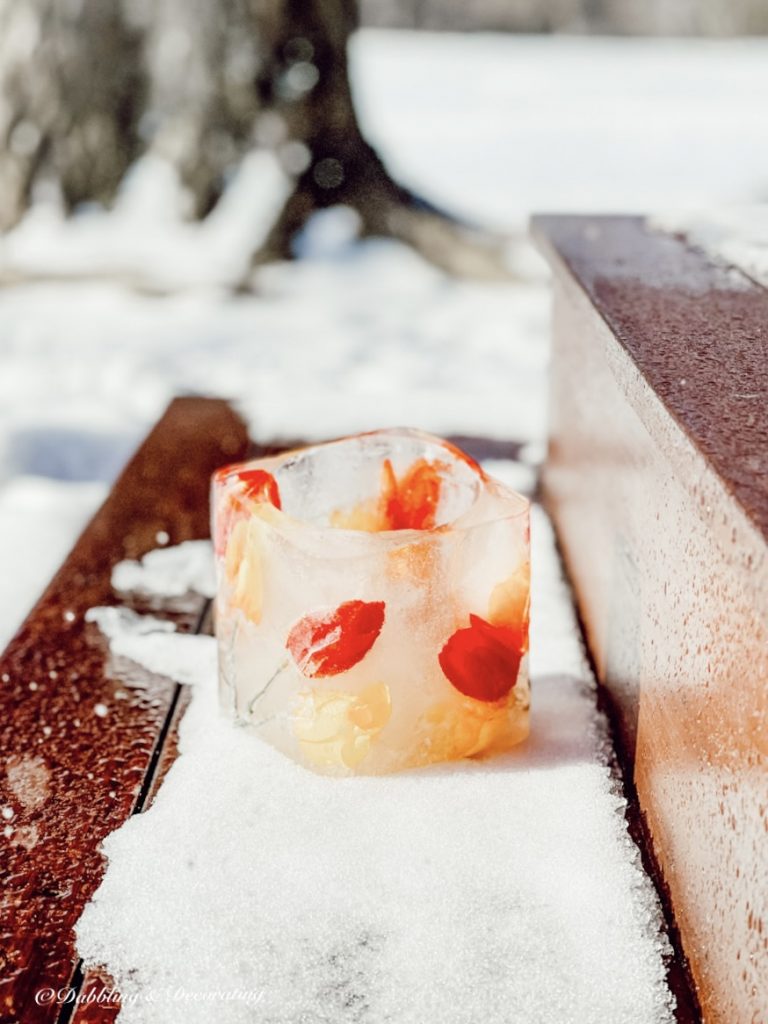
Step 6: Unmold Your DIY Frozen Ice Bucket and Get Ready to Wow
Once your ice bucket is fully frozen, it’s time for the big reveal. Gently remove it from the freezer and peel away the carton. It should come off easily, just tear the sides and lift. What you’re left with is a gorgeous, crystal-clear DIY frozen ice bucket ready for your next celebration. It’s simple, it’s striking, and it never fails to impress. Whether you’re hosting or gifting, this little showstopper always steals the spotlight.
I’ve loved making these DIY frozen ice buckets over the years, especially to bring along as a hostess gift. They’re always a hit, and no two ever turn out quite the same. You can easily size them up or down depending on the carton you use. A tall juice container makes a great standard size, but smaller cartons or even wide tins can work if you want to experiment with different shapes.
Try a Styling Tip!
Looking for simple, vintage-inspired decorating ideas you can try in an afternoon? Explore all my Styling Tips for easy seasonal projects, quick DIYs, and creative ways to style your home with charm.
How to Use a DIY Frozen Ice Bucket at Your Next Party
A DIY frozen ice bucket isn’t just a pretty project; it’s meant to be used and enjoyed. Whether you’re hosting a cozy winter night in or heading to a holiday gathering, these wine chillers add charm, creativity, and just the right touch of wow to your setup. And the best part? You can tailor your DIY frozen ice bucket to match any mood or occasion.

DIY Frozen Ice Bucket Ideas to Match the Mood
Before you freeze, think about the look you want to create. For winter and Christmas, I love using red berries, sprigs of greenery, or dried orange slices inside the ice. If you’re making a DIY frozen ice bucket for a spring or summer get-together, try citrus slices and soft florals for a lighter look. You can even go tropical with bold colors and fun fruit if you’re feeling adventurous.

The Vintage Posts Readers Love Most
Start with the posts readers come back to again and again. These vintage decorating ideas are rooted in New England, styled with thrifted and antique finds, and filled with real-life tips you can use in your own home. Familiar Finds, Styled Your Way.
How to Start a Vintage Booth: Tips, Display Ideas, and Lessons Learned
Eclectic Decorating Style Guide: How to Layer Vintage, Antique, and Thrifted Decor
9 Vintage Booth Displays That Made Me Stop (And What You Can Learn From Them)
Scandinavian Spring Homes: 10 Light and Airy Cottage Tours to Inspire
Beyond the Flag: What to Look for in Antique Stores for Heritage Americana Decor
Where to Place Your DIY Frozen Ice Bucket
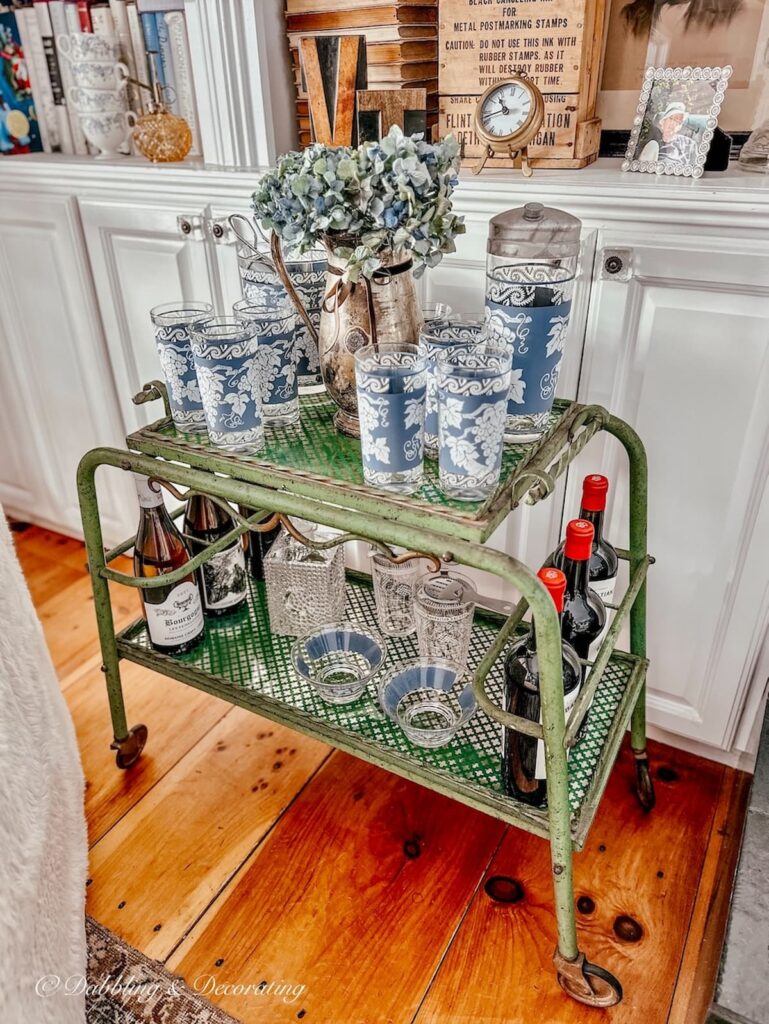
Your frozen ice bucket will melt slowly as the party goes on, so plan a spot with a plate or tray underneath. I love styling mine on a vintage platter, cake stand, or even a shallow enamel dish. It looks beautiful on a bar cart, buffet, or side table, and trust me, it will be the first thing your guests comment on.

Use Your DIY Frozen Ice Bucket as a Gift or Greeting
These also make such a thoughtful hostess gift. Just wrap your frozen ice bucket in cellophane, pop the bottle inside, and tuck it in a cooler for easy transport. Or, if you’re hosting, place one near the door or on your drink station to greet guests with something unique and homemade.

A DIY Frozen Ice Bucket is Always Camera-Ready
Once your ice bucket starts to glisten and melt just a bit, it becomes even more beautiful. I always try to snap a photo during that golden window, when the flowers or berries start to peek through the ice. It’s such a fun, festive moment to capture, especially if you’re using it as part of your party decor.
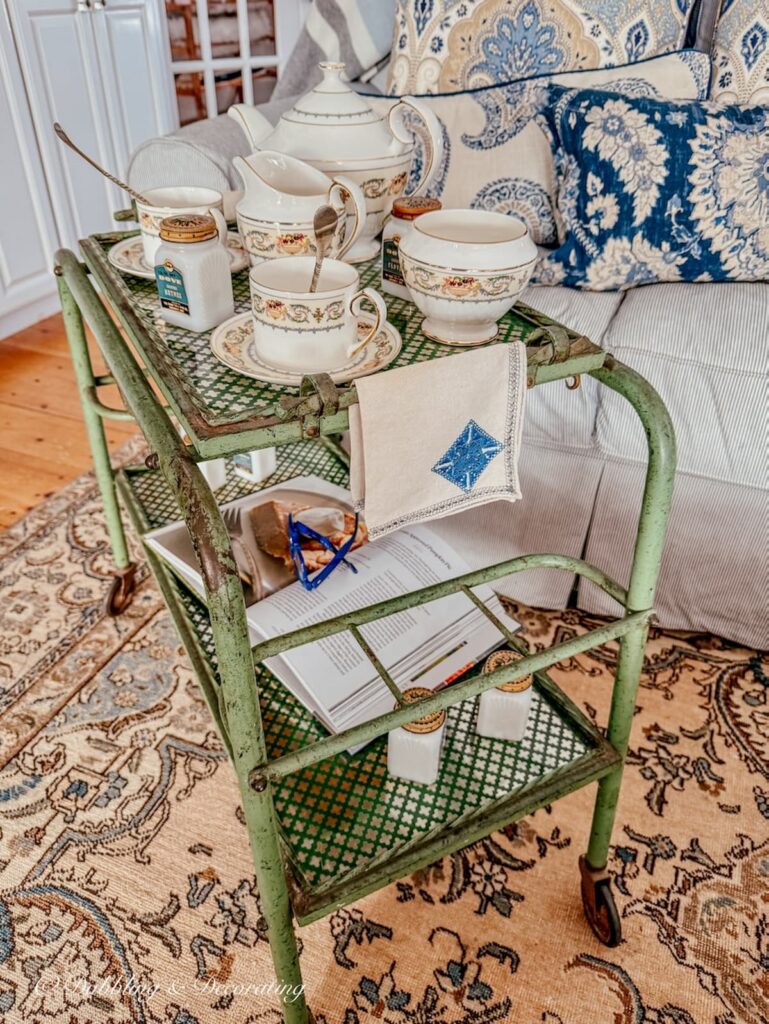
The Secret Cupboard: Vintage Decorating Ideas Readers Love Most
Peek inside The Secret Cupboard, a cozy collection of vintage decorating ideas readers love most. Filled with thrifted finds, styled corners, and quick home inspiration.
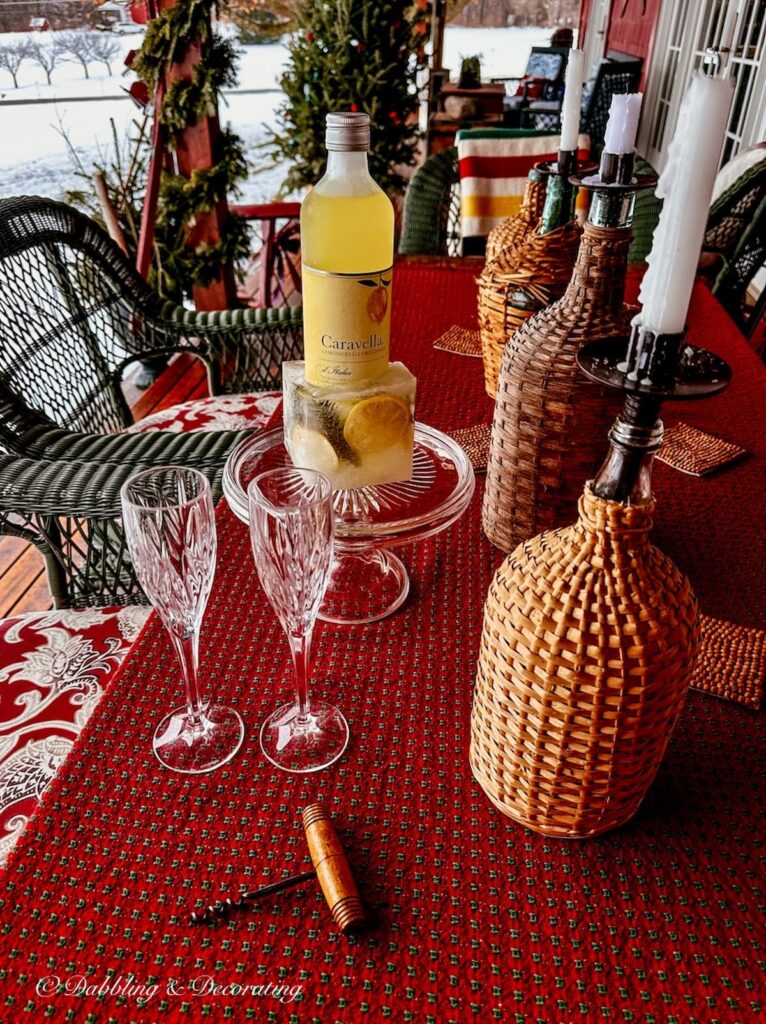
Limoncello DIY Frozen Ice Bucket
Here’s another DIY frozen ice bucket I recently made, this time using a bright bottle of limoncello to bring to a holiday party. For this version, I filled the container a little less than usual so it would be easier to lift and serve by hand. I tucked in a few fresh lemon slices for color and added small evergreen branches from our Christmas tree to keep the lemons from floating to the top. Once frozen, it created the prettiest mix of yellow and green, fresh, simple, and just right for a cheerful winter get-together.

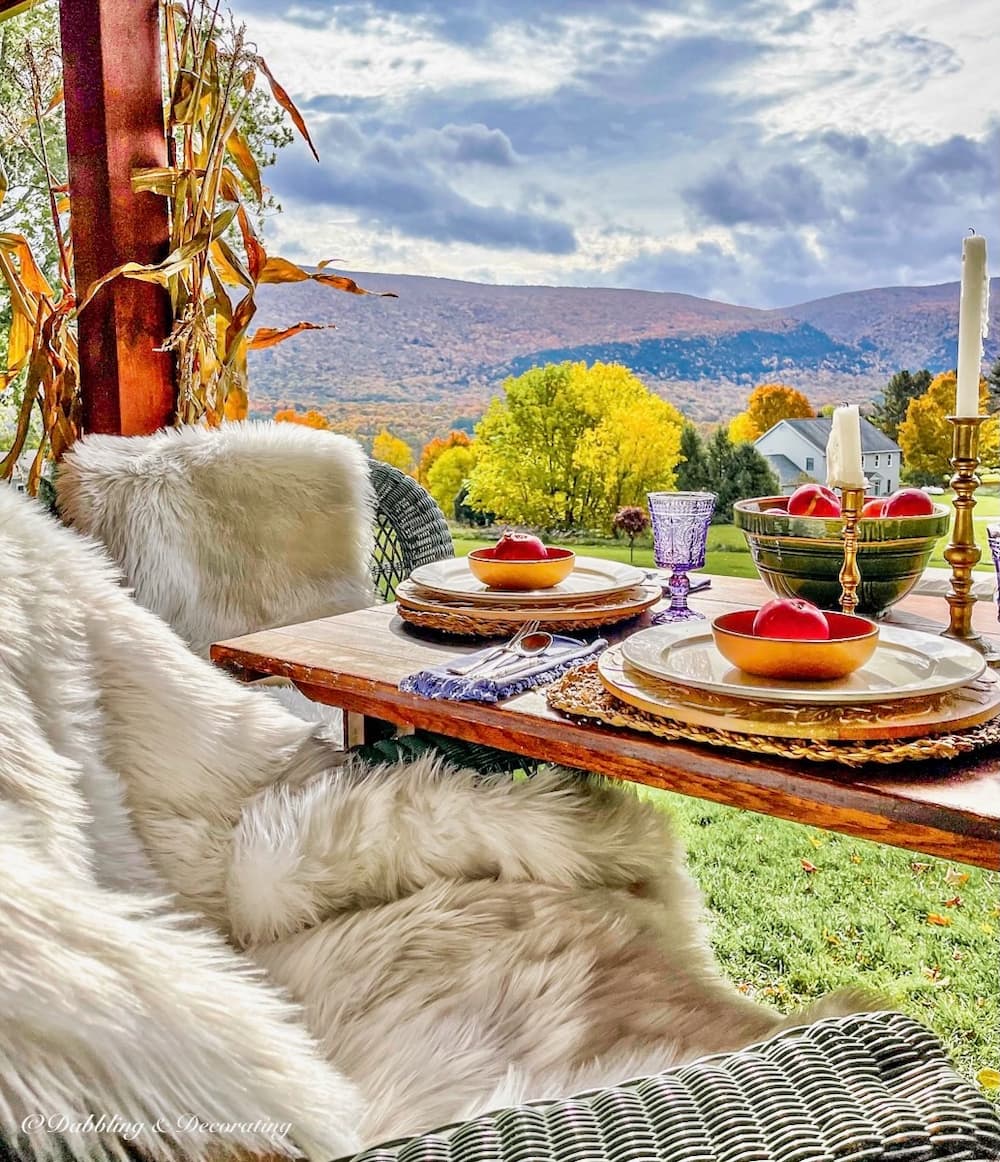
Cozy New England Decorating Inspired by Vermont Mountain Views
Experience how our breathtaking Vermont mountain views inspire cozy New England-style decorating ideas throughout the seasons. Discover timeless tips for bringing warmth and charm into your home with nature as your muse.
Try a DIY Frozen Ice Bucket This Season
Whether you’re hosting friends, wrapping up a hostess gift, or just looking for a fun way to dress up your bar cart, a DIY frozen ice bucket is one of those simple projects that always makes a big impression. No two ever turn out quite the same, and that’s part of the charm.
I hope you feel inspired to give one a try; it’s easier than it looks, and the results are always worth it.
Looking for more ideas to keep your gatherings creative and cozy? Check out some of my favorite ice crafts, drink displays, and bar cart styling ideas below.

Frequently Asked Questions About DIY Frozen Ice Bucket
To make a DIY frozen ice bucket, place a bottle inside a larger container (like a juice or milk carton), add water around it, and decorate with fruits, florals, or greenery. Freeze for at least 12 hours, then peel away the mold and serve!
Use a beverage that won’t freeze solid, vodka, wine, champagne, or any liquor works well. Avoid non-alcoholic drinks unless you’re just using them for placement and removing them before freezing.
Most frozen ice buckets will last 3 to 6 hours indoors, depending on the room temperature and thickness of the ice. Be sure to place it on a tray or dish to catch melting water.
Juice or milk cartons work great because they’re flexible and easy to cut away. You can also use two nesting bowls or metal tins—just make sure there’s enough room between them for the ice to form around the bottle.
Yes! You can make it several days in advance. Once frozen, keep it sealed in the freezer until you’re ready to unmold and use it. Just be sure to allow time for a full 12-hour freeze.
Join the Vintage Circle — Familiar Finds, Styled Your Way™
Love vintage treasures, thrifted gems, and a home that tells your story? Leave a comment, share this post with a kindred spirit, or head to my Start Here page to explore more. Want fresh prompts and timeless ideas? Subscribe to join our Seasonal Vintage Decor Styling Challenge for weekly inspiration and behind-the-scenes peeks.
Pin forLater!

I love this idea, Ann! I’m curious about how long the ice bucket will stay frozen at a party. I see where you say to set on a plate but wondered if it would look good even after several hours.
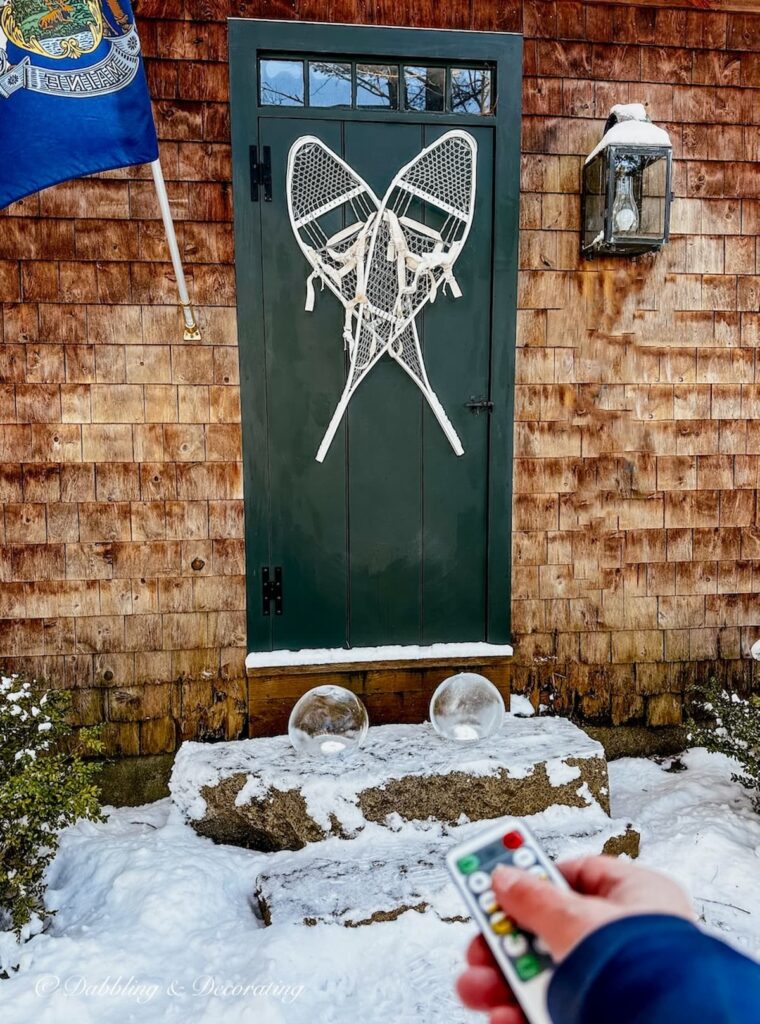
Hi Kim, the ice bucket will easily last for the duration of a party but definitely put it on a plate or keep it in the refrigerator if you like. I just made the globe ice lanterns, which they say last up to 10 hours inside. But again, I would put them on something as they will melt a little.