Transform vintage cheese crates into a mobile DIY side table. See how to stack and repurpose these crates for a one-of-a-kind bedside table.
DIY Side Table
A DIY side table is a great project for those who enjoy crafting and want to add unique pieces of furniture to their home. Here’s a simple guide to help you create your own DIY side table using old cheese crates.
This DIY side table project is super simple; anyone can make one.
Customize your DIY side table with different finishes, colors, or additional features to make it uniquely yours. Happy crafting!
What are Cheese Crates?
Cheese crates, also known as cheese boxes or cheese containers, are wooden crates specifically designed for storing and transporting cheese. These crates are commonly used in the cheese industry for various purposes, such as aging, storing, and shipping cheese.
Cheese crates are typically made of sturdy, untreated wood, which helps maintain proper airflow and moisture levels during the cheese aging process. The wooden construction allows for proper ventilation, preventing the cheese from becoming overly moist or developing mold.
The design of cheese crates may vary, but they usually have slatted sides and a solid bottom. The slatted sides allow air to circulate around the cheese, promoting even aging and preventing the growth of unwanted bacteria.
Cheese crates come in different sizes, depending on the needs of the cheese producer. Some crates are large enough to hold multiple wheels or blocks of cheese, while others are smaller and designed for individual portions or specialty cheeses.
In addition to their functional purpose, cheese crates can add a rustic and traditional aesthetic to cheese displays, storage areas, and, in today’s case, a DIY side table. They are often used in cheese shops, farmers’ markets, and specialty stores to showcase and present different types of cheese.

Where to find cheese crates?
If you’re interested in finding and using cheese crates for your own cheese storage, display, or DIY side table, you can often find them for sale at specialty kitchenware stores, online marketplaces, or directly from cheese supply companies.
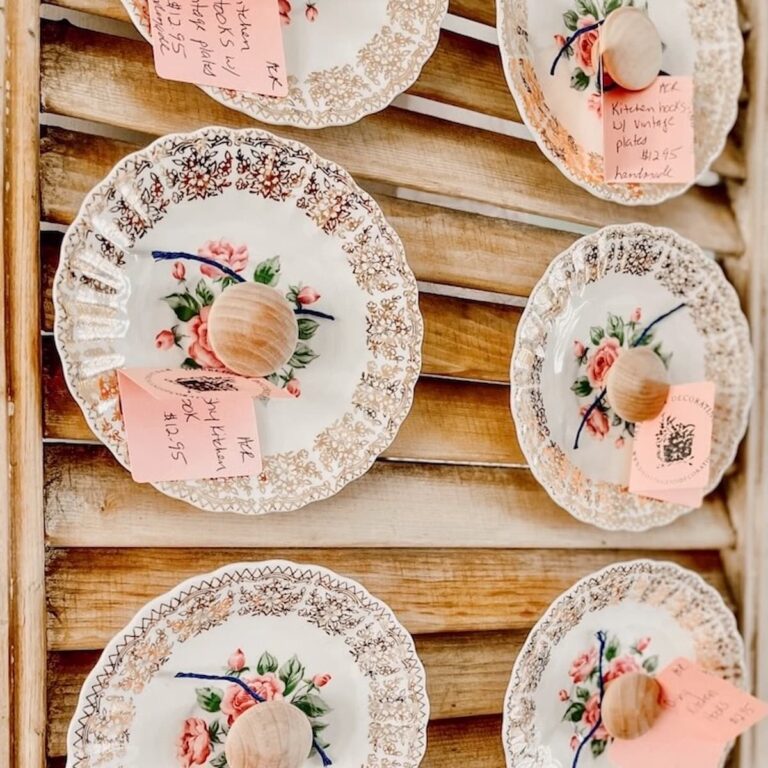
I often see old cheese crates at flea markets, second-hand shops, thrift stores, and similar places. That’s where I found the two I am using for our DIY side table today.
You will want two crates that are in the tall size, not the shorter size unless that works for you. And of course you don’t need to use cheese crates for this DIY side table project either, any favorite crate would work.
You may also find this How to Shop For Vintage Decor Online post useful when looking for old cheese crates.
How to Build a DIY Side Table with Cheese Crates
Materials Needed:
I used two screws per caster instead of the recommended four. As the casters held in exceptionally well with two screws, I didn’t want to put more pressure on the crate than was needed.

All we will do to make this easy mobile DIY side table is stack the cheese crates together and add the casters to the bottom, creating a fantastic and unique bedside table.
But you can use this DIY side table in a bathroom, sitting area, living room, dorm room, etc.; the choice, of course, is yours.
Step-by-Step DIY Side Table Instructions
Step 1
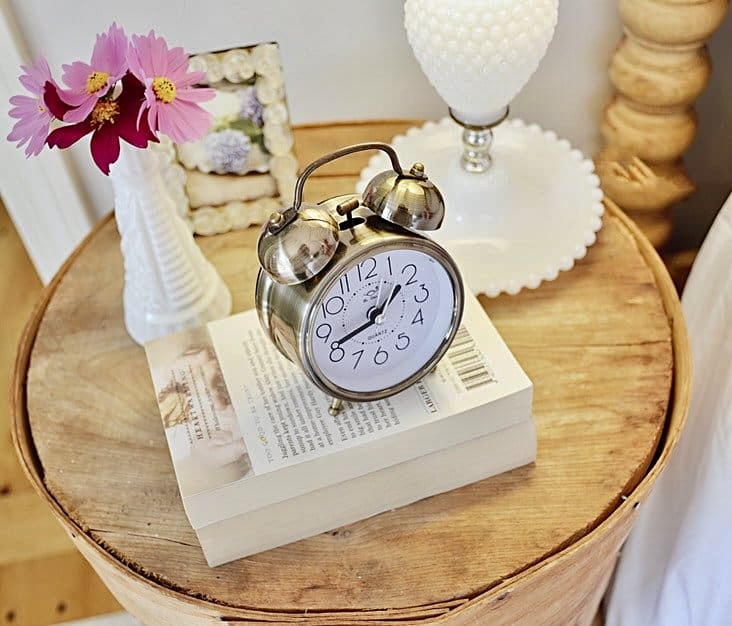
Choose the cheese crate you want on the top and bottom of your DIY side table. I chose this cheese crate for my top because I like the writing on it and wanted that to show on the tabletop.

Step 2:
Flip the selected bottom cheese crate over to start installing the casters.
Place and position four casters evenly around the bottom of the cheese crate, as seen here.

I positioned and attached each individual caster 1″ inch from the cheese crate’s rim.

Step 3:
Using a screwdriver screw the casters into the bottom of the cheese crate.
The screws should go in relatively easily. Therefore, an electric drill is not necessary and may actually be harmful to the cheese crate.
As a reminder, I only put two screws into the optional four holes of each caster.
They were very secure, and I didn’t want to harm the cheese container.


Pro Tip
You may also be inspired by these 16 Easy Spring DIY Ideas You Can Start Today post.

Step 4:
Stack your selected top cheese container on top of the bottom container that now has the casters.
It’s as easy as that!

Pro Tip
You may also find inspiration in this Pie Safe Antique Kitchen Cupboards Decorating Ideas post.
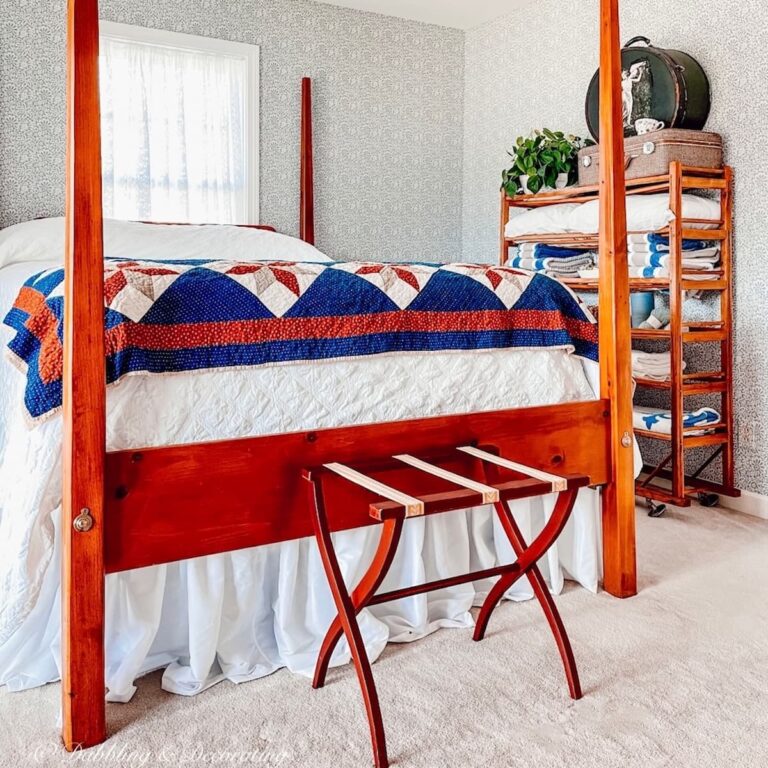
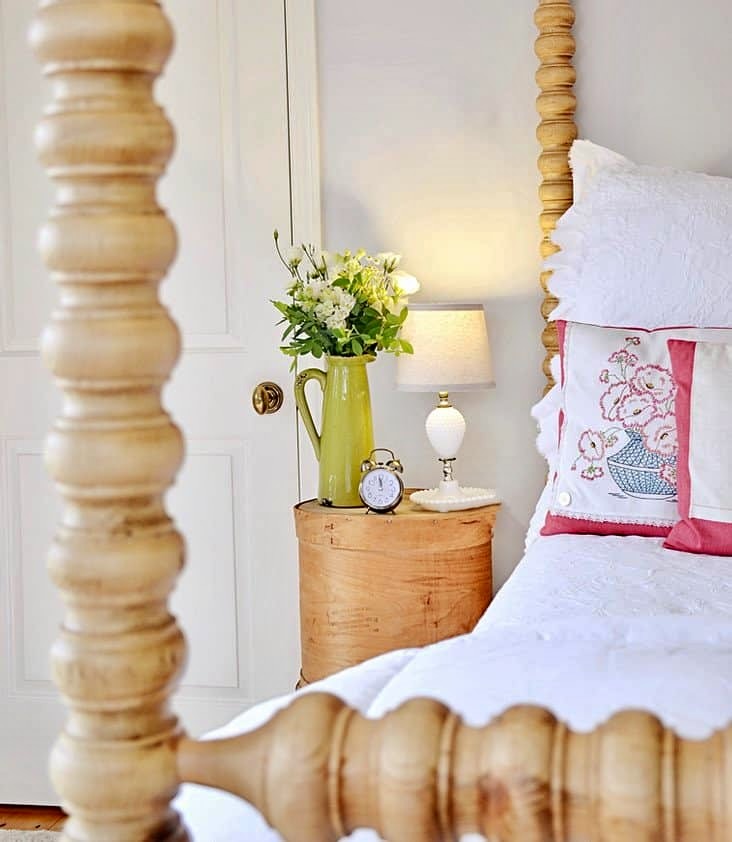
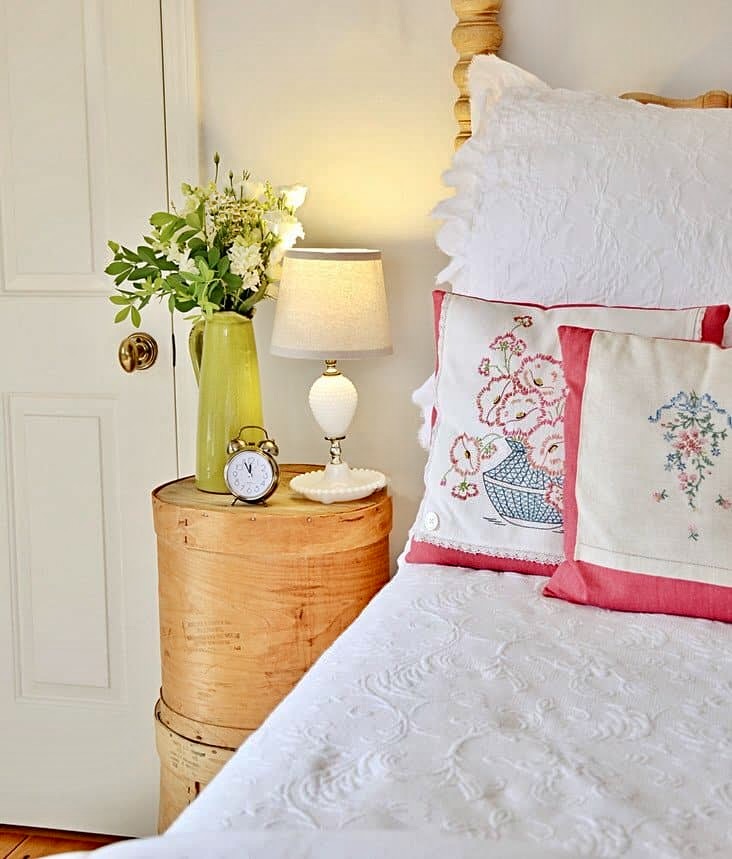
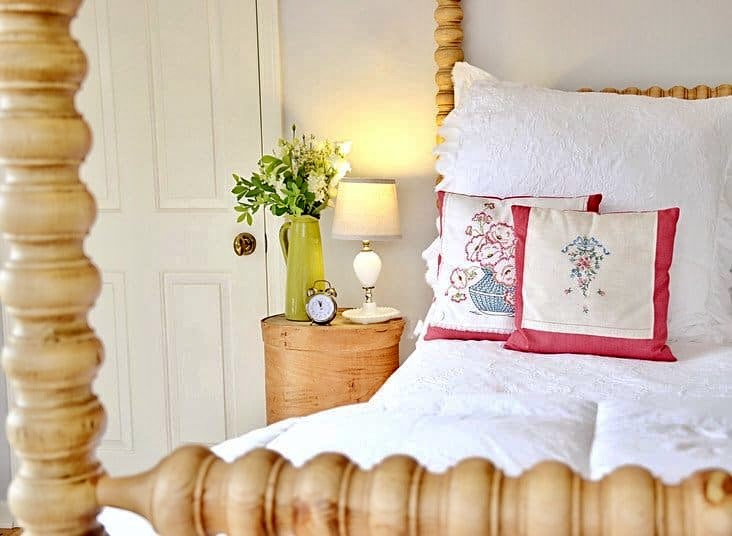
DIY Side Table Bedside
This DIY side table made of old cheese containers now fits beautifully in our bedroom as a unique mobile bedside table.
Remember you can customize your DIY side table with different finishes, colors, or additional features to make it uniquely yours.
Most Common Questions About A DIY Side Table
What is a DIY side table made out of?
A DIY side table can be crafted from a variety of materials! This blog post focuses on repurposing vintage cheese crates into a unique and charming side table. However, other creative options include old wooden crates, repurposed drawers, industrial pipes, wooden planks, or even upcycled shipping pallets. The possibilities are truly endless!
Can You DIY a side table?
Absolutely! Creating a DIY side table is a rewarding and achievable project for those with some creativity and basic crafting skills. This blog post demonstrates how to transform vintage cheese crates into a stylish and functional side table. However, countless other DIY side table tutorials are available online, catering to various skill levels and design preferences.
How long does it take to make a side table?
The time required to make a DIY side table varies greatly depending on the chosen method and the complexity of the design. This blog post demonstrates how to easily repurpose vintage cheese crates into a side table in under 30 minutes! Many other DIY side table projects can be completed within a few hours, making them a fun and achievable weekend project.
Pro Tip
You may also find more inspiration in this Vintage Aesthetic Bedroom Decor Ideas post.
Your Guide to Embracing Eclectic Style, Vintage Finds, and Thrifted Home Inspiration~
Love decorating with vintage finds, thrifted treasures, and eclectic charm? I’d love to hear from you! Leave a comment below, share this post with a vintage-loving friend, or join our Reader’s Showcase Series — where we feature your favorite thrifted and antique finds. Email me at [email protected] to be part of it!
Pin forLater!