
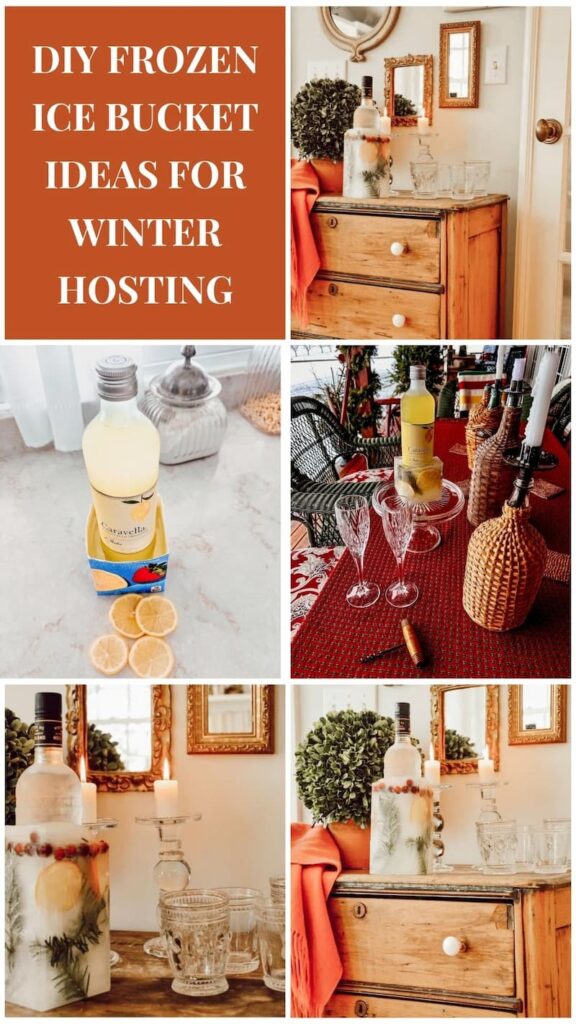
Learn how to make a DIY frozen ice bucket with citrus, flowers, and winter greenery. An easy, creative bottle chiller for parties and holiday entertaining.
I’ve been making DIY frozen ice buckets for years, and they’re still one of my favorite little party tricks for winter entertaining. Imagine arriving at a holiday gathering with a bottle of vodka or limoncello surrounded by ice, colorful berries, citrus slices, and fresh evergreens, all frozen together into one beautiful presentation. It’s an unexpected way to bring along a bottle, and it always gets people talking!
The idea started with an ordinary orange juice carton and a few things I had around the house. Since then, I’ve made different versions for holiday parties, hostess gifts, and après-ski gatherings on our Vermont porch. Today, I’m sharing how to make a DIY frozen ice bucket directly around a bottle, along with a few decorating ideas and tips I’ve picked up over the years.

A Snowy New England Christmas Decorating Guide
From snowshoes and retro porch lights to Christmas trees and holiday tables, explore this snowy New England Christmas decorating guide full of vintage ideas.
What Is a DIY Frozen Ice Bucket?
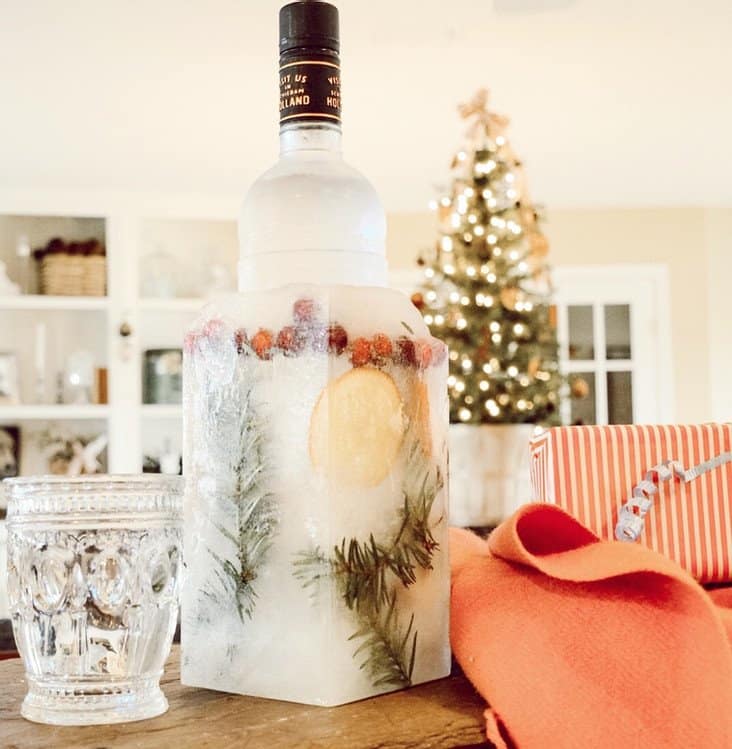
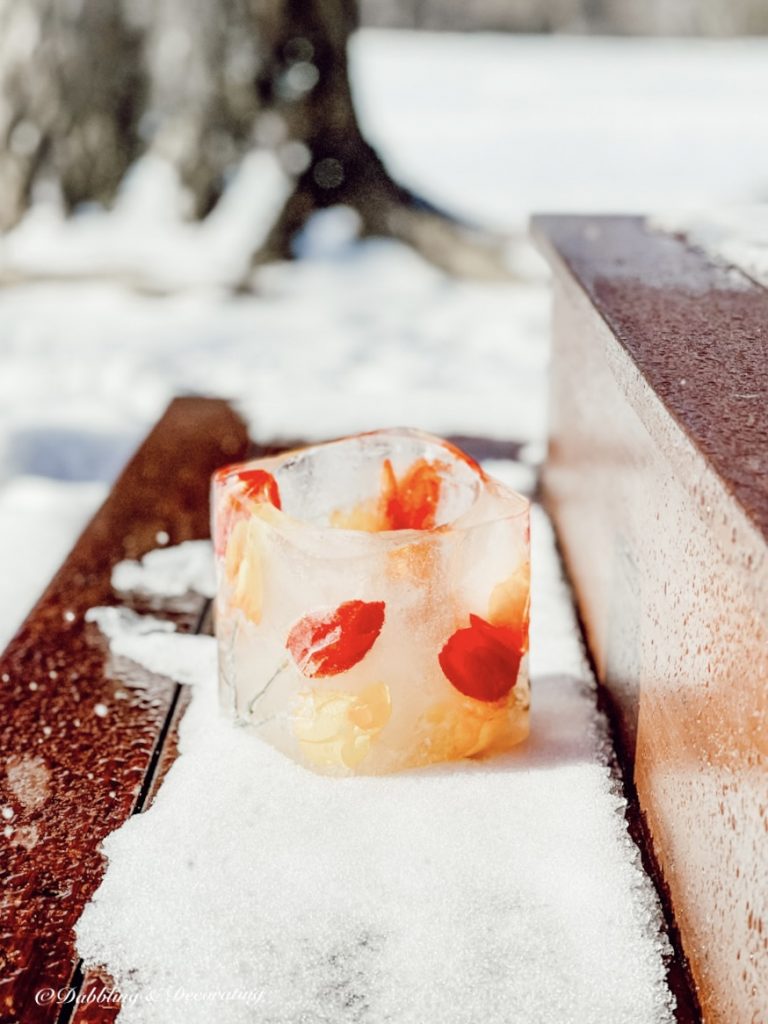
A DIY frozen ice bucket is a decorative bottle chiller made by freezing water, colorful berries, citrus slices, flowers, or winter greenery directly around a bottle of vodka or another suitable spirit. Once frozen, the bottle and ice become one piece, with all those pretty seasonal decorations suspended around it.
It’s a fun alternative to an ordinary bottle in a gift bag, especially for holiday parties and winter entertaining. Display yours on a vintage bar cart, holiday table, or outdoor beverage station. And the clever part? You can create the whole presentation using an ordinary juice carton!
Easy DIY Home Decor Projects with Vintage Style
Explore our easy DIY home decor guide with vintage style, using thrifted and repurposed finds. Simple, beginner-friendly ideas to decorate your home with charm.
How to Make a DIY Frozen Ice Bucket (Step-by-Step)
Making a DIY frozen ice bucket is surprisingly simple, and you don’t need a special mold or expensive supplies. I’ll show you how I use an ordinary orange juice carton to freeze colorful berries, citrus slices, and evergreens directly around a bottle of vodka or another suitable spirit, creating a decorative ice-covered bottle for your next gathering.
What You’ll Need to Make a DIY Frozen Ice Bucket
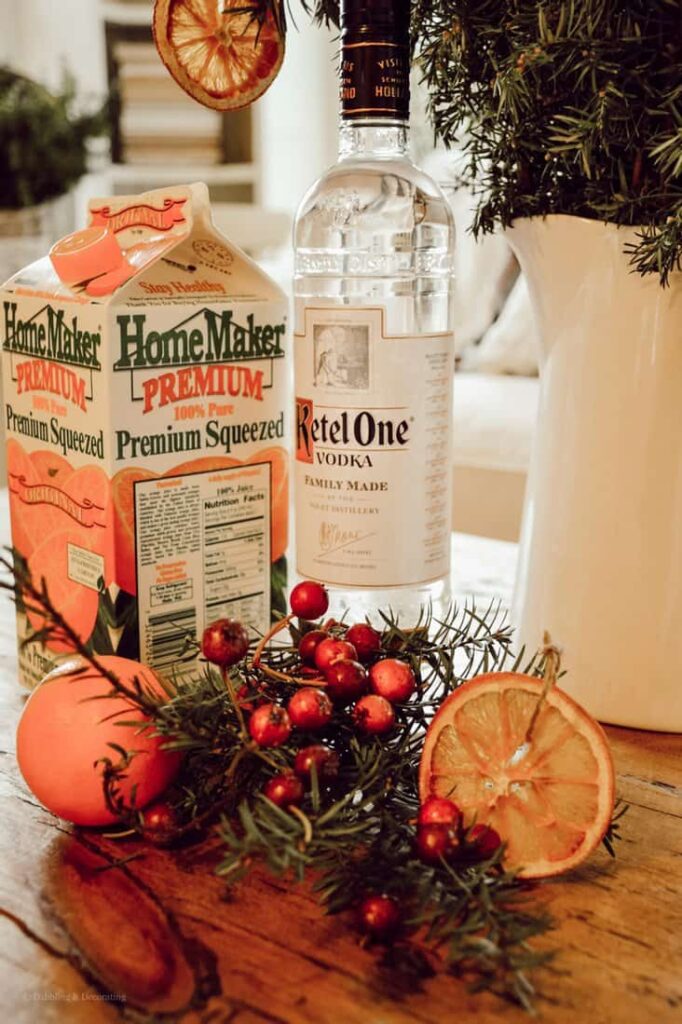
Here’s what I used to make my original frozen ice bucket:
- A cardboard orange juice or milk carton — large enough to fit your bottle with room around the sides for ice and decorations.
- A bottle of vodka or another suitable spirit — I used vodka for my original version. Choose a beverage with an alcohol content that keeps it liquid at freezer temperatures.
- Plain tap water — to freeze around the bottle and decorations.
- Evergreen branches, berries, citrus slices, or flowers — choose your favorite seasonal decorations.
- Scissors — to cut the top off the carton and remove it once frozen.
- Freezer space — enough room to keep the carton upright and level while the water freezes.

Before You Begin:
This project uses a sealed bottle frozen directly into ice. Choose carefully: spirits vary in alcohol content, and some can freeze in a household freezer. Freezing liquids inside sealed glass bottles can cause expansion and breakage. For a safer alternative, use a separate freezer-safe container to create an ice holder and add your chilled bottle afterward. Never use champagne, sparkling beverages, or other bottles that may freeze or build pressure.
A New England Guide to Vintage Ski Lodge Decor
Love cozy winter charm and antique alpine finds? Don’t miss our Vintage Ski Lodge Decor Guide, where I share nostalgic winter decorating ideas, vintage ski gear styling, and charming pieces inspired by Vermont’s snowy mountain life.
Step 1: Prepare Your DIY Frozen Ice Bucket Mold
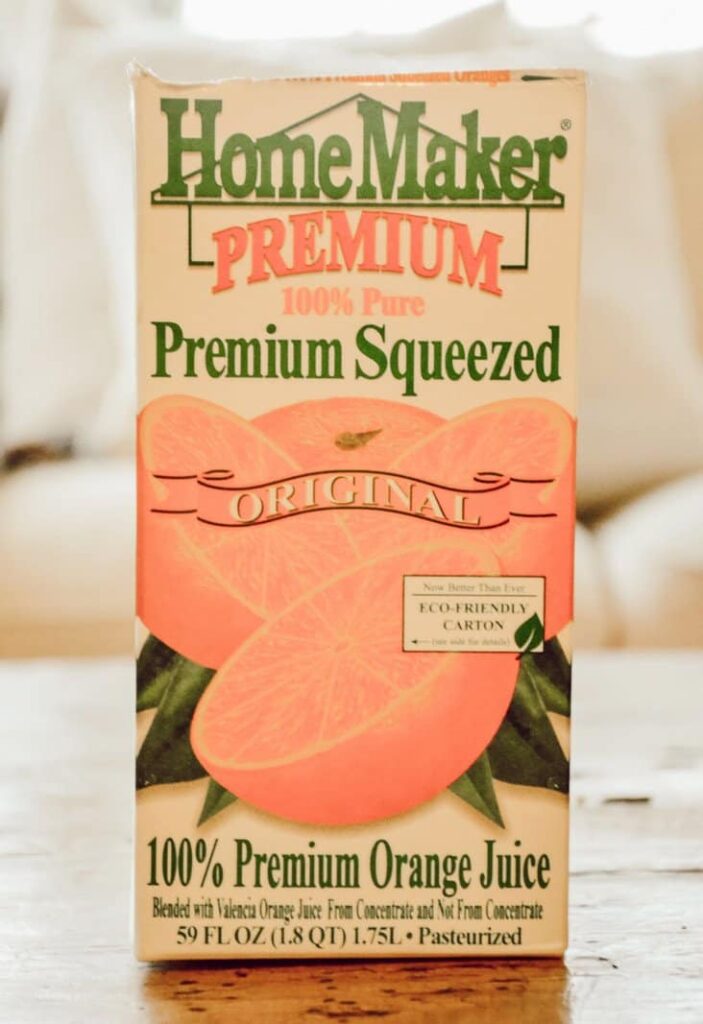
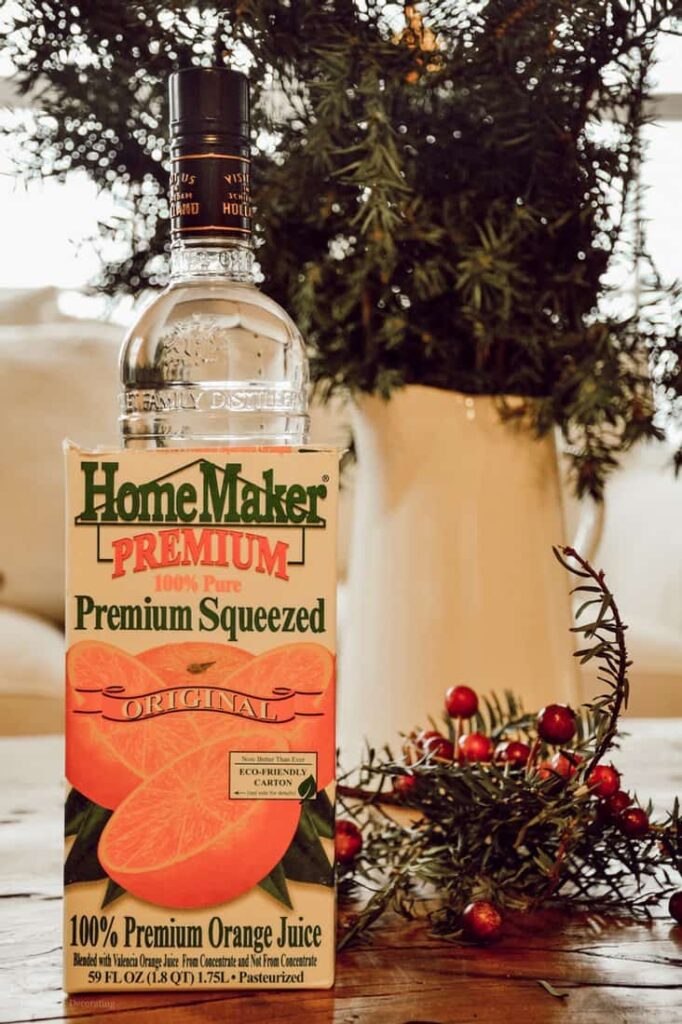
Start with an ordinary cardboard orange juice or milk carton. Using a pair of scissors, cut off approximately the top quarter of the carton, leaving enough height to surround your bottle with ice.
I used an orange juice carton for my original ice bucket, and it worked beautifully. The rectangular shape gives the finished ice bucket its distinctive look, and once everything is frozen, you can simply peel away the cardboard to reveal your creation.
Step 2: Place Your Bottle Inside the Carton
Next, place your bottle of vodka or another suitable spirit directly into the center of the orange juice carton. I used a tall bottle of vodka for my original ice bucket, as you can see in the photograph.
Make sure the bottle sits upright, with enough space around the sides for the water, berries, citrus slices, and greenery. Once frozen, the ice will surround the bottle, creating one decorative piece that’s ready to display at your next gathering.
Step 3: Add Water to Your DIY Frozen Ice Bucket
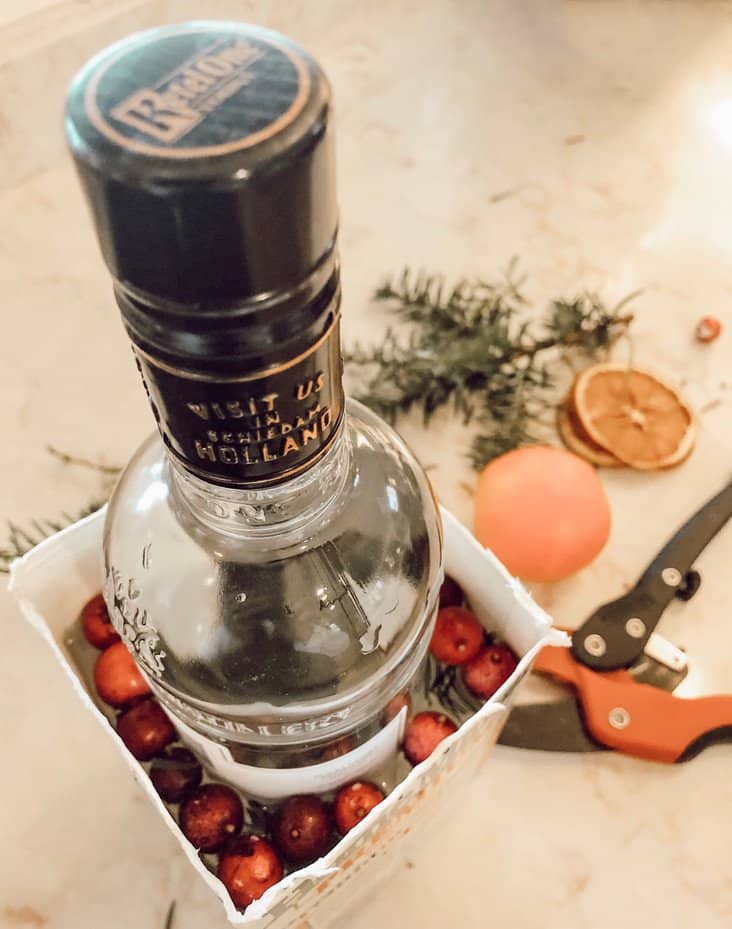
Slowly pour cool tap water into the orange juice carton, filling the space around your bottle about three-quarters of the way. Leave some room at the top for the water to expand as it freezes, and for the berries, citrus slices, and greenery you’ll be adding next.
Make sure your bottle stays centered and upright as you pour. And don’t worry if the finished ice looks a little cloudy. The colorful decorations frozen around the bottle are what make this project so pretty!
Vintage Home Decorating Guides and Styling Inspiration
Are you curious about vintage decor but don’t know where to start? These cornerstone guides are packed with seasonal styling tips, how-tos, and inspiration to help you confidently decorate with charm and character.
Step 4: Add Flowers, Citrus, and Greenery to Your Frozen Ice Bucket
Now for my favorite part! Tuck colorful berries, lemon slices, flowers, or small evergreen branches into the water surrounding your bottle. I especially love using bright red berries and fresh greenery for Christmas, but you can experiment with different colors and combinations throughout the year.
Try arranging a few decorations against the inside walls of the juice carton so they’ll be visible once the ice freezes. If your citrus slices or greenery float to the top, try freezing the water in stages to help keep everything in place. I like how the different colors and textures look once they’re frozen around the bottle!
Step 5: Freeze Your DIY Frozen Ice Bucket Until Solid
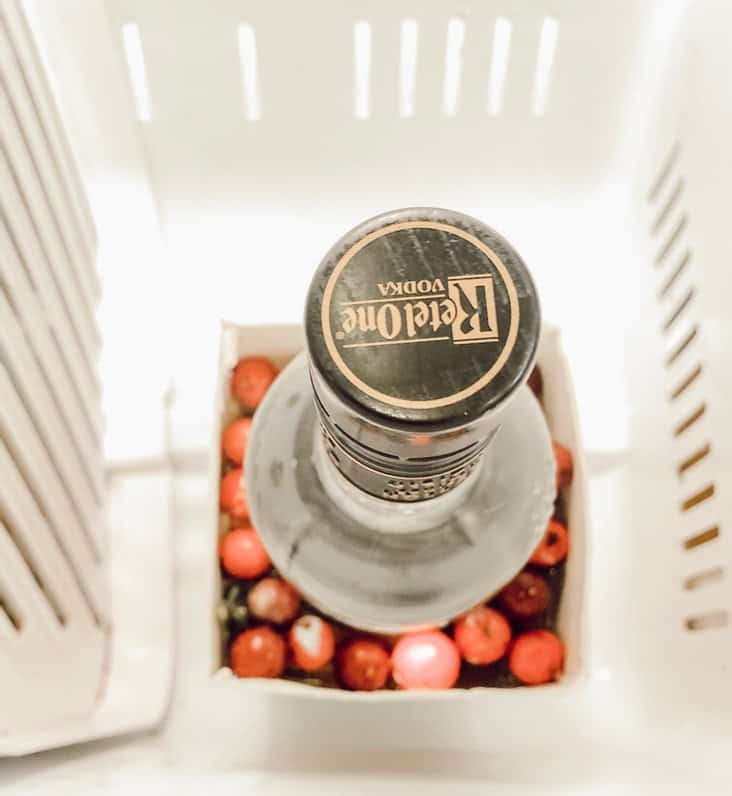
Carefully place the orange juice carton with your bottle, water, and decorations upright in the freezer on a flat, level surface. Allow the water surrounding the bottle to freeze completely, preferably overnight or for up to 24 hours, depending on the size of your carton.
Before removing it from the freezer, check that the ice is solid all the way around the bottle. This is what holds the berries, citrus, and greenery in place and creates one decorative piece.
Here’s a peek at mine tucked inside our freezer, with the bottle surrounded by all those colorful winter decorations.
Thrifting with the Gals
Love the thrill of the hunt? Thrifting with the Gals is a blog series packed with secondhand scores, vintage styling ideas, and real-time thrift adventures you won’t want to miss.
Step 6: Remove Your DIY Frozen Ice Bucket From the Mold
Once your frozen ice bucket is completely solid, carefully remove the carton from the freezer. Using your fingers, gently peel away the cardboard sides of the orange juice carton to reveal the bottle surrounded by ice, colorful berries, citrus slices, and evergreens.
The bottle and decorative ice are now one piece, ready to display at your next gathering! Place it on a sturdy, rimmed tray or vintage platter to catch the melting water and protect your furniture.
I especially love seeing all those colorful decorations suspended in the ice. No two frozen ice buckets ever turn out quite the same!
How to Use a DIY Frozen Ice Bucket at Your Next Party
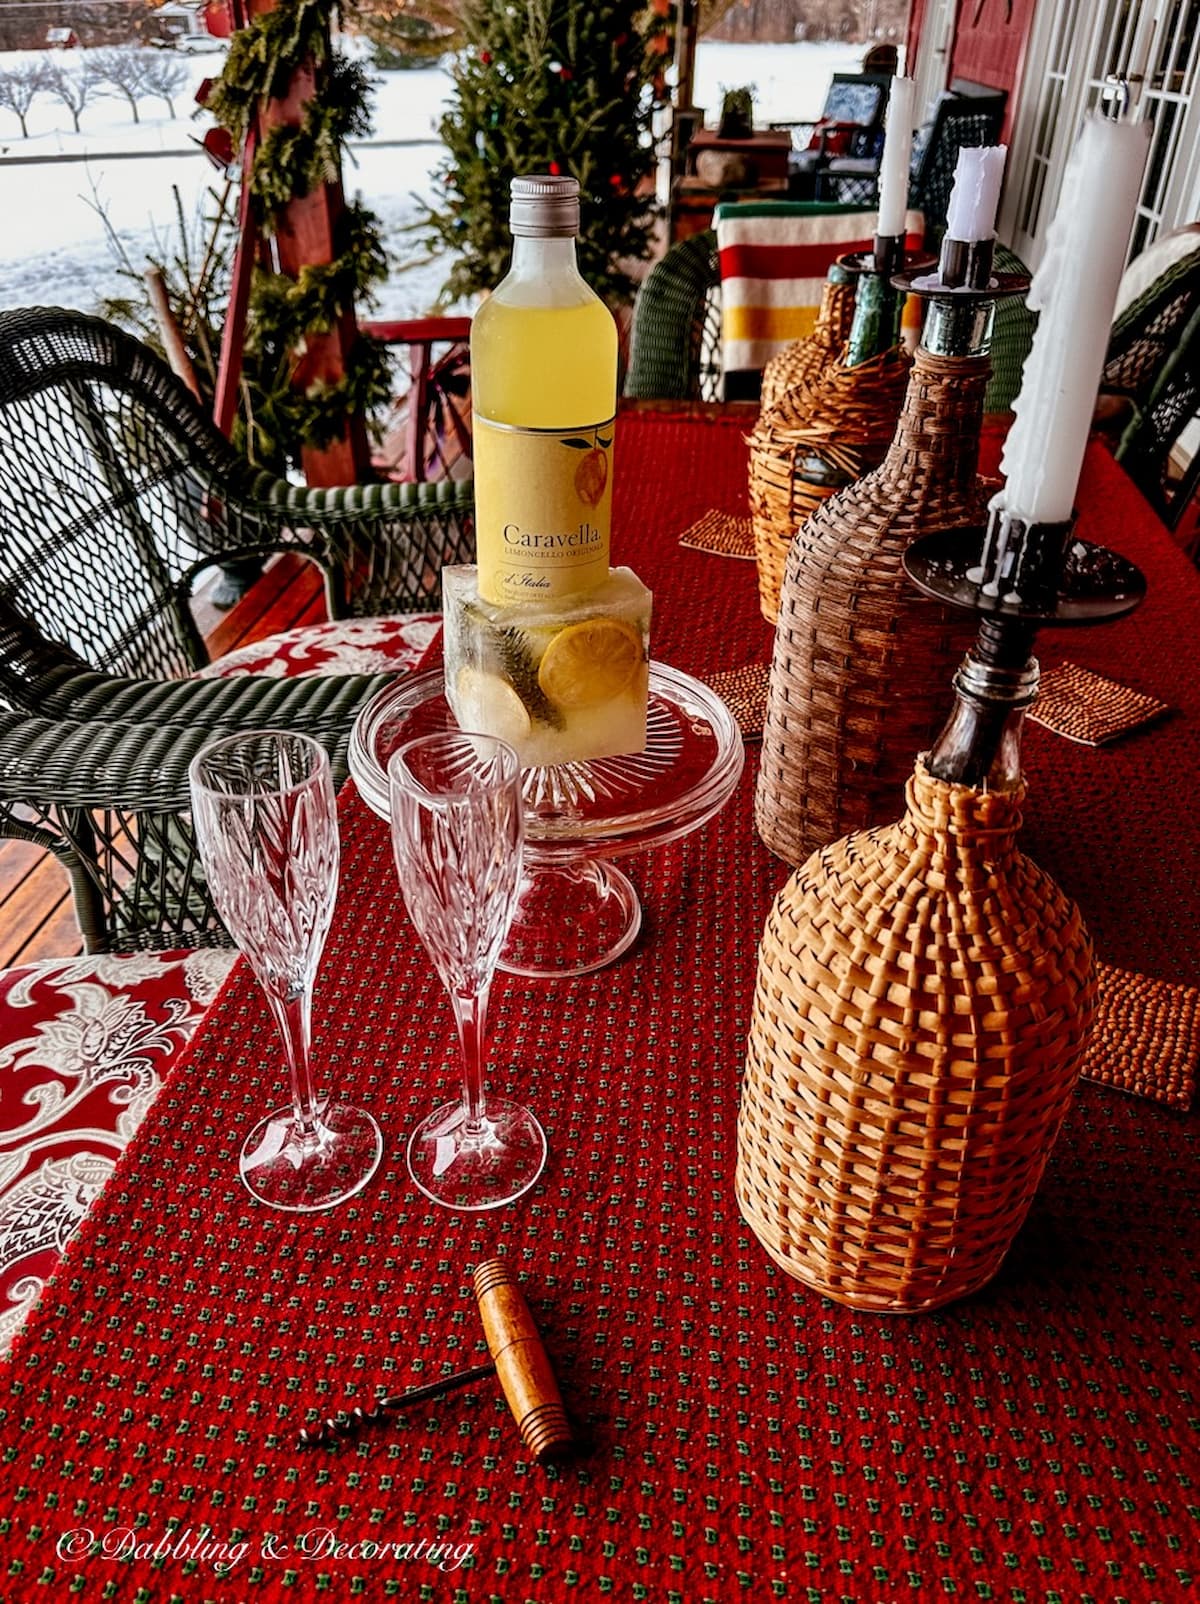
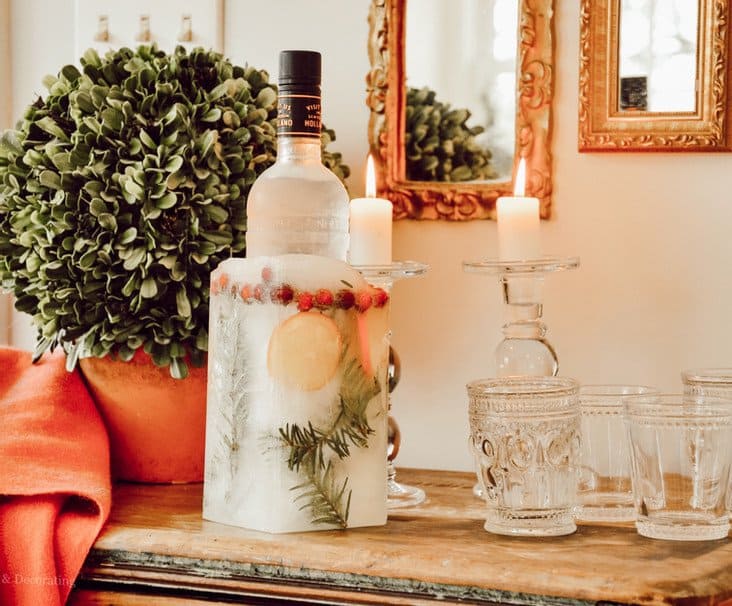
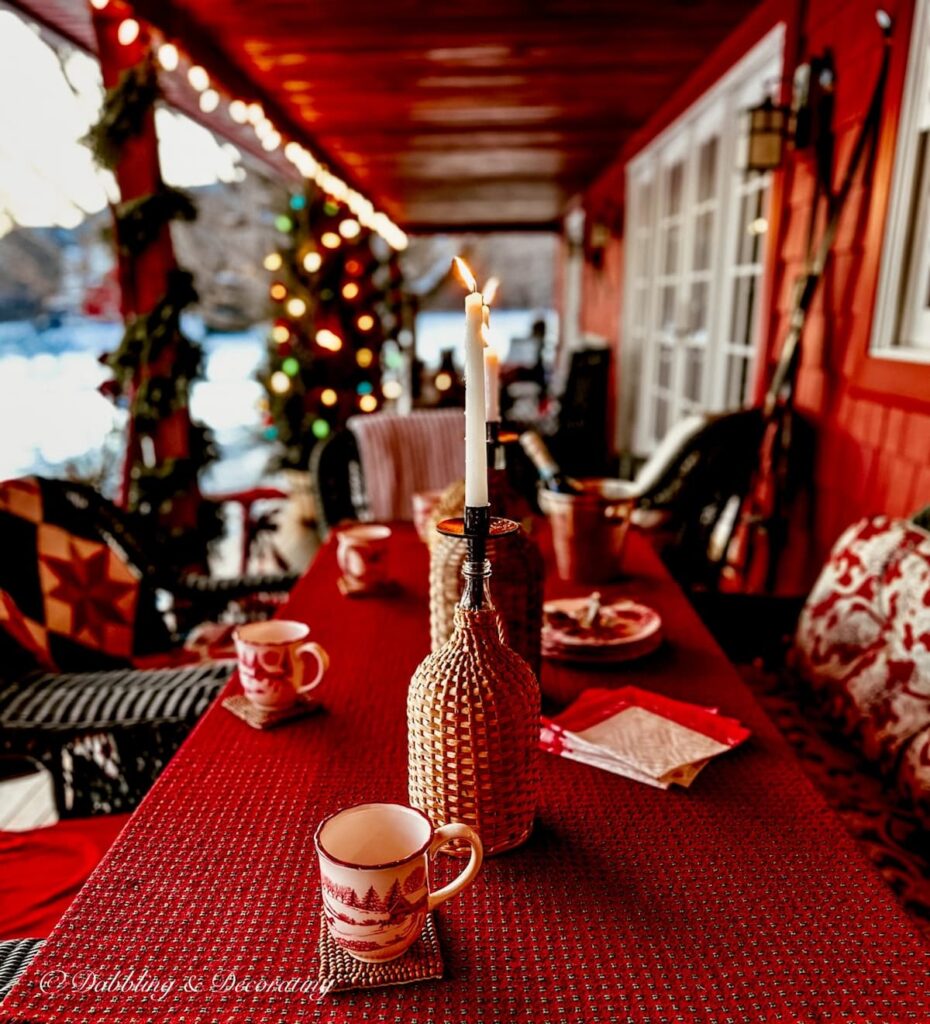
Once your bottle is surrounded by frozen berries, citrus, and evergreens, you’ve got a beautiful presentation that’s ready for your next gathering. I’ve displayed these ice-covered bottles alongside vintage glassware at Christmas, brought them to holiday parties as hostess gifts, and even made a lemon-and-evergreen version with limoncello for an après-ski celebration.
Here are a few of my favorite ways to display these frozen creations and make them part of your winter entertaining.
DIY Frozen Ice Bucket Ideas for Every Season
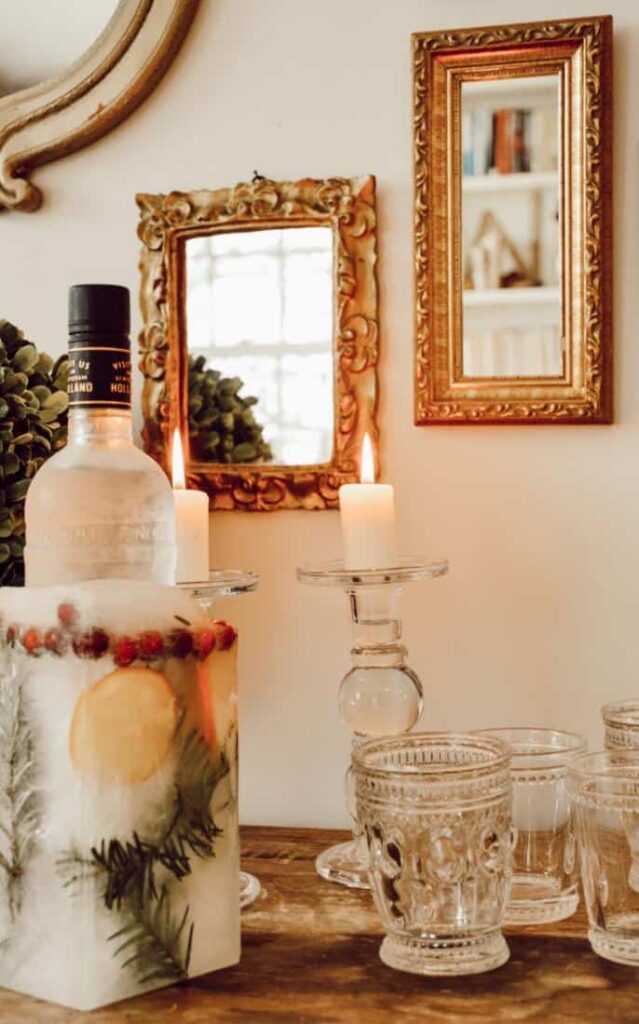
One of my favorite things about making these frozen ice buckets is experimenting with different seasonal decorations. For Christmas and winter gatherings, I love combining bright red berries, evergreen branches, and orange slices around the bottle.
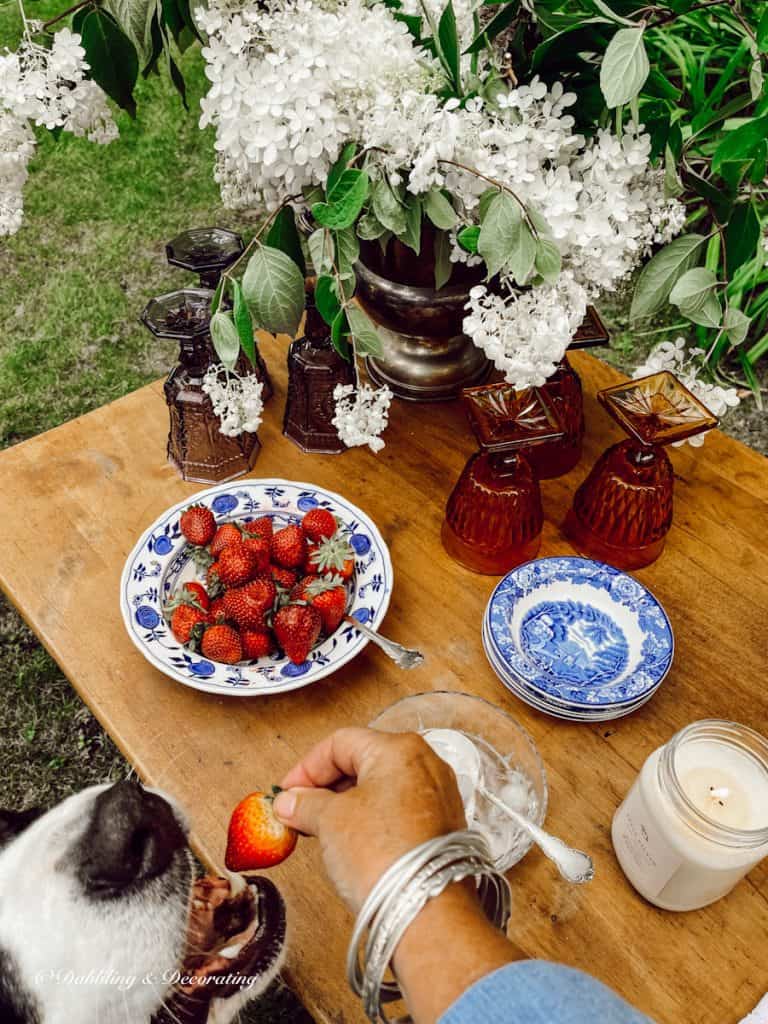
For spring and summer entertaining, try fresh flowers, colorful citrus slices, or herbs from the garden, like rosemary and mint. You can choose colors to complement your table setting or use whatever is growing in your garden.
It’s a fun project to adapt for different occasions, from Christmas parties and summer luncheons to an afternoon gathering with friends.
Complimentary Winter Printables & Collector’s Guide
Bring a little vintage winter charm into your home with my complimentary Winter Collection, available exclusively to newsletter readers. Inside, you’ll find printable artwork inspired by antique ski lodge style, collected winter treasures, and our beloved Bernese Mountain Dog, Ella—perfect for framing, creating note cards, gift tags, and other seasonal keepsakes. As a special bonus, you’ll also receive The Art of Vintage Ski Lodge Decor, my beautifully illustrated collector’s guide filled with decorating inspiration, collecting tips, and authentic New England style, along with The Scent of a Ski Lodge, featuring ski-inspired candles from Hayden Rowe Candle Co. and a little winter fragrance inspiration.
Join my newsletter below, and I’ll send the entire Winter Collection straight to your inbox, along with my latest decorating ideas, favorite antique shops, seasonal inspiration, and new blog posts.
The Vintage Posts Readers Love Most
Start with the posts readers come back to again and again. These vintage decorating ideas are rooted in New England, styled with thrifted and antique finds, and filled with real-life tips you can use in your own home. Familiar Finds, Styled Your Way.
How to Start a Vintage Booth: Tips, Display Ideas, and Lessons Learned
Navajo White Sherwin-Williams Review & Real Home Photos
Vintage Crock Flower Arrangements That Look Like a Florist Made Them
Swedish Homes: 10 Scandinavian Cottages That Inspire My Winter Decor
Antique Oil Lamps: How to Repurpose Them Into Unique Flower Vases
Where to Display Your DIY Frozen Ice Bucket
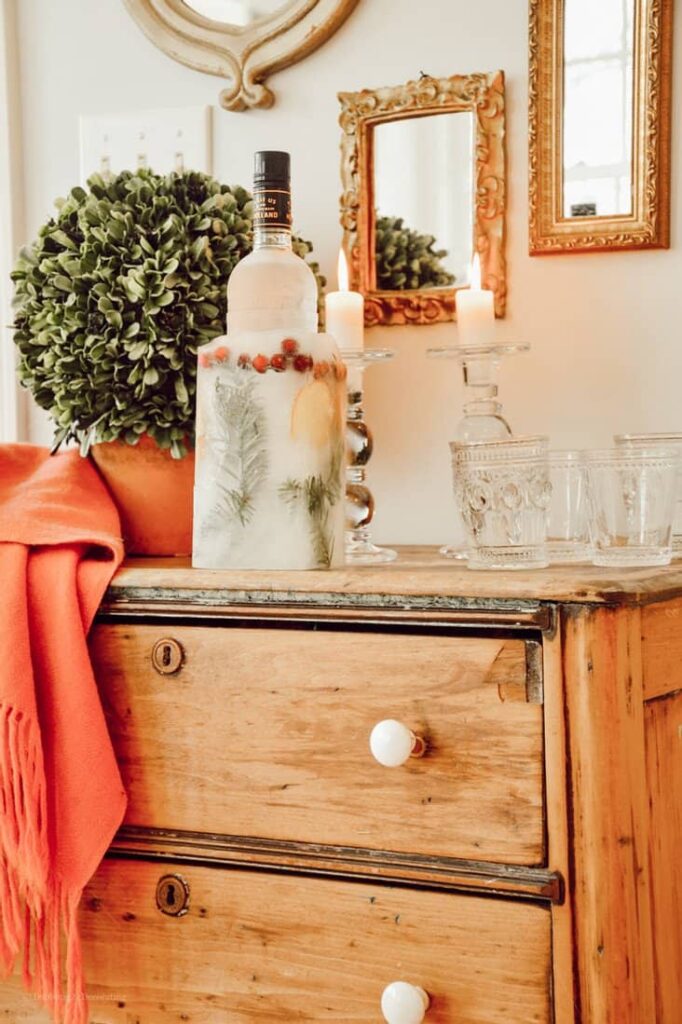
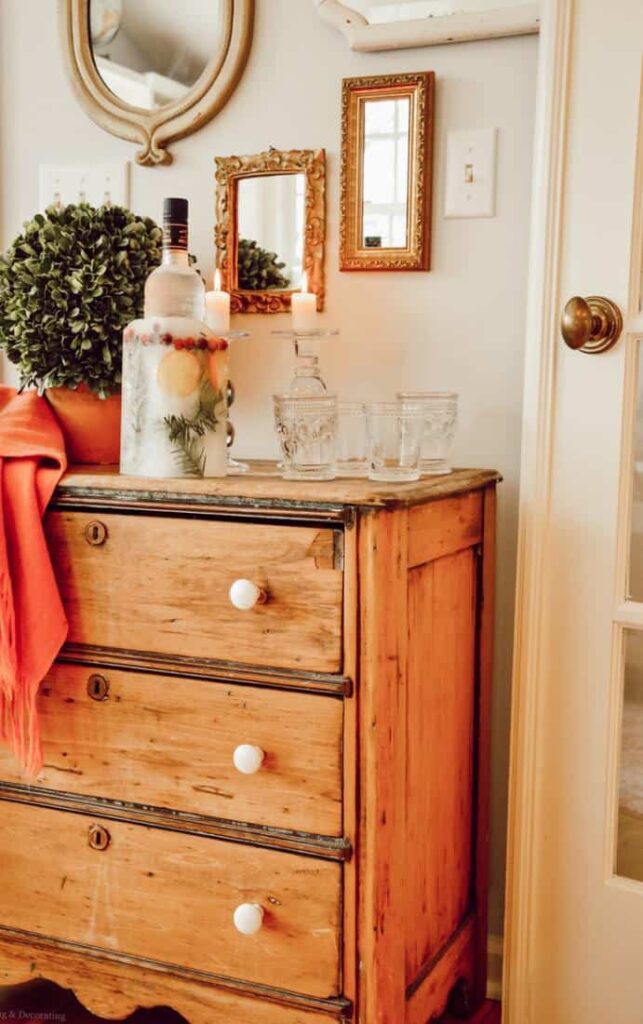
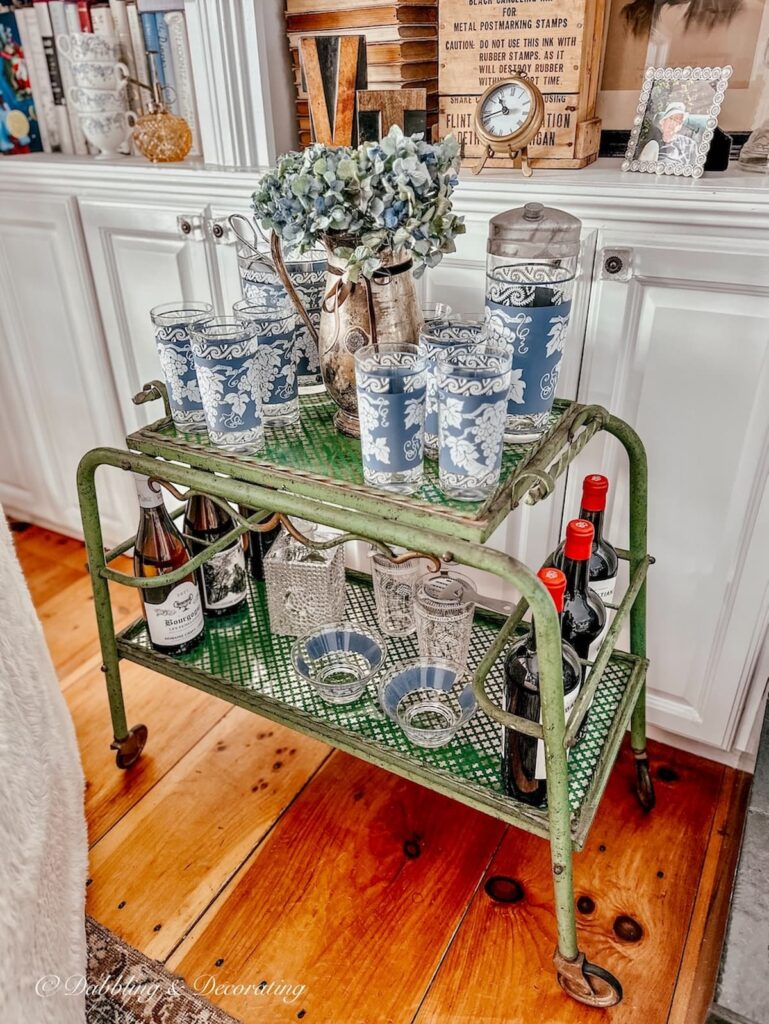
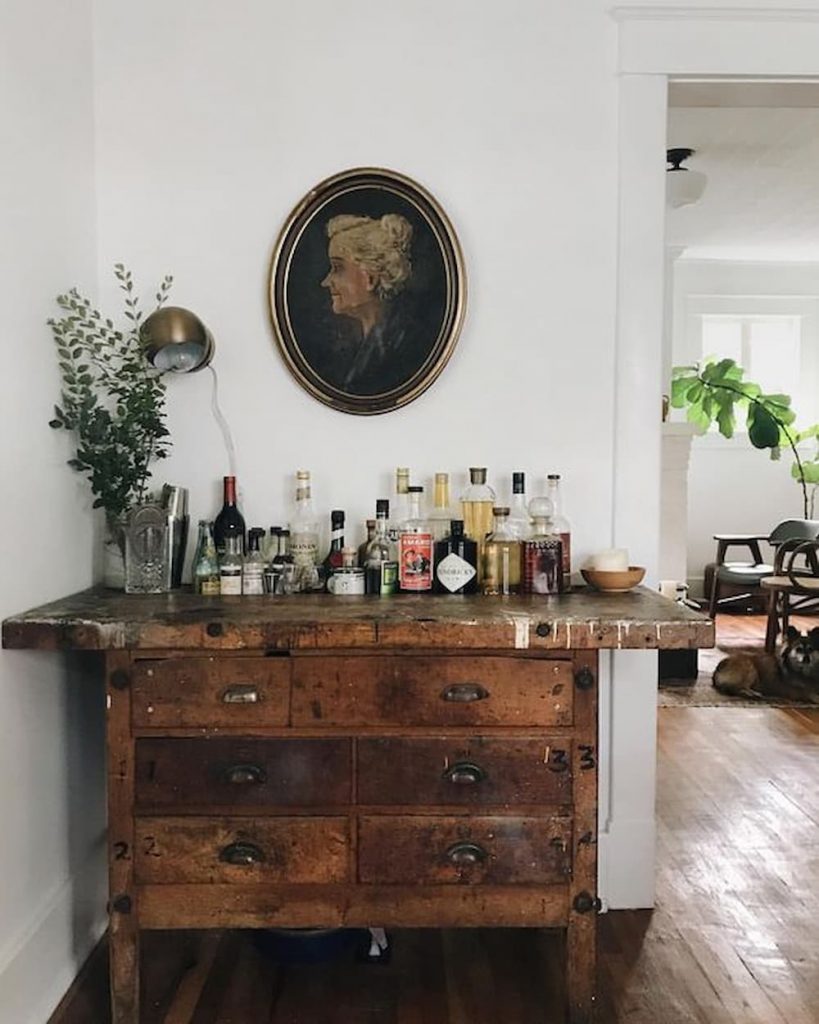
I love displaying my frozen ice buckets alongside vintage glassware on a bar cart, holiday buffet, or antique side table. An old silver platter or favorite serving dish makes a pretty base, especially with a few candles and vintage glasses nearby.
Since the ice gradually melts, be sure to use a sturdy, waterproof tray with raised edges to catch the water. Keep a towel handy, and protect any antique wooden surfaces underneath.
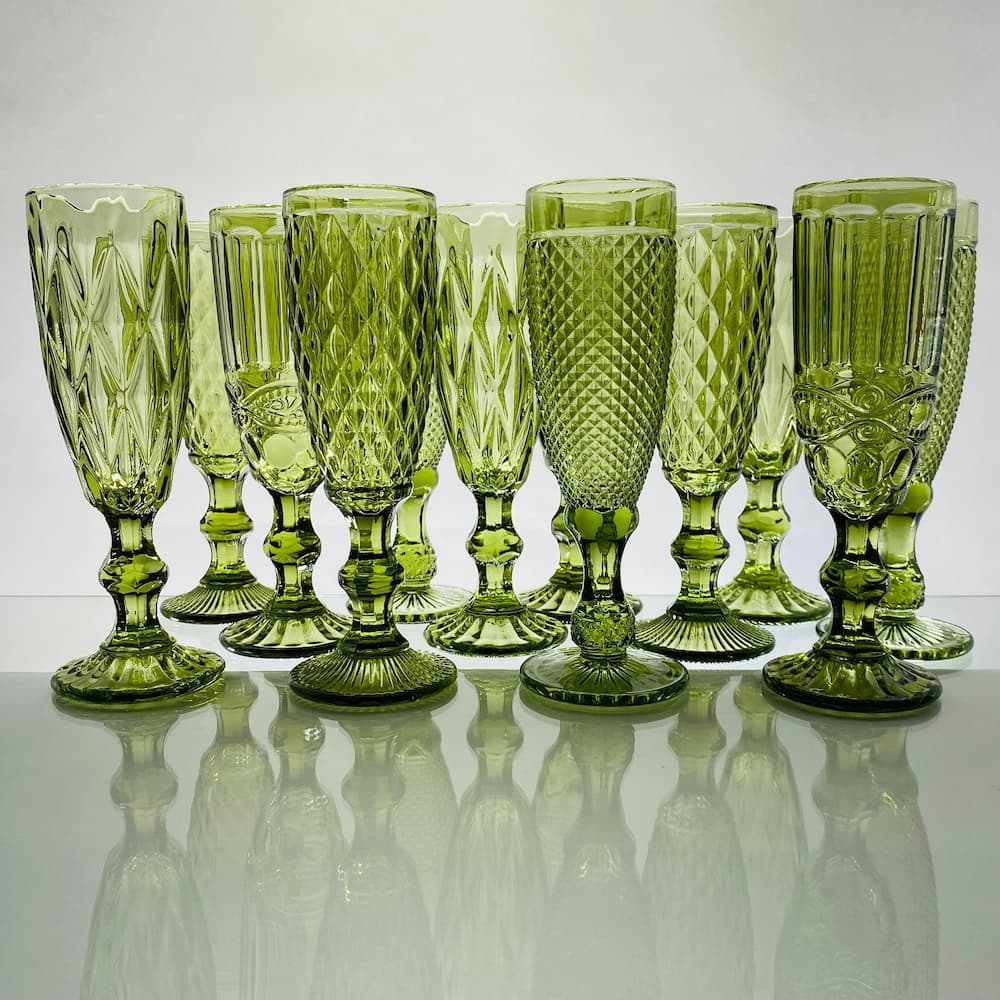
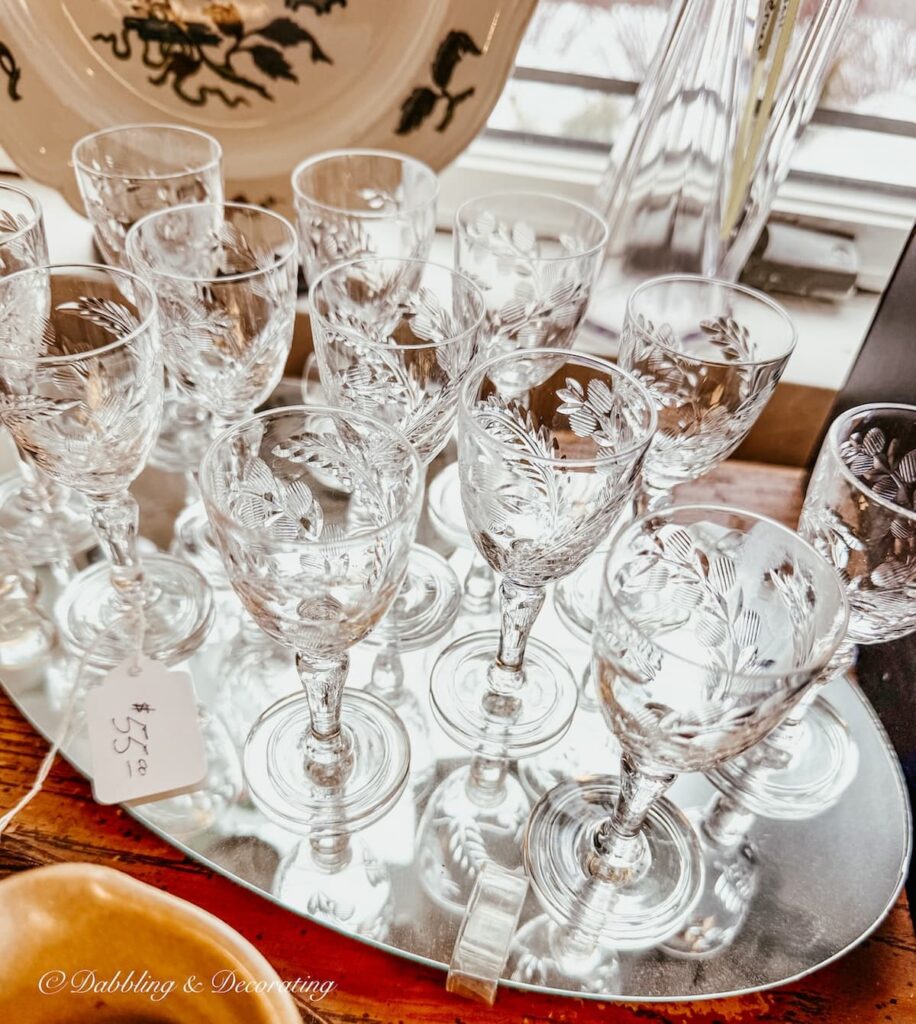
Discover the Charm of Vintage and Antique Glassware
Explore my complete guide to collecting, styling, and decorating with vintage and antique glassware, from colorful goblets to timeless etched wine glasses. Get inspired to start your own collection today!
Give a DIY Frozen Ice Bucket as a Hostess Gift
I’ve brought these frozen ice buckets to holiday gatherings over the years, and they’re always such a fun surprise! Arriving with a bottle of vodka or limoncello surrounded by colorful berries, citrus, and evergreens frozen right into the ice is certainly a little different from bringing a bottle in a gift bag.
To transport yours, carefully pack the finished ice-covered bottle in an insulated cooler to keep it frozen until you arrive. Then simply place it on a sturdy, waterproof serving tray to catch the melting ice. If you’re entertaining at home, display one on a beverage table with your favorite vintage glassware, ready for guests to enjoy.
The Secret Cupboard: Vintage Decorating Ideas Readers Love Most
Peek inside The Secret Cupboard, a cozy collection of vintage decorating ideas readers love most. Filled with thrifted finds, styled corners, and quick home inspiration.
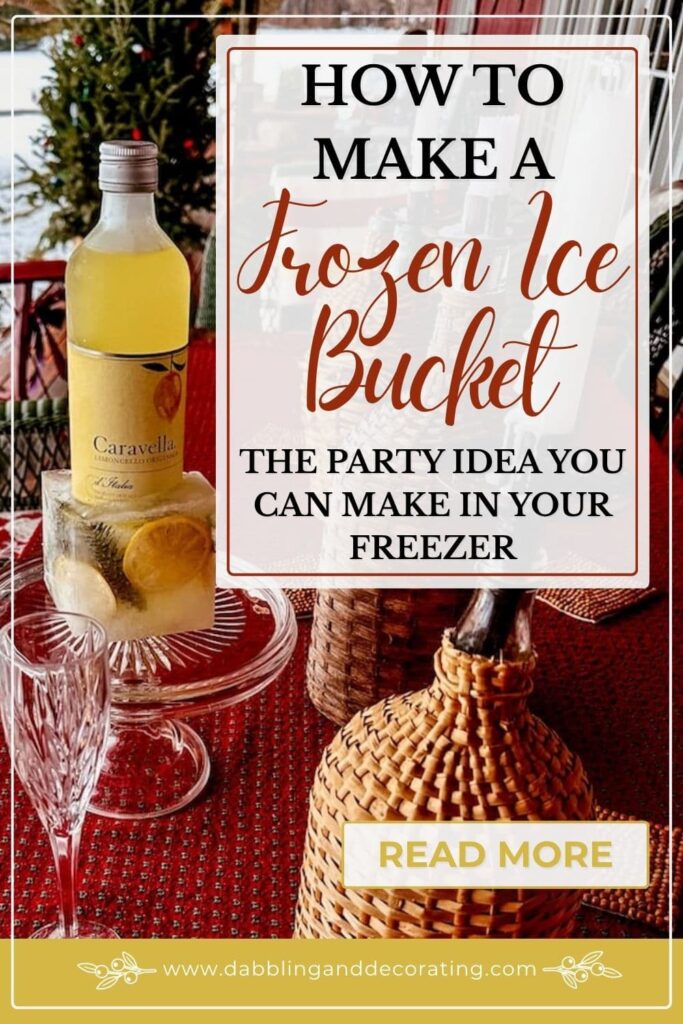
Limoncello DIY Frozen Ice Bucket With Lemons and Evergreens
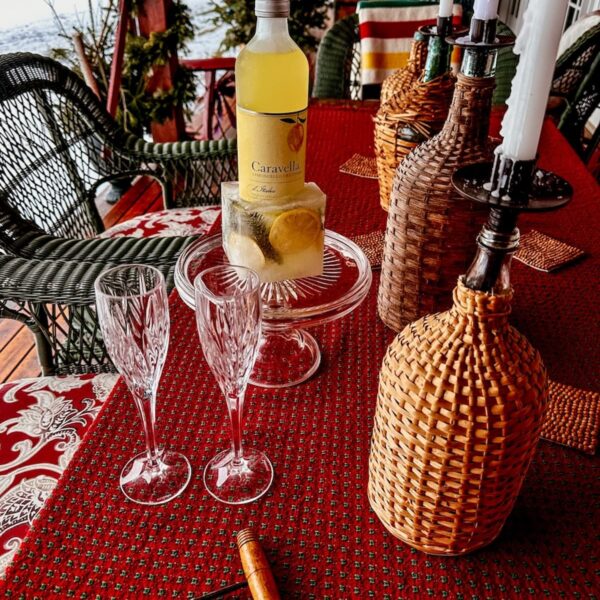
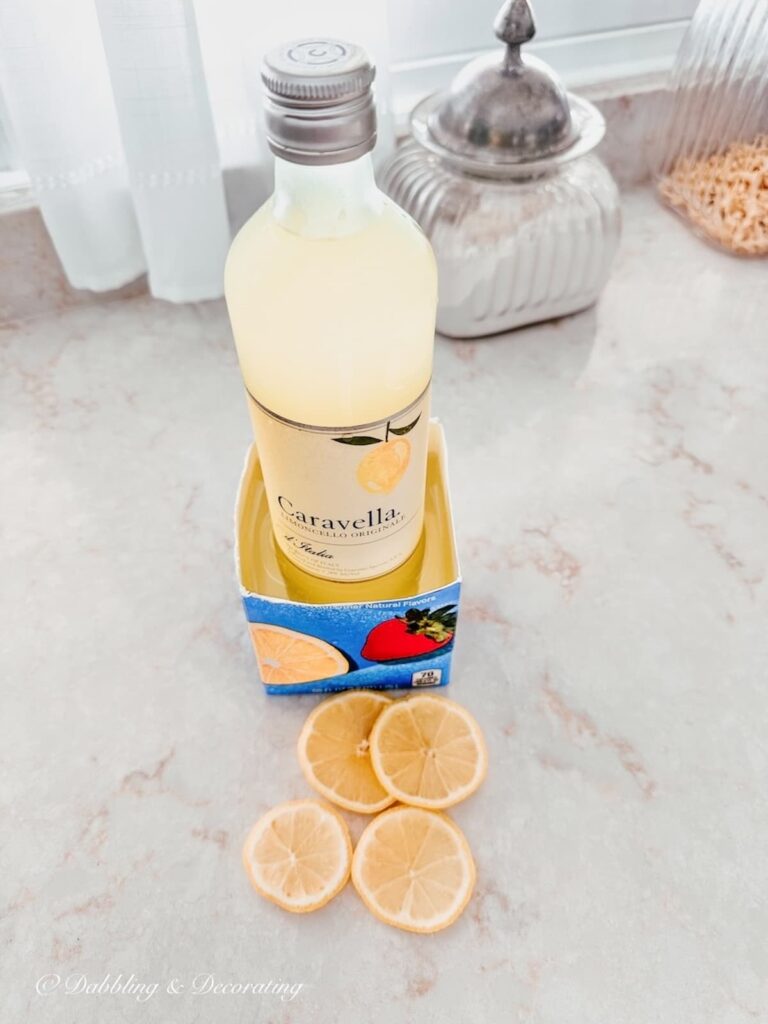
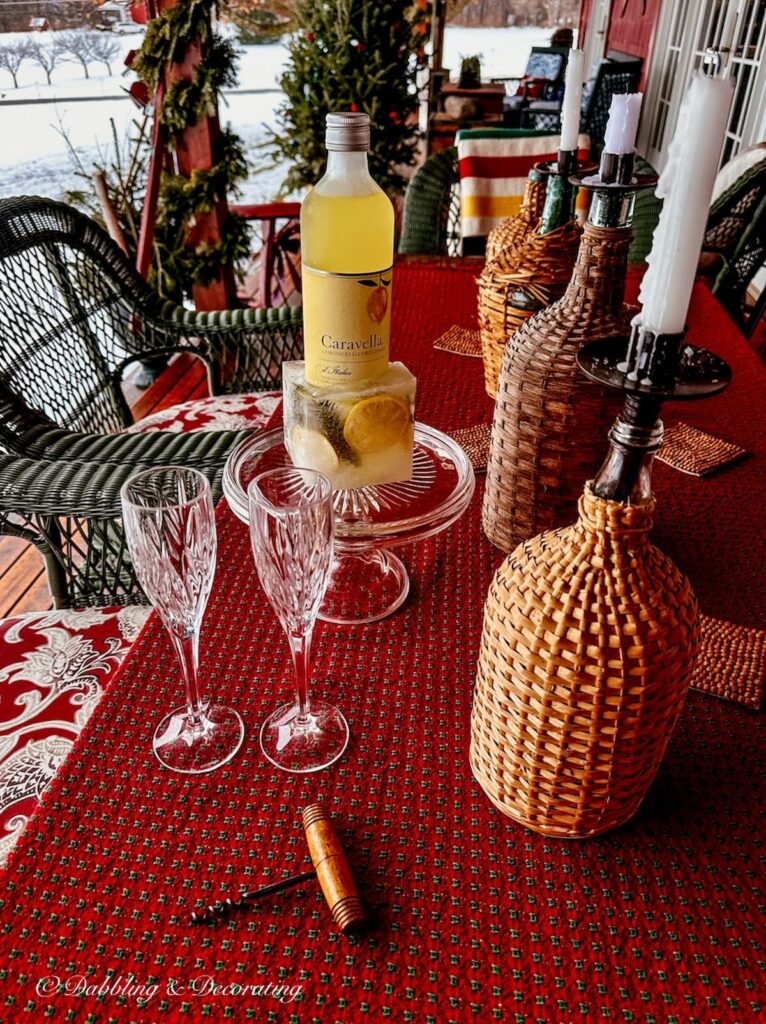
For another holiday gathering, I made a DIY frozen ice bucket with a bright yellow bottle of limoncello, fresh lemon slices, and small evergreen branches clipped right from our Christmas tree.
I used a shorter orange juice carton for this version, making the finished ice-covered bottle easier to carry. I also discovered that tucking evergreen branches around the lemons helped keep the slices from floating to the top as the water froze.
I especially loved the combination of yellow lemons and green evergreens surrounding the limoncello bottle. It was a fun addition to our après-ski entertaining setup and another way to dress up a bottle for winter entertaining.
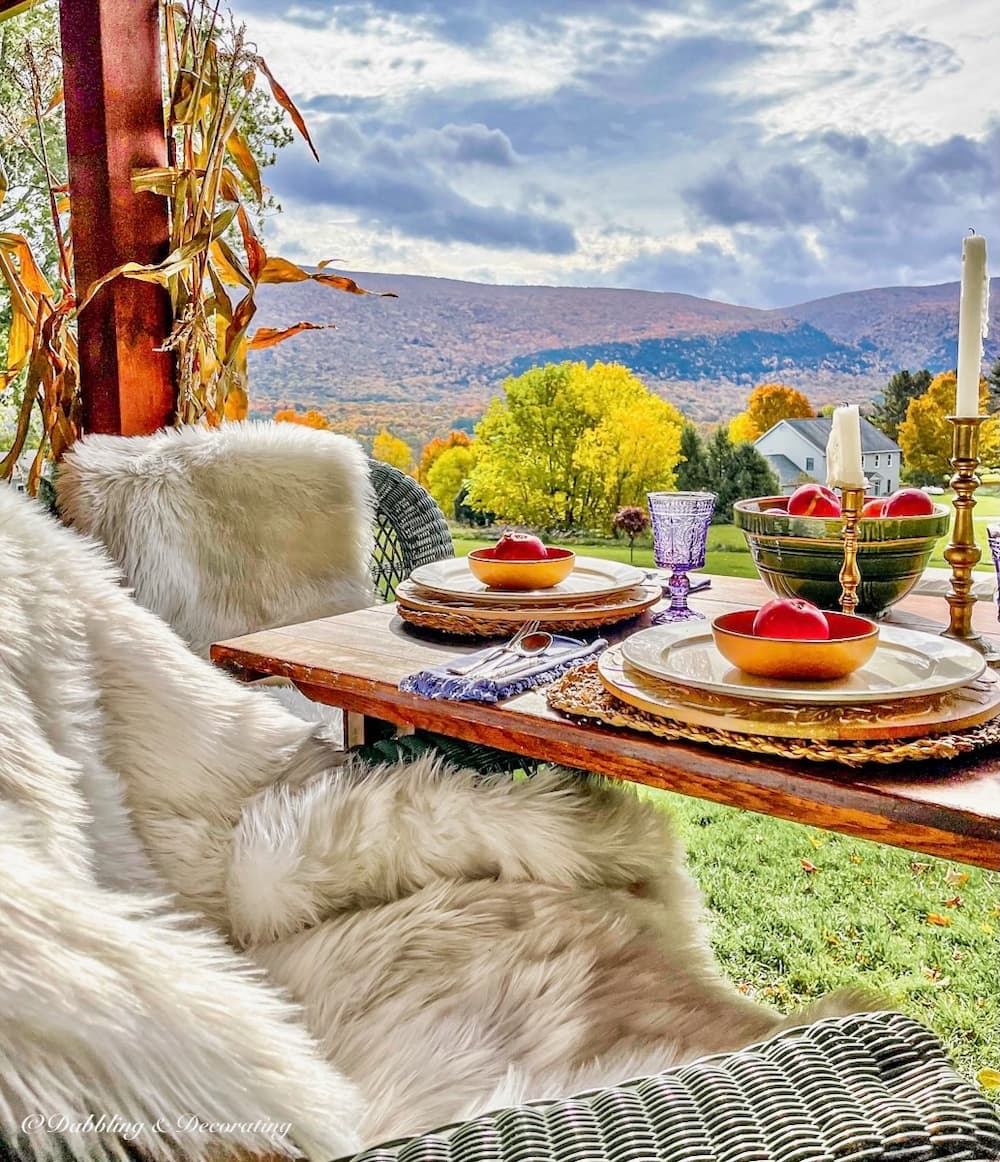
Cozy New England Decorating Inspired by Vermont Mountain Views
Experience how our breathtaking Vermont mountain views inspire cozy New England-style decorating ideas throughout the seasons. Discover timeless tips for bringing warmth and charm into your home with nature as your muse.
Try Making a DIY Frozen Ice Bucket for Your Next Gathering
From a bottle of vodka surrounded by festive red berries to limoncello frozen with lemons and evergreens, these DIY frozen ice buckets have become one of my favorite ways to dress up a bottle for winter entertaining.
I hope you’ll have fun experimenting with different seasonal decorations for your own frozen creation. And if you make one, I’d love to hear what you chose to freeze around your bottle!
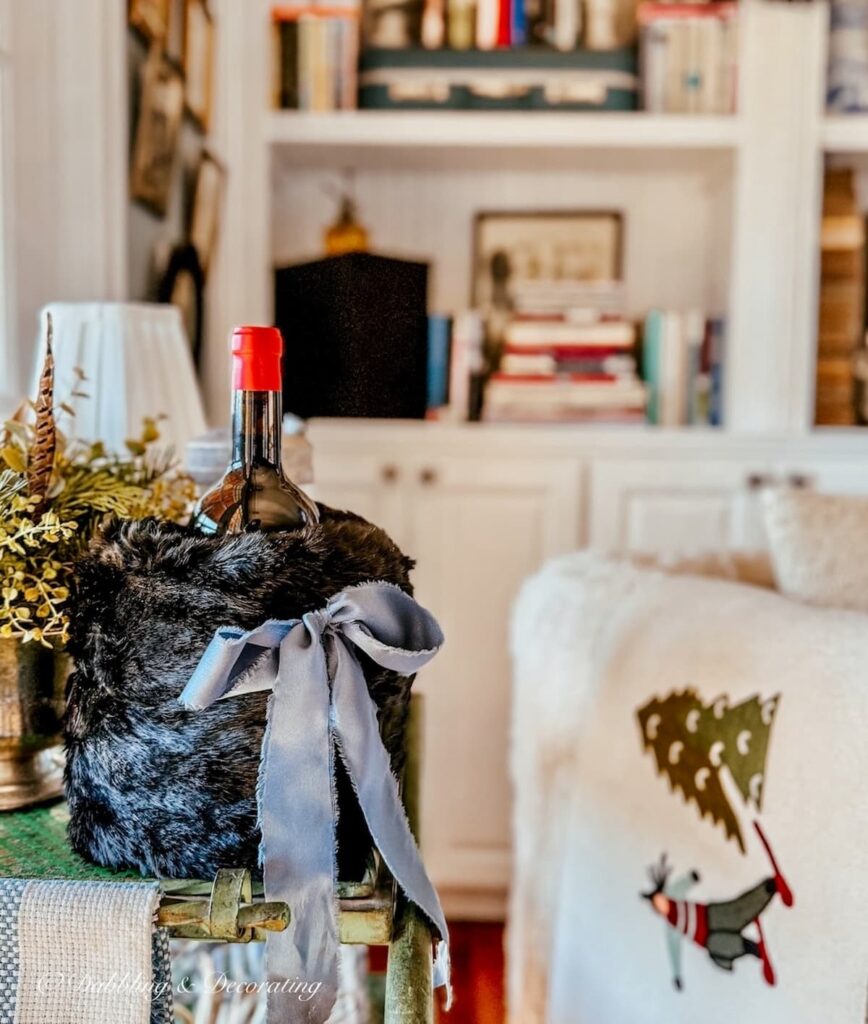
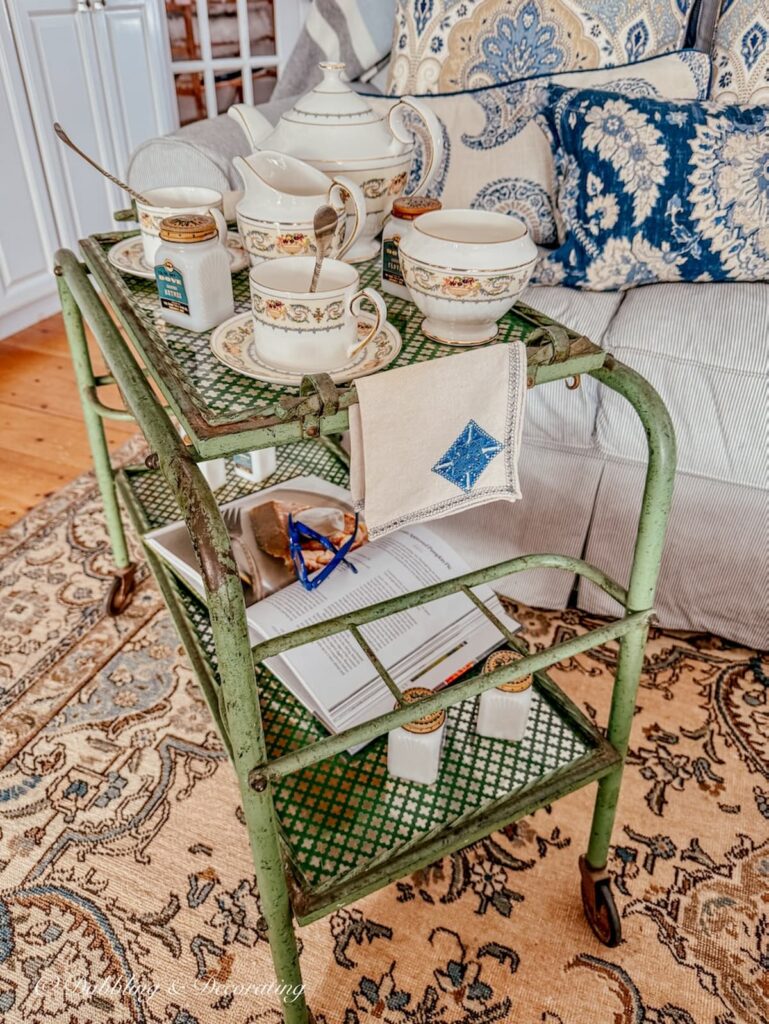
For more creative entertaining inspiration, explore my favorite vintage bar cart ideas and beverage projects below.
Happy entertaining!
Join the Vintage Circle — Familiar Finds, Styled Your Way™
Love vintage treasures, thrifted gems, and a home that tells your story? Leave a comment, share this post with a kindred spirit, or head to my Start Here page to explore more. Want fresh prompts and timeless ideas? Subscribe to join our Seasonal Vintage Decor Styling Challenge for weekly inspiration and behind-the-scenes peeks.
Pin it for later!





I love this idea, Ann! I’m curious about how long the ice bucket will stay frozen at a party. I see where you say to set on a plate but wondered if it would look good even after several hours.
Hi Kim, the ice bucket will easily last for the duration of a party but definitely put it on a plate or keep it in the refrigerator if you like. I just made the globe ice lanterns, which they say last up to 10 hours inside. But again, I would put them on something as they will melt a little.