


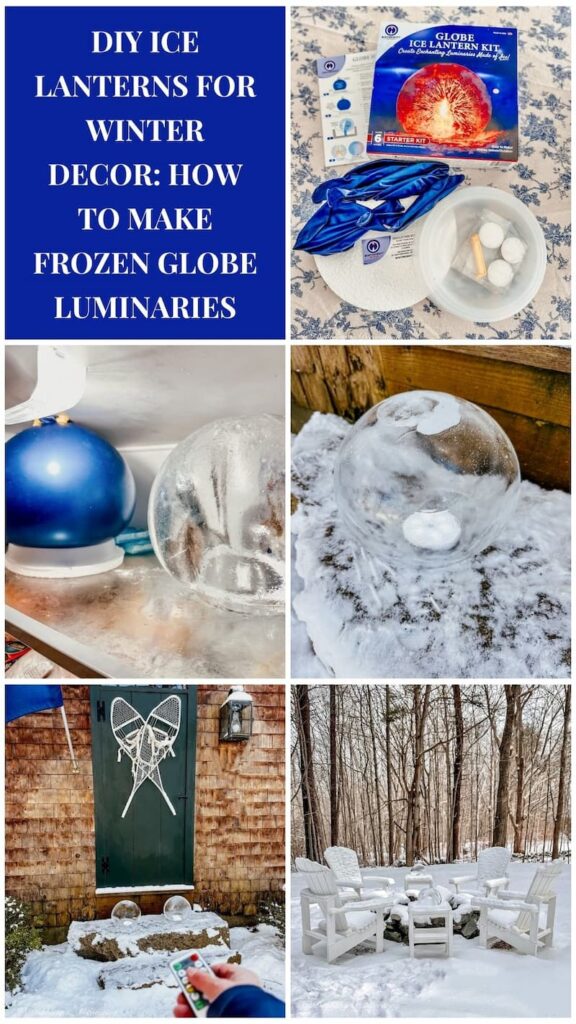
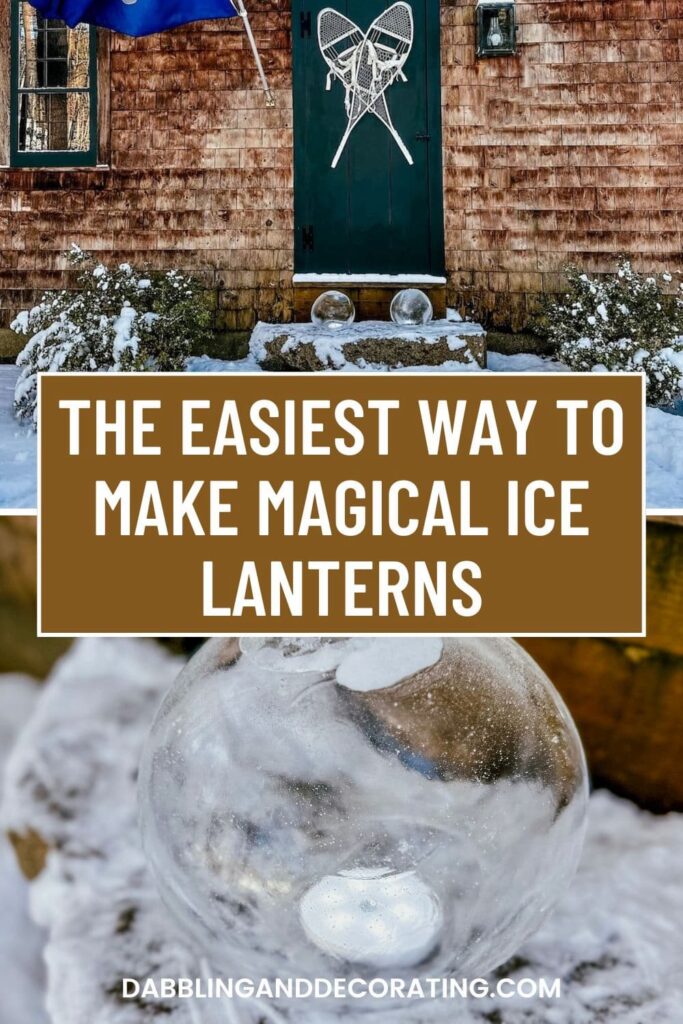
Discover the art of DIY ice lanterns. Learn the clever, remote-control flashlight trick to create flawless frozen globe luminaries that last all winter.
Looking to add a touch of frosty magic to your winter decor? These DIY ice lanterns are the perfect way to light up your snowy porch, fire pit, or winter table. Made using a clever globe-shaped ice lantern kit (backed by years of ice-making know-how), this enchanting winter craft is easier than you think. Just add water, freeze, and pop in a tea light, voilà! You’ve got glowing luminaries that shine for up to 10 hours. Whether you’re hosting an après-ski gathering, styling an indoor holiday centerpiece, or creating cozy curb appeal, these icy globes bring the winter wonderland vibes in all the best ways.
This post may contain affiliate links, which won’t change your price but will earn us commission.
Easy DIY Home Decor Projects with Vintage Style
Explore our easy DIY home decor guide with vintage style, using thrifted and repurposed finds. Simple, beginner-friendly ideas to decorate your home with charm.
DIY Ice Lanterns, Ice Candles, Ice Luminaries—What’s the Difference?
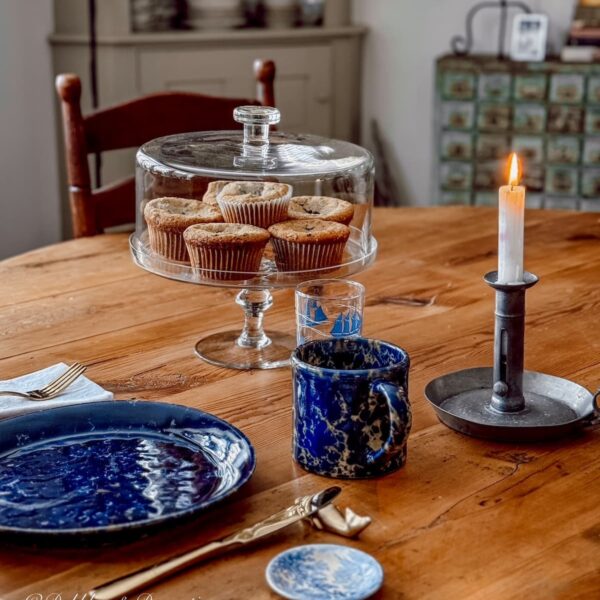
Whether you call them ice lanterns, ice candles, or ice luminaries, these glowing creations are simply magical. Made from frozen water and lit from within, they’re a stunning way to add cozy, Scandinavian-inspired charm to your winter decor. Perfect for the front porch, lining a snowy path, or even glowing on your dining table, DIY ice lanterns bring a flickering warmth to the chilliest days. It’s one of my favorite ways to celebrate winter’s beauty, with just a little water, light, and creativity.
DIY Ice Lanterns: How to Make Globe Ice Lanterns That Glow
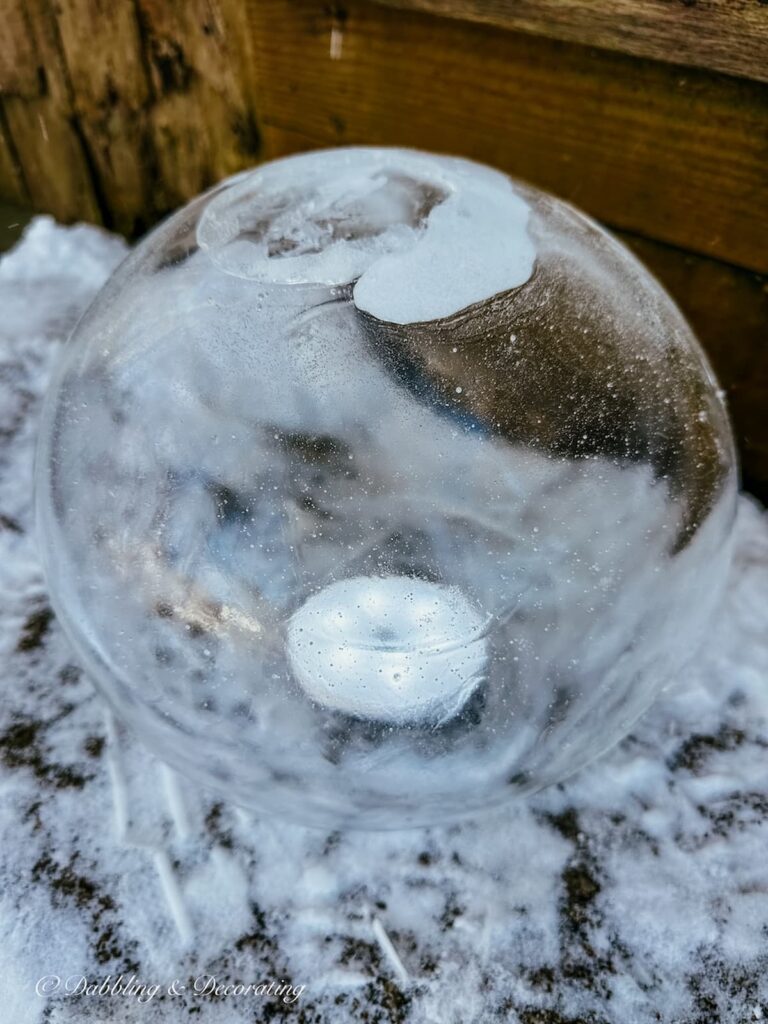
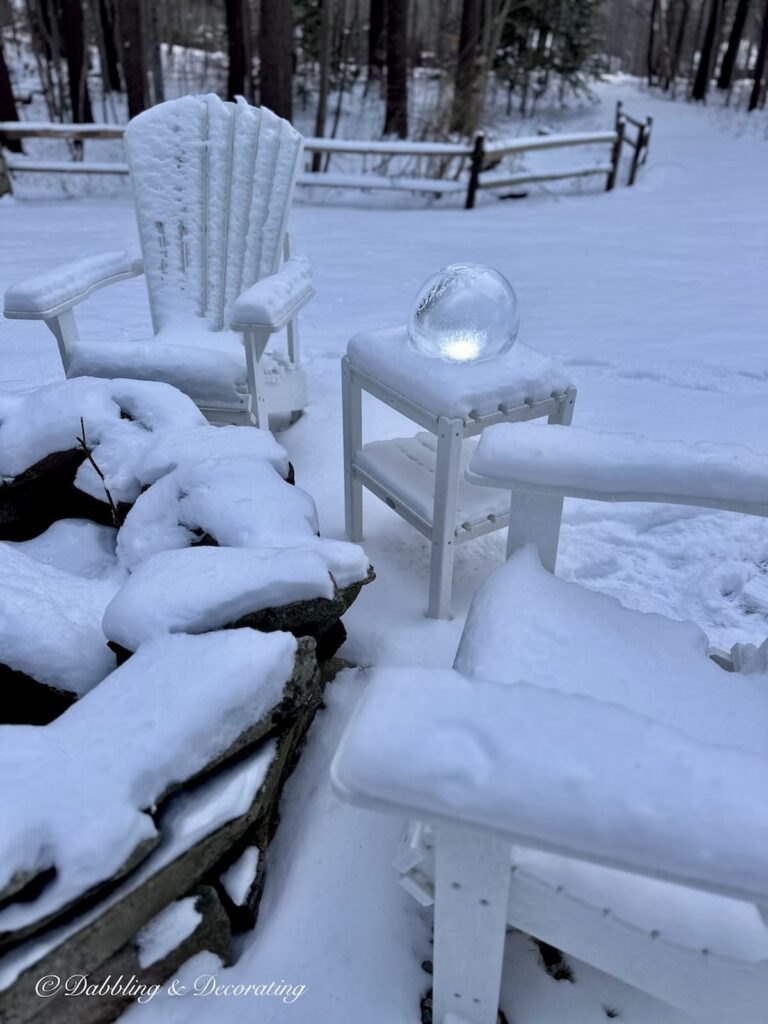
DIY ice lanterns don’t get more magical than these globe-style creations. Think of them as the chic cousins of the classic ice candle, round, radiant, and made to steal the spotlight. Each globe ice lantern features a smooth, glistening shell of ice with a clever twist: the opening sits on the bottom, creating a seamless sphere that glows beautifully on porches, pathways, or snowy tabletops.
That means you place the light or candle on the ground and cover it with the lantern, unlike traditional ice lanterns, where the light is dropped in from the top.
This design not only makes them extra magical but also helps the candle flicker longer, keeping your ice luminary glowing beautifully all night long!
Discover more creative ice crafts from glowing lanterns to frosty candles and vintage-style ice buckets, to make your winter decor truly shine.
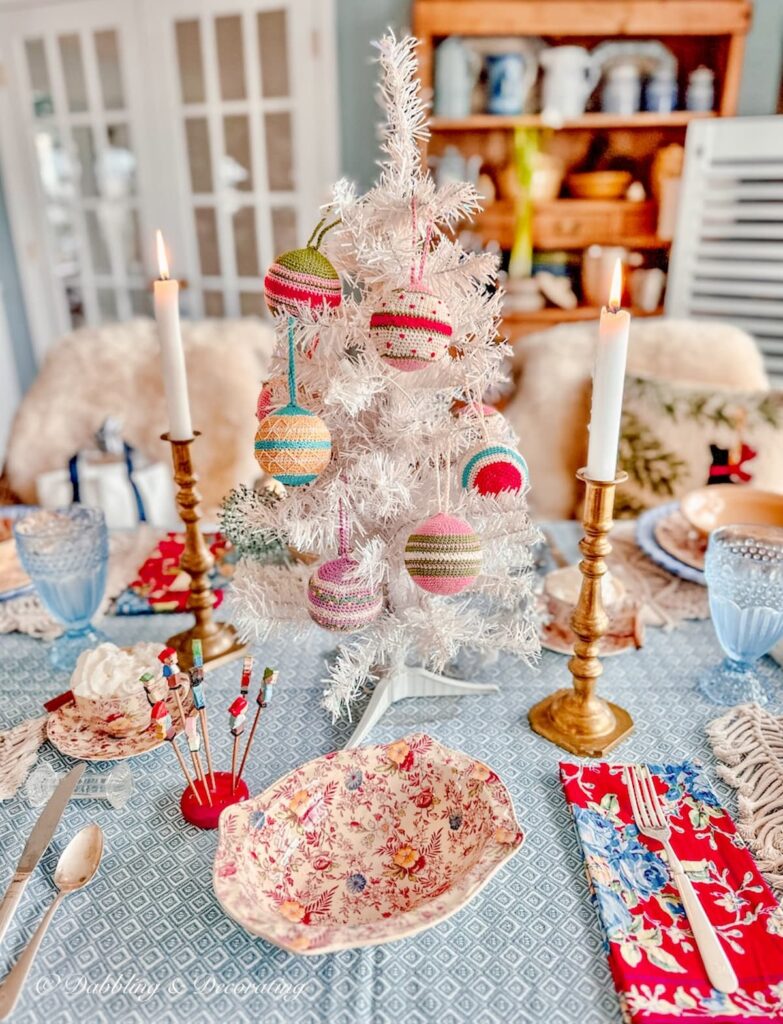
Simple New England Vintage Christmas Decorating Guide for Every Space in Your Room
Discover timeless ways to decorate every corner of your home with cozy, vintage-inspired Christmas charm. From mantel displays to festive porches, this guide brings New England holiday style to life, simply and beautifully.
Beautiful DIY Ice Lanterns to Brighten Your Winter Nights
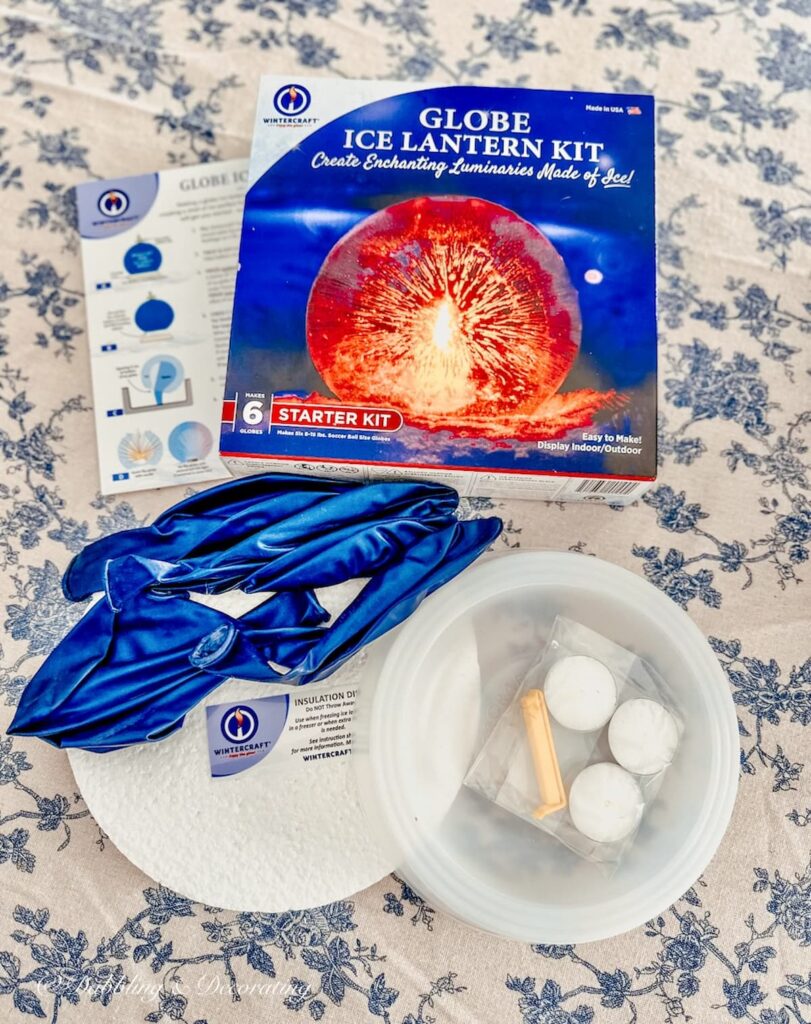
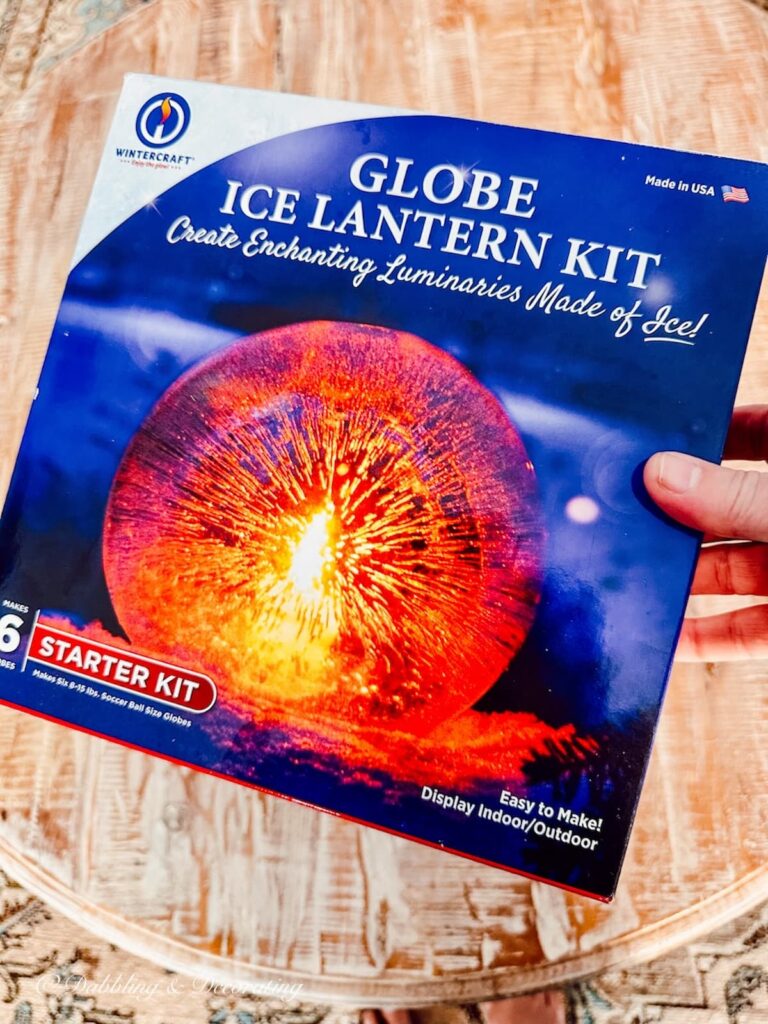
I chose these globe ice lanterns because they’re not only stunning but also so much fun to make, especially with this deluxe DIY Ice Lantern Kit by Wintercraft. This all-in-one set includes everything you need to create elegant, glowing candle holders right at home. In just 24 hours, you’ll have shimmering DIY ice candles ready to illuminate your winter nights.
Inspired by timeless Scandinavian ice lantern traditions, these glowing globes capture the magic of long snowy winters and make the perfect addition to any cozy outdoor scene or holiday display.
How to Make DIY Ice Lanterns at Home (Step-by-Step)
Creating your own DIY ice lanterns is easier than you think, and incredibly rewarding when you see them glowing on a winter night. All you need is the Wintercraft Globe Ice Lantern Kit and either a freezer or freezing outdoor temps (ideally below 20°F). It’s a fun cold-weather project that’s perfect for porch decor, winter parties, or adding magical ambiance to your outdoor space.
Freezing and Shaping Your DIY Ice Lanterns
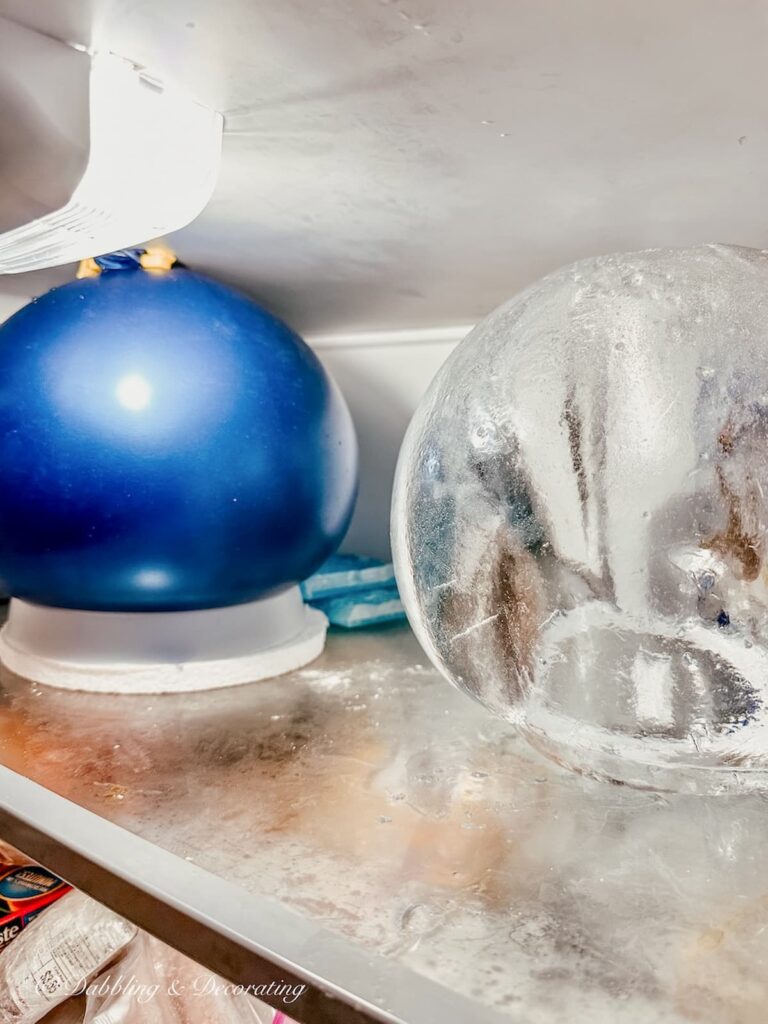
Start by following the directions included in the kit. Fill one balloon with water using the funnel provided, then tie it off and place it in a freezer-safe bowl or on a flat surface outside. Let it freeze for about 24 hours. Since the kit includes only one mold, you can make one lantern at a time, great for savoring the process or making a few over several days.
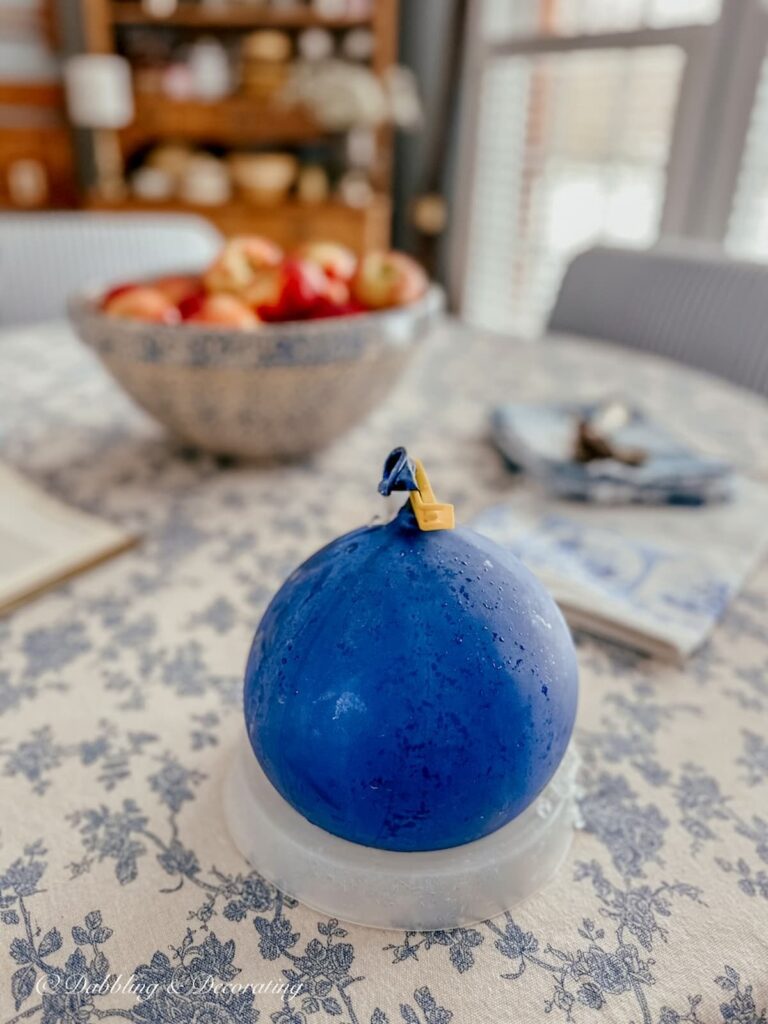
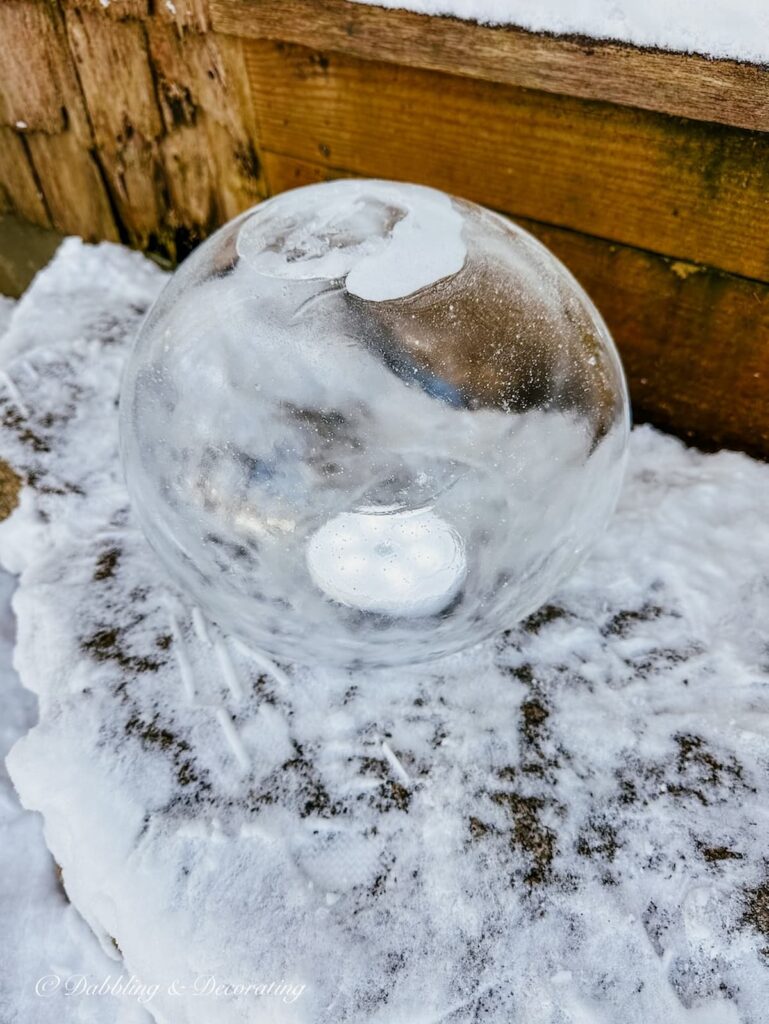
Once frozen, bring your balloon inside, snip the bottom off, and let any unfrozen water drain out. Carefully peel away the balloon, and you’ll be left with a stunning hollow ice globe, ready to hold a tea light or LED candle.
Pro Tip: What I Learned While Making DIY Ice Lanterns
When filling your balloon, attach it directly to your sink faucet and place the kit’s freezer tray underneath to catch and cradle it as it fills. Fill it just enough so it sits snugly in the tray, this helps it freeze evenly and keeps it from rolling. Have the included easy-close clip handy and secure it before removing the balloon from the faucet (trust me, water will fly everywhere if you don’t, lesson learned!).
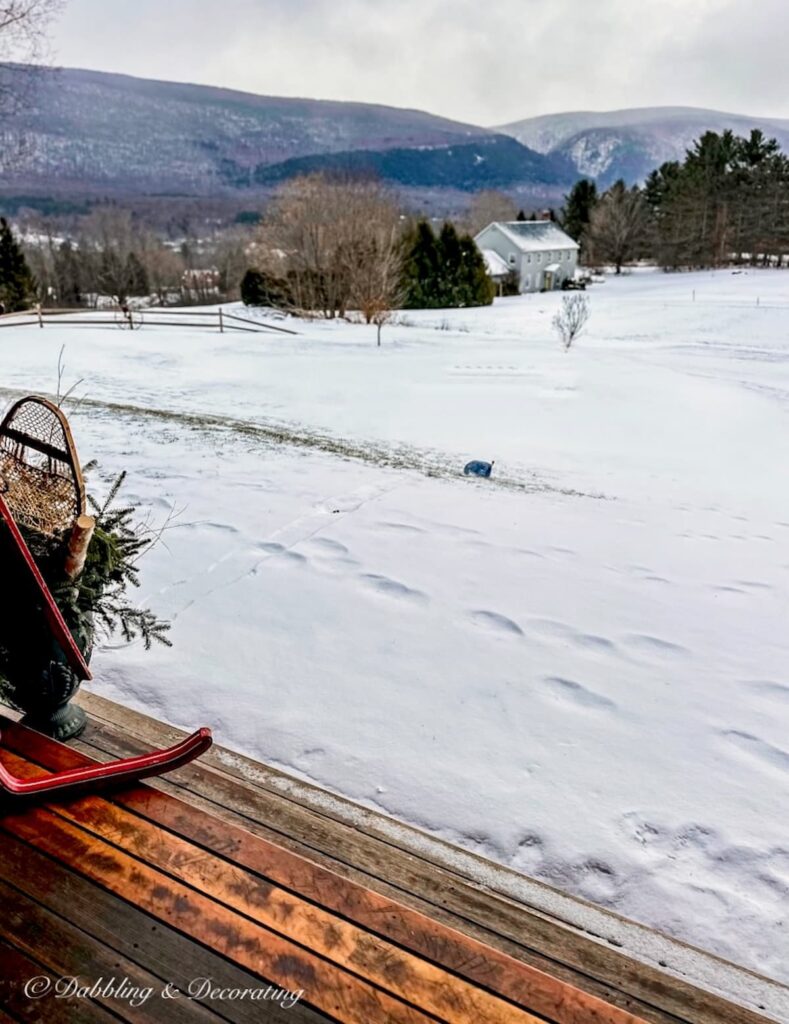
I also tried overfilling the balloon to create an extra-large ice lantern… and watched it roll away down our snowy yard with the Vermont mountains in the background. Funny? Yes. Practical? Not so much. Stick to the recommended fill level and your ice lantern will stay perfectly in place.
Best Way to Freeze DIY Lanterns: Indoors vs. Outdoors
I tried freezing my DIY ice lantern balloons both outside and inside our freezer. I think the ones I made in the freezer came out much nicer, as an FYI. I don’t understand why, but for some reason, they are much clearer and more durable.
Add your small tea light from the Wintercraft kit, and enjoy your beautiful globe DIY ice lantern this winter.
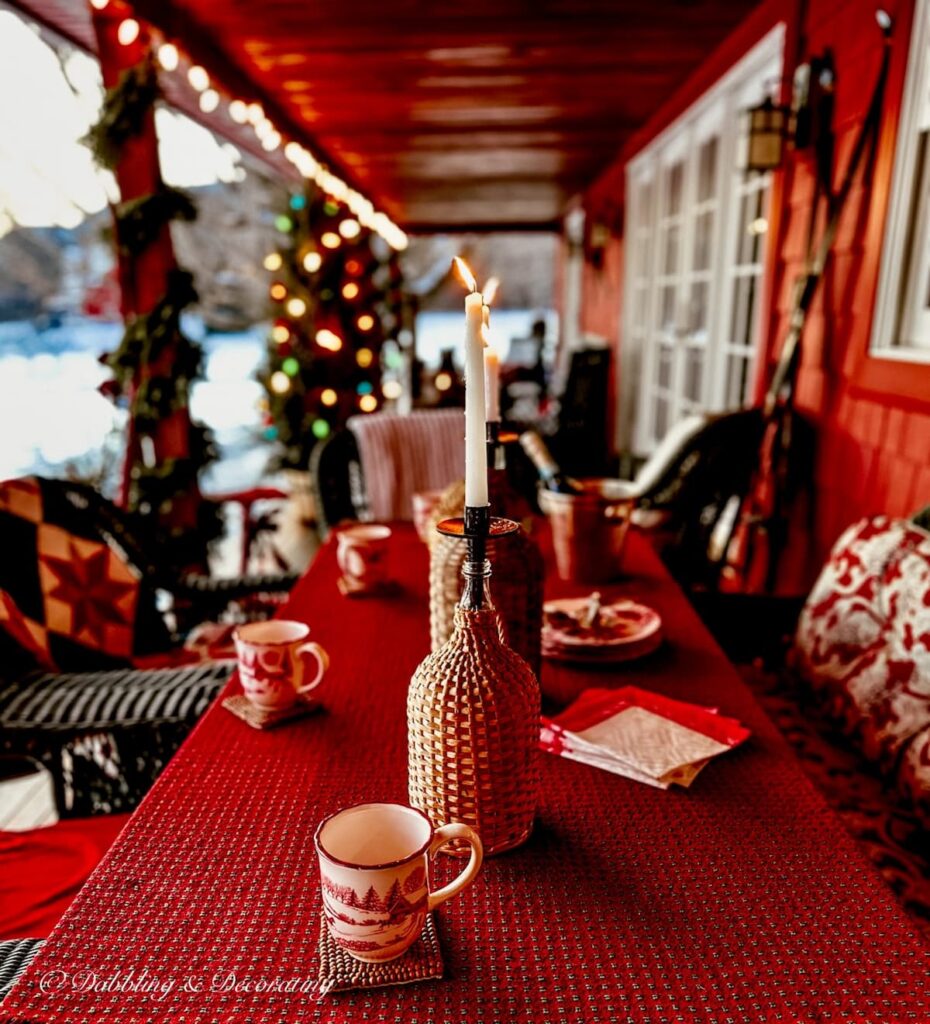
Seasonal Porch Decorating with Vintage Style
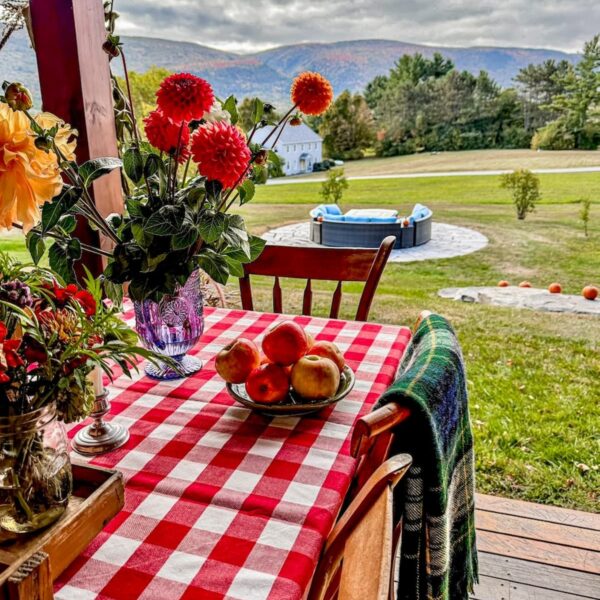
From lilacs in spring to ski lodge charm in winter, this year-round guide shares how I decorate our Vermont porch with vintage style through every season. It’s packed with table settings, thrifted finds, cozy layers, and simple decorating ideas to bring timeless charm to your own outdoor space.
LED Lights vs. Tea Lights for Ice Lanterns
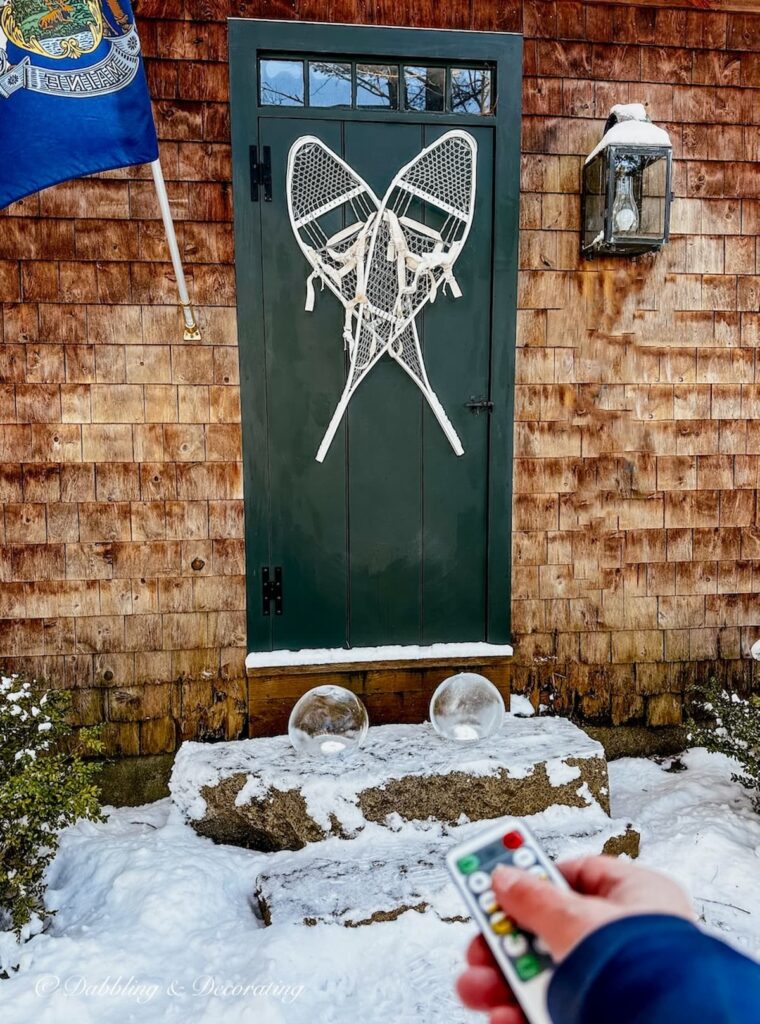
For a longer-lasting glow, I swapped out the included tea lights for a set of LED puck lights with a remote control (found on Amazon). These little lights were perfect for our snowy outdoor setup in Maine, adding an enchanting glow with just a click of the button.
Plus, no matches required! I love the convenience and the drama of these lights shining through the crystal-clear globe ice lanterns.
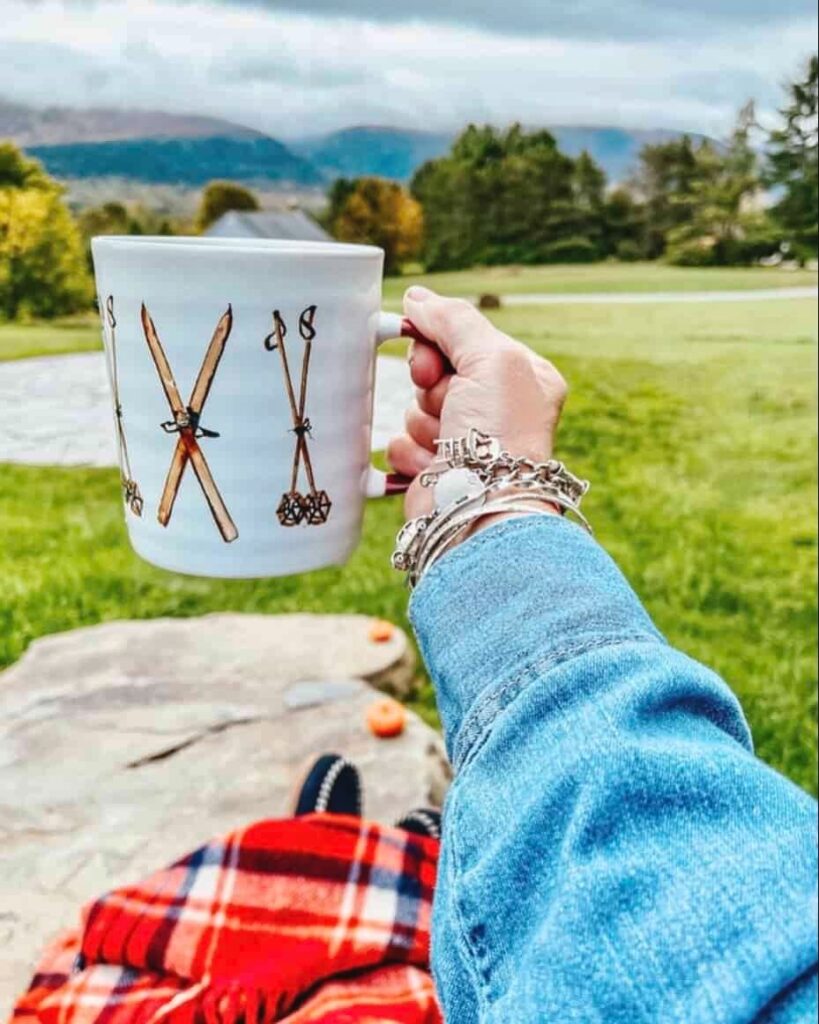
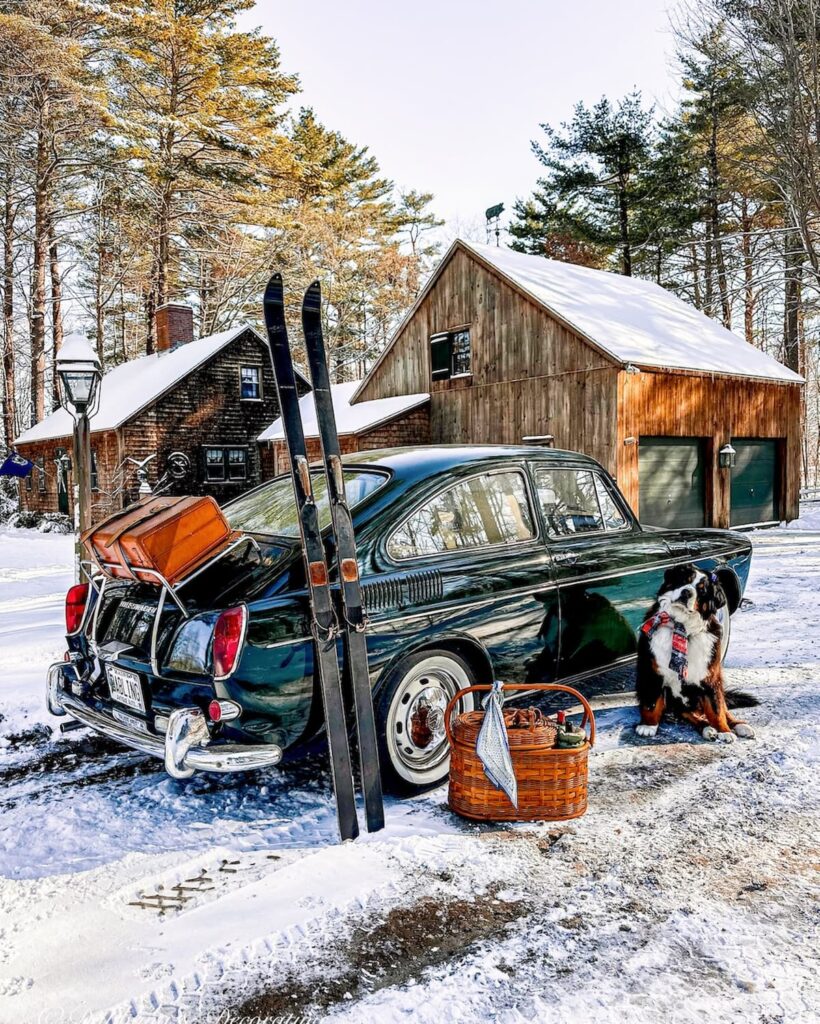
A New England Guide to Vintage Ski Lodge Decor
Love cozy winter charm and antique alpine finds? Don’t miss our Vintage Ski Lodge Decor Guide, where I share nostalgic winter decorating ideas, vintage ski gear styling, and charming pieces inspired by Vermont’s snowy mountain life.
Winter Decorating Ideas with DIY Ice Lanterns and Luminaries
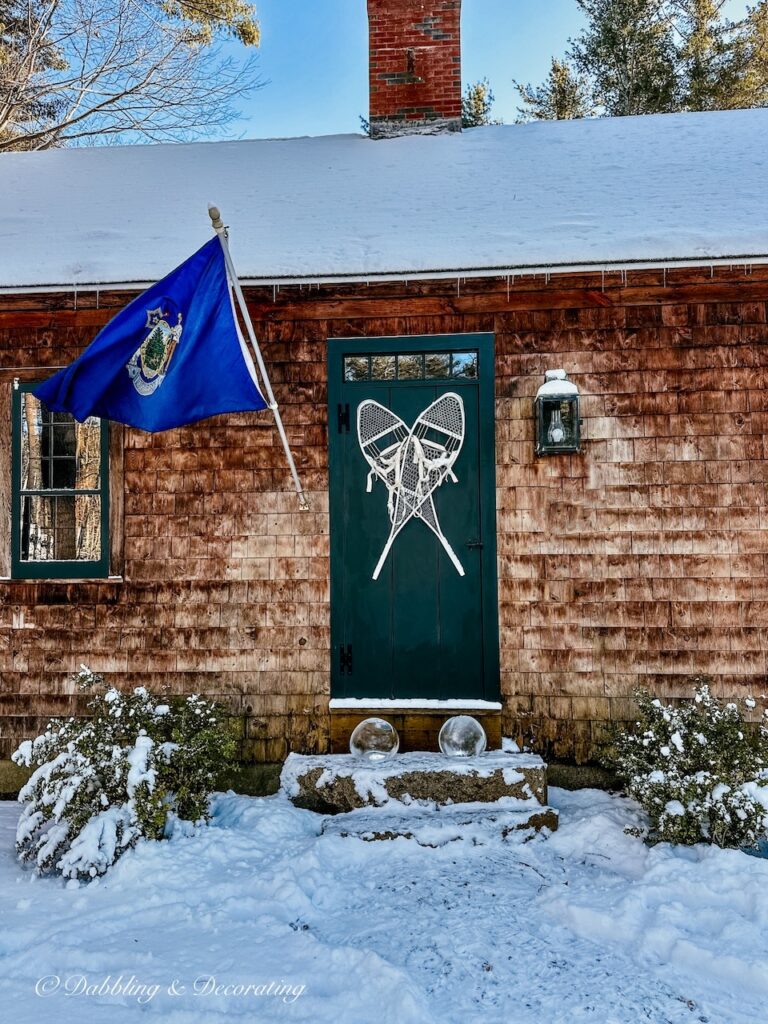
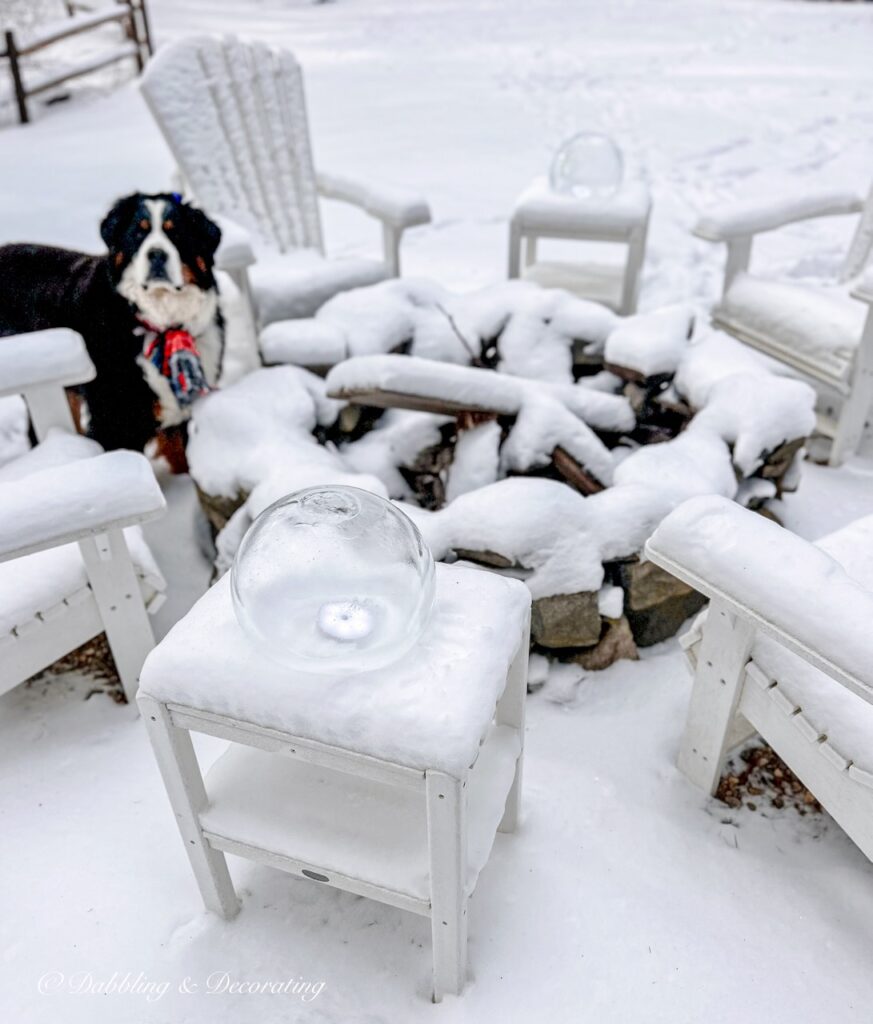
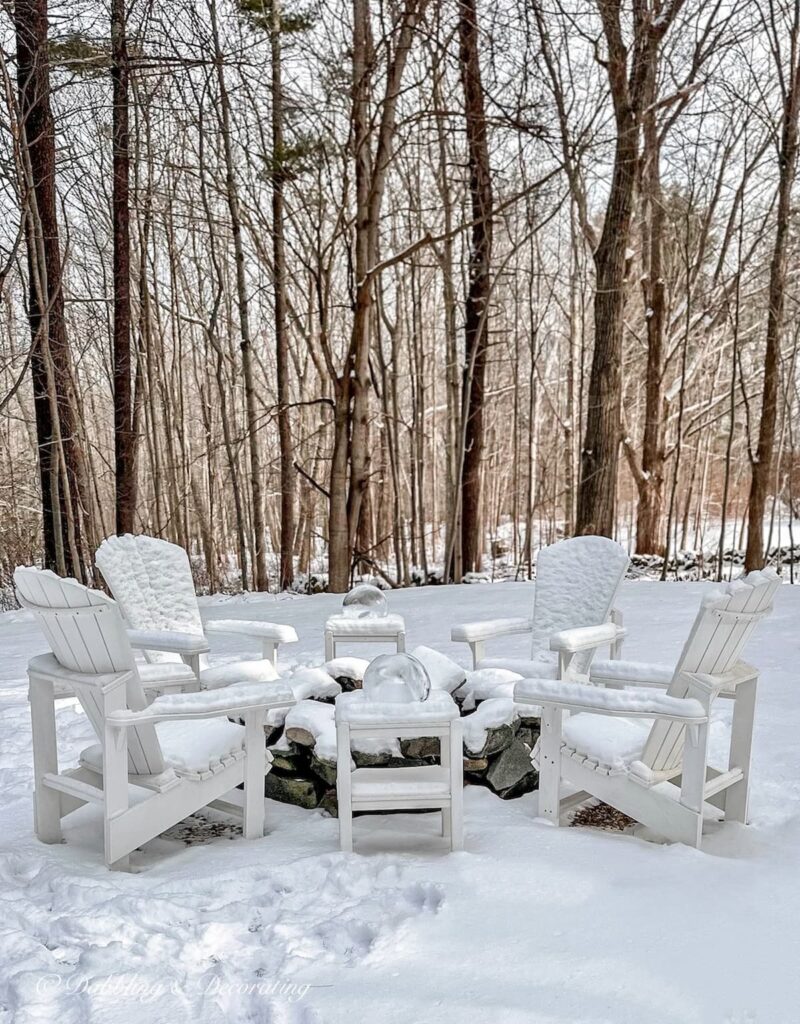
DIY ice lanterns are pure winter magic, glowing orbs of frozen beauty that light up snowy days and cozy nights alike. Whether you fill them with berries, pinecones, or keep them simple and clear, these enchanting luminaries are one of the easiest (and most fun!) ways to bring charm to your winter decor. I’ve styled them along our snowy paths, on rustic tables, and even nestled into fire pit scenes for that extra New England flair.
Ready for some inspiration? Let’s explore six beautiful ways to decorate with DIY ice lanterns this season.
6 Creative Ways to Decorate with DIY Ice Lanterns
Entryway Glow
Line your front walkway with DIY ice lanterns filled with individual berries and small pine cones for a cozy, welcoming glow that’s the perfect size for guiding guests on dark winter evenings.
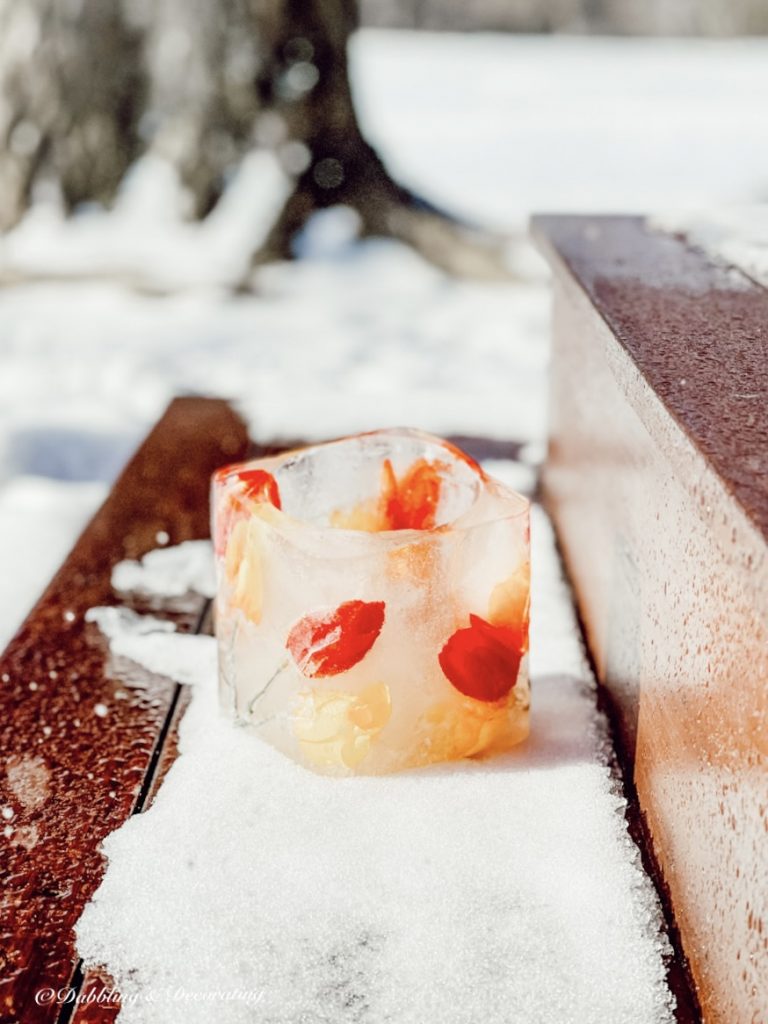
Botanical Winter Centerpiece
Use botanical DIY ice lanterns as a stunning table centerpiece. Fill the molds with beautiful things like evergreen sprigs, dried flowers, and citrus slices for a unique seasonal touch.
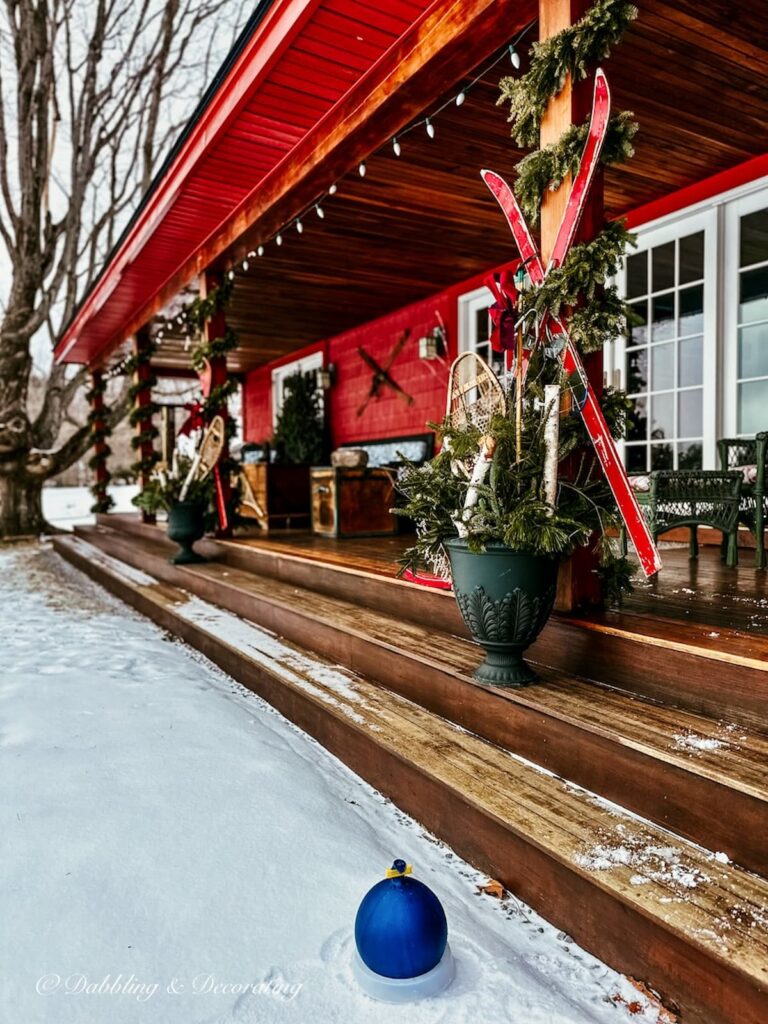
Porch Display
Cluster several DIY ice lanterns of varying sizes on your porch steps, mixing in small pine cones and individual berries to create a rustic winter vibe.
Garden Trail Magic
Illuminate your snowy garden with a trail of botanical DIY ice lanterns, highlighting their intricate frozen details to brighten up the dark weather.
Winter Party Decor
Set up an enchanting outdoor winter scene by scattering ice luminary globes along a snowy table, adding beautiful things like candles inside for warm flickering light.
Unique Gift Idea
Craft custom botanical DIY ice lanterns as a great gift for friends or neighbors. Fill each with individual berries and small details that reflect their personalit, beautiful, thoughtful, and memorable!

The Vintage Posts Readers Love Most
Start with the posts readers come back to again and again. These vintage decorating ideas are rooted in New England, styled with thrifted and antique finds, and filled with real-life tips you can use in your own home. Familiar Finds, Styled Your Way.
How to Start a Vintage Booth: Tips, Display Ideas, and Lessons Learned
Eclectic Decorating Style Guide: How to Layer Vintage, Antique, and Thrifted Decor
9 Vintage Booth Displays That Made Me Stop (And What You Can Learn From Them)
Scandinavian Spring Homes: 10 Light and Airy Cottage Tours to Inspire
Beyond the Flag: What to Look for in Antique Stores for Heritage Americana Decor
The Ice Lantern Kit Deluxe makes this craft so simple and rewarding, and the results? Just stunning. Whether you’re styling a snowy walkway, a dining table centerpiece, or a cozy winter nook indoors, these glowing globe luminaries are an easy way to add festive ambience and frosty charm all season long.
Recommended REading
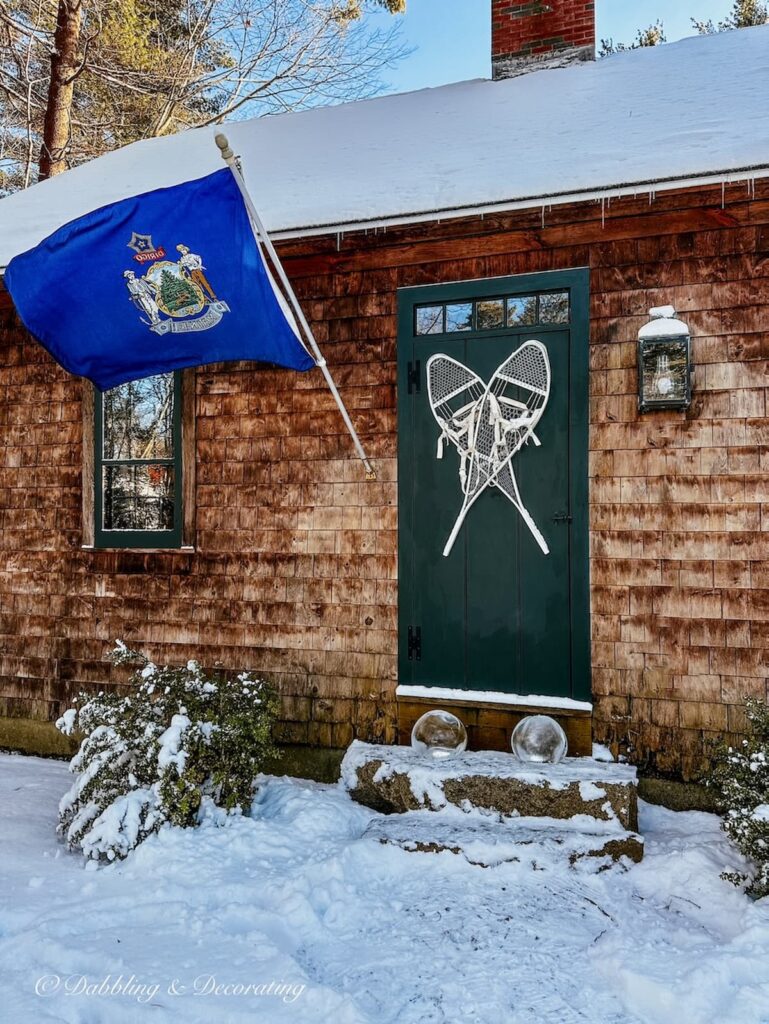
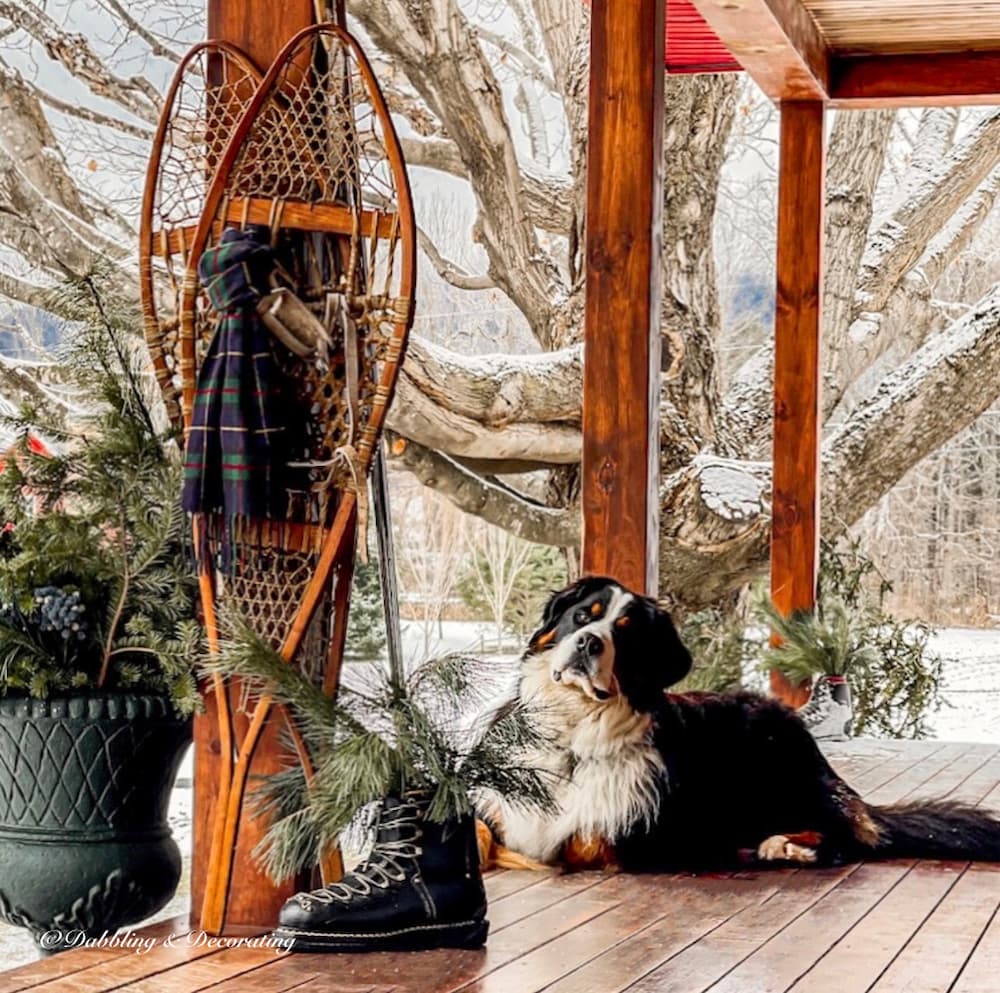
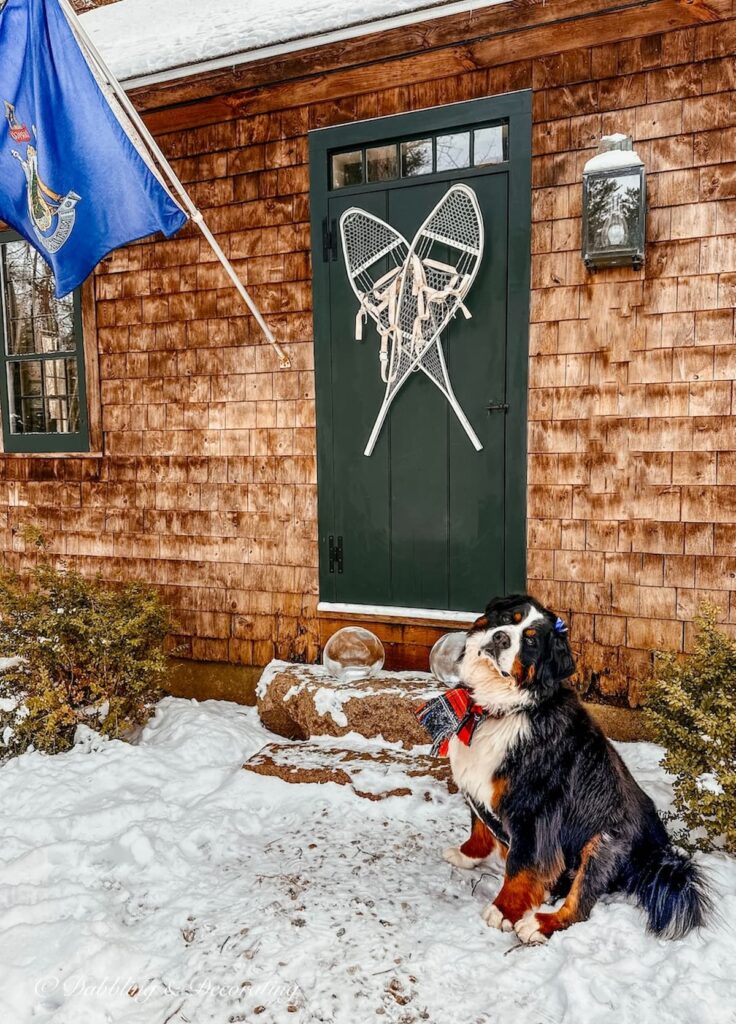
You may also be inspired by this Antique Snowshoes for Decoration: Seasonal Vintage Styling Ideas for Your Home post.
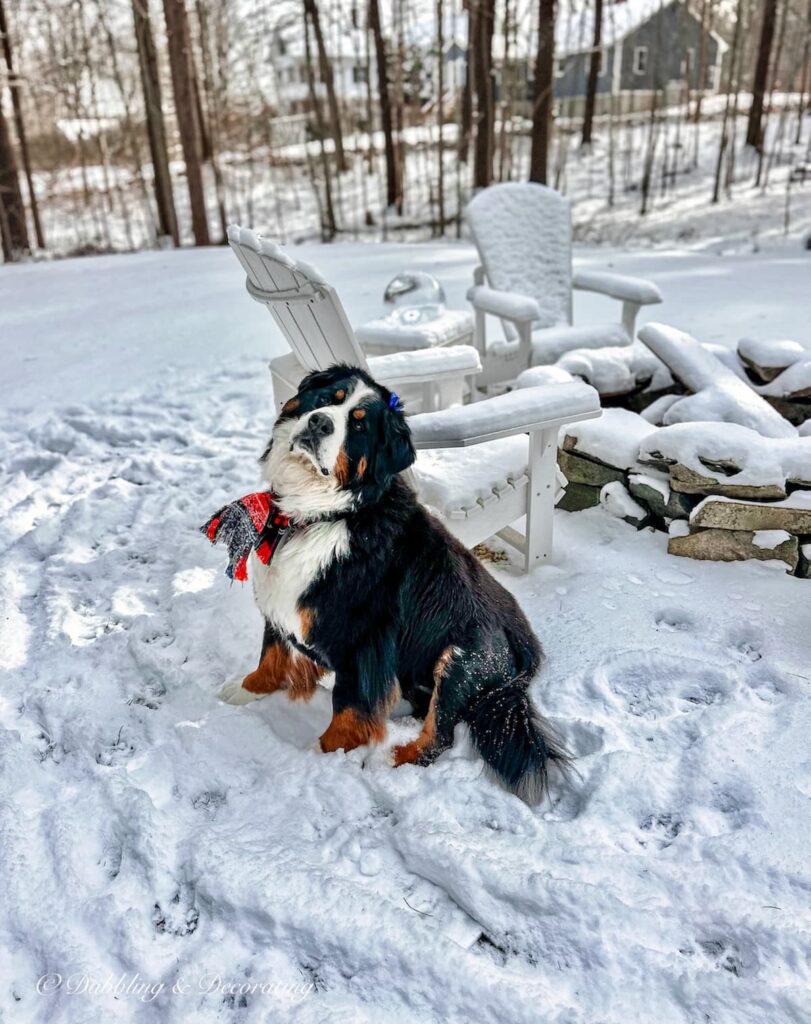
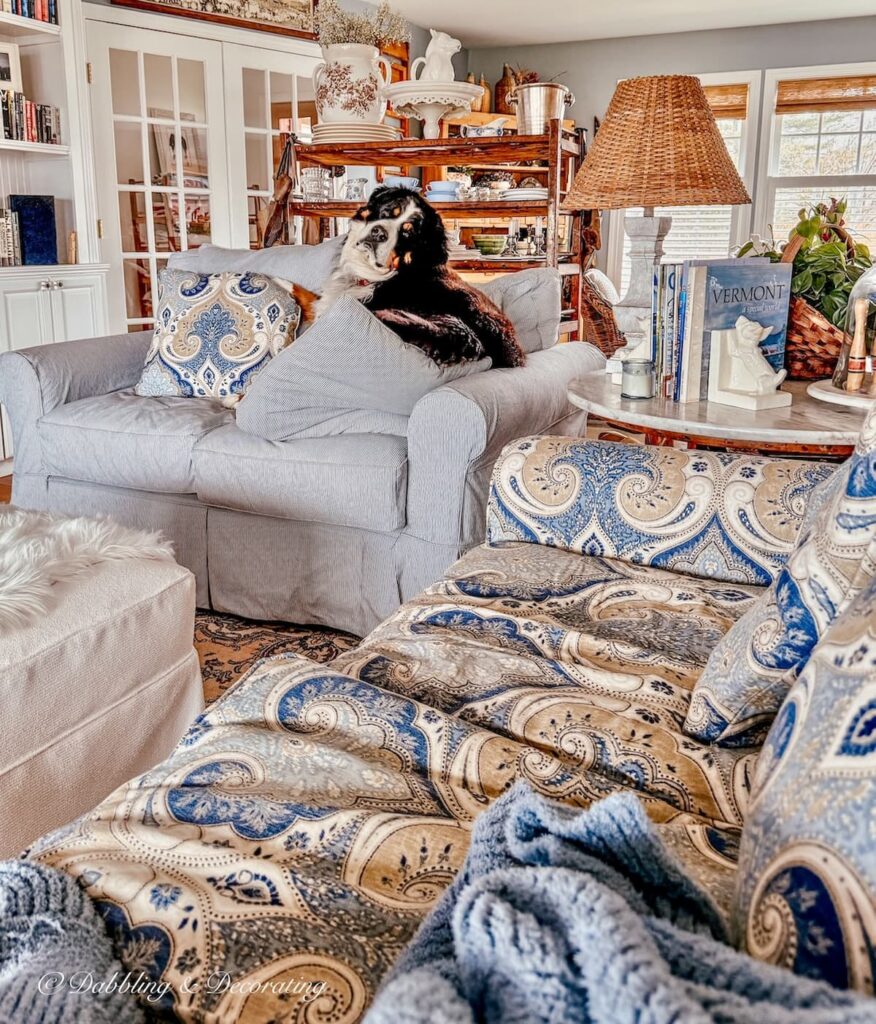
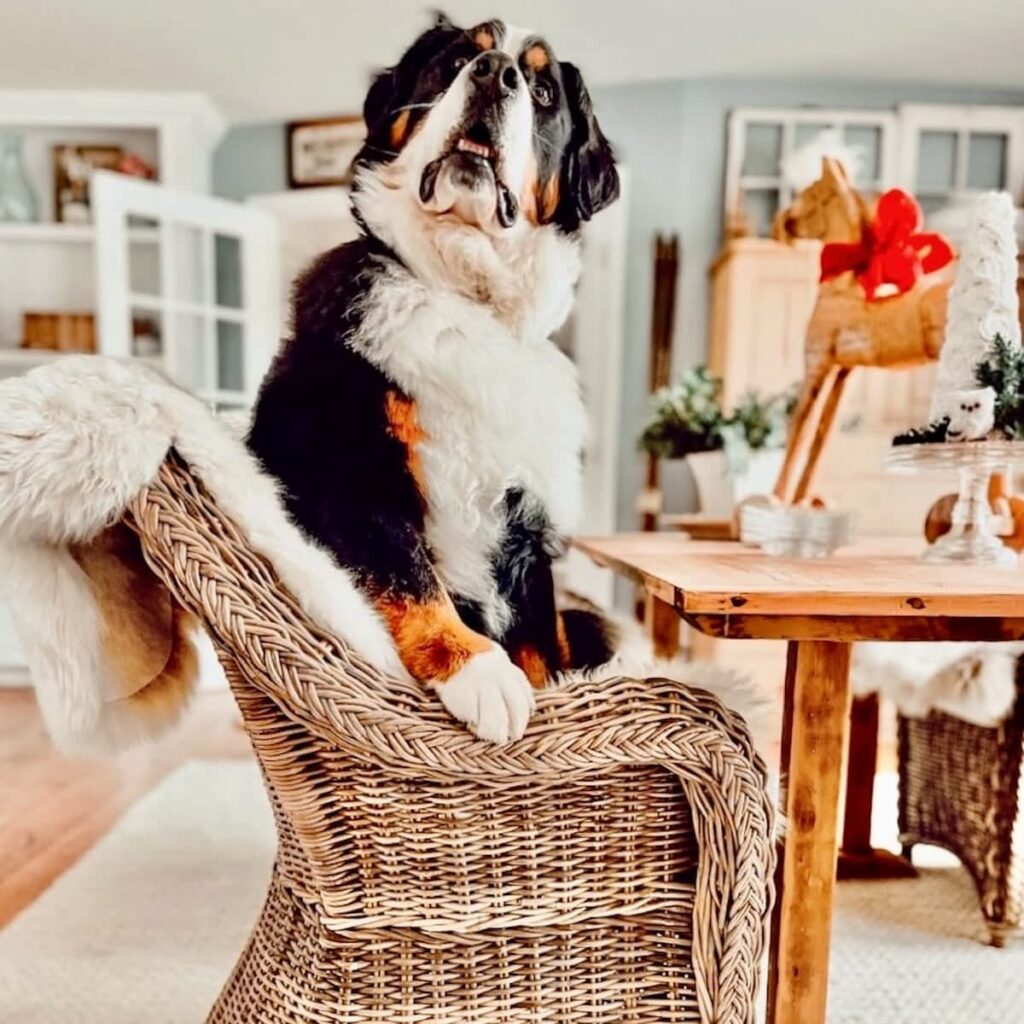
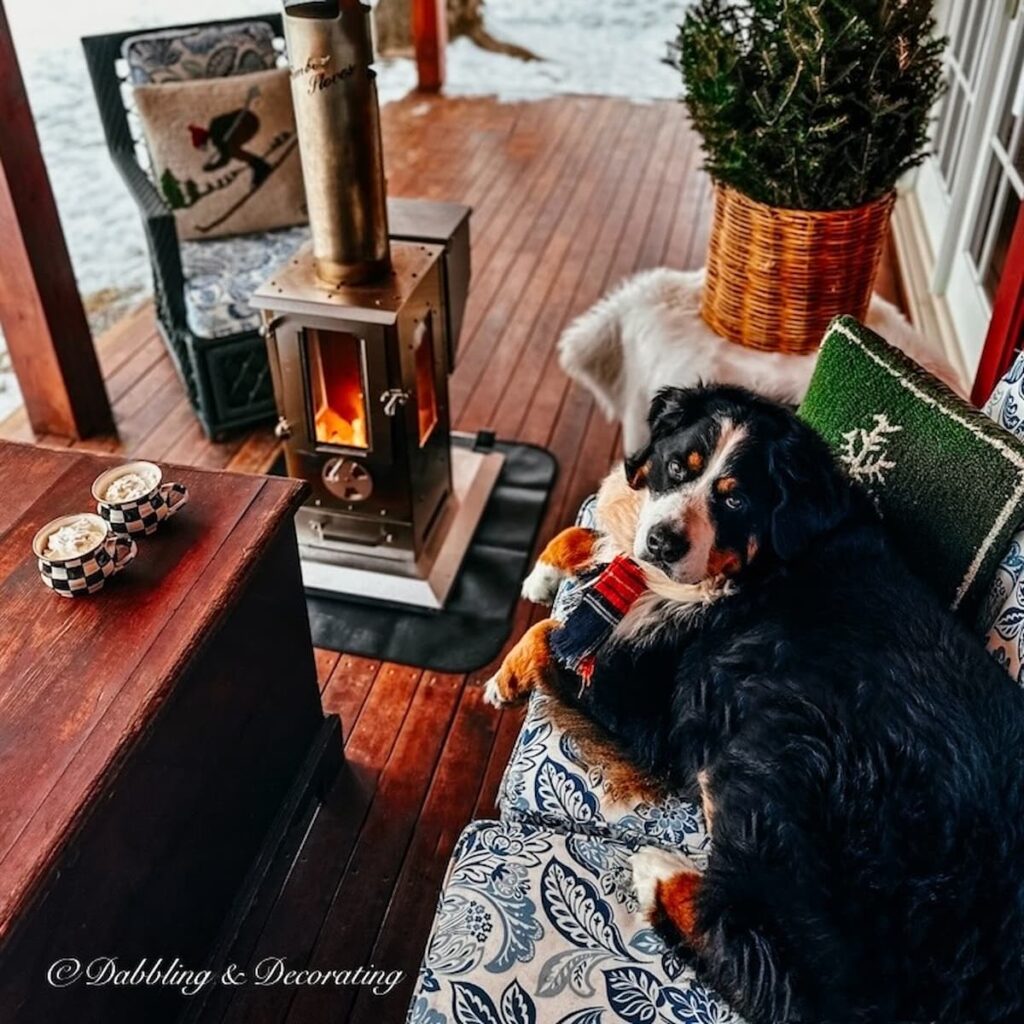
With this easy step-by-step guide and six creative decorating ideas in hand, you’re all set to bring these magical DIY ice lanterns to life in your own home. From snowy pathways to cozy porch corners, I’ve truly enjoyed styling them throughout our New England winters, especially around the fire pit with Ella, our Bernese Mountain Dog, by my side.
Whether you’re planning a winter gathering, embracing the après-ski aesthetic, or just adding a little glow to your outdoor decor, these globe luminaries are sure to enchant.
Vintage Home Decorating Guides and Styling Inspiration
Are you curious about vintage decor but don’t know where to start? These cornerstone guides are packed with seasonal styling tips, how-tos, and inspiration to help you confidently decorate with charm and character.
Feeling inspired?
Explore the full gallery below for even more winter decorating ideas, and don’t forget to tag me on Instagram if you try your own DIY ice lanterns. I’d love to see how you style them in your winter wonderland!

Frequently Asked Questions About DIY Ice Lanterns
DIY ice lanterns are decorative luminaries made by freezing water in molds, balloons, or containers to form a hollow globe or cylinder. Once frozen, you can place a tea light or LED light inside to create a magical glow, perfect for winter decor, especially around the holidays or après-ski gatherings.
The easiest way to make ice lanterns at home is with a kit like the Wintercraft Globe Ice Lantern Kit. Simply fill the included balloon with water, freeze it in the tray, then cut open the balloon and drain any excess water. Add a tea light or LED light inside the hollow globe and enjoy!
Yes, you can freeze ice lanterns outdoors if the temperature is consistently below 20°F (-6°C). However, I’ve found that lanterns frozen inside a freezer tend to be clearer and more durable than those left outside, depending on the weather.
You can use traditional tea lights or battery-powered LED puck lights with remote controls for a safer, longer-lasting glow. LED lights are especially great for outdoor use and when placing lanterns near pets or children.
Ice lanterns can last several hours outdoors depending on the temperature. In freezing conditions, they may last multiple days. Indoors, they can last up to 8–10 hours if kept in a cool room or used as a centerpiece for a special event.
While ice lanterns themselves melt after use, the molds and kits used to make them are reusable. Simply make a new lantern whenever you want to add a frosty glow to your winter decor.
Absolutely! You can add pine sprigs, cranberries, herbs, or even dried flowers into the water before freezing for a botanical effect. These nature-inspired ice lanterns look stunning on snowy porches, walkways, and winter party tables.
Join the Vintage Circle — Familiar Finds, Styled Your Way™
Love vintage treasures, thrifted gems, and a home that tells your story? Leave a comment, share this post with a kindred spirit, or head to my Start Here page to explore more. Want fresh prompts and timeless ideas? Subscribe to join our Seasonal Vintage Decor Styling Challenge for weekly inspiration and behind-the-scenes peeks.
Pin forLater!

Shop DIY Ice Lanterns
This post may contain affiliate links, which won’t change your price but will earn us commission.


Hi Ann
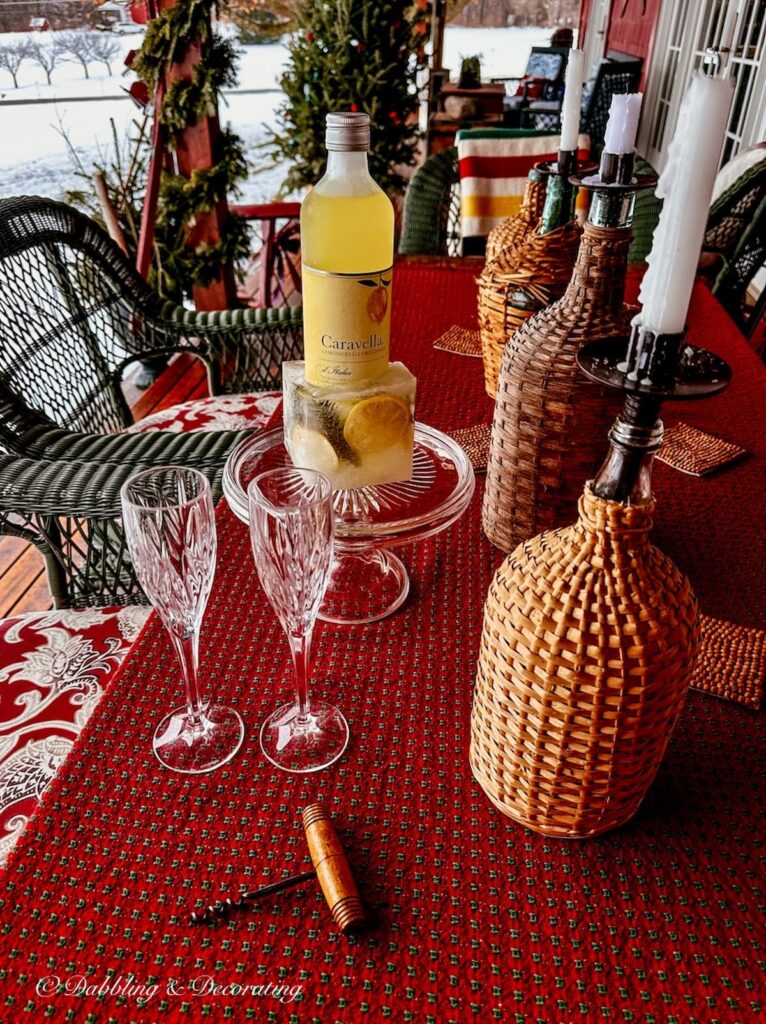
Oh I am LOVING the ice lanterns!!!! So pretty! I want to try the globes and also love the ice blocks like you have under your wine bottle. What a creative, fun idea!!!! Thank you!!!
Hello Beautiful Ella; you always make your Mom’s decorating ideas even more beautiful!!!❤️🐾❤️🐾❤️
Thank you so much Kathy, aren’t they so fun? Perfect to make on a cold snowy day. Send me a picture if you make one or two! Ella says hello!
These are so cool, Ann! What a fun idea! I am loving our cold winter!
Aren’t they so fun? I’m enjoying it too, we’ve had snow almost every morning, it’s so beautiful!
Ann, What a fun diy!! So magical. I’m going to order the kit now. Thanks you for the share!
Cara 🙂
I thought so too Cara. It would be fun for your to make with your granddaughter!