

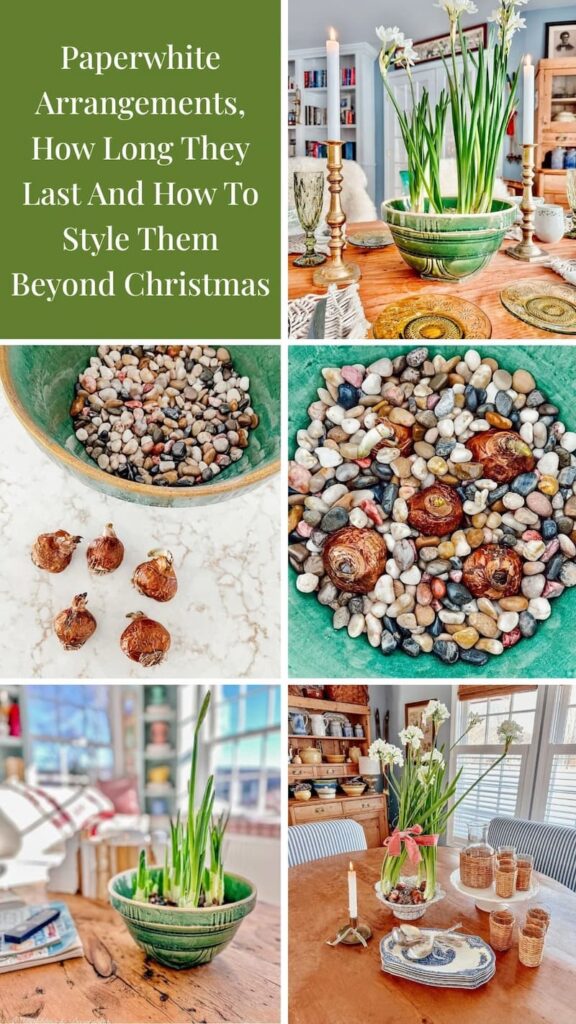
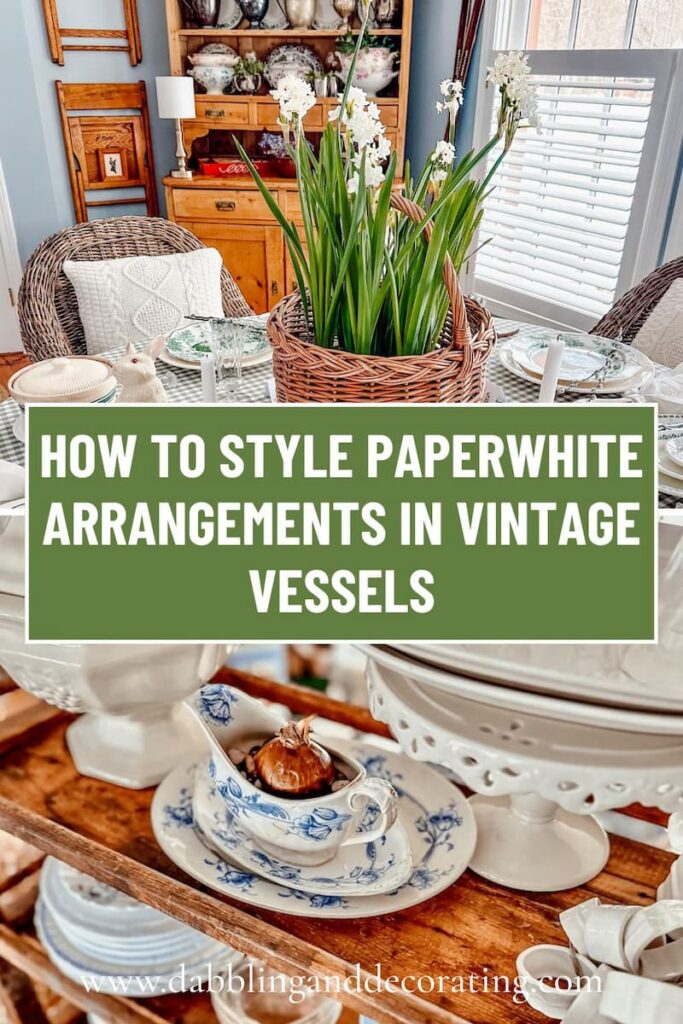
How long do paperwhites last indoors? Here are simple paperwhite arrangements ideas, the best vases and thrifted vessels to use, and easy tips to keep them looking fresh beyond Christmas.
Paperwhites don’t have to disappear after the holidays. If you love a fresh, simple look that feels collected instead of fussy, paperwhite arrangements are such an easy win for late winter and early spring. I originally started growing mine in a green stoneware pot with pebbles and bulbs for a St. Patrick’s Day moment, and honestly, the green-and-white combo still makes me happy every time I see it. If you’ve ever wondered how long paperwhites last indoors and how to style them beyond Christmas, you’re in the right place.
Vintage Flower Arrangements: A Guide for Vintage Lovers
Looking for inspiration in every season? Don’t miss this full guide packed with creative floral styling ideas using antique vessels, thrifted finds, and seasonal blooms to bring vintage charm into your home all year long.
Paperwhite Arrangements Aren’t Just For Christmas
Paperwhite arrangements are one of my favorite little “in-between season” tricks, the kind that bridges winter into early spring without forcing the calendar. They feel fresh and bright when everything outside still looks a little sleepy, and they bring that clean white bloom moment that works with almost any decorating style.
The reason I keep coming back to them is the styling flexibility. You can grow paperwhites right in the vessel you want to display, which means your container becomes half the arrangement. In this post, you’ll see a lot of mine growing in a green stoneware pot with pebbles and the bulbs. That green-and-white combo is why I originally tied paperwhites to St. Patrick’s Day, and it still feels simple, classic, and not the least bit theme-y.
If you’re not a gardener, don’t worry. I’m sharing this from a home decor angle, not a greenhouse angle. Think of this as a guide to paperwhite arrangements you can style on a countertop, dining table, or entryway, plus a few easy ways to gift them so they feel thoughtful and collected instead of last-minute.
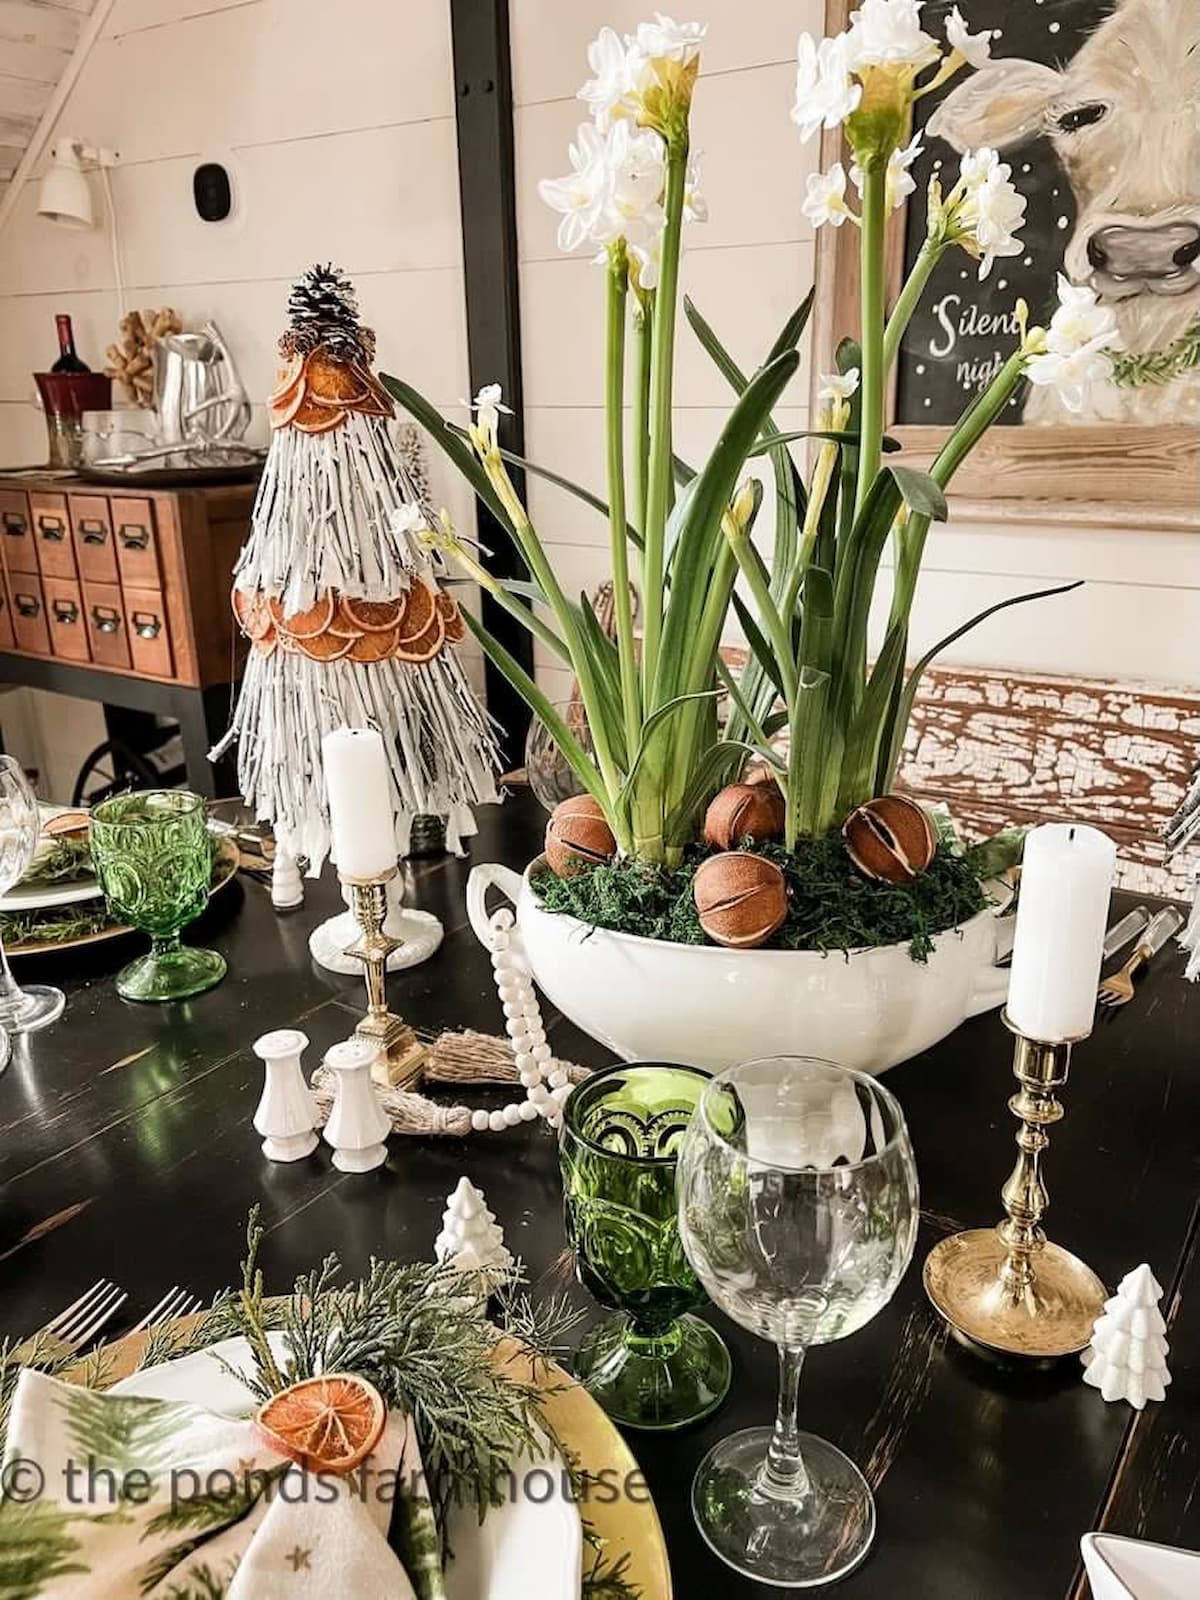
Recommended Reading
Rachel from The Ponds Farmhouse has a unique take on her paperwhite arrangements that I’m sure you will also enjoy.
Paperwhite Arrangements: How Long Do They Last Indoors?
If you’re planning paperwhite arrangements for a table, a gift, or just a bright spot on the kitchen counter, this is the question that matters most. Once the blooms open, paperwhites typically look their best for about 7 to 14 days. You can sometimes stretch that window a bit if they’re kept in a cooler room and out of direct sun, but they’re not a month-long flower, and that’s okay. They’re meant to be a short, happy little moment.

The good news is that paperwhites don’t all bloom at once. If your pot has several bulbs, you’ll often see blooms open in stages, which keeps the arrangement looking lively longer. I like to think of it as a slow reveal. One cluster fades, another pops open, and the whole thing still feels fresh.

Quick decorating tip:
If you’re using paperwhites for an event or a holiday weekend, aim to start them early enough that they’re just beginning to open a few days before you need them. That way, you get the best-looking bloom window right when you want it.
* We love our pets around here, so as a warning, according to the ASPCA, paperwhites can be toxic to dogs and cats if ingested. Please keep paperwhites out of the reach of your pets!
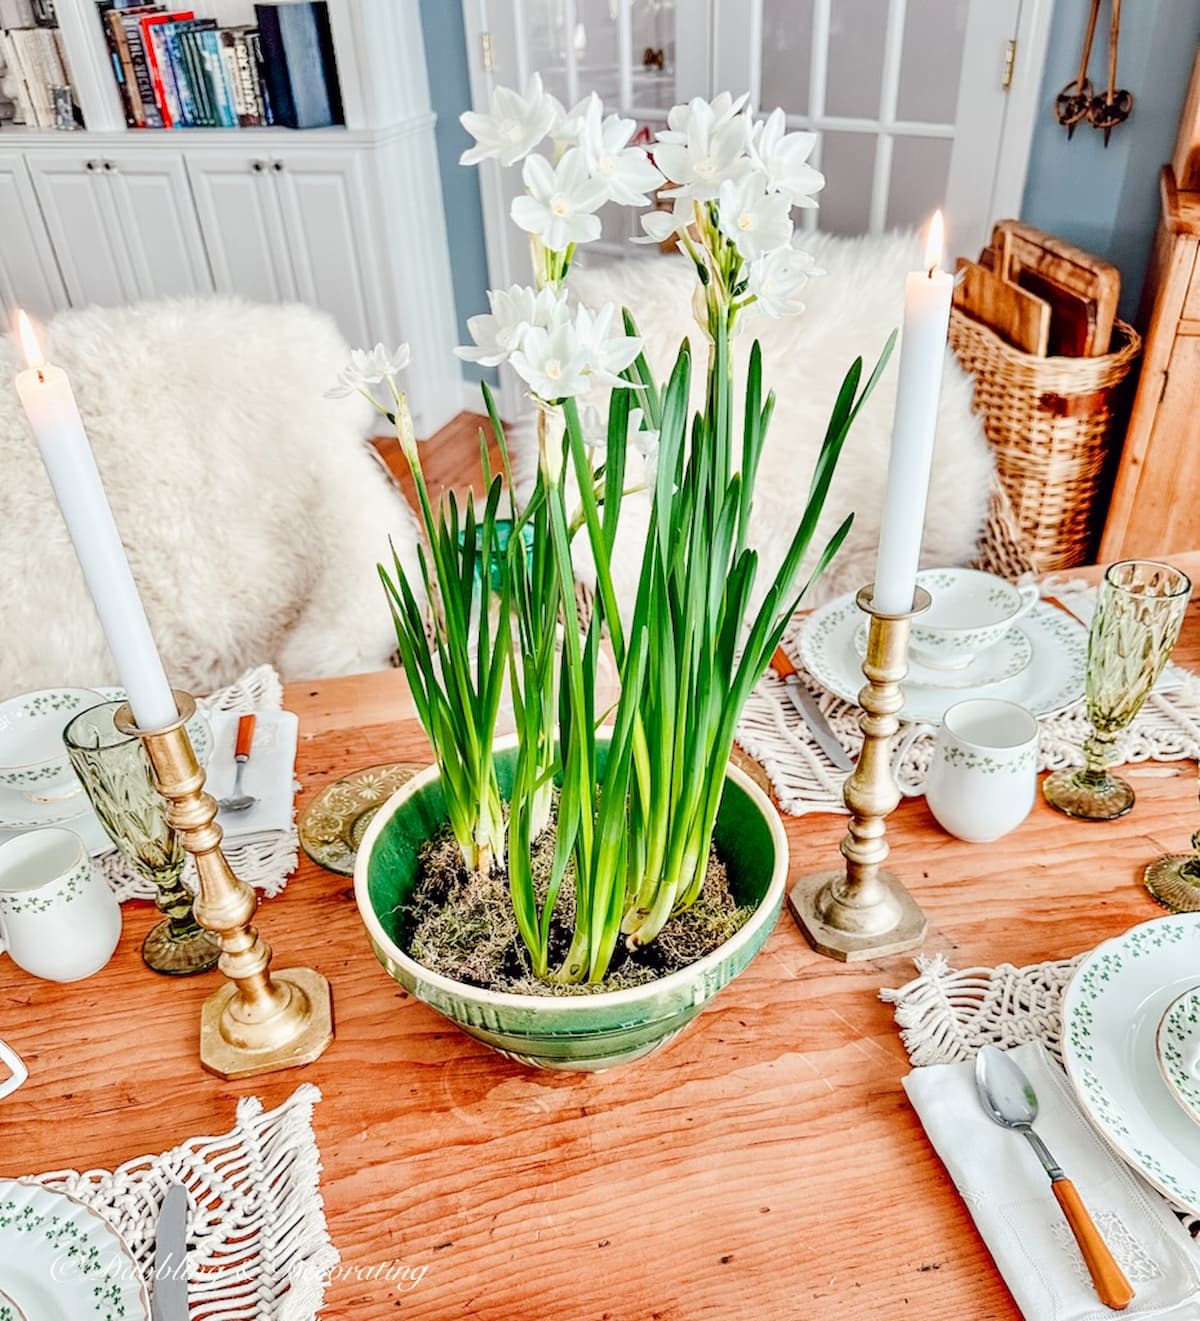
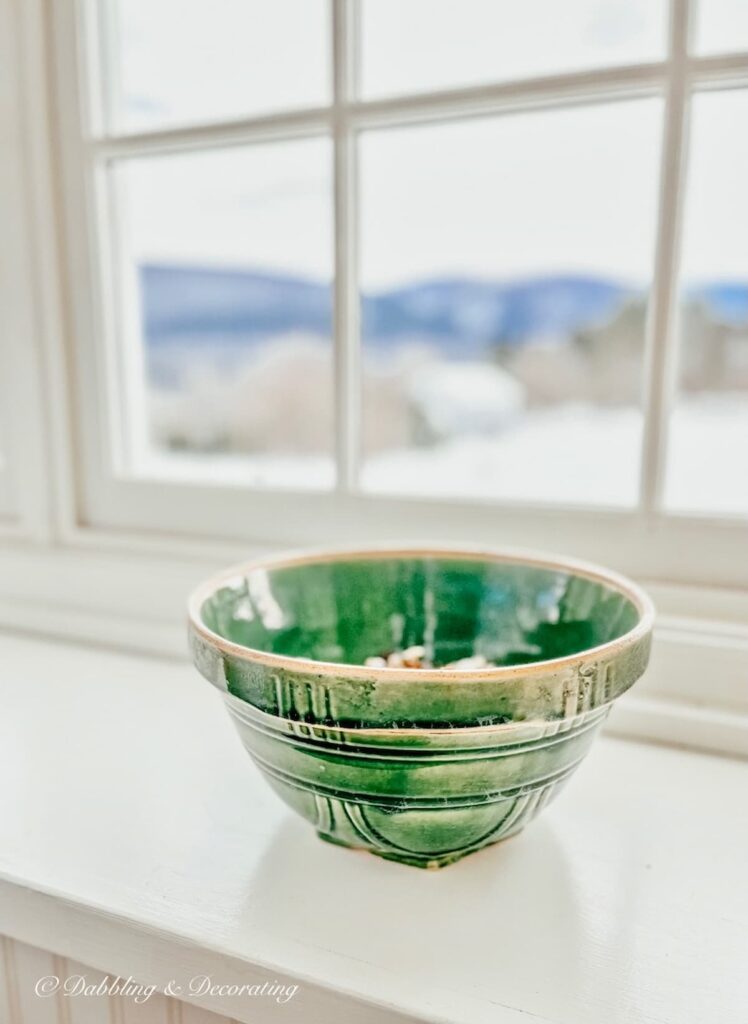
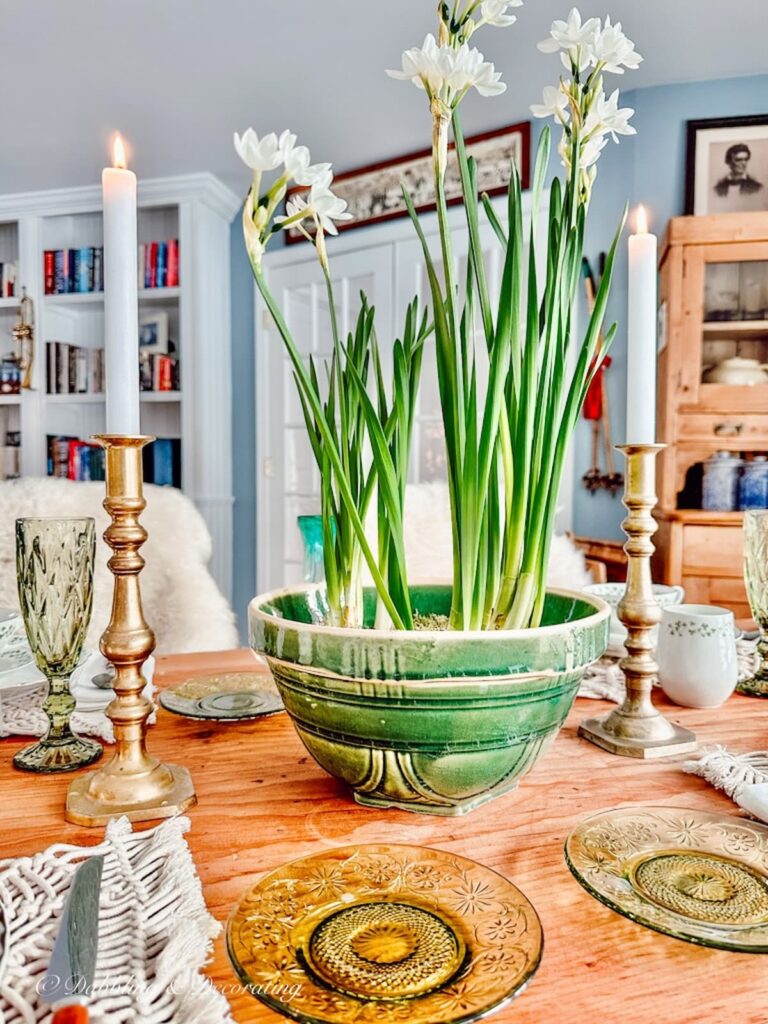
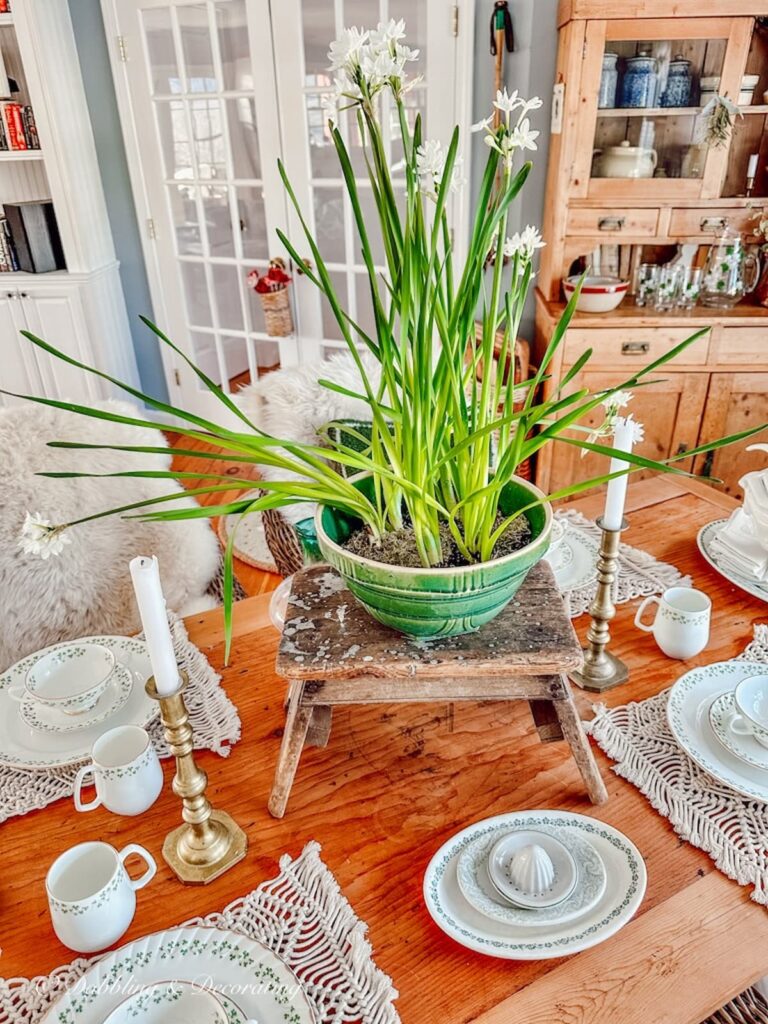
Paperwhite Arrangements In Green Stoneware For A Simple St. Patrick’s Day Look
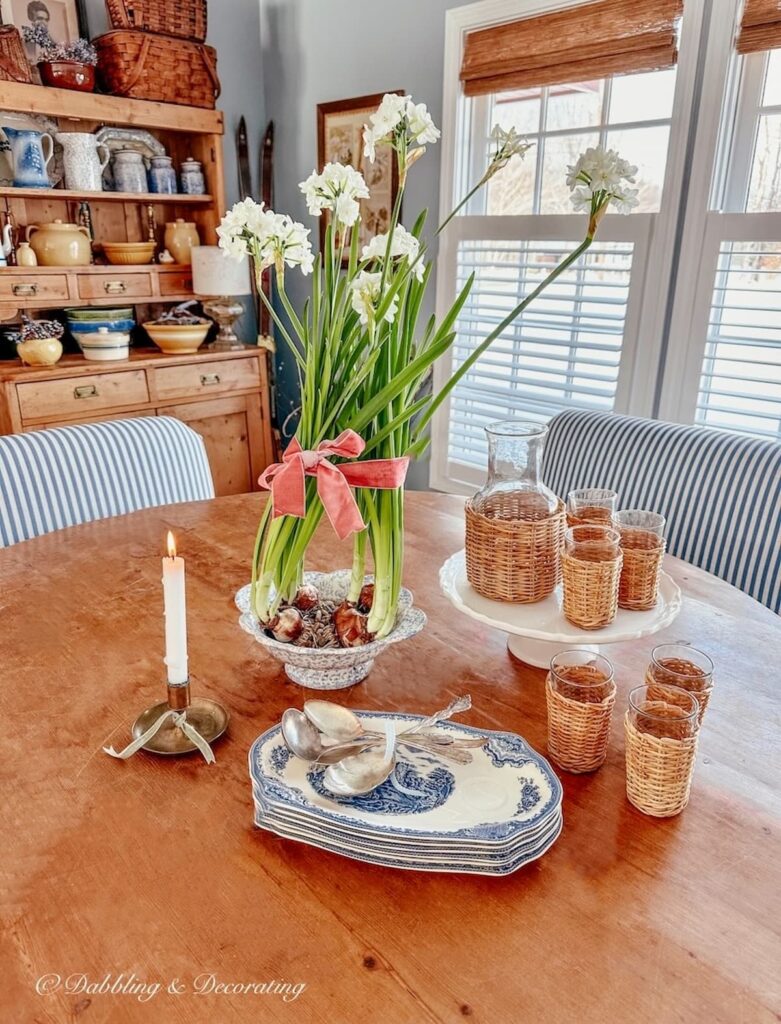
This is the paperwhite arrangement that started it all for me, growing the bulbs right in a green stoneware pot with pebbles. The look is clean and classic, and the green-and-white pairing feels like a nod to St. Patrick’s Day without turning your home into a party store aisle. It’s simple, fresh, and it works with the vintage pieces you already love.
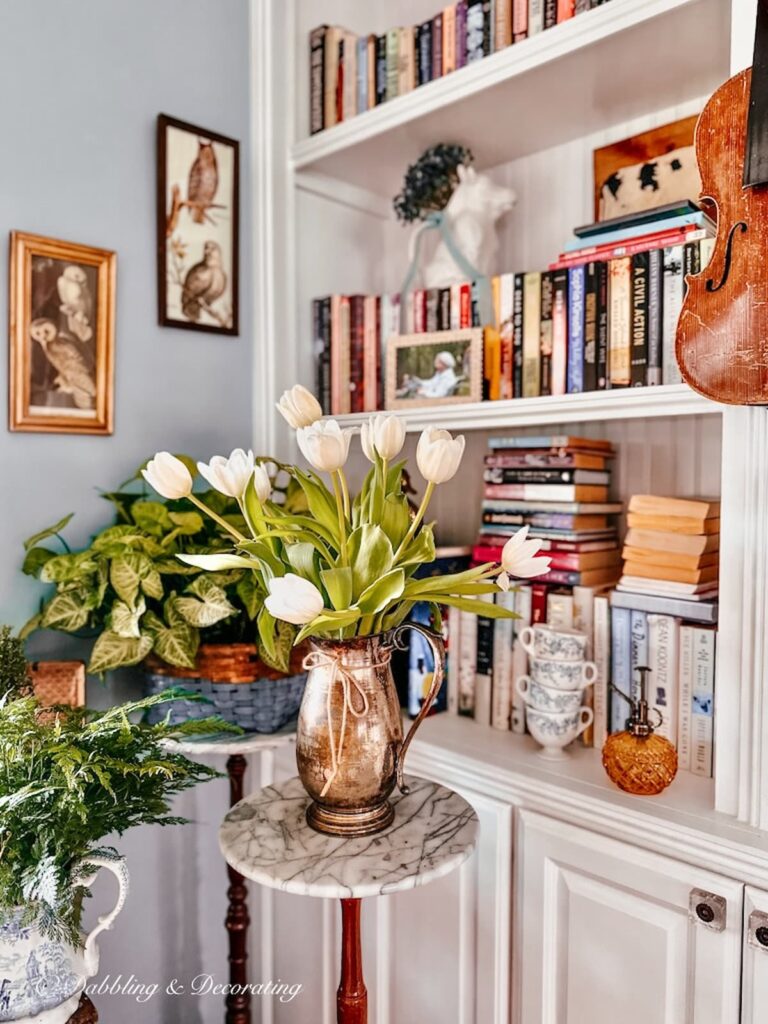
To style this kind of paperwhite arrangement, think in layers. The stoneware is your anchor, the pebbles add texture, and the bulbs become part of the display instead of something you’re trying to hide. I like to set the pot on a small tray, stack a couple thrifted books underneath, or pair it with brass candlesticks or an ironstone pitcher nearby. A little contrast makes the white blooms stand out even more.
If you want to lean a bit more seasonal, add one small touch around it rather than in it. A green ribbon tied around the pot, a single shamrock plate on a stand behind it, or one piece of vintage green glass nearby gives you the holiday vibe while keeping the arrangement itself timeless.
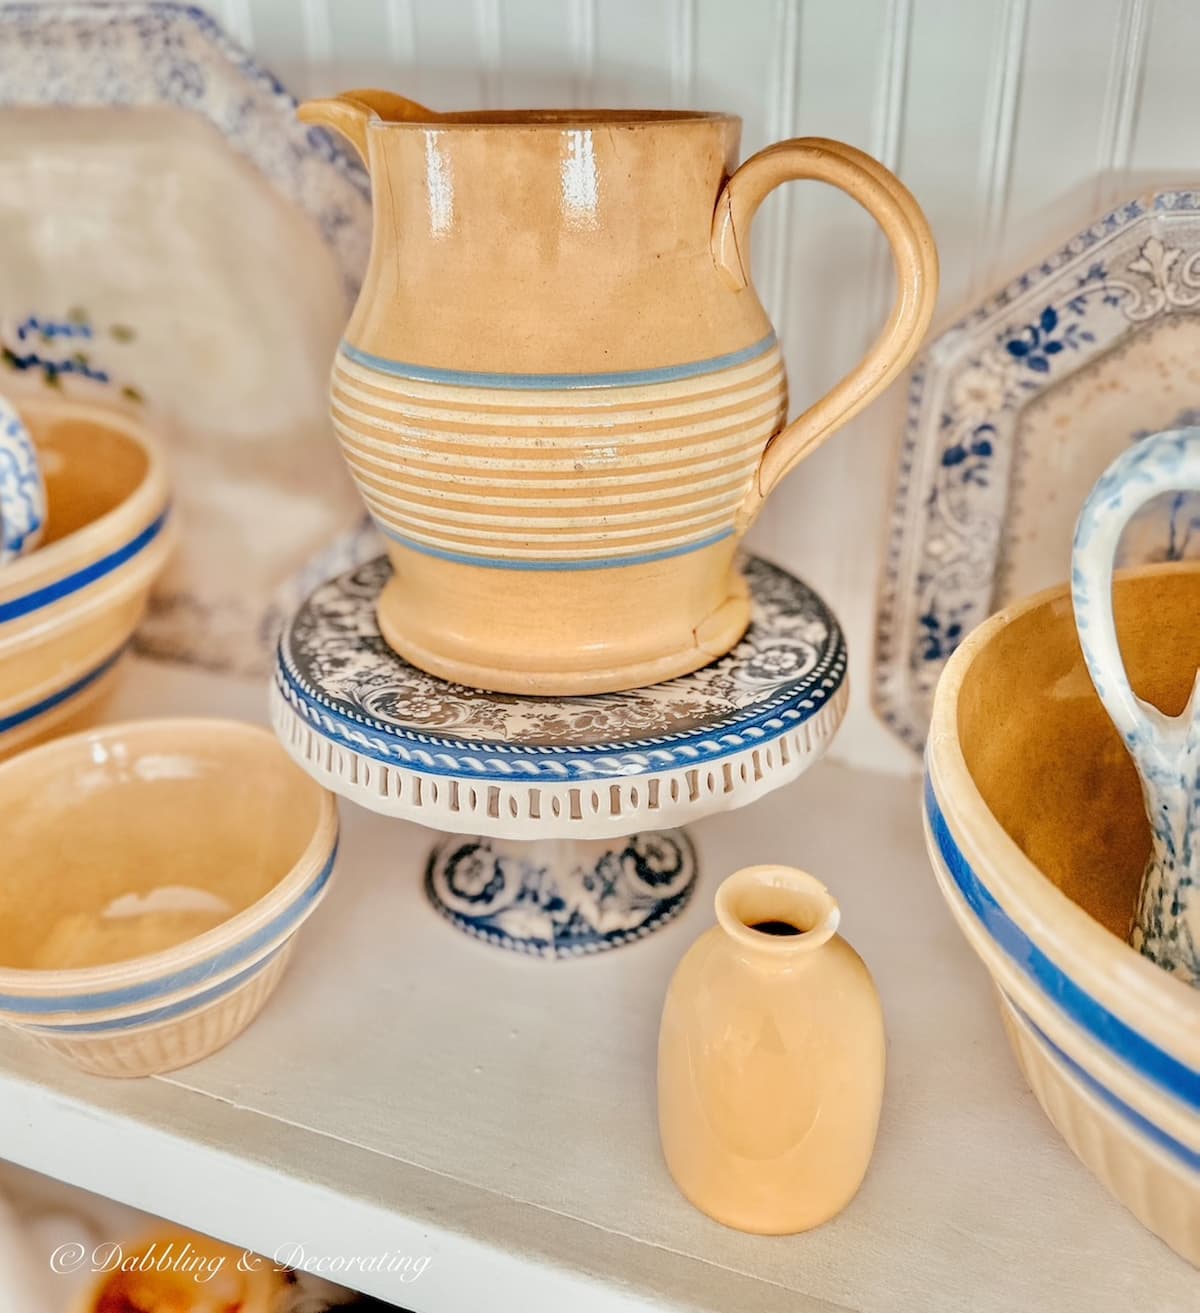
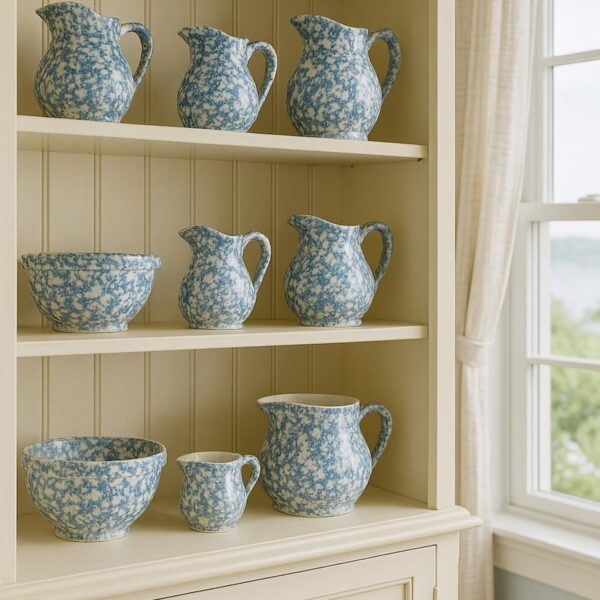
Vintage Yellowware Collecting and Styling Ideas
Are you drawn to classic yellow mixing bowls and charming pottery with blue stripes? This vintage guide is filled with ideas for decorating with yellowware, styling shelves, and starting your own collection with confidence and character.
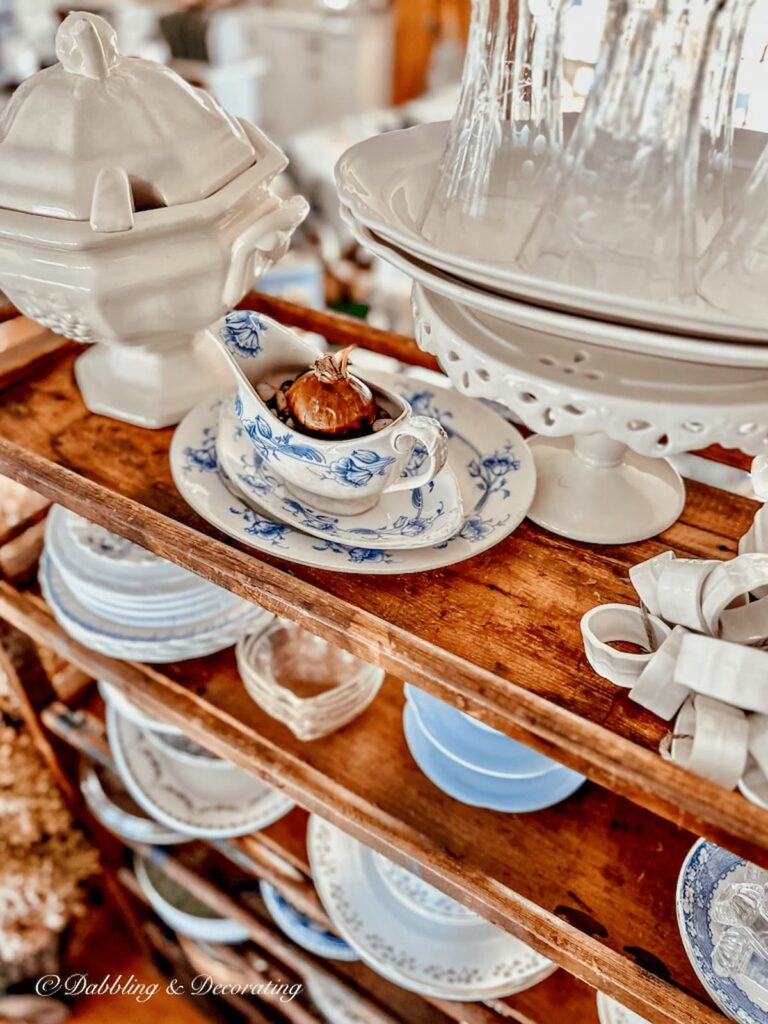
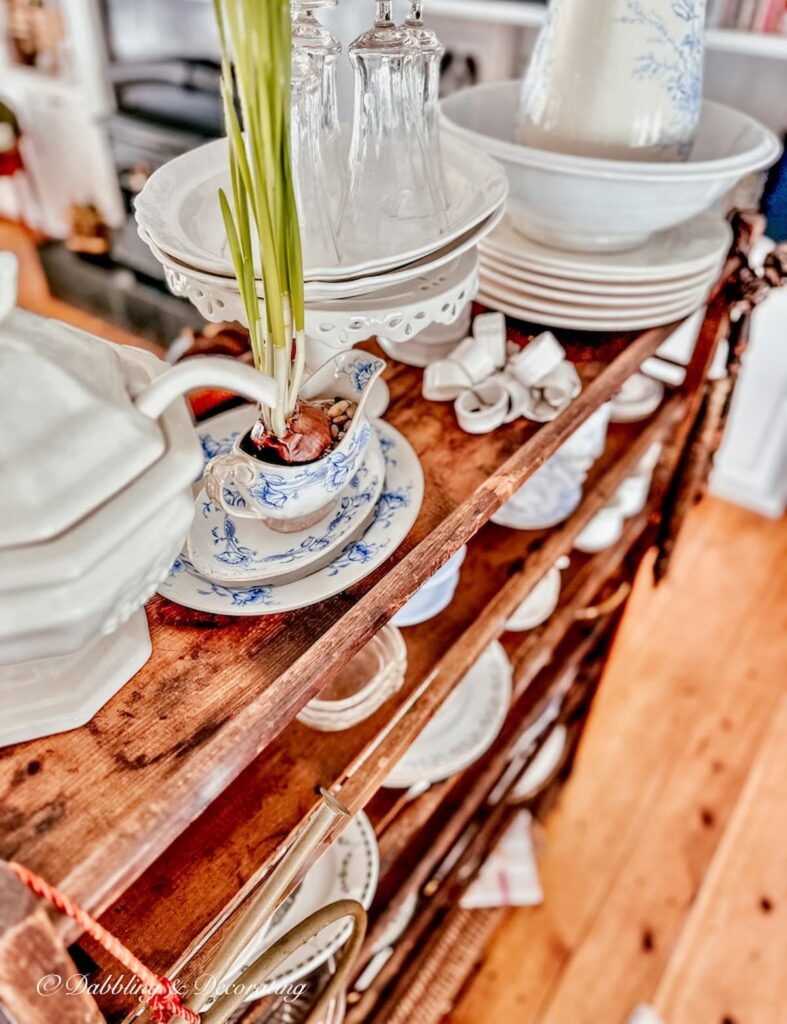
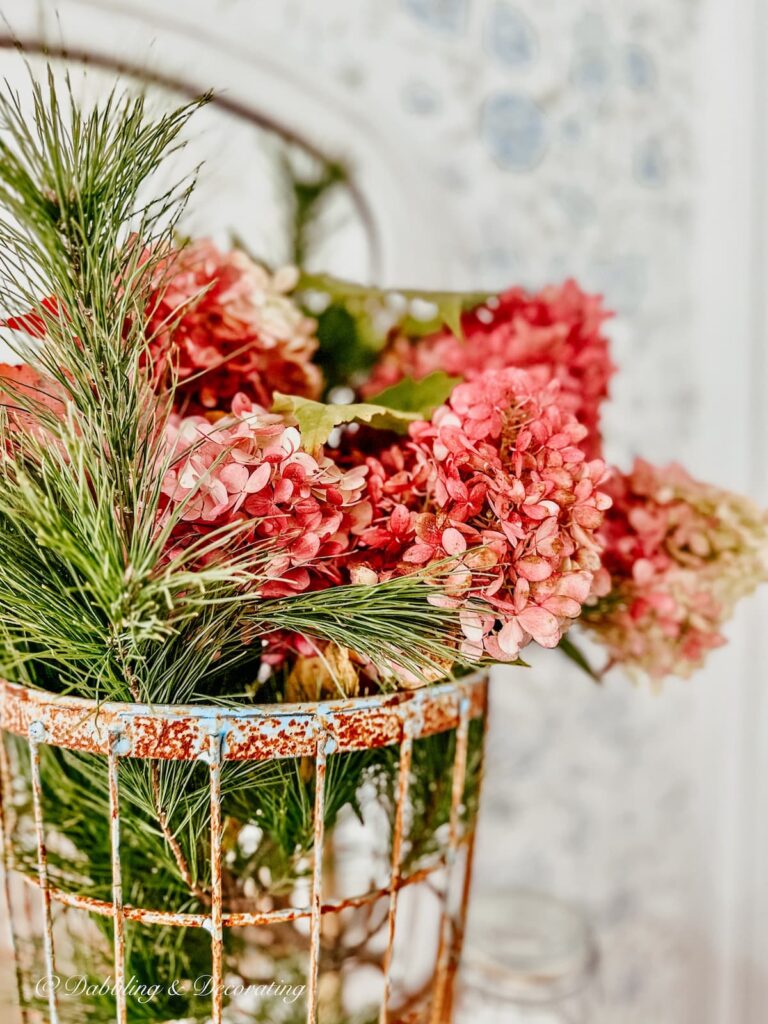
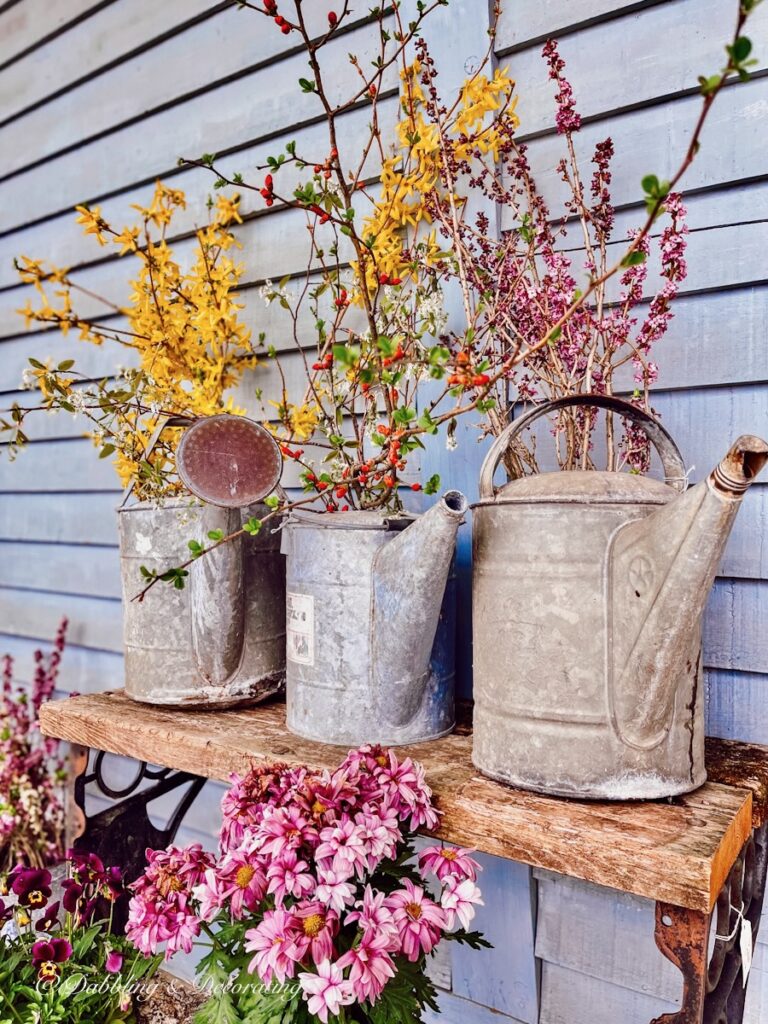
Paperwhite Arrangements In A Vase And Other Vintage Vessels
If you don’t have green stoneware on hand, paperwhite arrangements still look beautiful in everyday vintage pieces. This is where you can have fun and use what you already own, because paperwhites naturally bring that bright, just-picked look even when they’re grown indoors. The trick is choosing a vessel that supports the stems and makes the blooms feel intentional, not floppy.

Here are a few easy vintage vessels that work well for paperwhite arrangements:
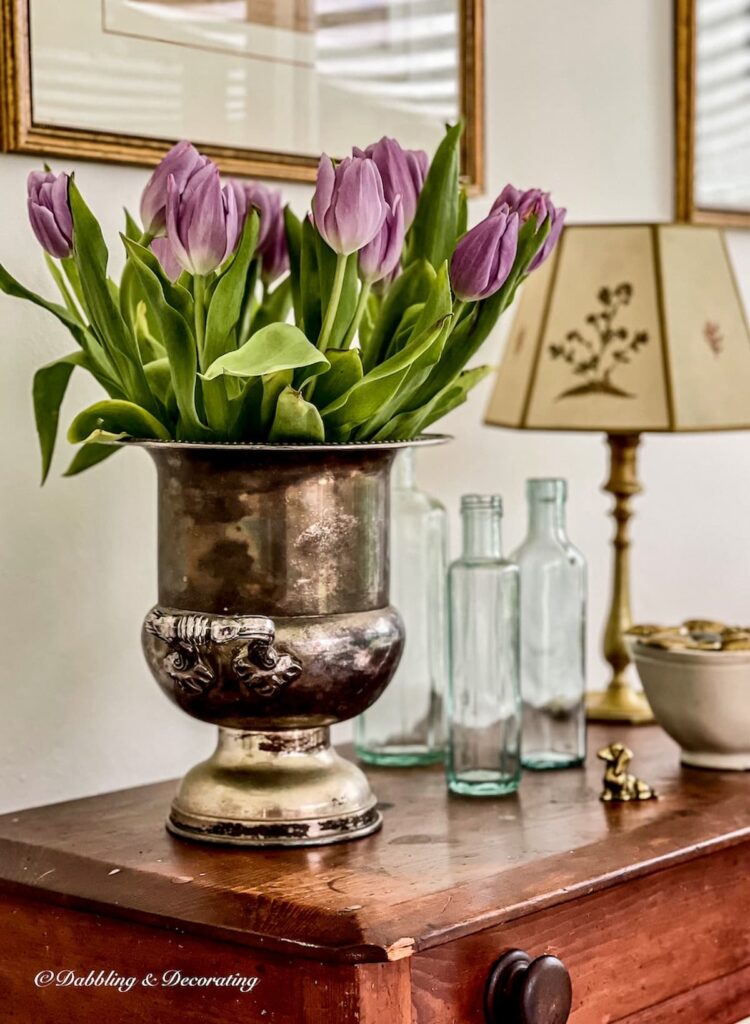
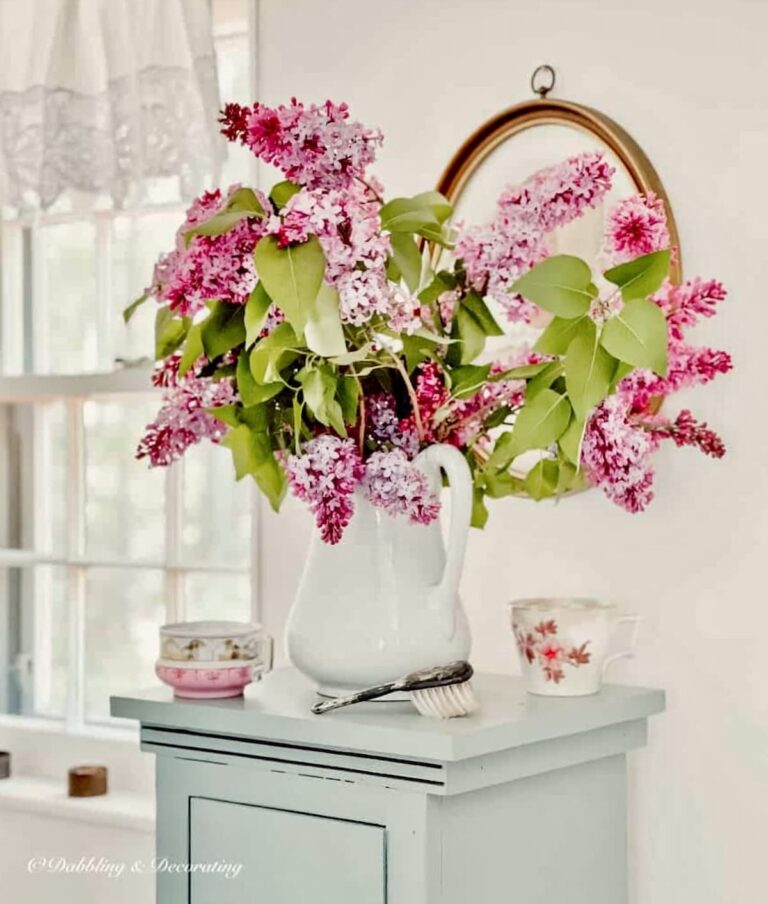
Use A Tall Pitcher Or an Ironstone Vase
A tall pitcher or ironstone vase gives paperwhite arrangements that soft, classic feel that works anywhere, kitchen counters, sideboards, or even an entry table. The height helps support the stems, and the simple shape keeps the blooms looking clean and unfussy. If you like a more collected look, pair it with one small vintage accent nearby, like brass, a stack of books, or a folded linen.
A Guide to 17 Vintage Pitcher Decor Ideas
Collect and decorate with charm using this vintage pitcher decor guide. Discover 17 types of collectible pitchers and creative ways to style them throughout your home and every season.
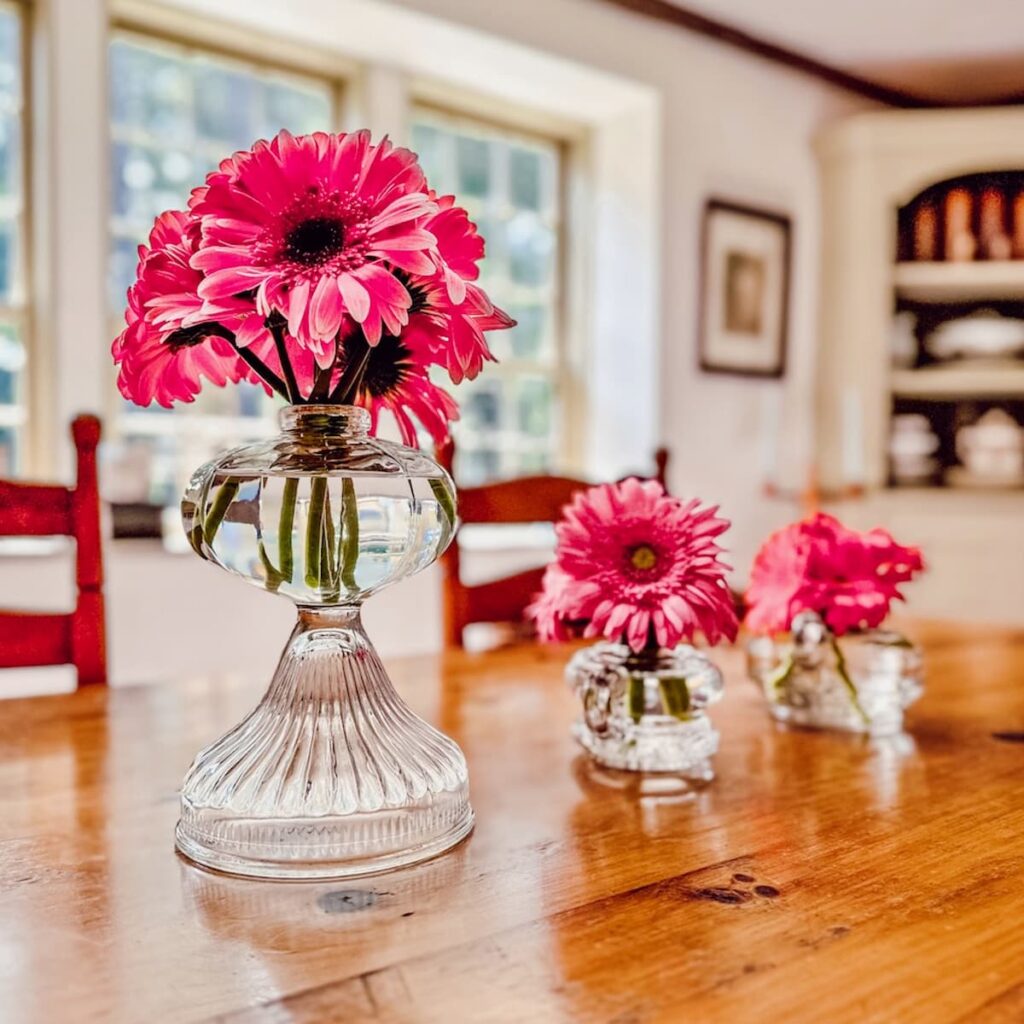
Try A Clear Glass Vase
A clear glass vase is perfect if you love seeing the whole story, bulbs, pebbles, and the water line all together. It feels fresh and simple, and it makes paperwhite arrangements look like a little indoor garden without trying too hard. If the stems start to lean, a narrower vase opening helps keep everything standing tall and looking neat.
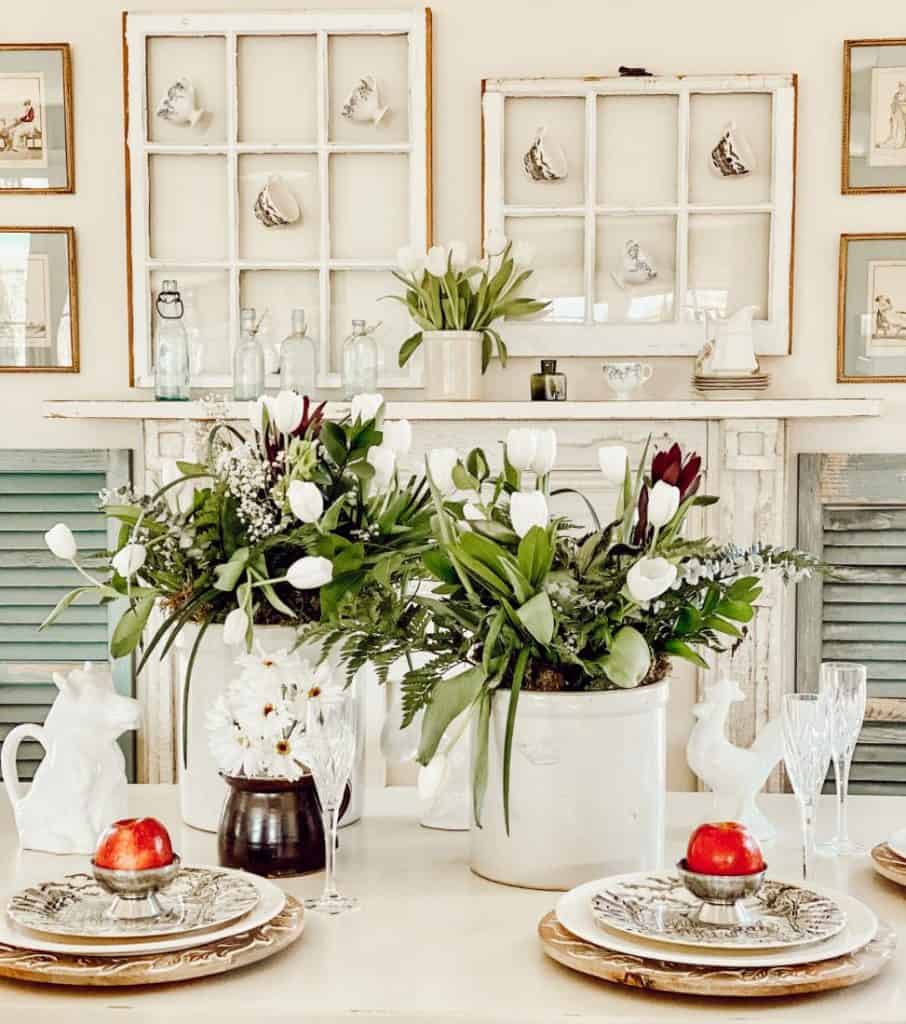
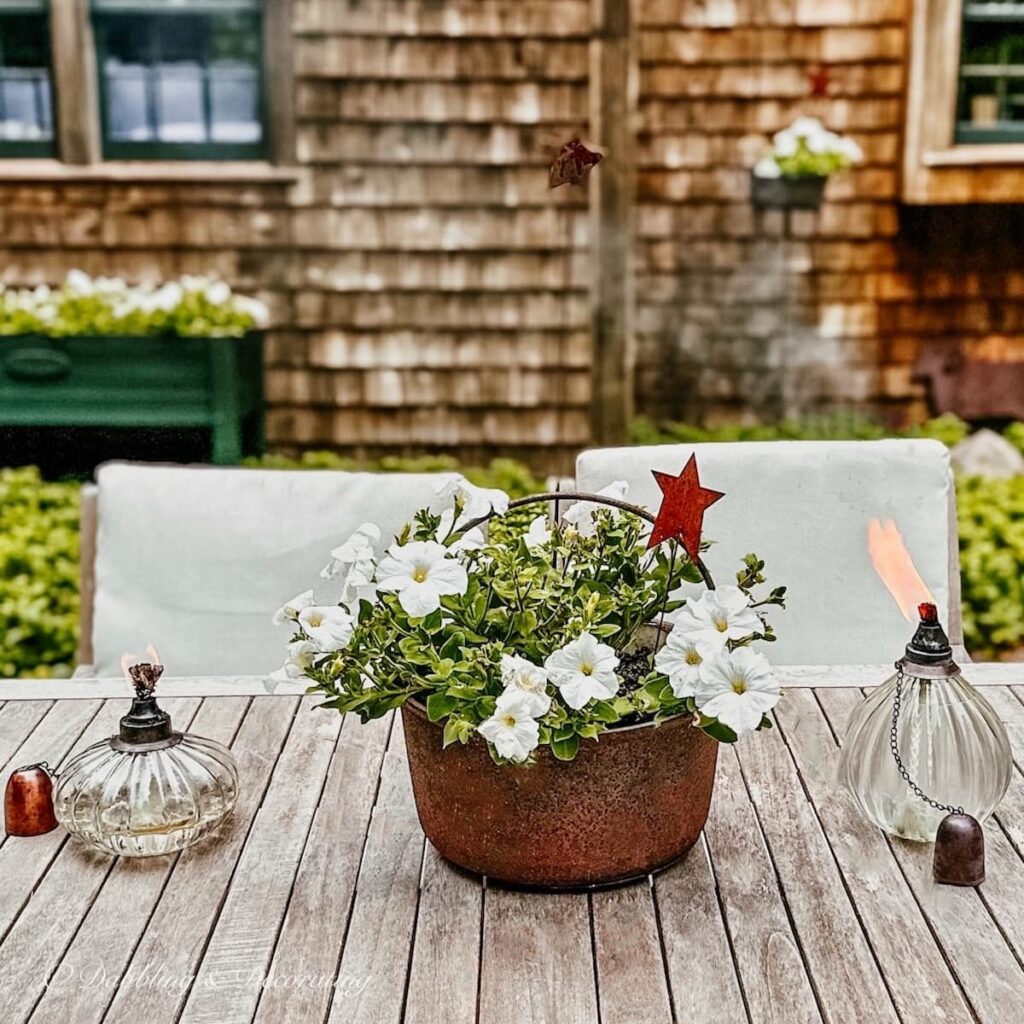
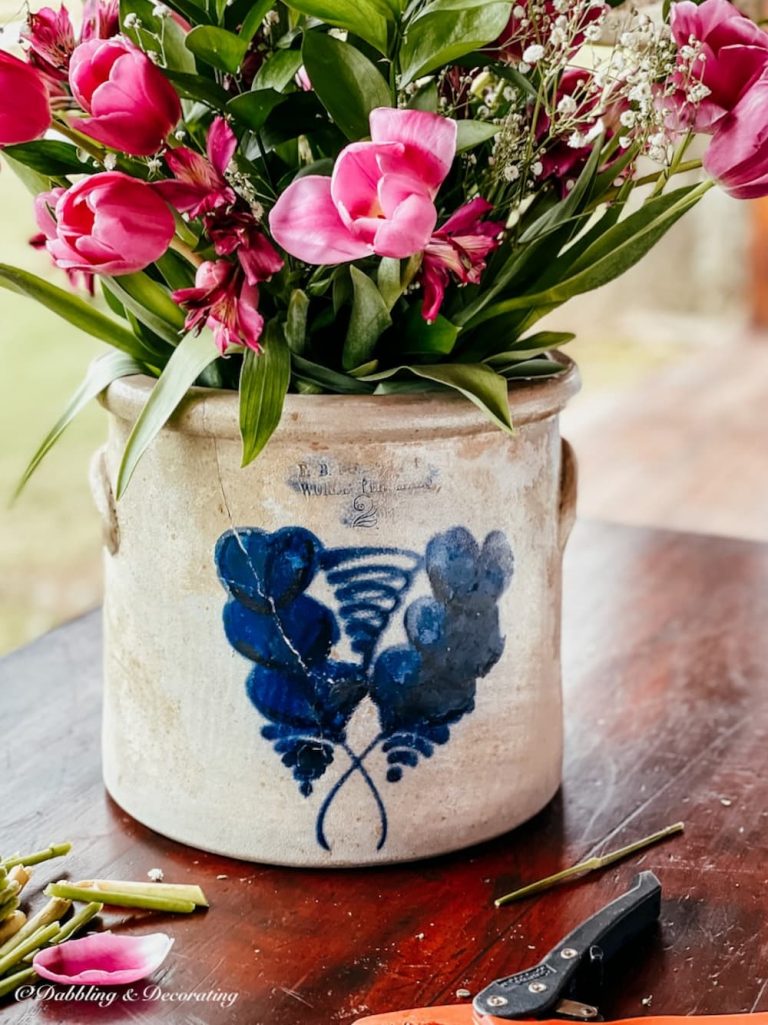
Style Paperwhite Arrangements In A Crock Or Small Stoneware Pot
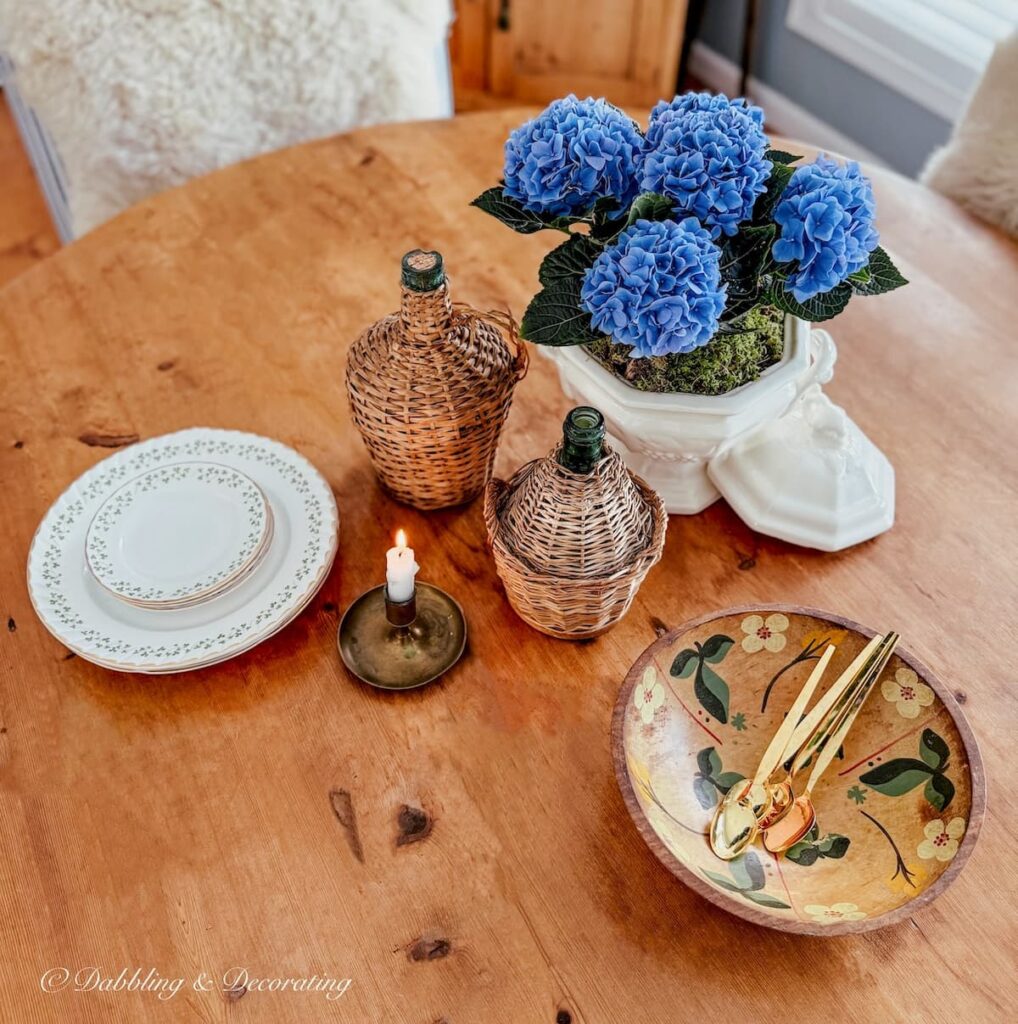
A crock or small stoneware pot gives paperwhite arrangements a more grounded, cottage feel. This is a great option if you like vintage texture and want the display to feel cozy without being seasonal. I love this look on a small tray, especially when you add just one extra touch nearby, a candle, a match striker, or a tiny piece of green glass.
Vintage Yellowware Collecting and Styling Ideas
Are you drawn to classic yellow mixing bowls and charming pottery with blue stripes? This vintage guide is filled with ideas for decorating with yellowware, styling shelves, and starting your own collection with confidence and character.
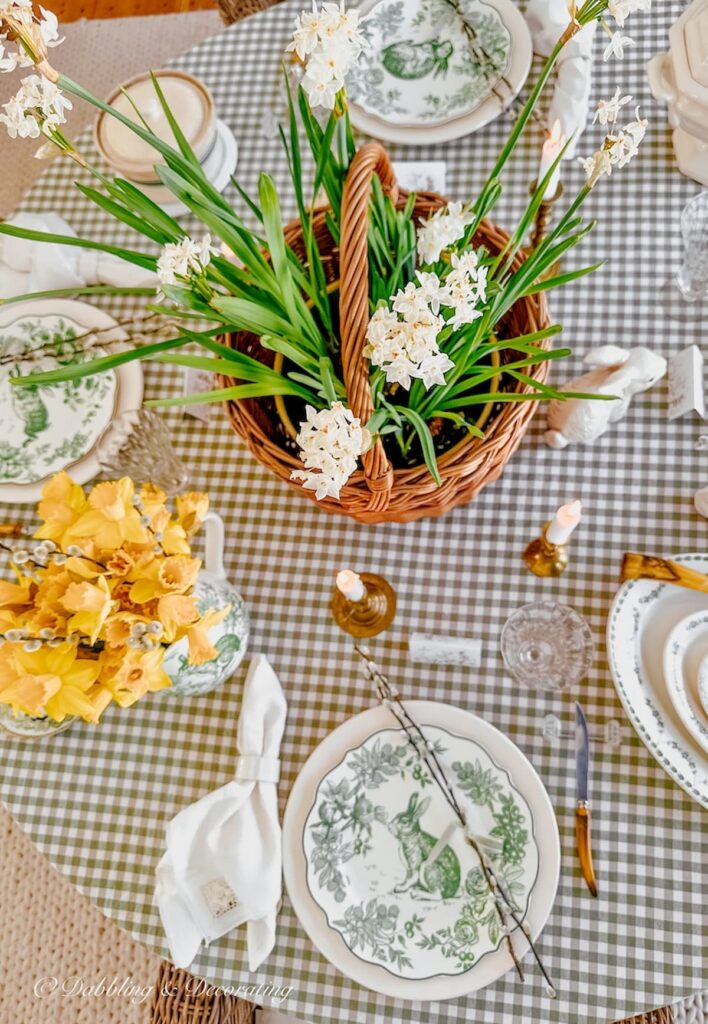
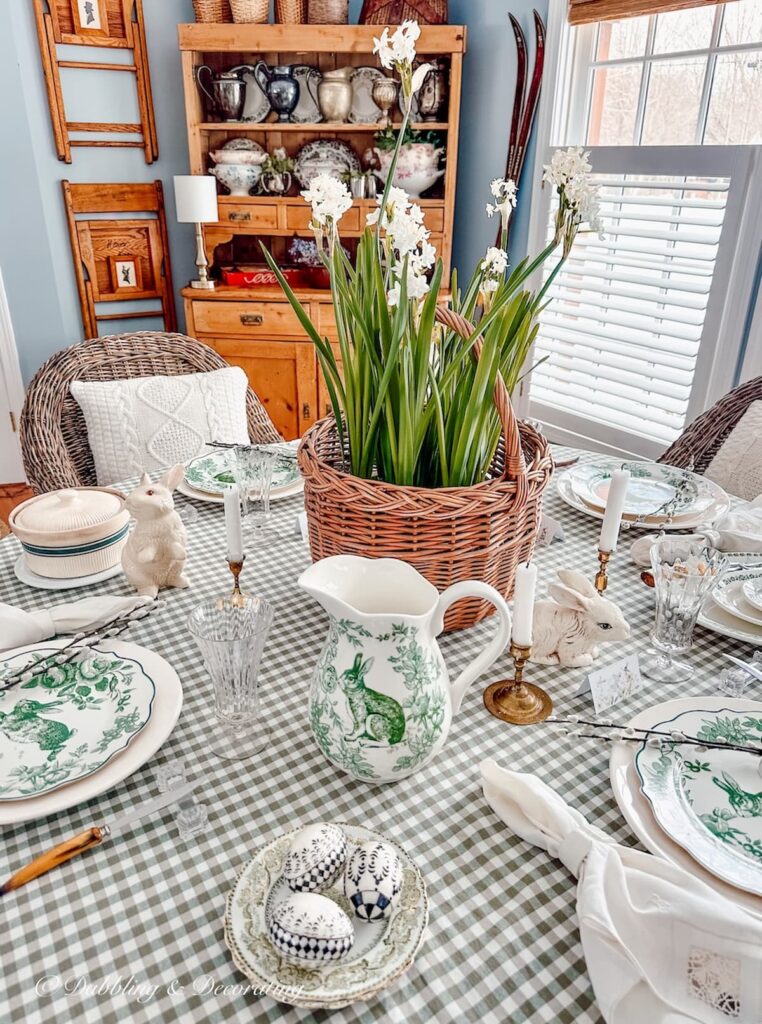
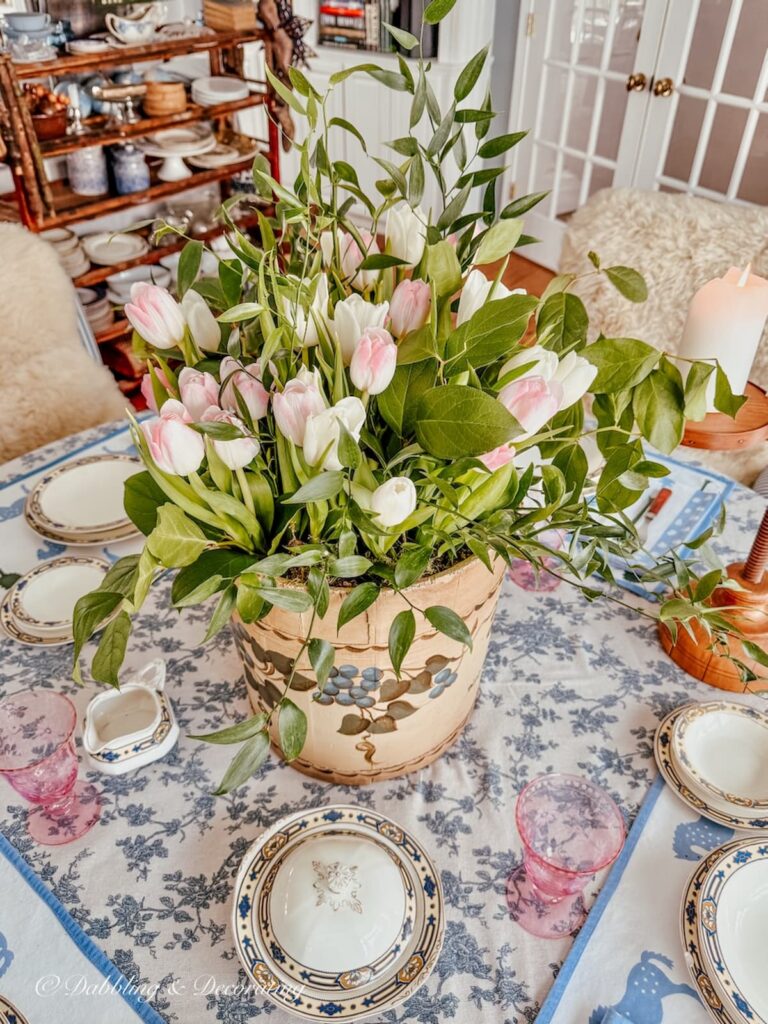
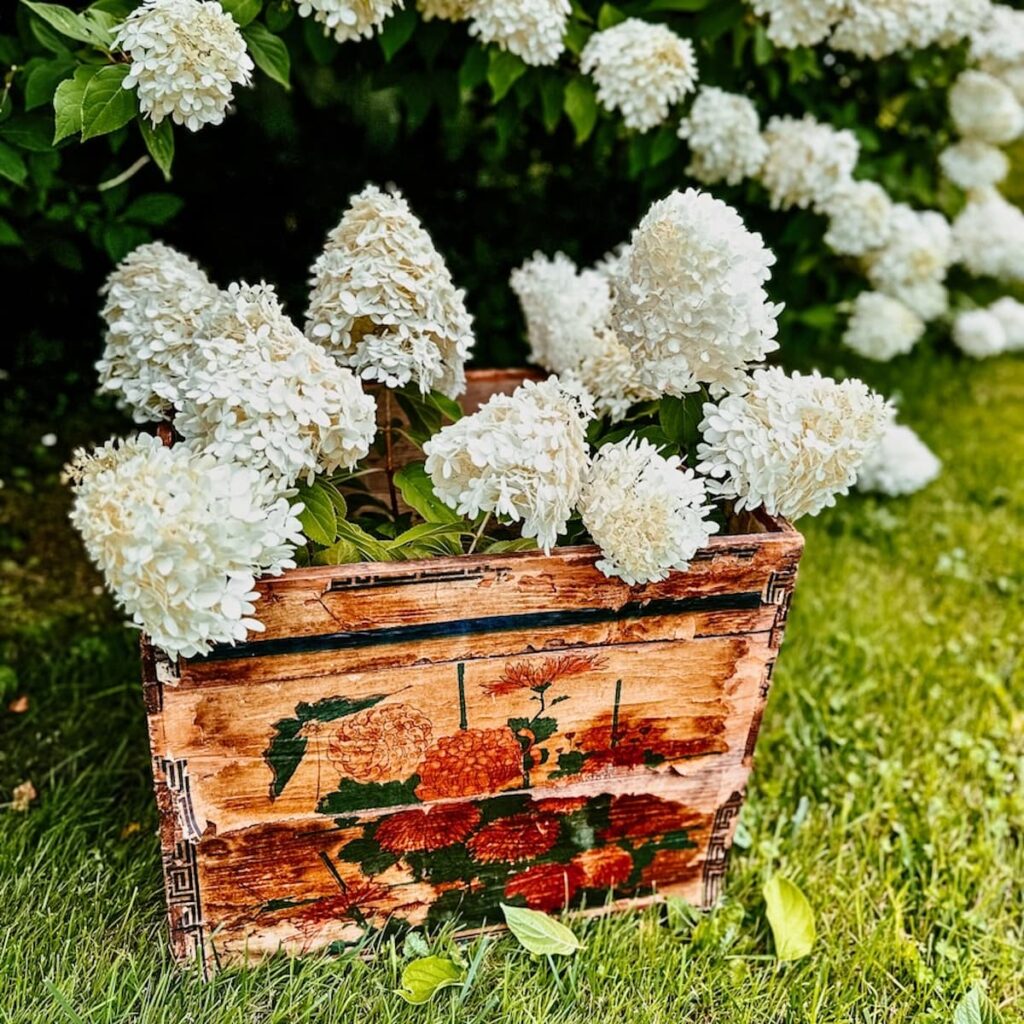
Create A Low Centerpiece In A Basket
If you want paperwhite arrangements that work as a centerpiece, try a basket so the blooms stay at a conversational height. This is especially pretty on a dining table or coffee table when you want something simple and fresh that doesn’t take over the whole space. Keep the extras minimal and let the white blooms do the heavy lifting.
Antique Basket Styling Guide
Discover timeless ways to style, display, and collect vintage and antique baskets with our comprehensive Antique Baskets Guide, your go-to resource for adding cozy, storied charm to every room.
Styling tip:
Let the paperwhites be the main event, then add one supporting detail nearby. A small brass candlestick, a stack of thrifted books, a folded linen, or one piece of green glass is plenty. Paperwhite arrangements already bring the bright, finished feeling all on their own.
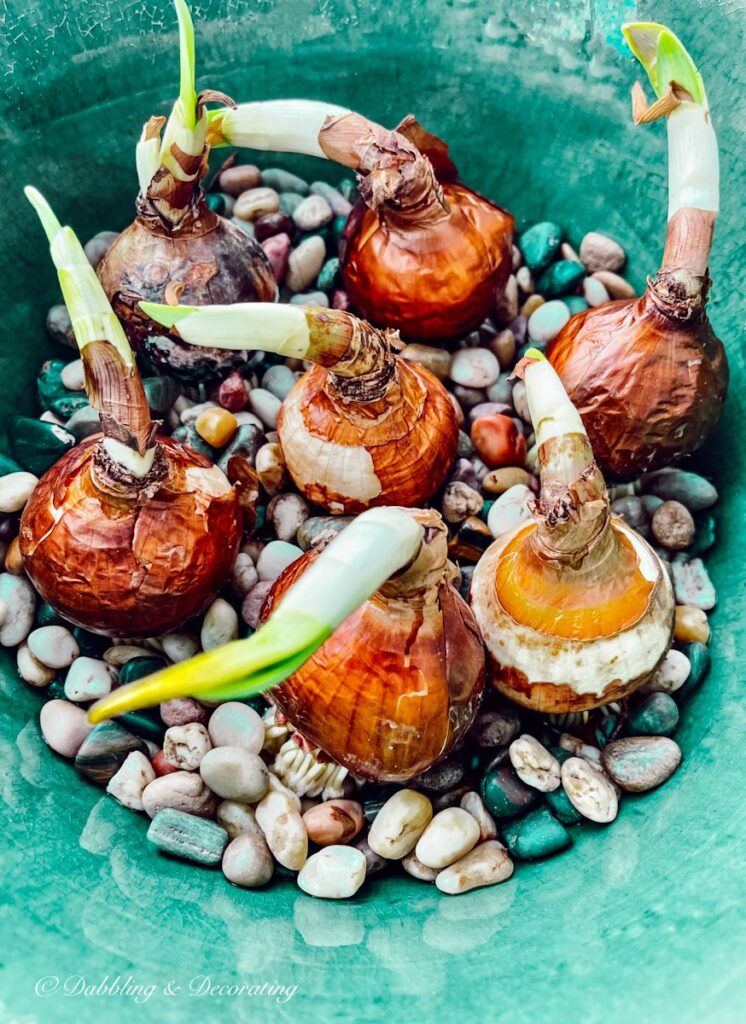
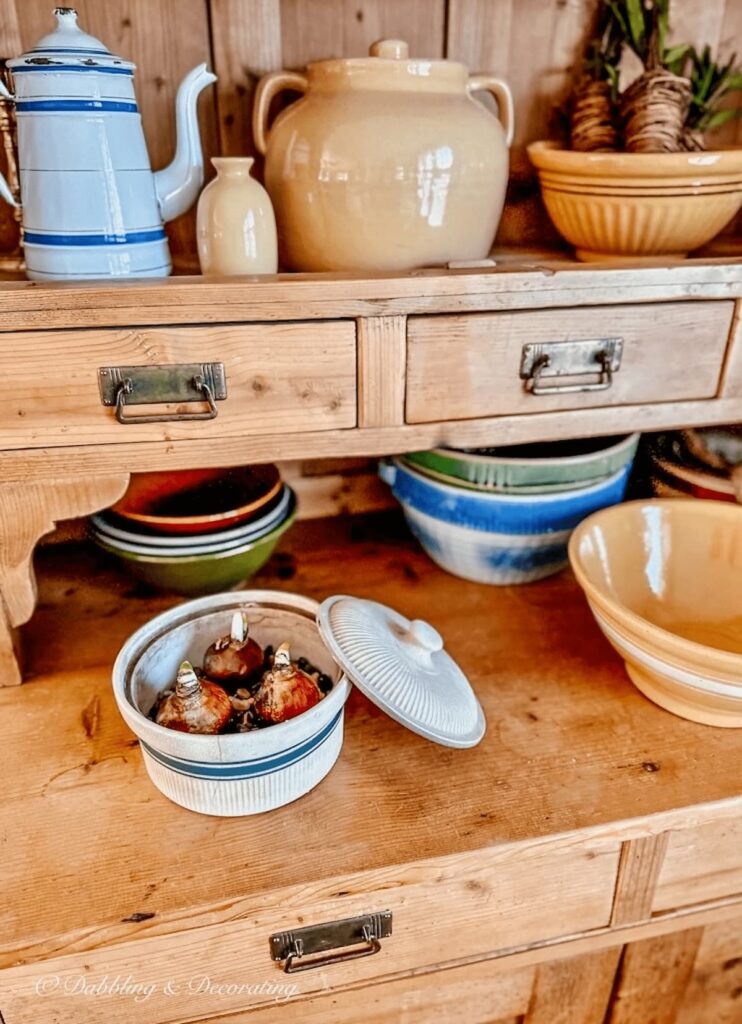
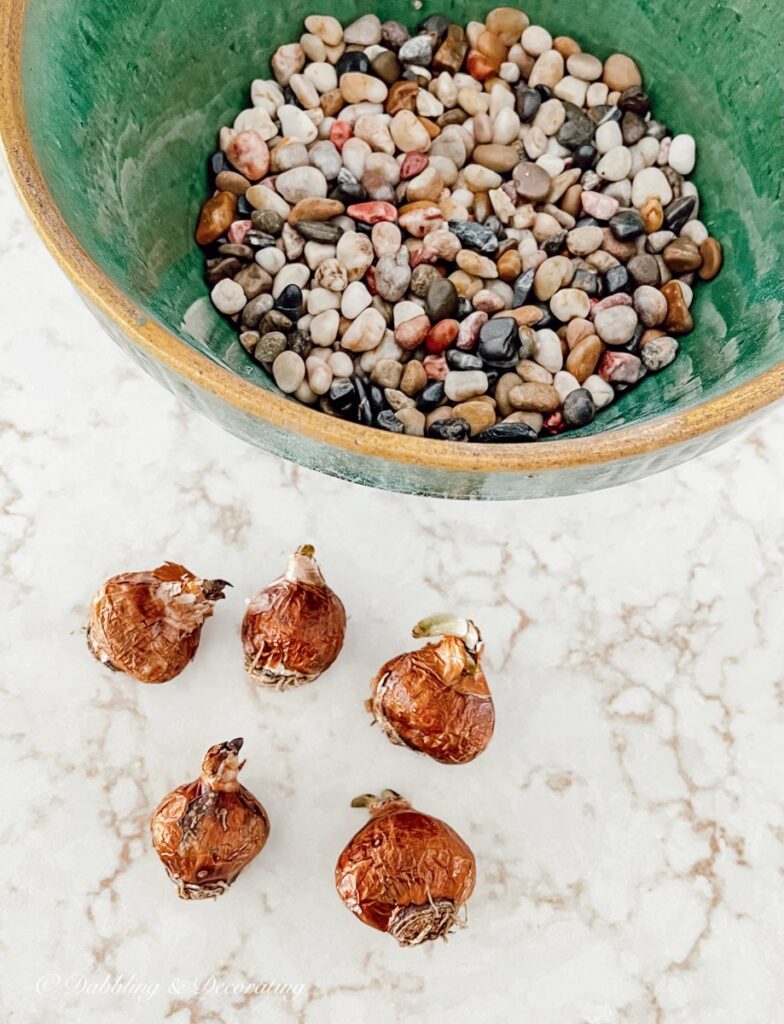
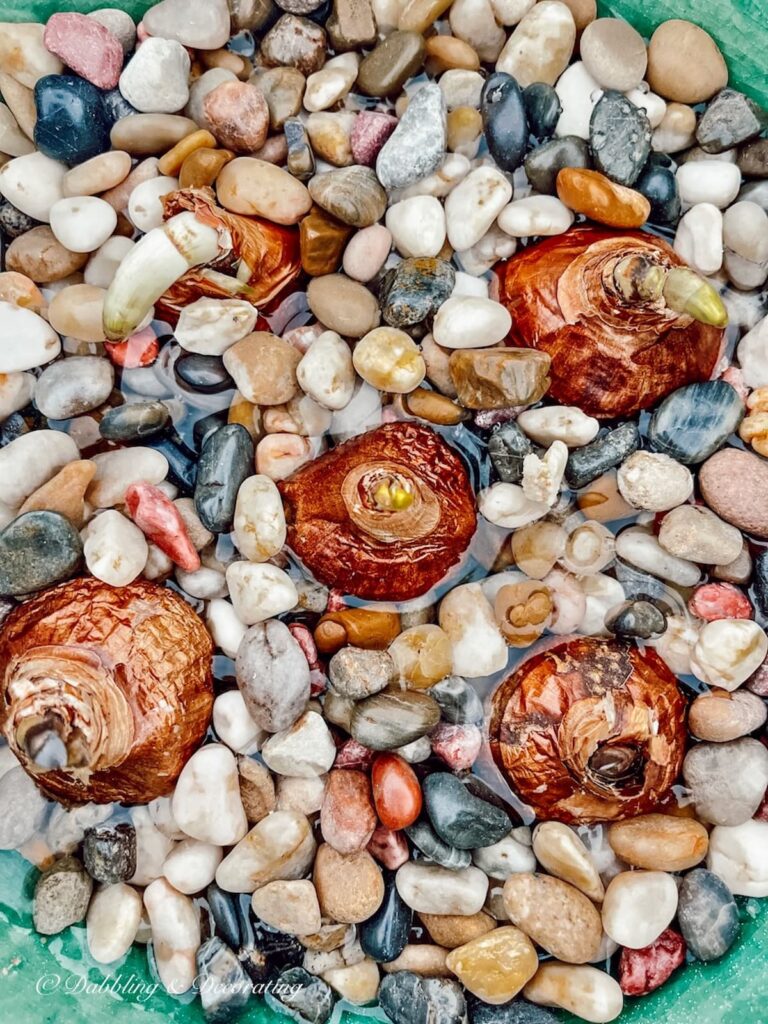
Paperwhite Arrangements With Bulbs, Pebbles, And Water
This is the easiest way to create paperwhite arrangements, especially if you’re not trying to garden, you’re trying to decorate. You don’t need soil, you don’t need a green thumb, and you don’t need anything fancy. All you’re doing is nestling the bulbs into a shallow layer of pebbles and adding water so the roots have something to reach for. The result feels fresh, simple, and a little bit magical as the stems start to shoot up.
Easy DIY Home Decor Projects with Vintage Style
Explore our easy DIY home decor guide with vintage style, using thrifted and repurposed finds. Simple, beginner-friendly ideas to decorate your home with charm.
Here’s the basic setup I use for paperwhite arrangements in a bowl or pot:
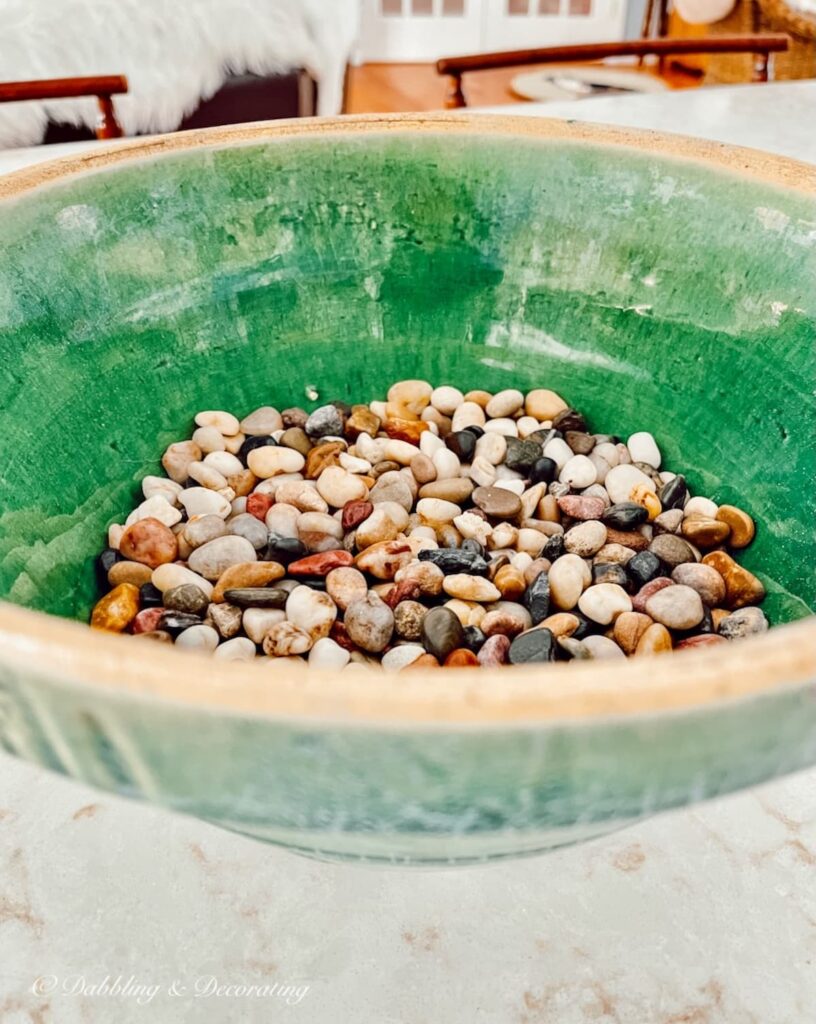
Add Pebbles For A Collected, Finished Look
Pour in a layer of pebbles to cover the bottom of your vessel. This gives the bulbs something to nestle into and helps them stay upright as they grow. I like pebbles because they instantly make the whole setup look intentional, like a simple centerpiece instead of a science project on the counter.
Nestle The Bulbs Close Together
Set your paperwhite bulbs on top of the pebbles with the pointed ends facing up. Place them fairly close together so they support each other as the stems get taller. For a more styled look, I like leaving the tops of the bulbs showing rather than burying them; it keeps paperwhite arrangements looking natural and unfussy.
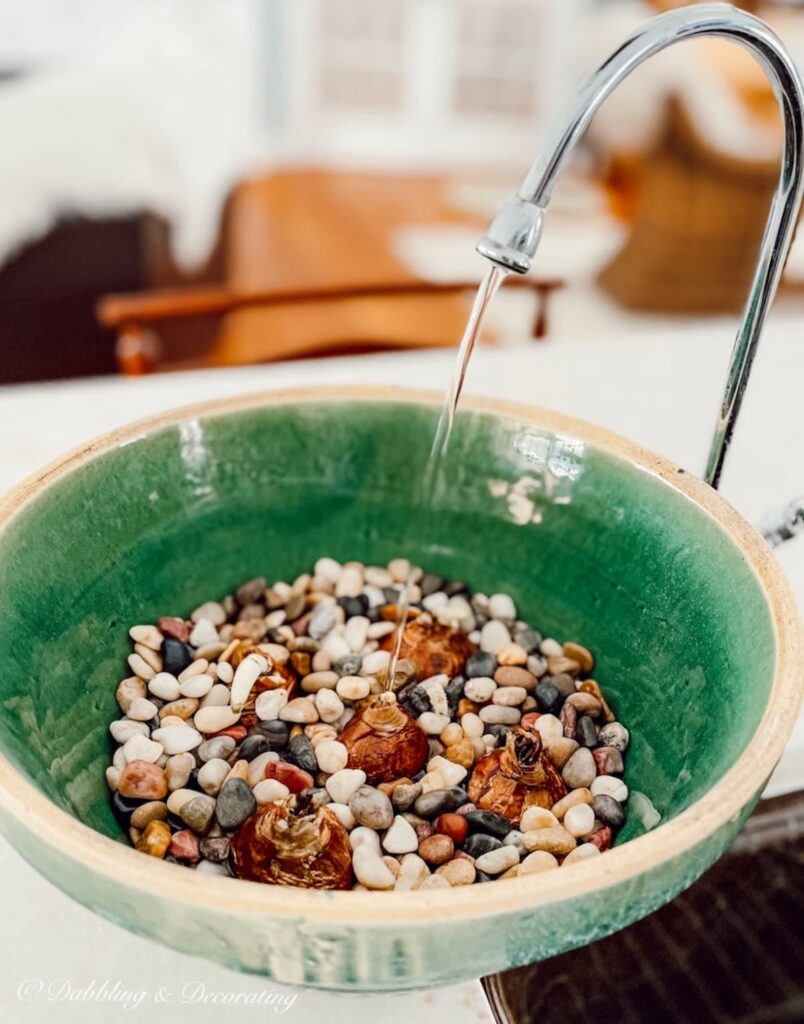
Add Water The Right Way
This is the small detail that makes a big difference. Add water so it sits just below the base of the bulbs. You want the roots to reach down into the water while the bulbs themselves stay dry. Keeping the bulbs out of standing water helps prevent soft, soggy bulbs and keeps the arrangement going stronger.
Place Your Paperwhite Arrangements In Bright Light
Once your paperwhite arrangements are set up, place them in a bright spot indoors. As they start to grow, you can rotate the container every day or two to encourage straighter stems. And if you’re gifting paperwhites, this bulb-and-pebble method is a sweet one because it looks pretty immediately, then blooms into something even better.
Simple New England Vintage Christmas Decorating Guide for Every Space in Your Room
Discover timeless ways to decorate every corner of your home with cozy, vintage-inspired Christmas charm. From mantel displays to festive porches, this guide brings New England holiday style to life, simply and beautifully.
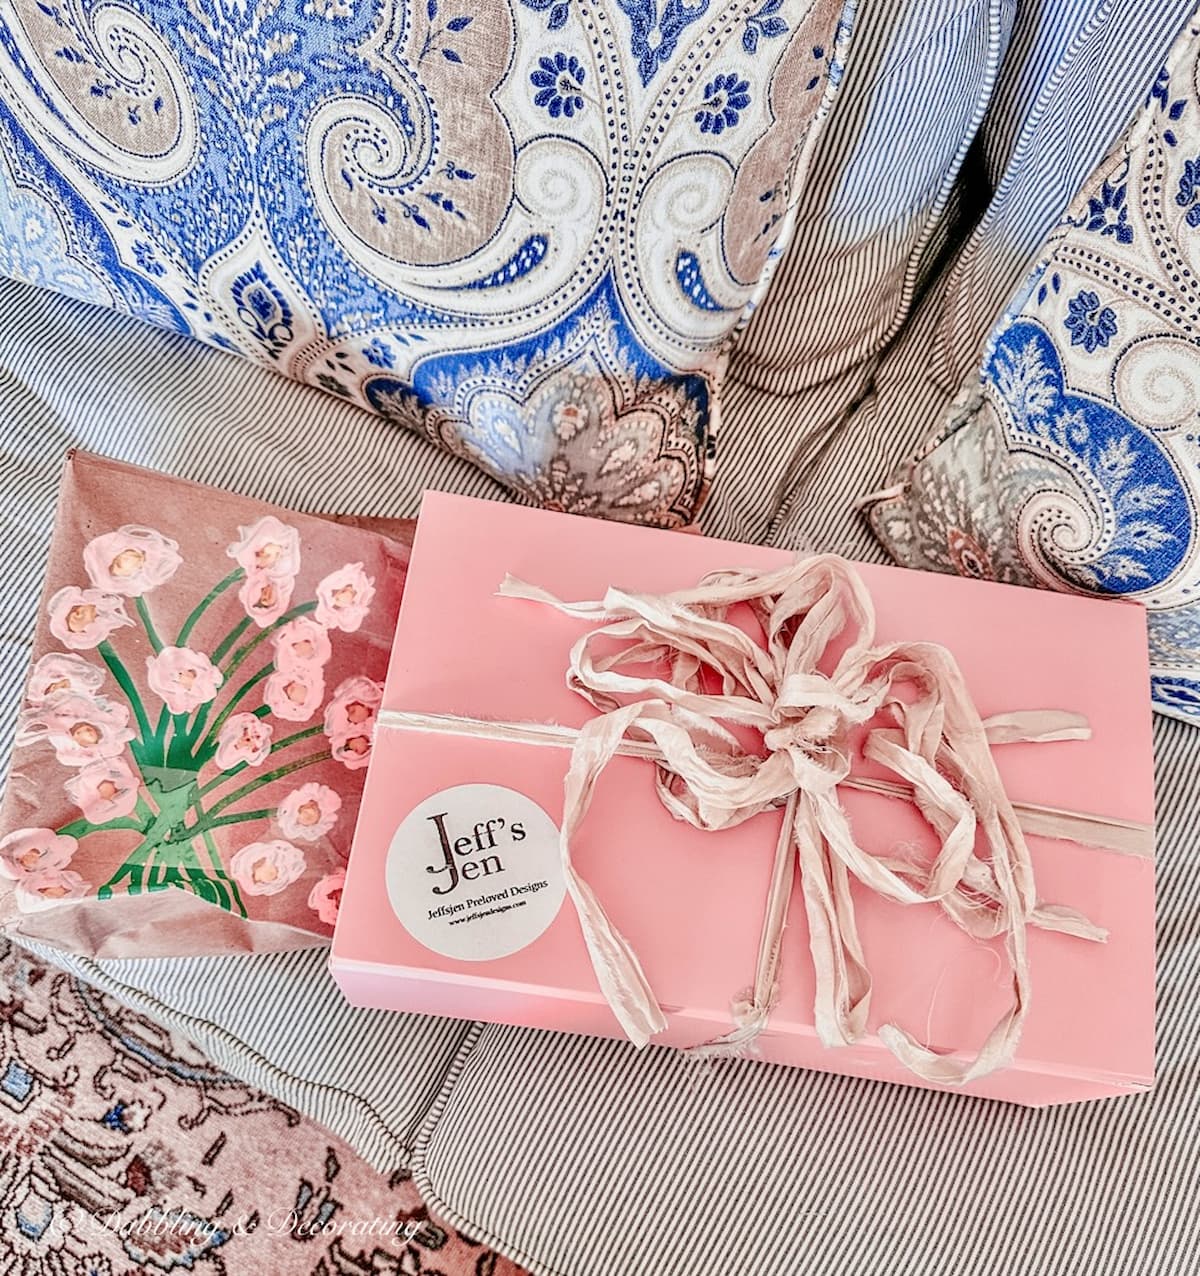
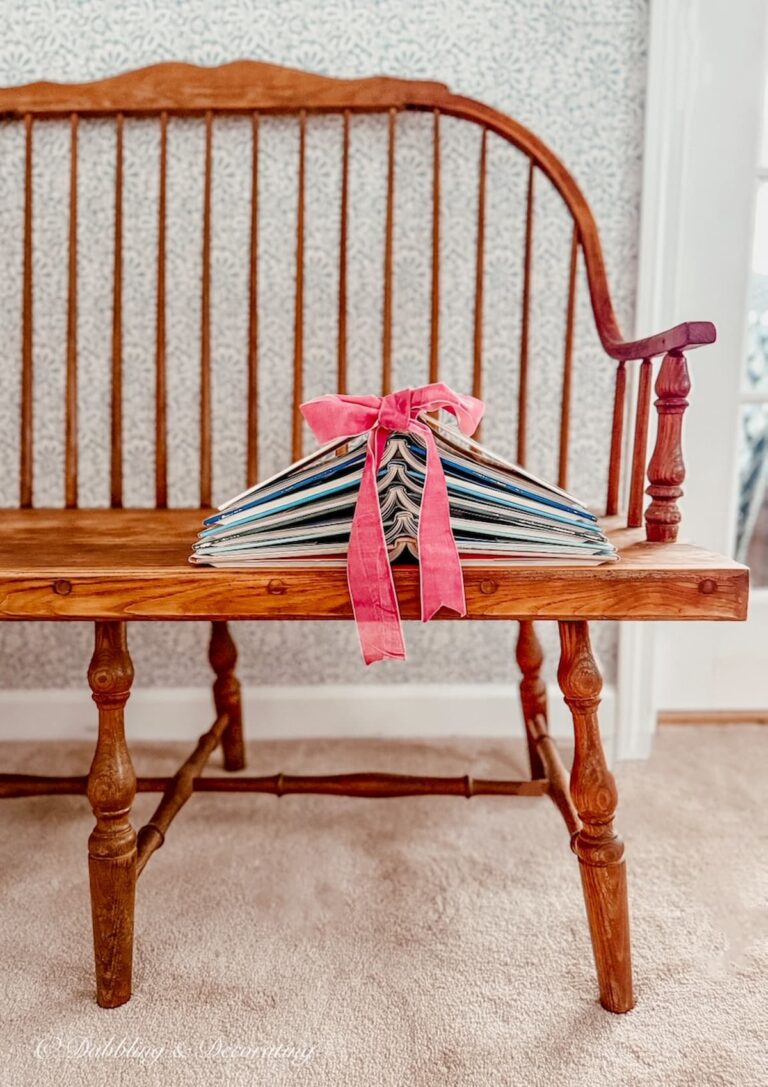
Paperwhite Arrangements As Gifts, A Simple Hostess Idea
Paperwhite arrangements make such thoughtful gifts because they’re pretty right away, and they keep getting better as they grow. You’re not handing someone a bouquet that’s on day three already; you’re giving them a little bit of “wait until you see what happens next,” which feels extra special in late winter and early spring.
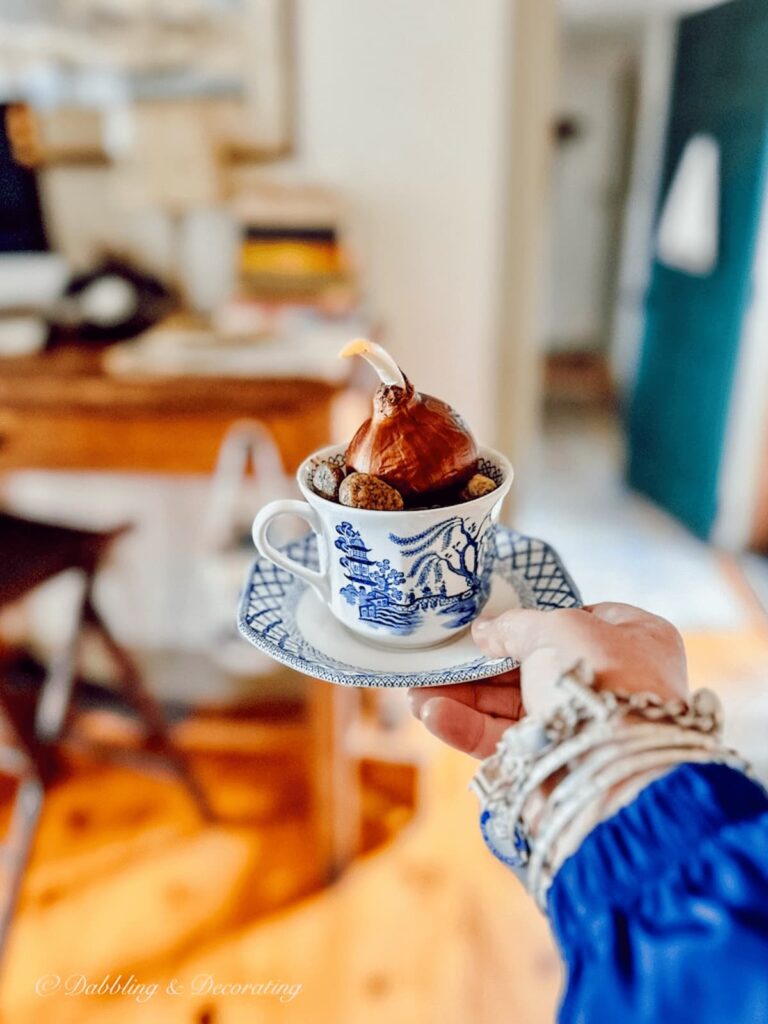
Make A Mini Paperwhite Arrangement In A Small Pot
For gifting, I like to keep the vessel small and simple so it’s easy to tuck onto a kitchen counter or windowsill. A little stoneware pot, a thrifted bowl, or even a sturdy mug works surprisingly well. Add pebbles, nestle in a few bulbs, and you’ve got a paperwhite arrangement that feels intentional without being complicated.
Add A Simple Tag With Care Notes
This is what makes it feel finished. Tie on a small tag and keep the instructions short and friendly, like: “Add water just below the bulbs and place in bright light.” That’s it. You don’t need a whole garden manual, just enough so your gift feels easy to enjoy.
Thrifting with the Gals
Love the thrill of the hunt? Thrifting with the Gals is a blog series packed with secondhand scores, vintage styling ideas, and real-time thrift adventures you won’t want to miss.
Dress It Up With One Seasonal Detail
If you’re gifting around St. Patrick’s Day, a green ribbon around the pot or a tiny shamrock charm tied to the tag is plenty. For a more everyday look, I love a piece of twine, a simple bow, or a scrap of vintage fabric. The paperwhites are the main event, so the finishing touch should stay subtle.
When To Gift Paperwhite Arrangements For The Best Bloom Timing
If you want the blooms to be open when you gift them, start the bulbs early enough that they’re just beginning to flower right around the hand-off. If you’re not sure, gifting them before they bloom is still lovely because the recipient gets to watch the whole thing unfold. Either way, paperwhite arrangements make a sweet, useful gift that doesn’t feel disposable.
The Vintage Posts Readers Love Most
Start with the posts readers come back to again and again. These vintage decorating ideas are rooted in New England, styled with thrifted and antique finds, and filled with real-life tips you can use in your own home. Familiar Finds, Styled Your Way.
Eclectic Decorating Style Guide: How to Layer Vintage, Antique, and Thrifted Decor
How to Start a Vintage Booth: Tips, Display Ideas, and Lessons Learned
7 Things I’ll Never Thrift Again—and the Vintage Decor I Buy Now Instead
Scandinavian Spring Homes: 10 Light and Airy Cottage Tours to Inspire
Easy DIY Wicker Basket Makeover with a Leather Belt That Adds Instant Charm
Paperwhite Arrangements That Don’t Bloom, What I Learned The Hard Way
I’m going to be honest, the year I first made these paperwhite arrangements in green stoneware, the bulbs never bloomed. I still loved the look of the pot, the pebbles, and the green-and-white idea for St. Patrick’s Day, but it was a good reminder that bulbs have their own timeline. If yours don’t bloom either, you’re not doing anything wrong. Here are the most common reasons paperwhite arrangements stall out indoors, and a few simple fixes that don’t require a green thumb.
Start With Fresh Bulbs If You Can
Paperwhite bulbs are a little like thrift finds; some are stars, and some are just not in the mood. If the bulbs are old, dried out, or have been stored too long, you might get greenery without flowers. When I’m making paperwhite arrangements for gifting or timing them for a holiday, I try to start with the freshest bulbs I can find from our local nursery.
Keep The Water Below The Base Of The Bulbs
This is the big one. If the bulbs sit in water, they can get soft or rot before they ever get to the blooming stage. Aim for water just below the bulb base so the roots reach down, but the bulb stays dry and firm.
Light And Temperature Matter More Than You Think
Paperwhites like bright indoor light, but they don’t love heat blasting from a radiator or a sunny window that turns your vase into a little greenhouse. If the stems shoot up fast and flop, or everything feels like it stalled, try moving your paperwhite arrangements to a cooler, bright spot.
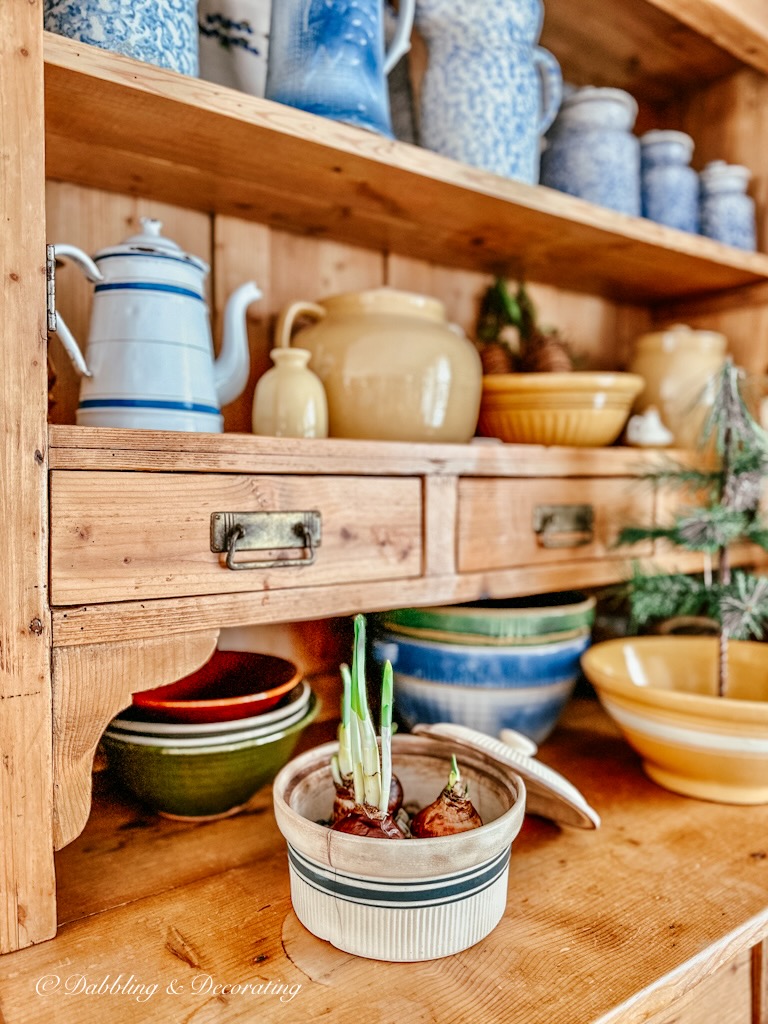
Don’t Worry If It’s Mostly Green At First
Sometimes paperwhite arrangements spend a while looking like a pot of pretty green shoots before they do anything else. If everything looks healthy, give it a little time. I’ve had days where it felt like nothing was happening, and then suddenly, buds showed up like they were saving the drama for the weekend.
Try a Styling Tip!
Looking for simple, vintage-inspired decorating ideas you can try in an afternoon? Explore all my Styling Tips for easy seasonal projects, quick DIYs, and creative ways to style your home with charm.
Paperwhite Arrangements, One Quick Trick To Make Them Last Longer
Paperwhites don’t last forever, but you can stretch the pretty window by keeping your arrangement out of the heat and harsh sun. Once the blooms open, I move mine to a cooler spot in the house and rotate the pot every day or two so the stems don’t lean. That’s it. Simple, low-effort, and it keeps paperwhite arrangements looking fresh a little longer without turning this into a gardening project.
The Secret Cupboard: One-Day Seasonal Vintage Decorating Ideas
The Secret Cupboard is filled with one-day vintage decorating ideas. You’ll find what to look for, how to style it, and what it might cost, perfect for gathering ideas and decorating with confidence.
Paperwhite Arrangements: A Simple Winter To Spring Styling Trick
If you’ve been wanting an easy way to freshen up your home between winter and spring, paperwhite arrangements are such a simple little win. Whether you grow them in green stoneware for a soft St. Patrick’s Day nod or tuck them into a favorite vintage vessel, they add that bright, finished touch without needing a full seasonal overhaul.
If you try this at home, use what you already have first: a bowl, a crock, a pitcher, or any pretty container that can handle a little water. And if you’re in the mood for more easy vintage styling ideas you can copy, head to my Vintage-Inspired Table Settings and seasonal decorating posts for simple ways to layer a home that feels collected, not cluttered.
Ready to Embrace Vintage Decorating?
New to vintage collecting? This beginner’s guide will walk you through how to start collecting vintage home decor, what to look for, where to shop, and how to style your favorite finds with confidence.
Already have a collection you love? Don’t miss my favorite decorating with vintage collections ideas with stylish, creative ways to decorate with what you’ve found.
Looking for even more vintage flower arrangement ideas? Here are a few more favorites you may enjoy:


Frequently Asked Questions About Paperwhite Arrangements
How Long Do Paperwhite Arrangements Last Indoors? Most paperwhite arrangements look their best for about 7 to 14 days once the blooms open. You can often stretch that window a bit by keeping them in a cooler spot and out of direct sun or heat vents. If you have multiple bulbs in one container, they may bloom in stages, which can help the arrangement look nice longer.
How Do You Make Paperwhite Arrangements In A Vase With Pebbles And Water? Start with a vase or bowl that can hold water, then add a layer of pebbles to cover the bottom. Nestle the paperwhite bulbs close together with the pointed ends up, then add water so it sits just below the base of the bulbs. The roots will reach down into the water, but the bulbs should not sit in water. Place the arrangement in bright indoor light and top off the water as needed.
Why Aren’t My Paperwhite Arrangements Blooming? The most common reasons are older bulbs, bulbs sitting in water (which can cause rot), or not enough bright light. Make sure the water level stays just below the bulbs, not touching them, and move your paperwhite arrangements to a bright spot away from blasting heat. If you’re mostly getting green shoots at first, don’t panic; buds can take a little longer to show up.
Join the Vintage Circle — Familiar Finds, Styled Your Way™
Love vintage treasures, thrifted gems, and a home that tells your story? Leave a comment, share this post with a kindred spirit, or head to my Start Here page to explore more. Want fresh prompts and timeless ideas? Subscribe to join our Seasonal Vintage Decor Styling Challenge for weekly inspiration and behind-the-scenes peeks.
Pin forLater!

Ann,
First, thanks for sharing my paperwhites. Second, I have a very similar green bowl and I may transfer my paperwhites for the summer. What a great idea.
Thanks Rachel, your Paperwhites were perfect for this post!
Love this idea, Ann! I just got rid of my Christmas paperwhites! I look forward to seeing them grow!
Thank you Molly. I love the green bowl and thought the Paperwhites would be fun to grow this time of the year.
Love paper Whites but can’t have them because of cat😡
Oh yes, we definitely need to be careful with them. That’s why I put a warning on the post. I’m glad you liked the idea though:)
LOVE. LOVE. LOVE. this idea. I’m heading out to get some paper white bulbs TODAY!!!! Thank you!
LOL, I’m thrilled Kathy. They’re going to look so pretty!