


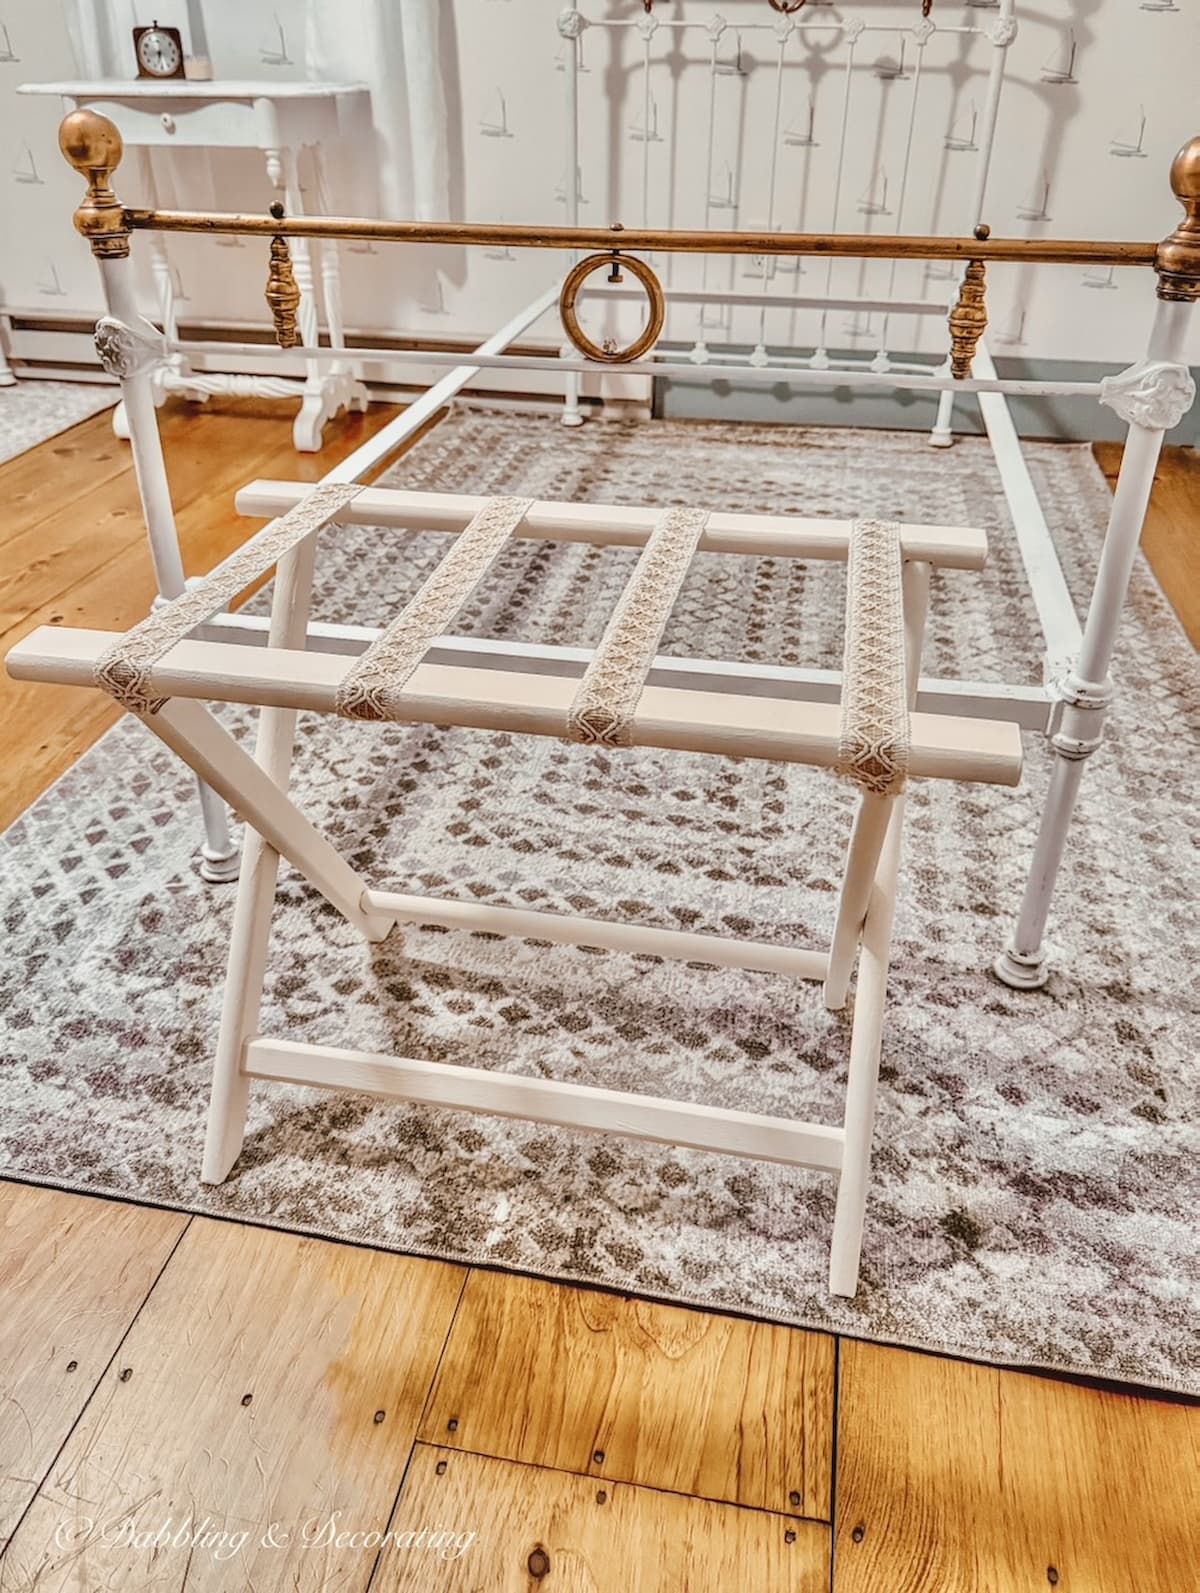
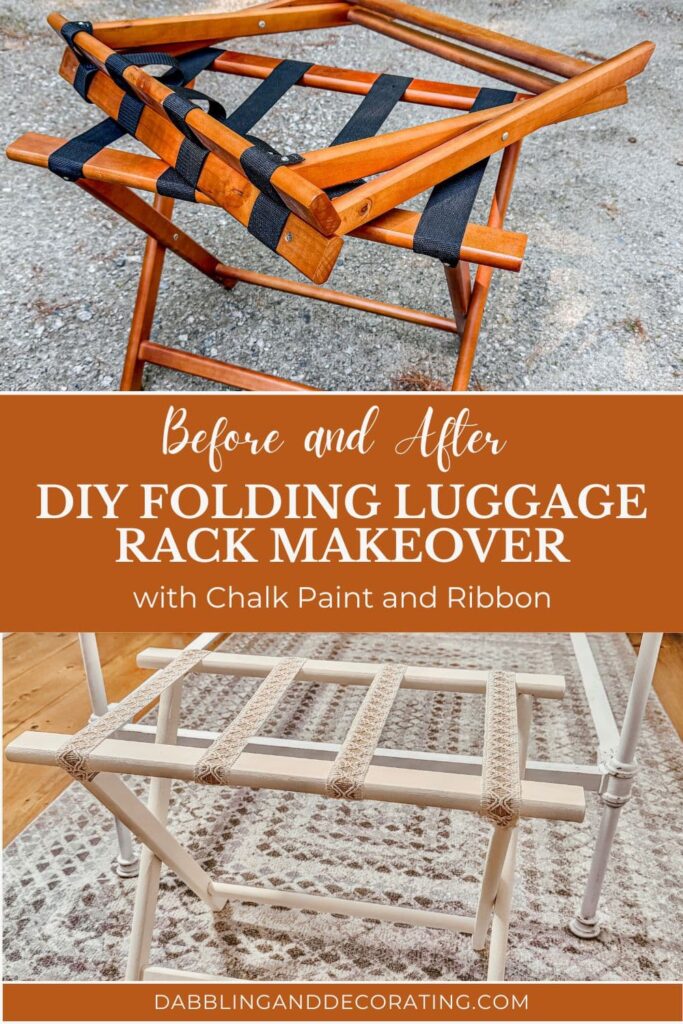
Give a basic luggage rack new life with this DIY folding luggage rack makeover using chalk paint and decorative ribbon for a charming vintage-style update.
There’s something about an old luggage rack that I’ve always loved. I have them tucked into several bedrooms in our Vermont home, and I’ve even used them throughout the house as little stands for baskets and vintage accessories. So when I found two beautiful antique cast iron and brass twin beds while antiquing in Midcoast Maine a few weeks ago, I knew the modern folding luggage racks that had been collecting dust in my garage weren’t going to fit the look I was creating for our attic guest bedroom. After all these years, it finally felt like the perfect time to give them a makeover.
With a little Chiffon Cream Chalked Paint, some decorative ribbon from Michaels, and a free afternoon, I transformed these plain luggage racks into charming pieces that feel right at home alongside the antique beds. Today I’m sharing exactly how I did it, so if you have a basic folding luggage rack that’s seen better days, or doesn’t match your style, you can give it a whole new look with just a few simple updates.
This post may contain affiliate links, which won’t change your price but will earn us commission.
Easy DIY Home Decor Projects with Vintage Style
Explore our easy DIY home decor guide with vintage style, using thrifted and repurposed finds. Simple, beginner-friendly ideas to decorate your home with charm.
How to Make Over a New Folding Luggage Rack
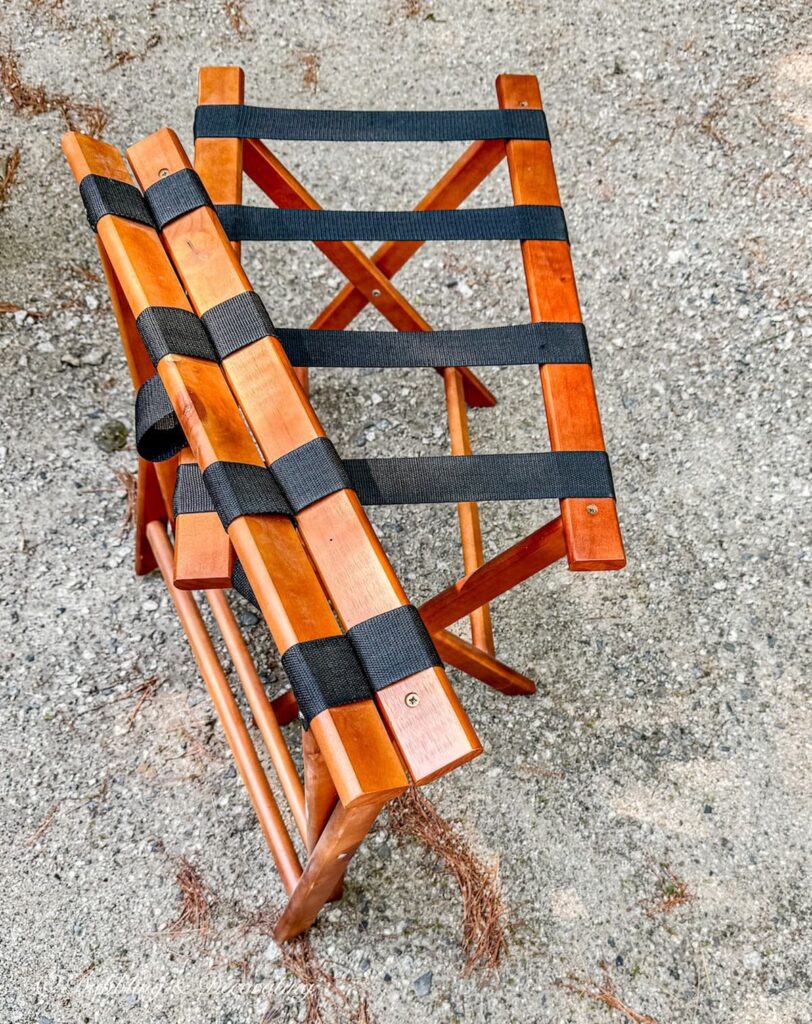
This makeover is designed for a newer folding luggage rack with removable screws and webbing, which makes the whole process wonderfully straightforward. I set up a simple workstation, gathered everything I would need, and started by removing the original straps before giving the frame a fresh coat of chalk paint.
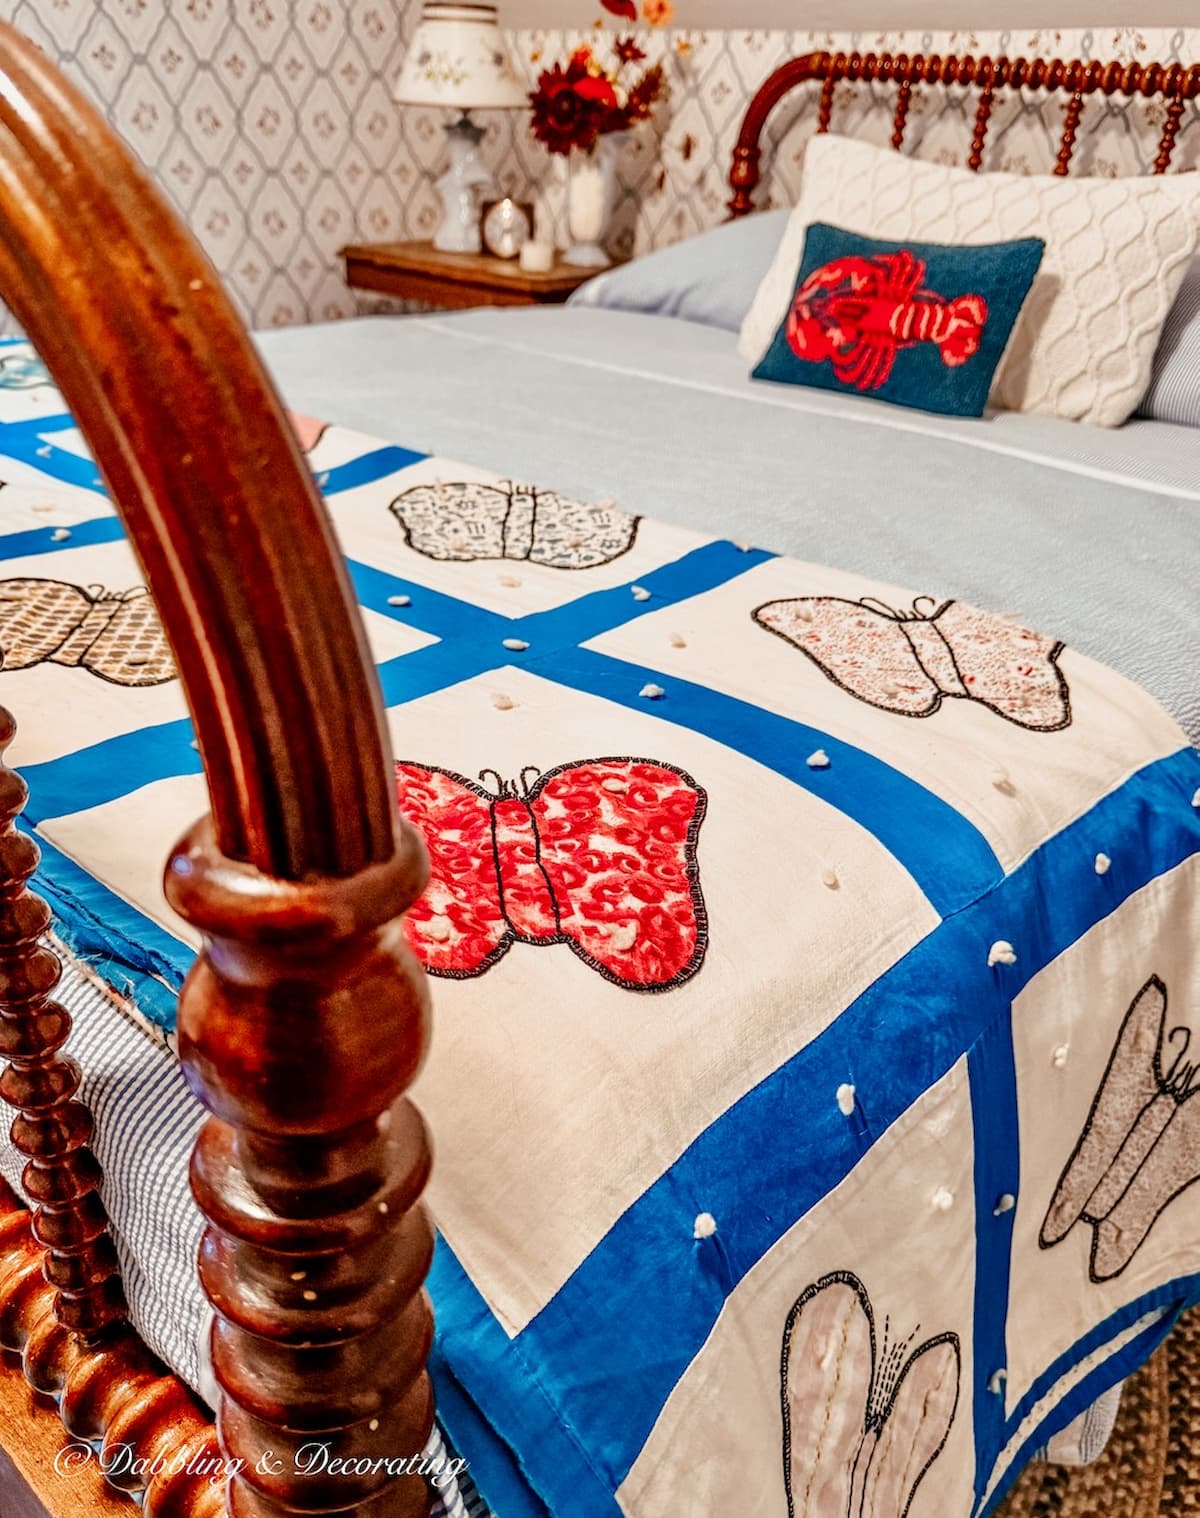
Vintage Bedroom Ideas, A Cozy Decorating Guide
Love the look of a cozy, collected bedroom? This guide is packed with vintage decorating ideas, from antique beds to thrifted quilts, that’ll help you style a space with warmth, charm, and timeless personality.
What You’ll Need for This DIY Luggage Rack Makeover
- New folding luggage rack
- Rust-Oleum Chiffon Cream Chalked Paint
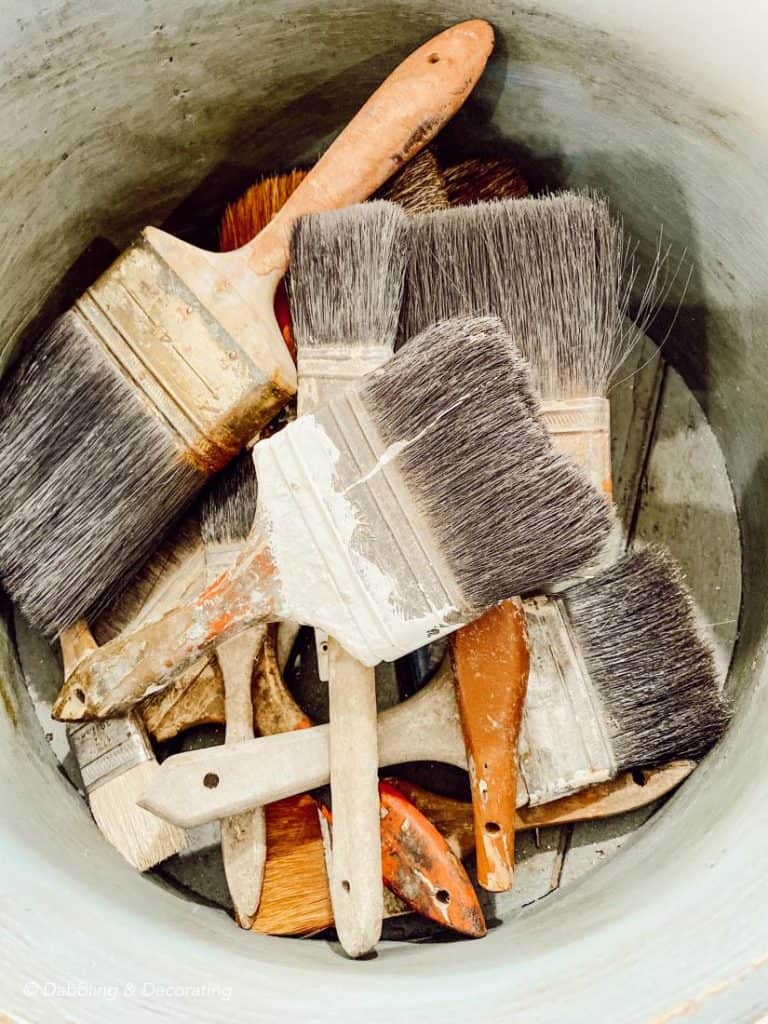
- One-inch paintbrush
- Paint stir stick
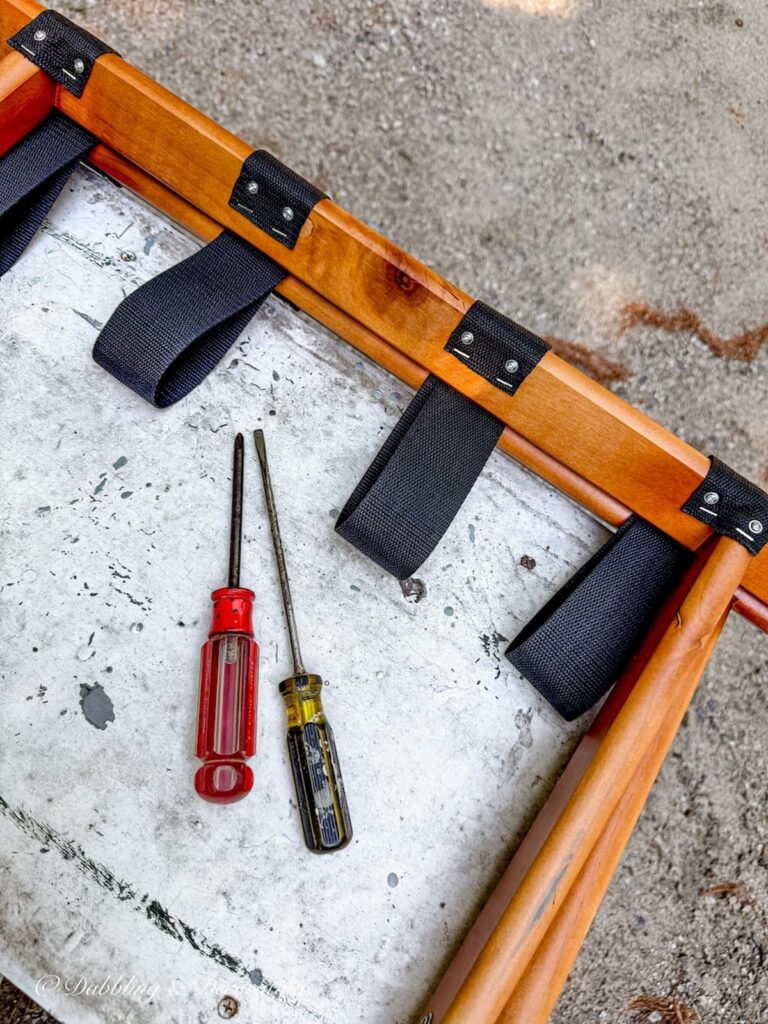
- Phillips-head screwdriver for removing the screws
- Flat-head screwdriver for gently lifting the staples
- Decorative ribbon
- Scissors
- Clean cloth
- Sandpaper, optional
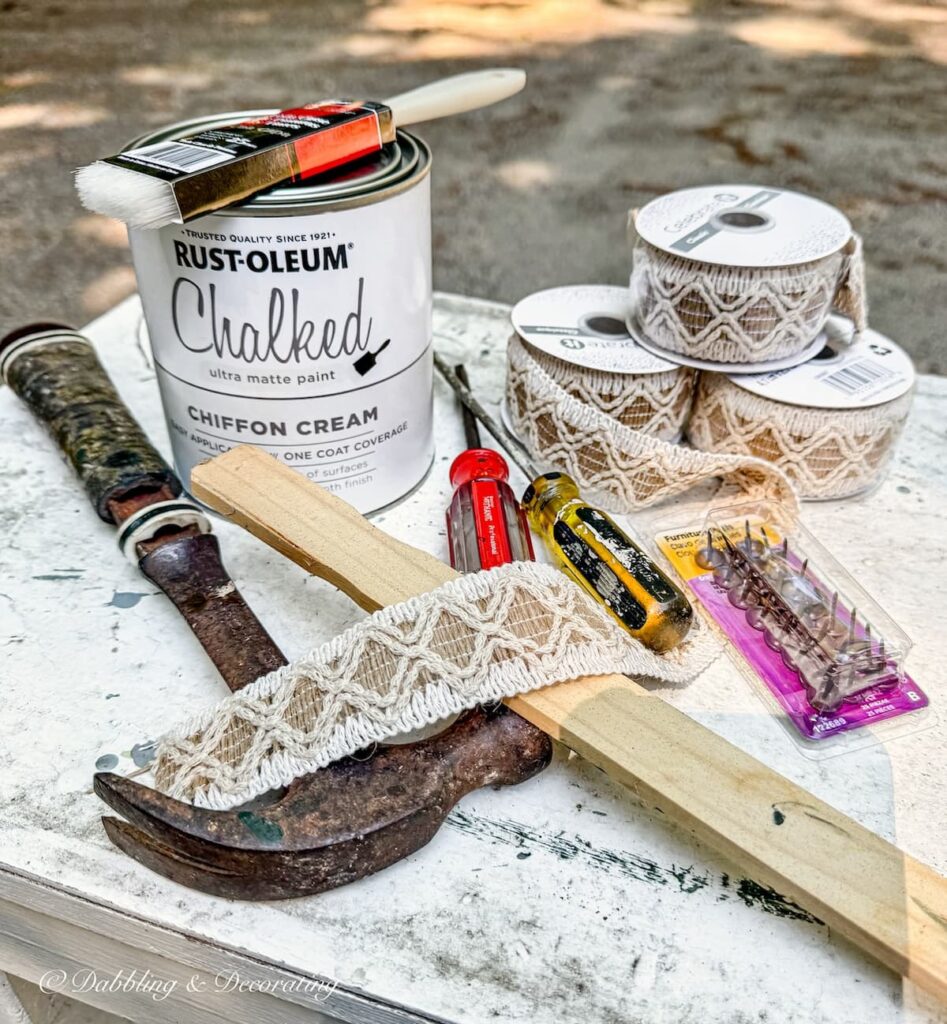
I love projects like this because there’s very little prep work involved. Once I had my chalk paint stirred, my ribbon measured, and my tools nearby, I was ready to give these forgotten luggage racks a whole new look.
Step 1: Remove the Original Straps from Your Folding Luggage Rack
The first step in this folding luggage rack makeover is removing the original webbing straps. I was pleasantly surprised by how easy this was. Using only a Phillips-head screwdriver, I removed the screws that held each strap in place. There was no need for a drill or any special tools; the screws backed out easily by hand.
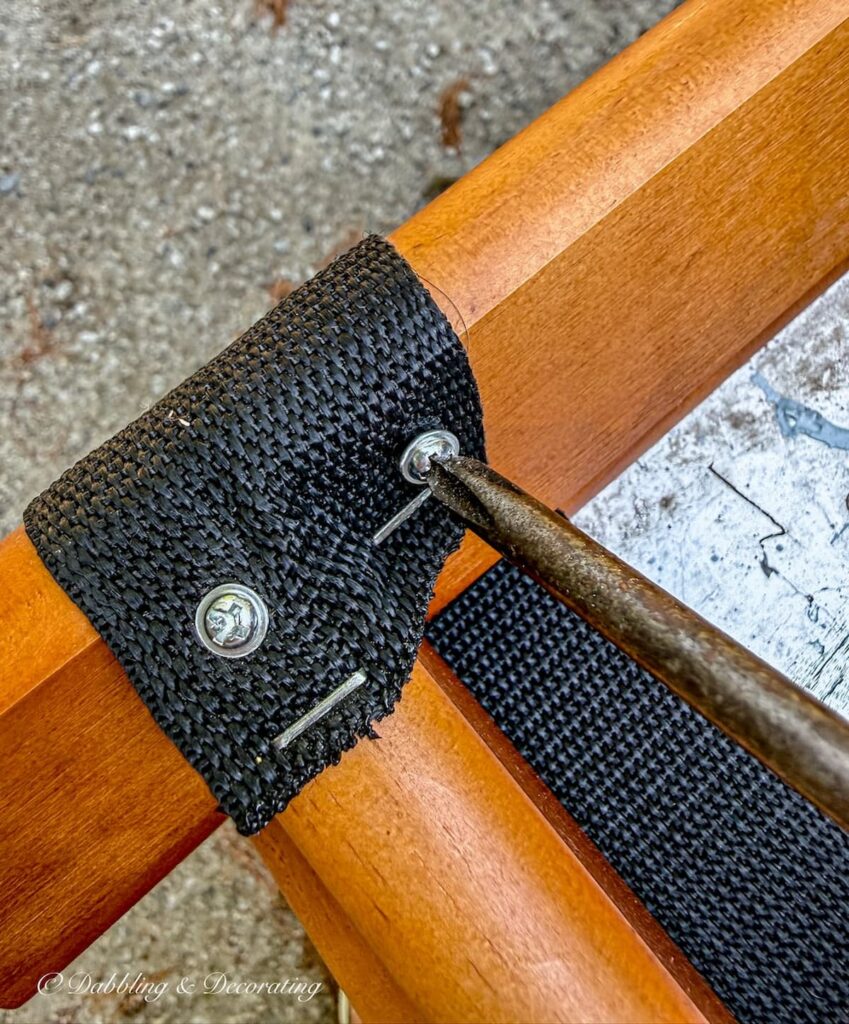
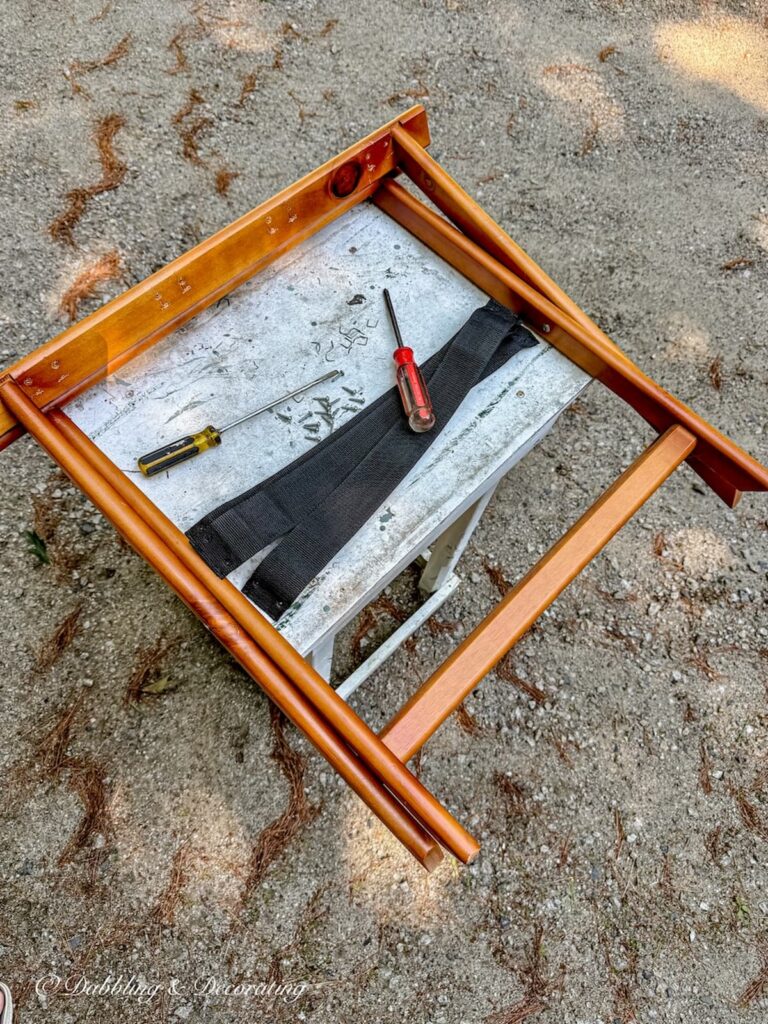
Once the screws were removed, I slipped a flat-head screwdriver under each staple and gently pried them out. The webbing straps lifted right off, leaving the frame ready for paint. This entire step took less than ten minutes.

The Secret Cupboard: Vintage Decorating Ideas Readers Love Most
Peek inside The Secret Cupboard, a cozy collection of vintage decorating ideas readers love most. Filled with thrifted finds, styled corners, and quick home inspiration.
Step 2: Paint the Folding Luggage Rack
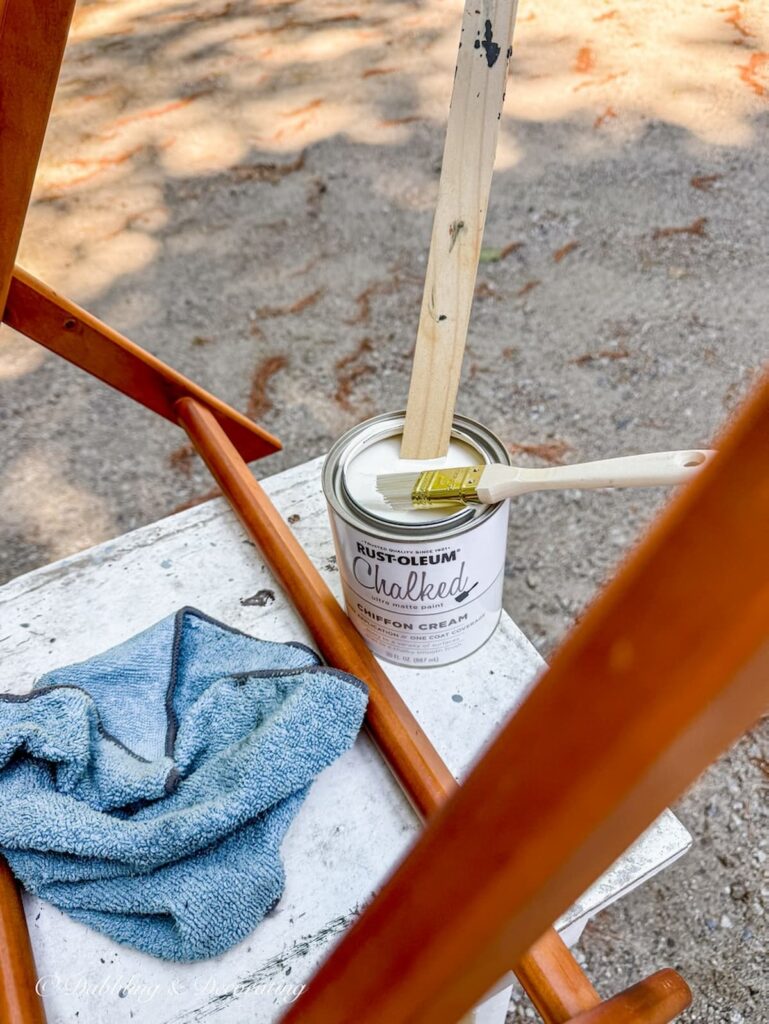
Before opening the paint, I gave the entire folding luggage rack a quick wipe-down with a clean cloth to remove any dust and dirt. Since I was using chalk paint, I skipped sanding altogether and went straight to painting.
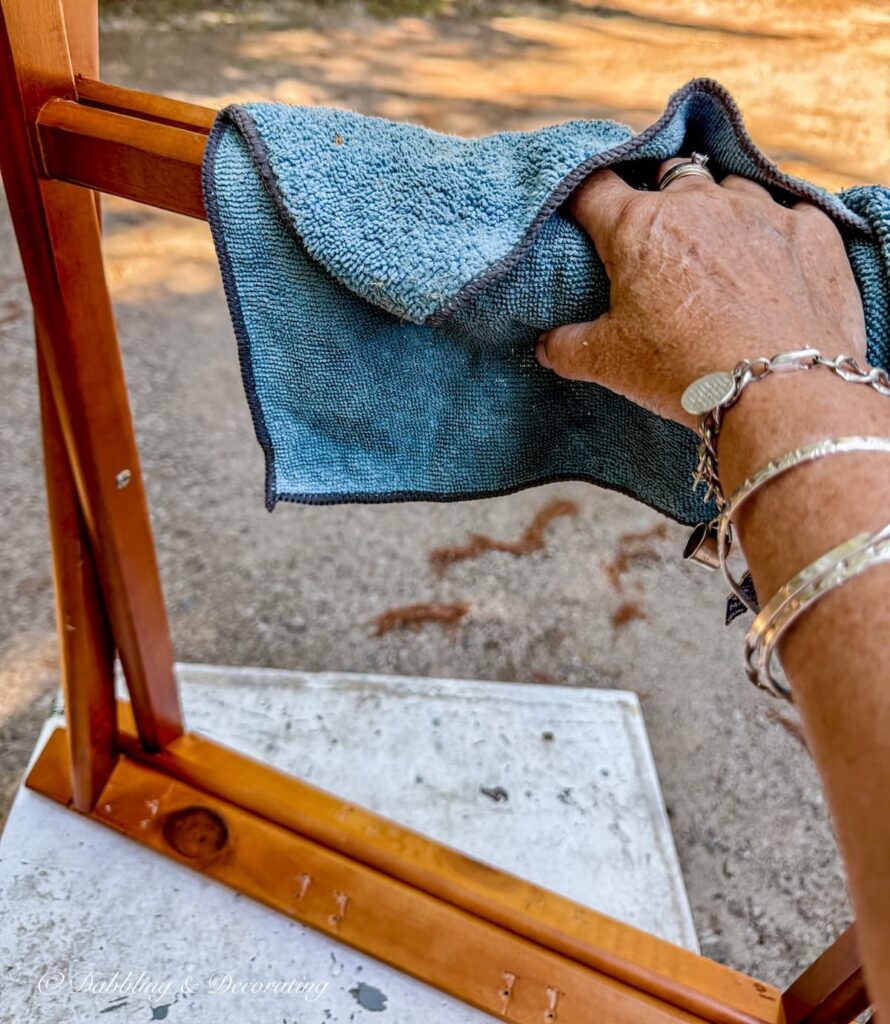
One thing I quickly discovered is that once you remove the original webbing straps, the luggage rack no longer has anything to hold it securely open. It becomes surprisingly wobbly and wants to fold in on itself while you’re painting.
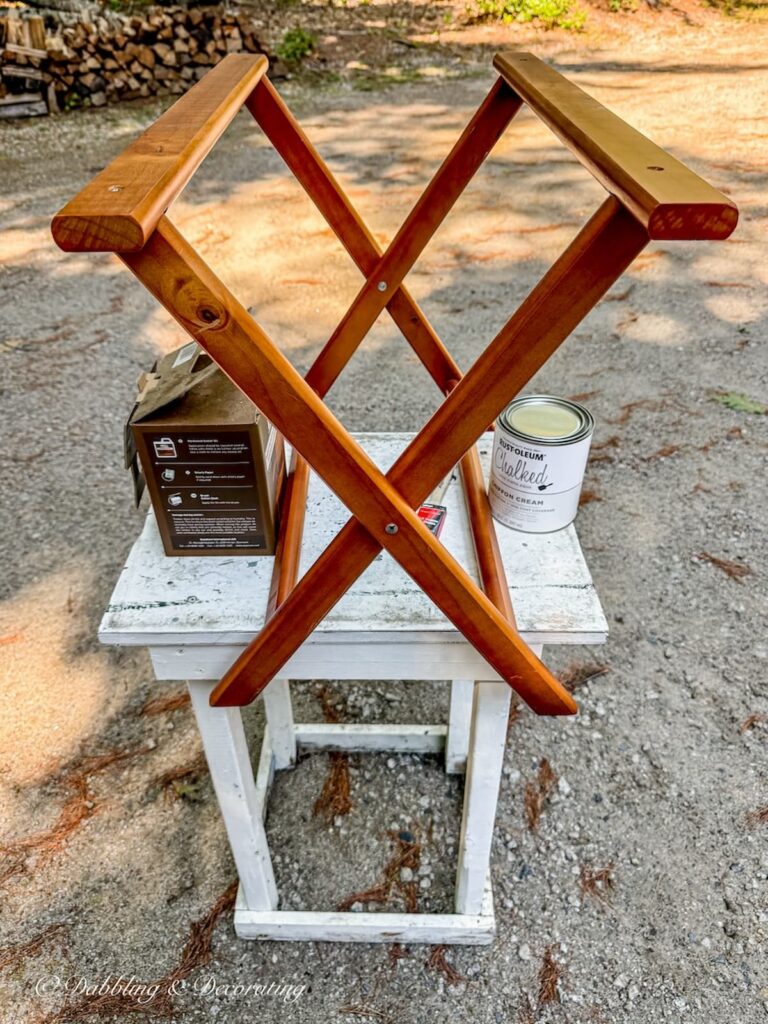
After a small mishap (and a spilled can of paint on my gravel driveway!), I learned it’s worth taking a few extra minutes to stabilize the luggage rack before you begin. I propped mine up using a couple of heavy paint cans and a sturdy box until it sat securely without wobbling. Lesson learned, and hopefully one you won’t have to learn the hard way!
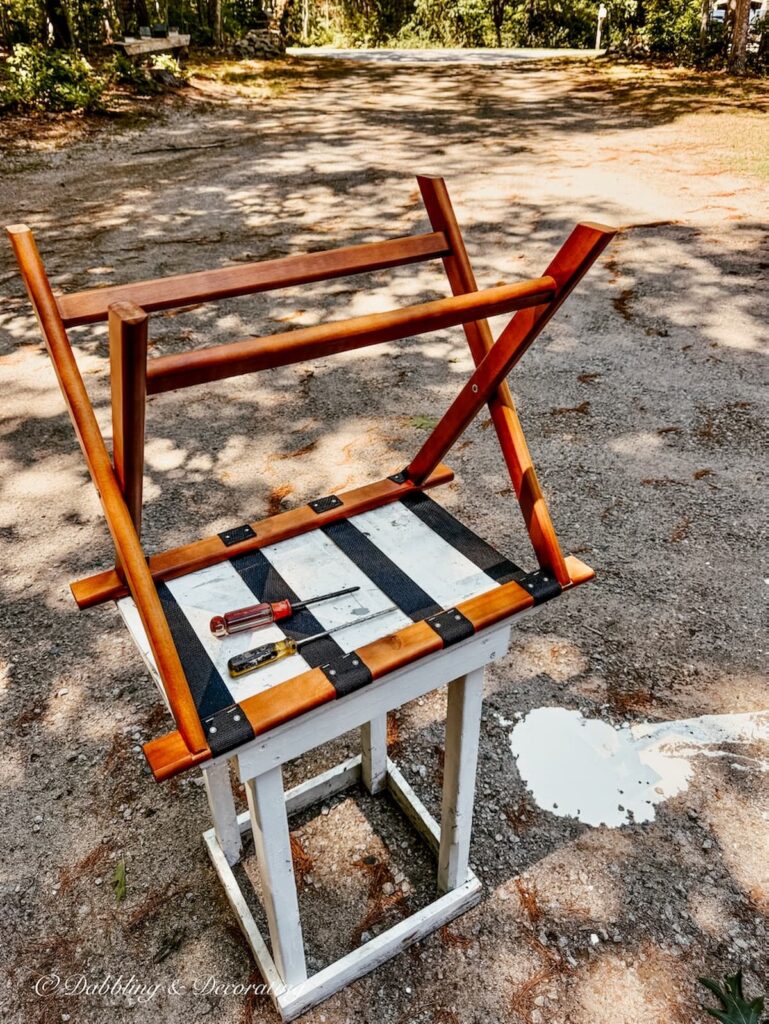
Once everything was stable, I applied two light coats of Chiffon Cream Chalked Paint, allowing the first coat to dry before adding the second. On a warm summer day, the paint dried quickly, and within no time the luggage rack already looked brighter, softer, and much more at home with the vintage style I was creating for my attic guest bedroom.
Vintage Home Decorating Guides and Styling Inspiration
Are you curious about vintage decor but don’t know where to start? These cornerstone guides are packed with seasonal styling tips, how-tos, and inspiration to help you confidently decorate with charm and character.
Step 3: Measure and Cut the New Ribbon
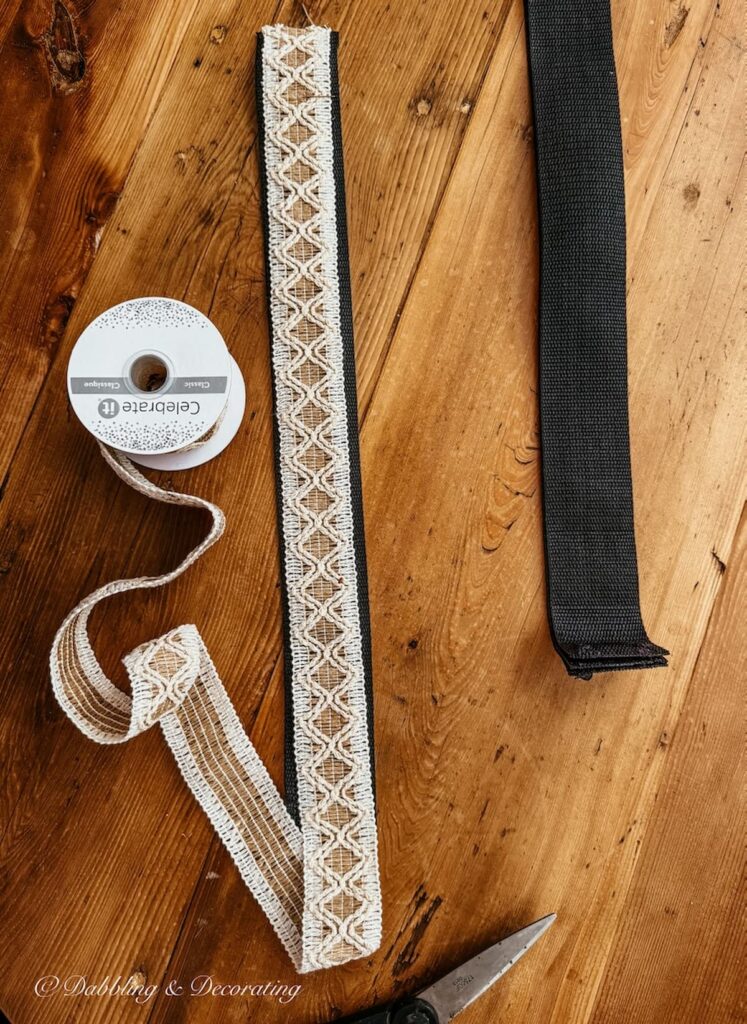
While the chalk paint was drying, I turned my attention to the new ribbon. One of the easiest parts of this folding luggage rack makeover is that you already have the perfect measuring guide: the original webbing straps.
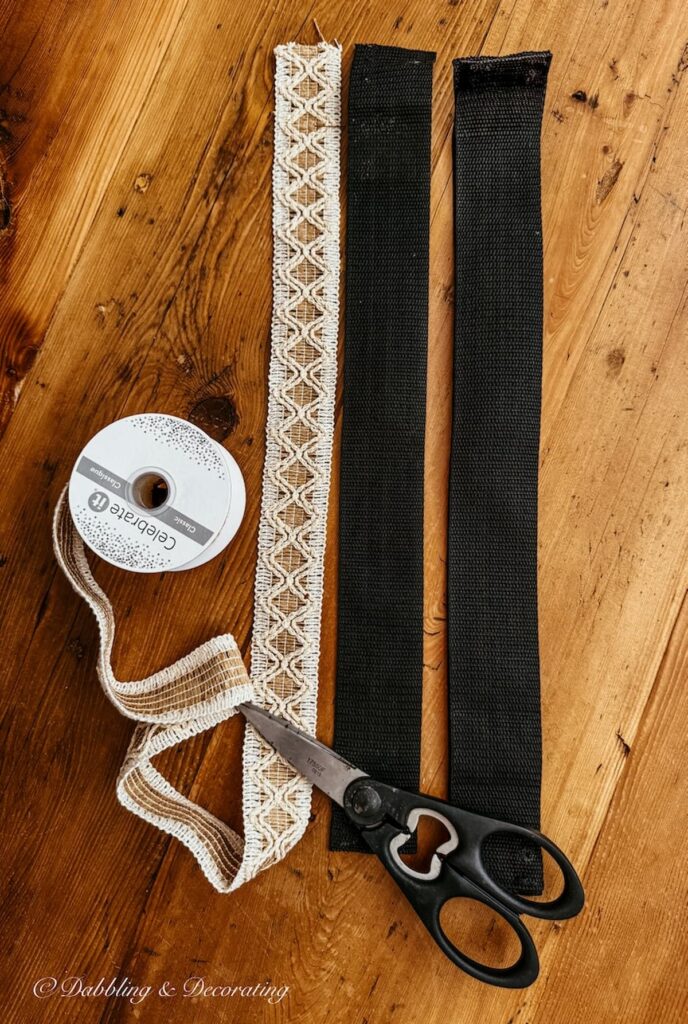
Before tossing them out, simply lay each piece of webbing flat and cut your ribbon to the same length. I repeated the process until I had four matching ribbon straps ready to attach. Once everything was measured and cut, I no longer needed the old plastic webbing and set it aside.
Taking a few extra minutes to use the original straps as a template makes this step quick, easy, and ensures your new ribbon will fit perfectly.
Thrifting with the Gals
Love the thrill of the hunt? Thrifting with the Gals is a blog series packed with secondhand scores, vintage styling ideas, and real-time thrift adventures you won’t want to miss.
Step 4: Attach the Ribbon to Your Folding Luggage Rack
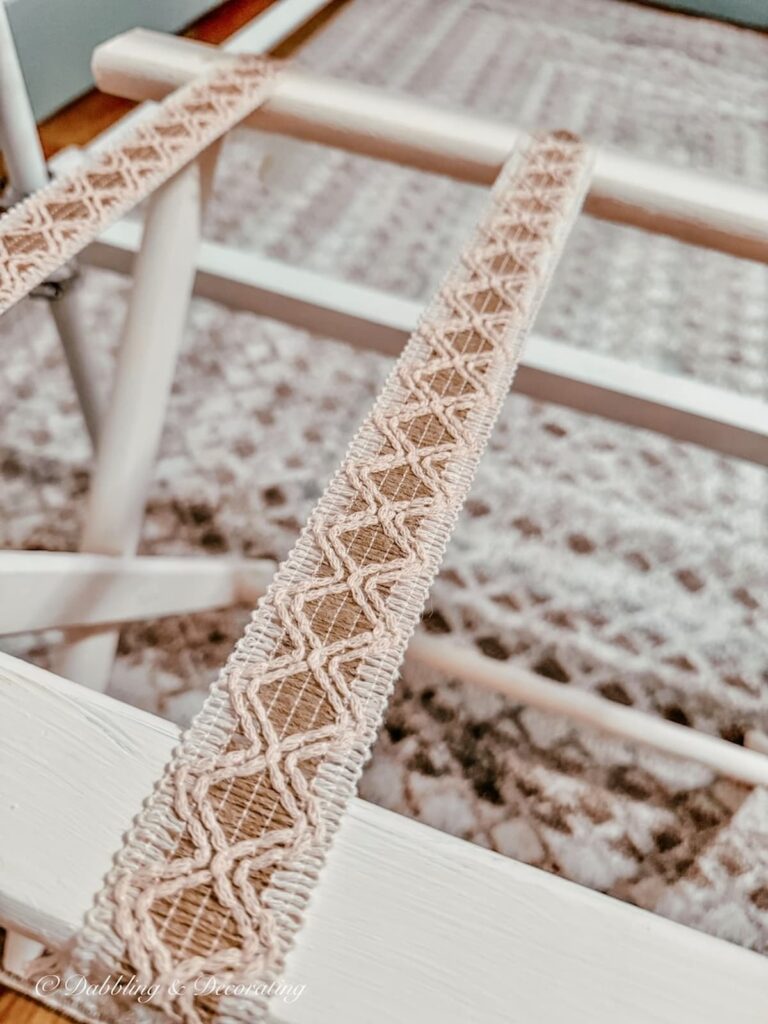
Once the paint was completely dry, it was time for my favorite part of this folding luggage rack makeover: adding the ribbon. Before attaching anything, I draped the ribbon over the painted luggage rack to make sure I liked the spacing and how everything lined up. Think of it as a quick dress rehearsal before making it permanent.
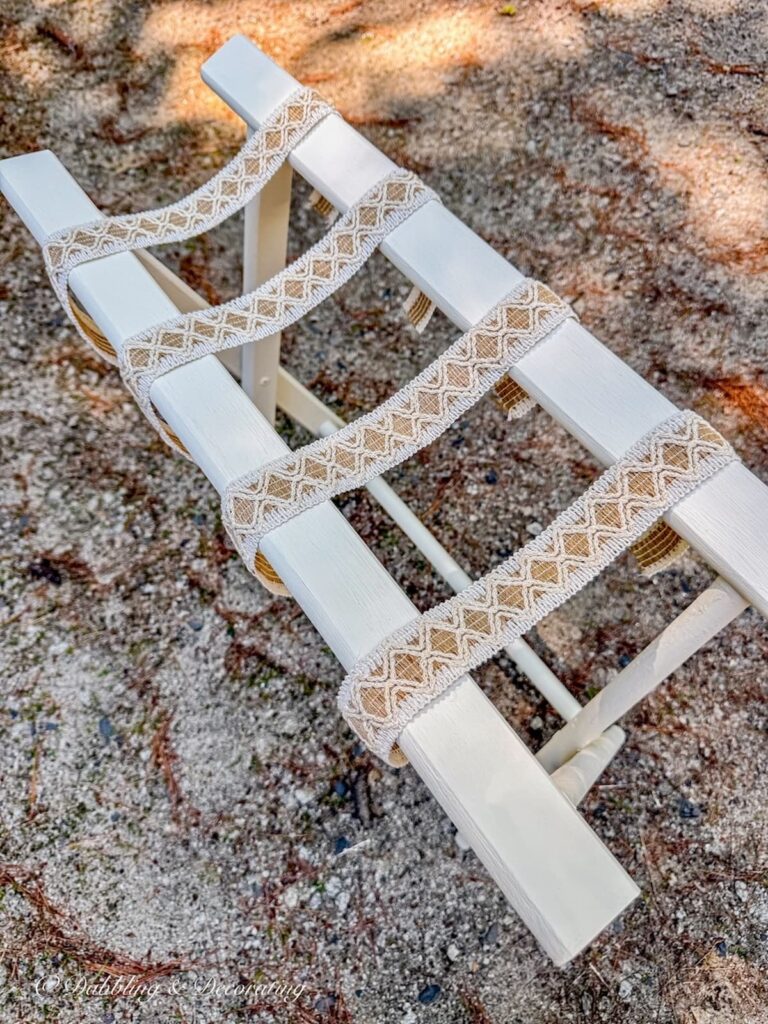
When I was happy with the placement, I brought the luggage rack inside and lined each ribbon strap up with the original screw holes. Using the same screws I had removed earlier, I simply fastened the ribbon into place. I chose not to reinstall the staples because the screws held the ribbon securely for my purposes, but if you have a staple gun or would like a little extra reinforcement, you can certainly add a couple of staples or even decorative upholstery tacks, just as the original straps were installed.
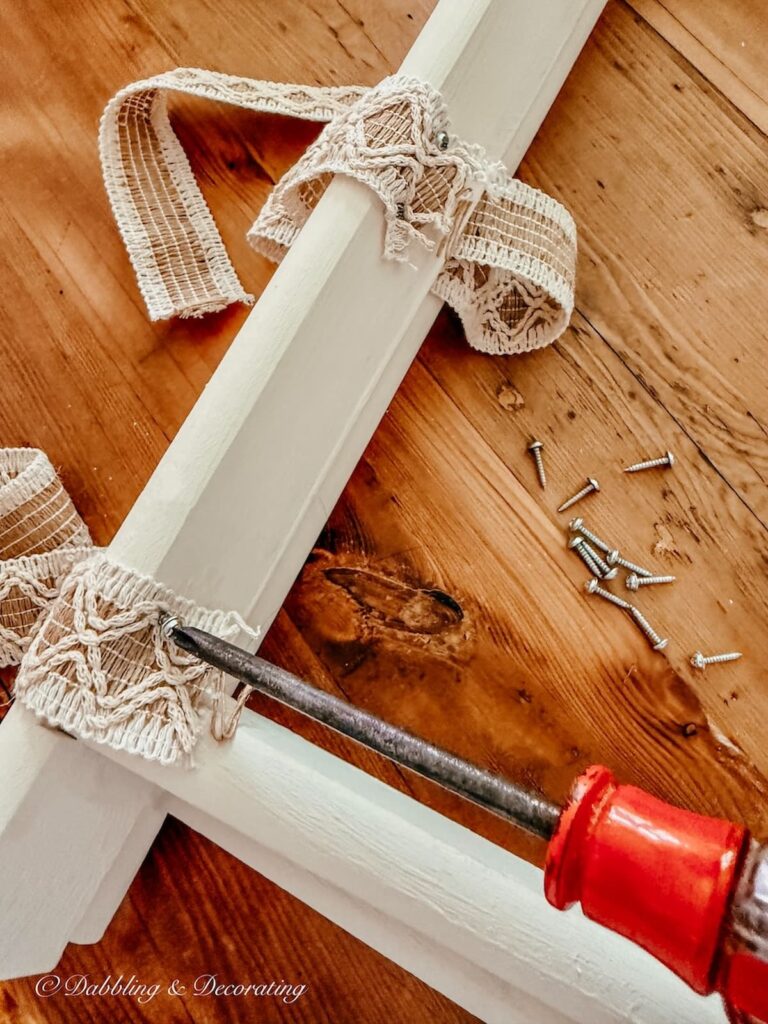
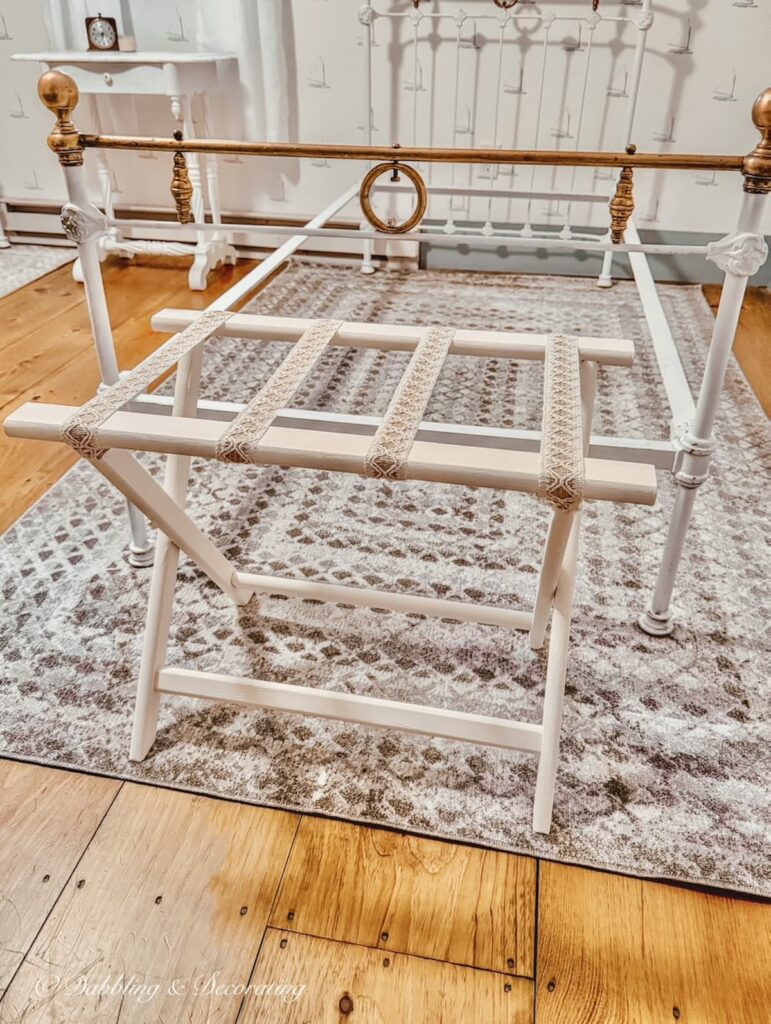
From start to finish, attaching the ribbon took less than ten minutes. Afterward, I carried the luggage rack back outside and touched up a few small spots of paint that I had missed.
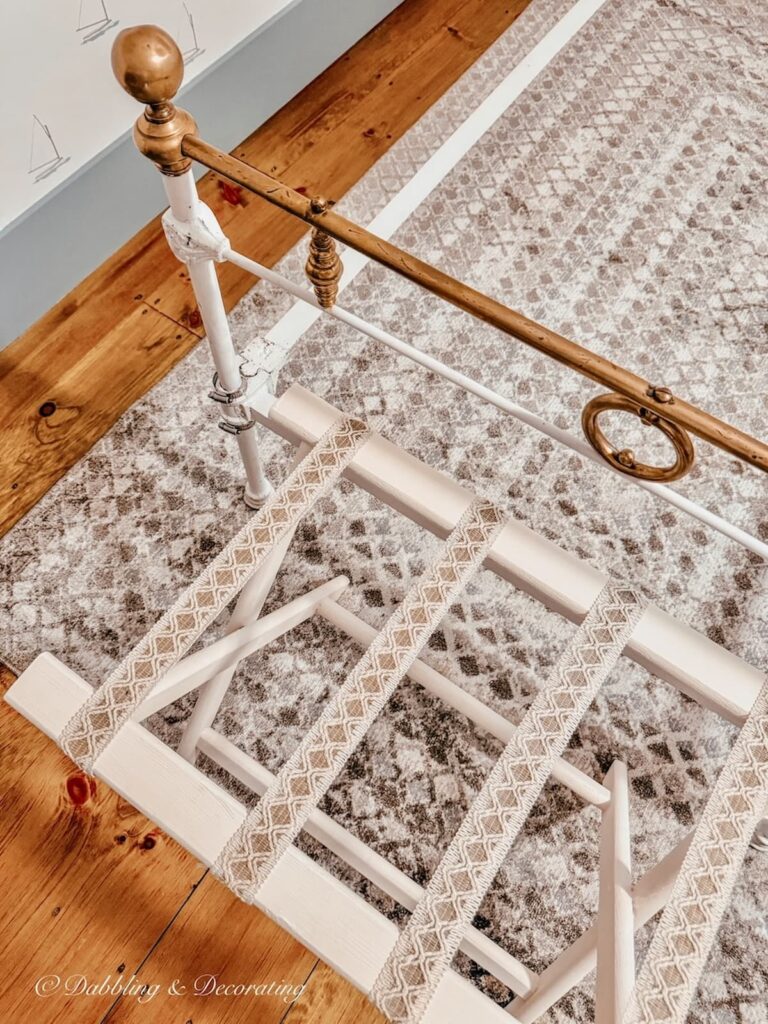
Seeing the soft cream finish paired with the textured ribbon completely transformed the piece; it finally looked right at home in my attic guest bedroom.
Eclectic Decorating Style Guide
Want to create a home that feels cozy, collected, and completely you? This guide dives into how to layer vintage, antique, and thrifted pieces effortlessly, sharing easy tips to help you embrace an eclectic vintage style that tells your story, one thrifted find at a time.
Decorating with Folding Luggage Racks
One of my favorite things about folding luggage racks is that they’re just as decorative as they are practical. Whether they’re holding an overnight bag for guests or simply adding a charming finishing touch at the end of a bed, they bring a little vintage character to any bedroom.
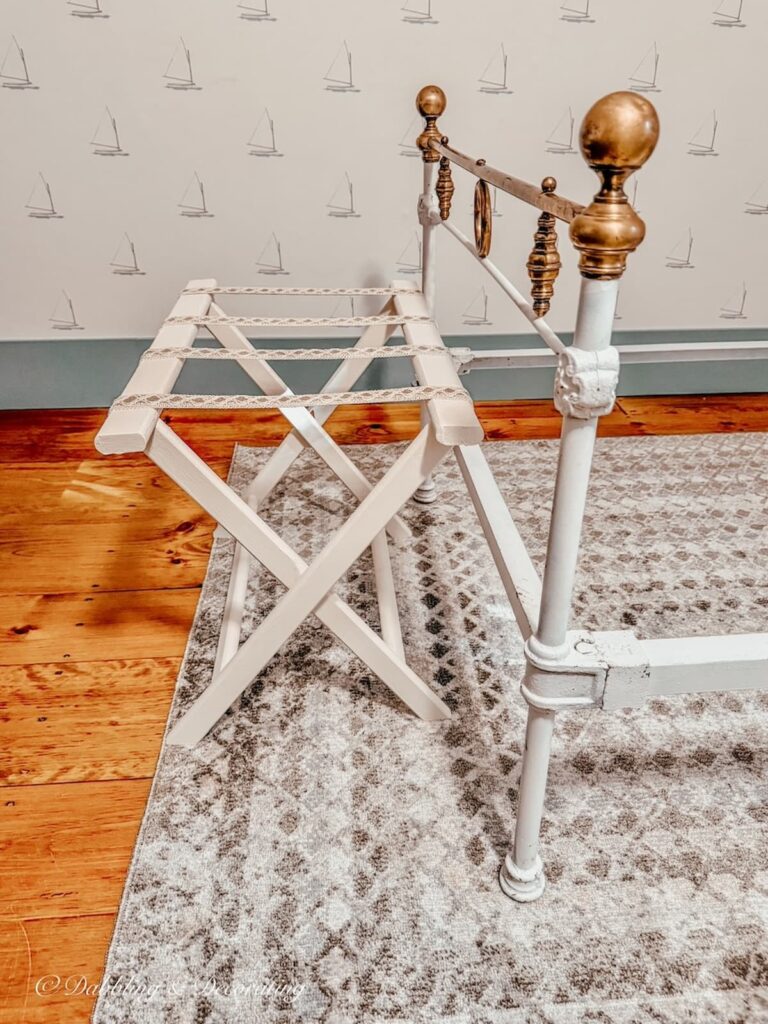
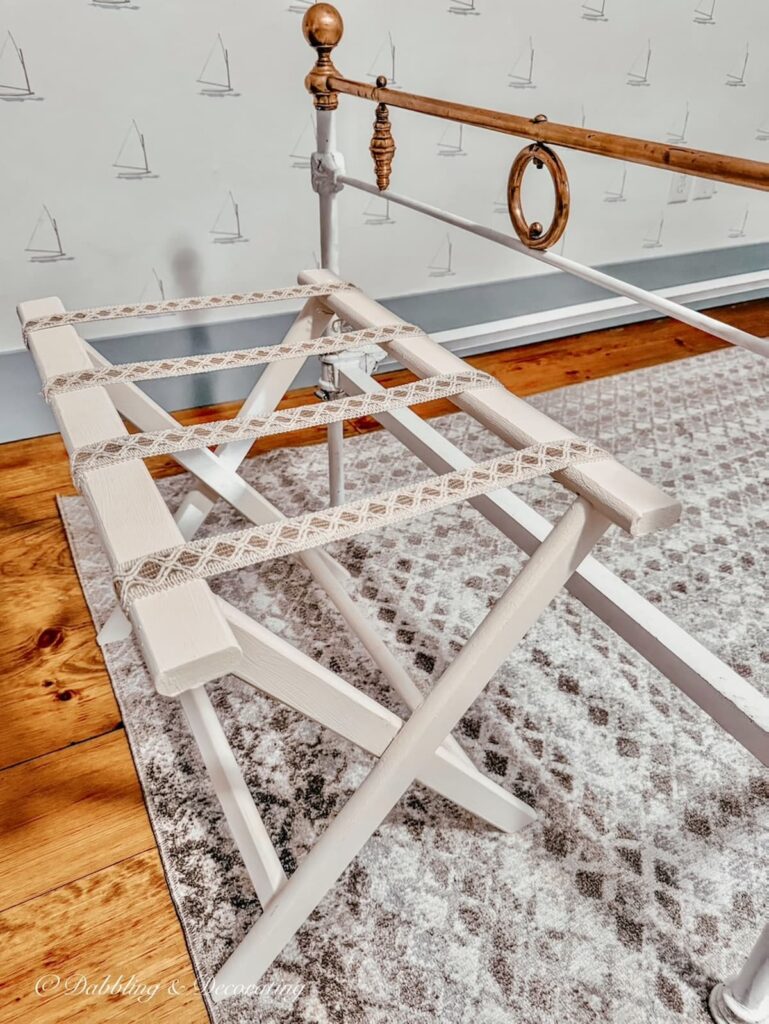
For this attic guest bedroom makeover, I wanted mine to blend seamlessly with the antique cast iron beds, cream-colored accents, and collected New England style. The soft chalk paint and textured ribbon completely transformed these once-basic luggage racks into pieces that look as though they’ve always belonged in the room.
Behind the Scenes:
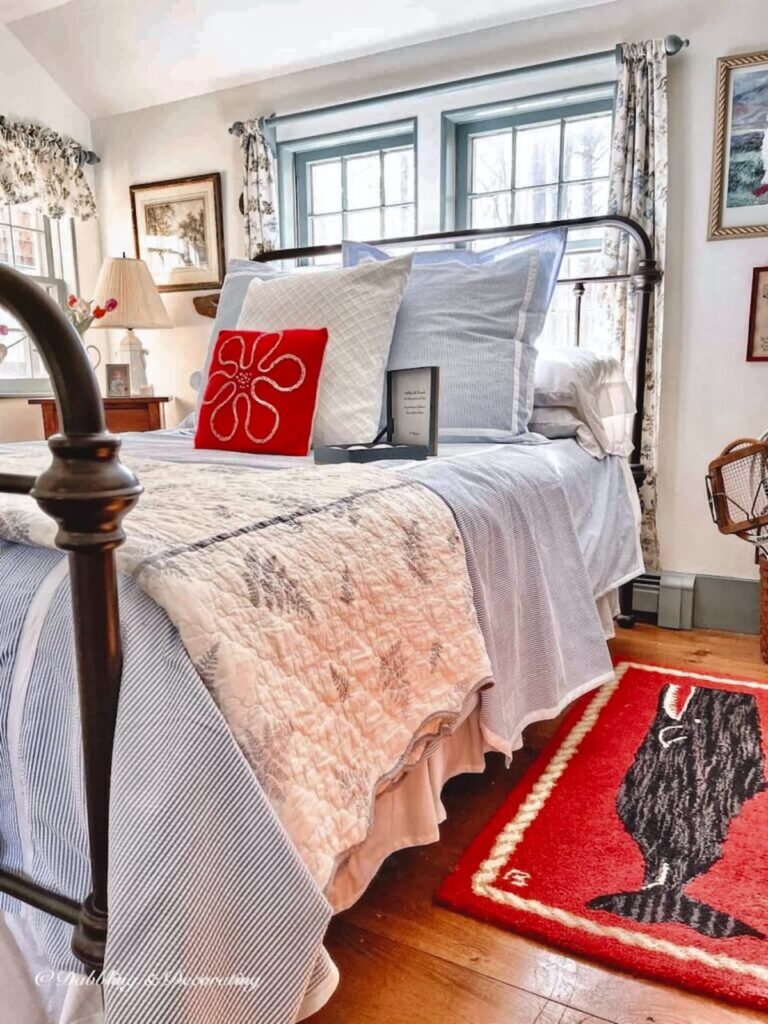
This attic bedroom is still very much a work in progress! With no lamps or mattresses in place yet, photographing the space has been a little challenging. The rug actually has beautiful soft blue tones (not gray) that aren’t quite coming through in these early photos, but I’ll be updating this post with finished room images once the makeover is complete.

Antiquing & Thrifting New England Shopping Guides: Vintage Stores, Markets & Must-Visit Stops
Join me as I explore the best antique and thrift stores from Maine to Vermont, and even Paris and Canada. It’s your go-to guide for planning your next treasure-hunting adventure.
Where to Find Folding Luggage Racks
Whether you’re looking for an authentic vintage piece or planning a simple makeover like mine, folding luggage racks are surprisingly easy to find.
You’ll often spot them at:
- Antique stores
- Thrift stores
- Flea markets
- Estate sales
- Yard and garage sales
- Online marketplaces
If you don’t come across a vintage one, don’t overlook a new luggage rack. As this project shows, a little chalk paint and a few yards of decorative ribbon can completely change its look. You can even personalize yours with different paint colors, patterned ribbon, decorative upholstery tacks, or decoupage to match your own decorating style.
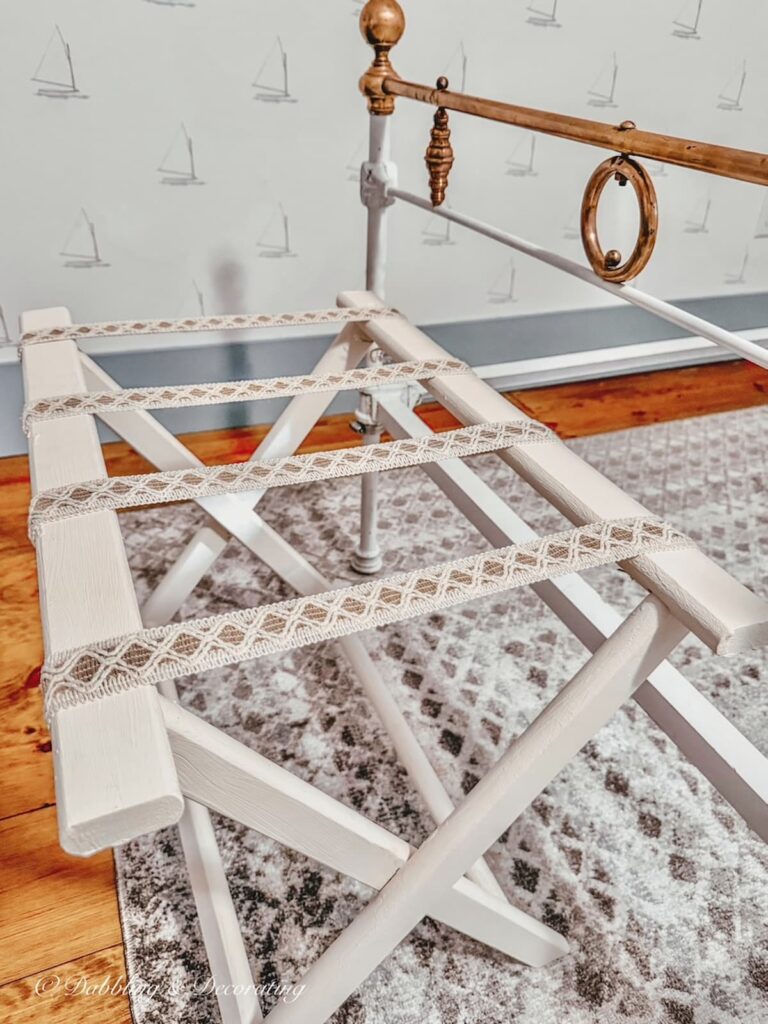
Sometimes the smallest projects make the biggest difference. It’s one of those simple updates that makes a guest bedroom feel thoughtful, welcoming, and a little more collected.
Now that these updated luggage racks are sitting at the foot of my antique twin beds, they add exactly the soft, collected touch I had imagined when I first started this bedroom makeover, and I can’t wait to share the finished room once everything comes together.
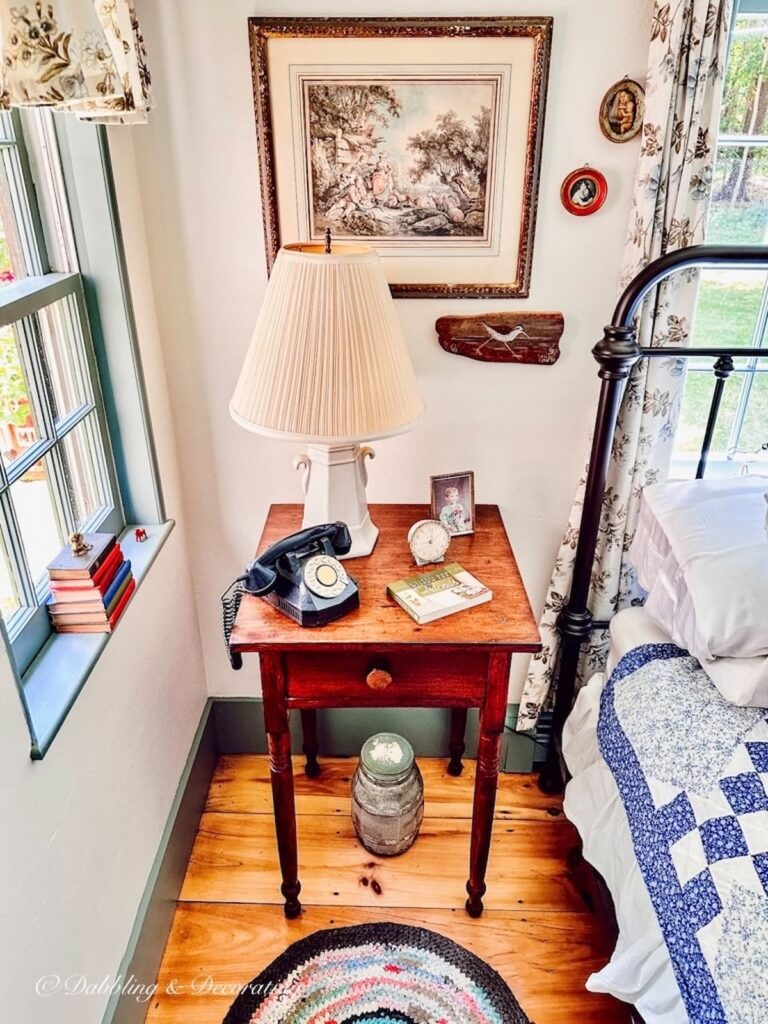
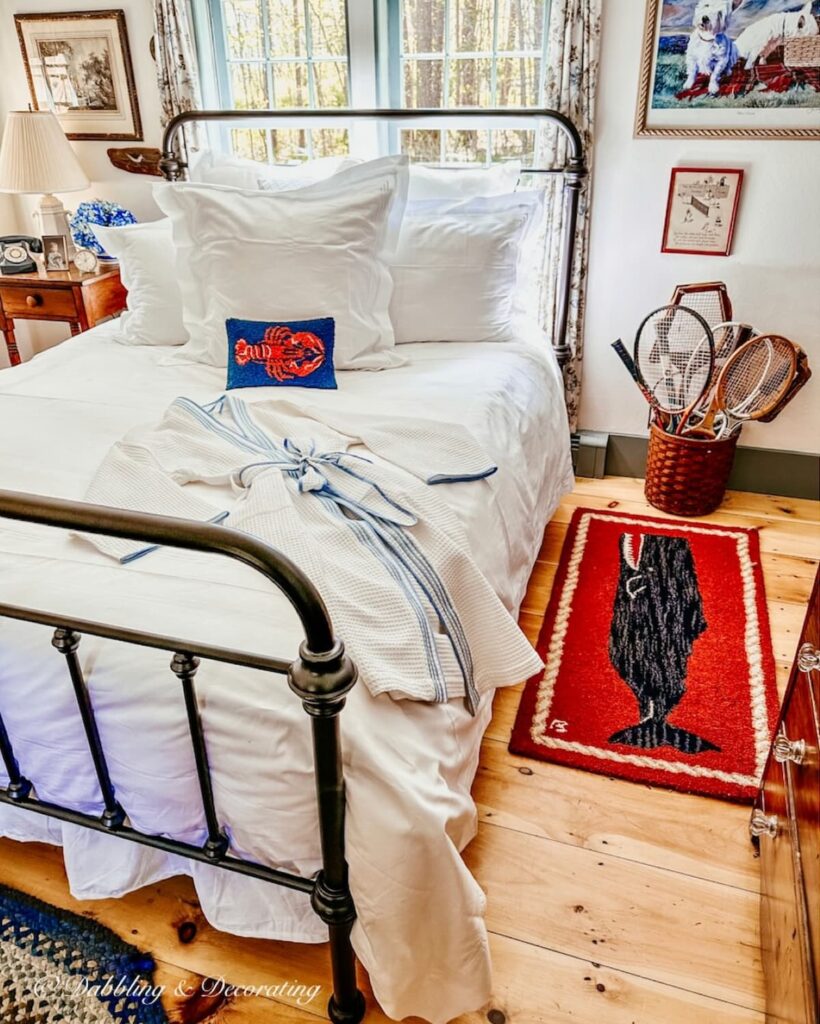
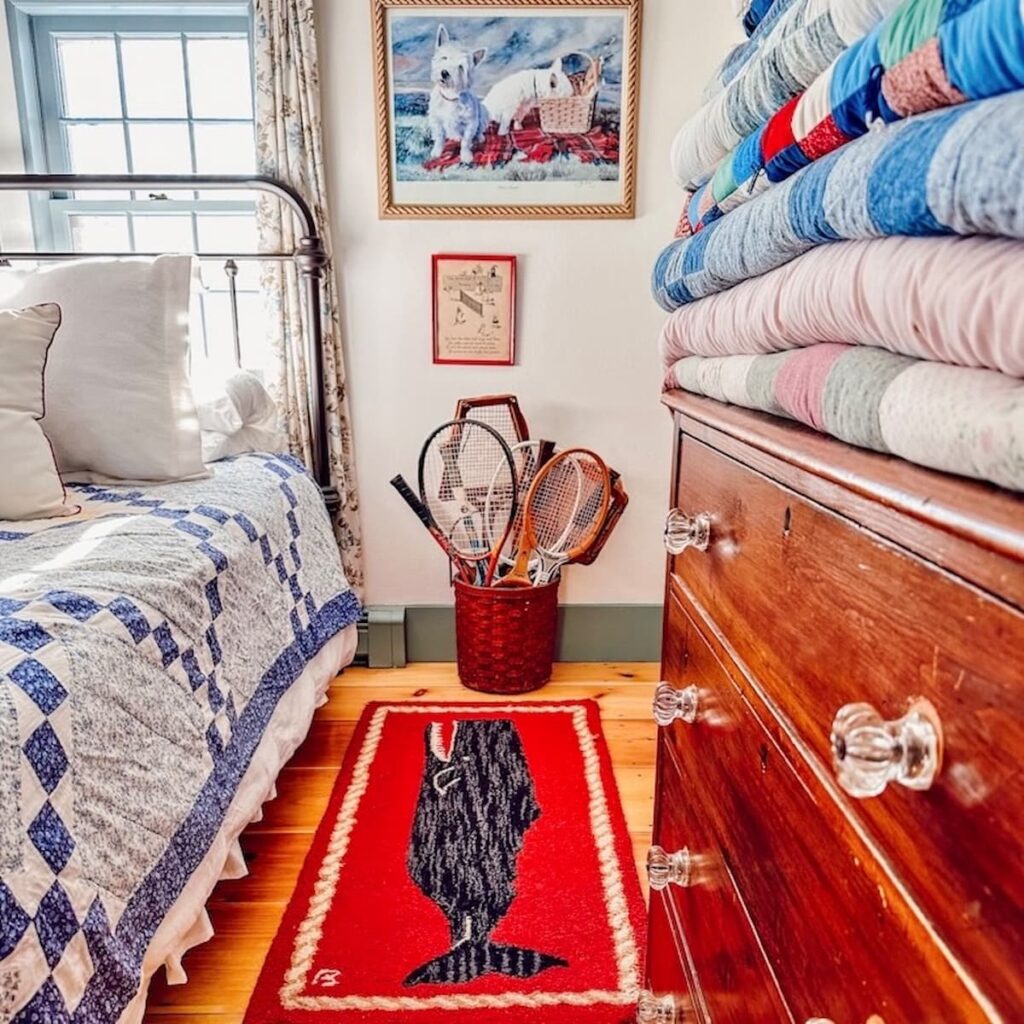
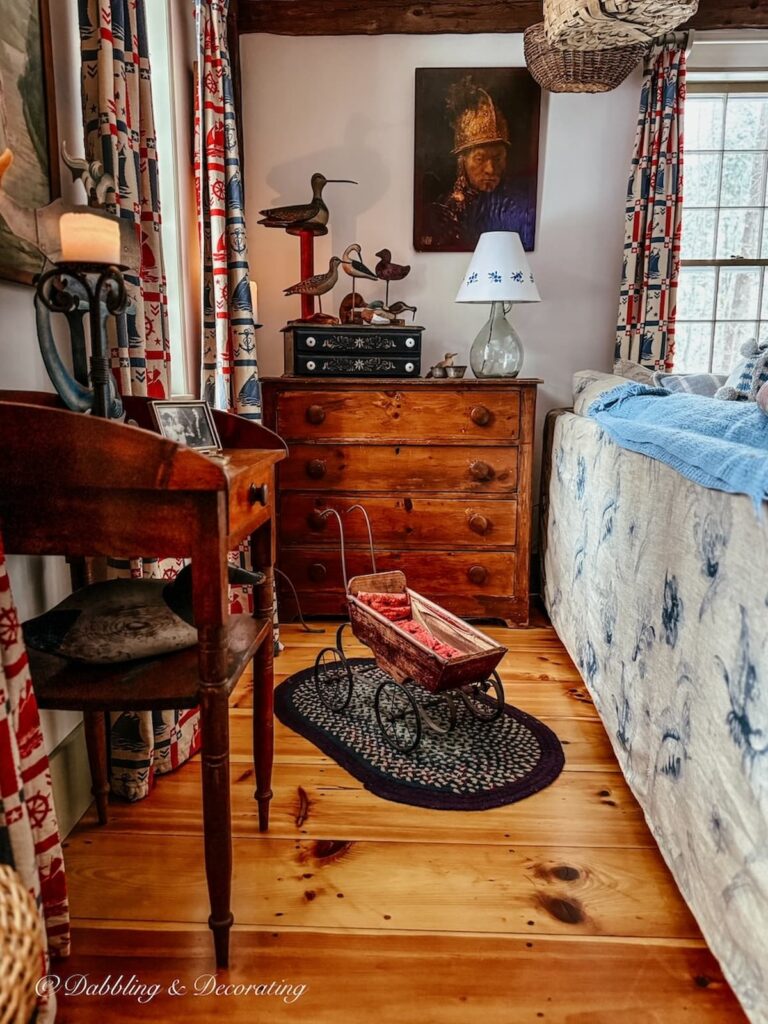
More Vintage-Style Bedroom Ideas
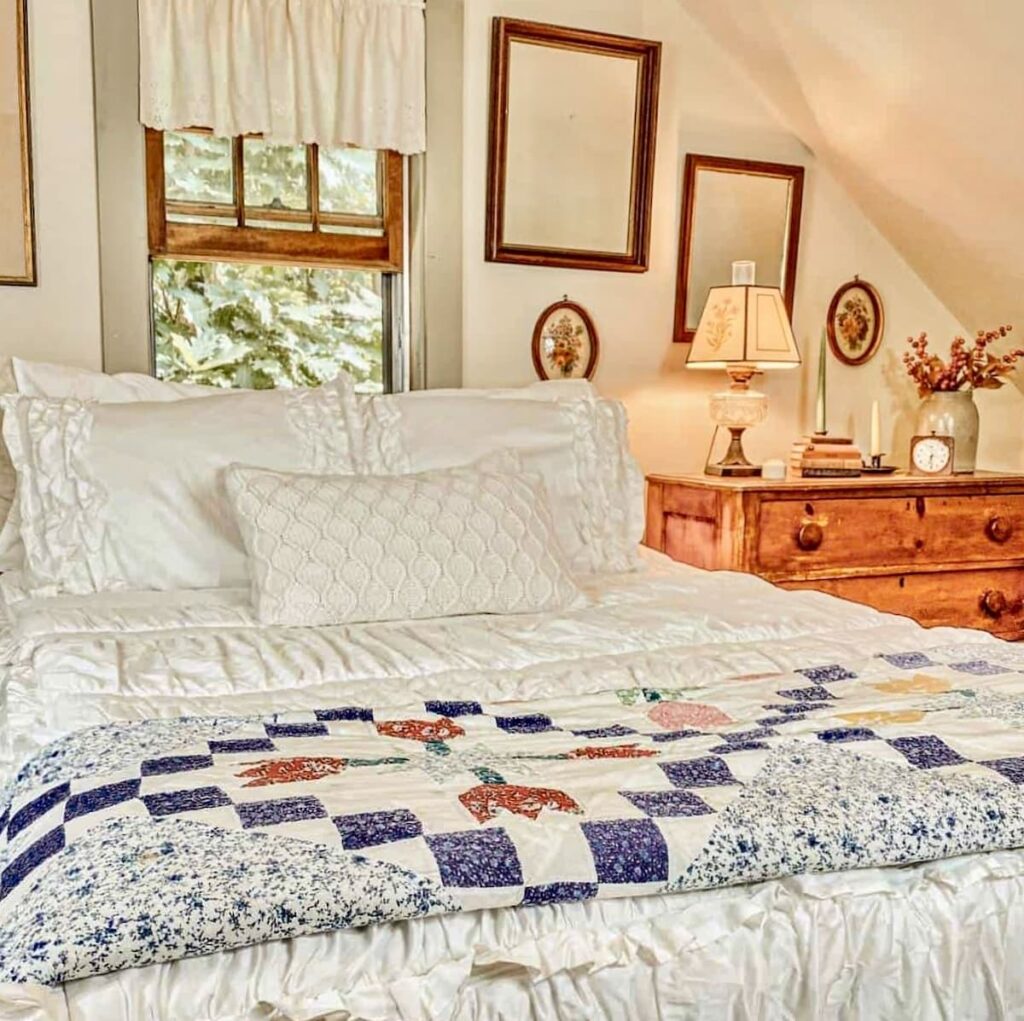
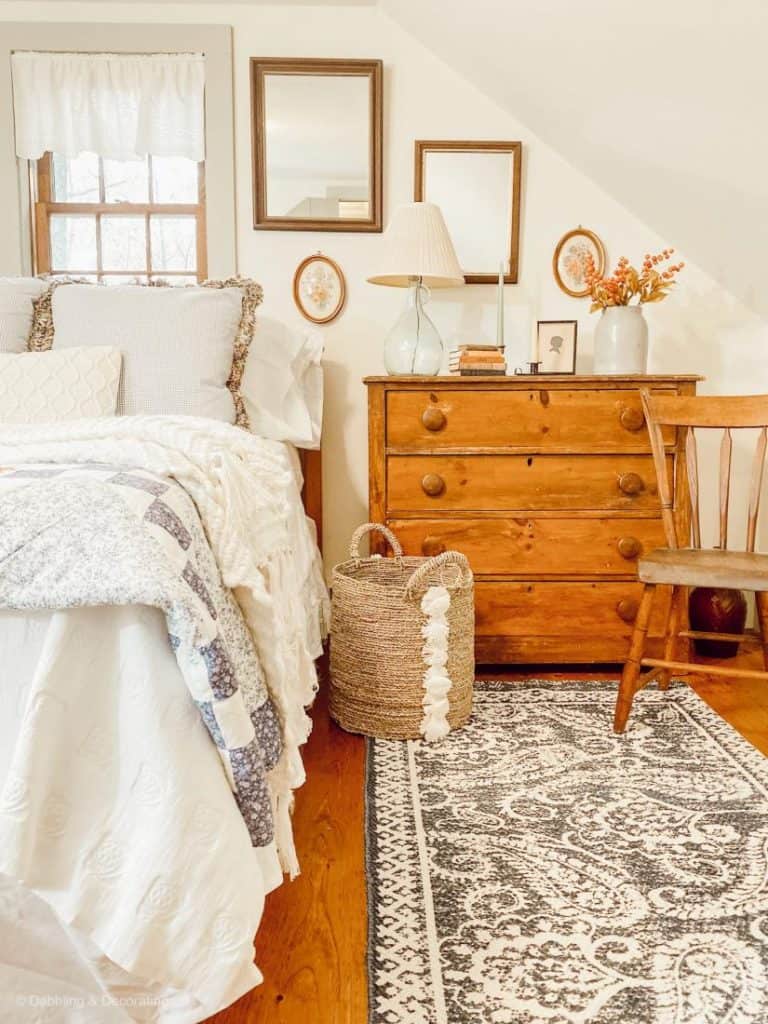
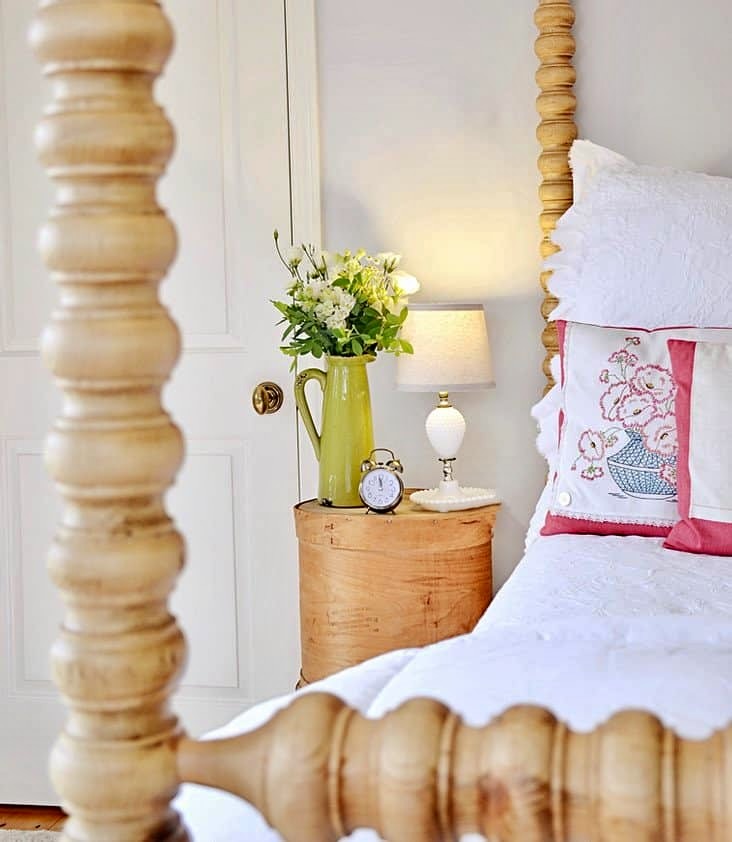
Looking for more ways to bring vintage character into a bedroom? Browse these decorating ideas filled with antique furniture, collected details, soft color palettes, and simple touches that make a room feel warm, personal, and beautifully lived-in.



The Vintage Posts Readers Love Most
Start with the posts readers come back to again and again. These vintage decorating ideas are rooted in New England, styled with thrifted and antique finds, and filled with real-life tips you can use in your own home. Familiar Finds, Styled Your Way.
How to Start a Vintage Booth: Tips, Display Ideas, and Lessons Learned
Eclectic Decorating Style Guide: How to Layer Vintage, Antique, and Thrifted Decor
9 Vintage Booth Displays That Made Me Stop (And What You Can Learn From Them)
Scandinavian Spring Homes: 10 Light and Airy Cottage Tours to Inspire
Antique Oil Lamps: How to Repurpose Them Into Unique Flower Vases
Frequently Asked Questions About a DIY Folding Luggage Rack Makeover
Yes! Most folding luggage racks can be painted with chalk paint or another furniture paint. After cleaning the surface, apply one or two light coats and allow the paint to dry completely before reattaching the straps.
Not always. I skipped sanding because I used chalk paint, which adheres well to many surfaces. If your luggage rack has a very glossy finish, a light sanding can improve adhesion.
Absolutely. Decorative ribbon is an easy way to update a folding luggage rack. Simply use the original straps as a template so your replacement ribbon is the correct length.
You can often find them at thrift stores, antique shops, flea markets, estate sales, yard sales, or online. If you buy a new one, it’s easy to customize it with paint and ribbon.
I used Chiffon Cream chalk paint because it provided great coverage and created the soft vintage look I wanted. Most chalk paints work well for this type of project.

Join the Vintage Circle — Familiar Finds, Styled Your Way™
Love vintage treasures, thrifted gems, and a home that tells your story? Leave a comment, share this post with a kindred spirit, or head to my Start Here page to explore more. Want fresh prompts and timeless ideas? Subscribe to join our Seasonal Vintage Decor Styling Challenge for weekly inspiration and behind-the-scenes peeks.
Pin it for later!

Shop This DIY Folding Luggage Rack Makeover
This post may contain affiliate links, which won’t change your price but will earn us commission.



Hi Ann ,I actually have one in my bedroom that holds a vintage American Tourister suitcase and I use the suitcase to hold my swim ware.
Hi Teresa, what a great idea! I love it! Thanks for sharing.
Hi Ann! I have recently discovered your blog (through Mollie in Maine) and love it! When I was scrolling down your email this morning and saw the picture of the luggage rack, I first thought it was an ad that mysteriously pops up after you’ve been searching something on the internet. The timing of your project is uncanny as I am in the middle of the same project! I had been on the hunt for a luggage rack for our guest room for some time and finally found one at an estate sale a few months ago for only $2. My original thought was to needlepoint new straps but I decided that was a little more project than I wanted to take on. After much searching for the right ribbon/trim, I finally ordered some yesterday. I will have to send you a picture when the project is complete. Yours turned out great!
Hi Mary, oh my gosh, that’s so uncanny! I’ve wanted to do something with these for a while, and they’re going to be so great now with the twin iron and brass beds I bought with Molly. I can’t wait for it to all come together. I’d love to see how yours turns out. I’ve made several over time, but never blogged about them. I have a pretty blue one I love at our home in Vermont. Good luck and thanks for joining me here!