
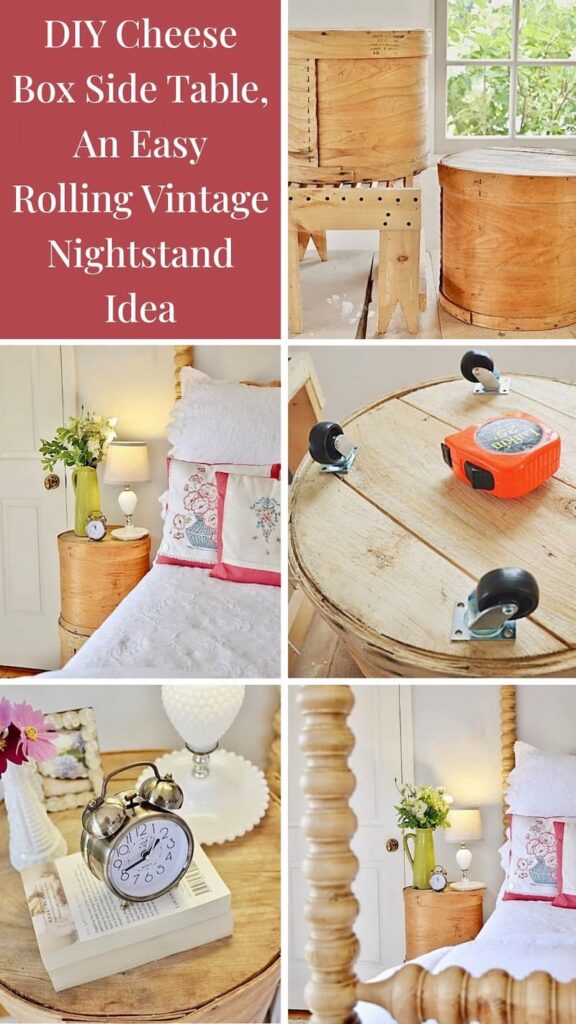
Turn vintage cheese boxes into a DIY Cheese Box Side Table with casters. It’s a simple rolling nightstand idea that feels eclectic, affordable, and boutique-inspired.
If you’ve ever spotted a round vintage cheese box and thought, What on earth would I do with that, this DIY Cheese Box Side Table is your answer. Two stacked cheese boxes and a set of casters turn into an easy rolling vintage nightstand with hidden storage, and it has that boutique-style look that makes a room feel instantly more collected. It’s affordable, beginner-friendly, and perfect for small spaces, dorm rooms, or any corner that needs a little extra function without looking like boring furniture.

Try a Styling Tip!
Looking for simple, vintage-inspired decorating ideas you can try in an afternoon? Explore all my Styling Tips for easy seasonal projects, quick DIYs, and creative ways to style your home with charm.
DIY Cheese Box Side Table, The Easy Upcycle with a Boutique Style Look
What Are Vintage Cheese Crates?
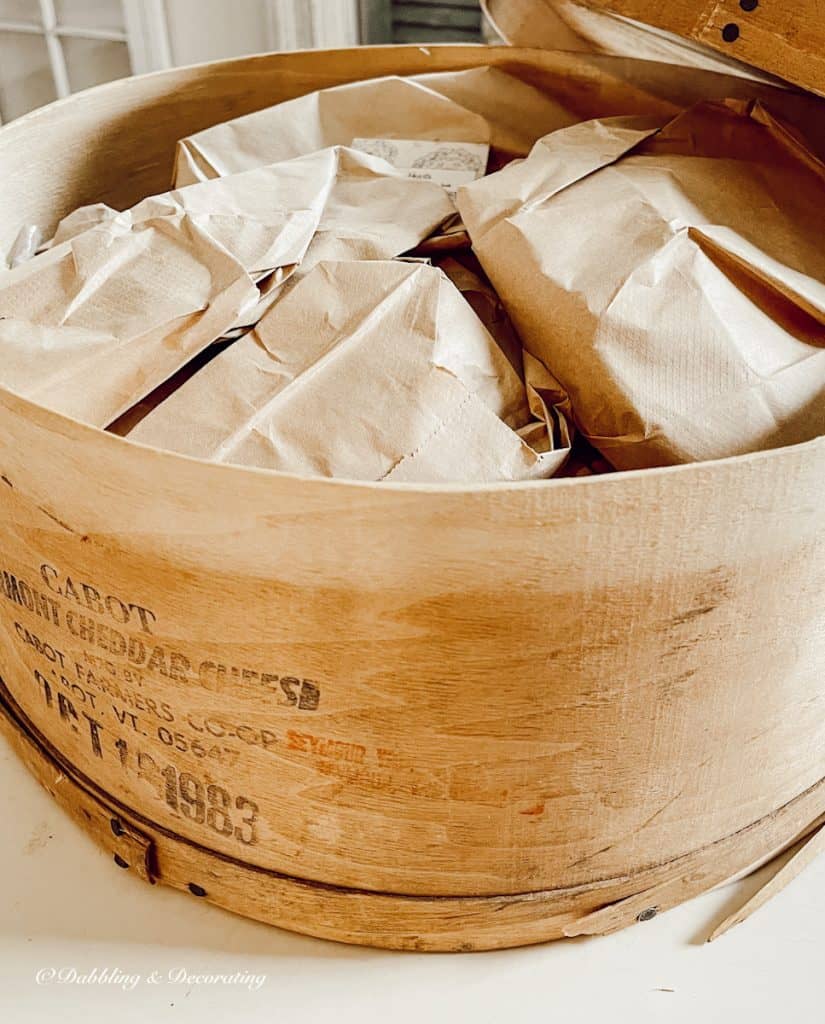
Vintage cheese crates (often round wooden cheese boxes with a lift-off lid) were originally used to store and ship wheels of cheese. Today, they’re a seriously good thrift-store find because they already have built-in character, natural texture, and a little hidden-storage moment thanks to that removable top. The best ones feel sturdy, sit fairly flat, and stack without wobbling, which is exactly what you want for a DIY cheese box side table.

If you’re hunting for the right pieces, look for sturdy round wooden cheese containers with lids that lift off easily and sit fairly flat when stacked. Antique malls, flea markets, and thrift stores are usually the best places to spot them, and Facebook Marketplace can be a jackpot if you search terms like vintage cheese box or wooden cheese box. Once you find two that stack nicely, the rest is quick: add casters, and you’ve got a rolling side table that works in a bedroom, dorm room, living room, or any small space that needs a little extra surface and hidden storage.
Easy DIY Home Decor Projects with Vintage Style
Explore our easy DIY home decor guide with vintage style, using thrifted and repurposed finds. Simple, beginner-friendly ideas to decorate your home with charm.
Where to Find Vintage Cheese Crates
Start with antique malls, flea markets, and thrift stores, especially the sections with old kitchen goods, wooden storage, and random “what is this even for” treasures. Estate sales can be a great place to find them in sets, and Facebook Marketplace is worth checking if you search terms like vintage cheese box, wooden cheese box, round cheese box, or cheese crate. When you’re shopping, look for solid wood, minimal cracks, and lids that lift on and off easily.
SHOP VINTAGE CHEESE CRATES ON ETSY
This post may contain affiliate links, which won’t change your price but will share some commission.
Once you have two, this DIY cheese box side table comes together fast. Stacking the crates creates height, and adding casters turns it into a rolling side table or nightstand that feels small-space friendly and boutique-style, not bulky furniture. It’s the kind of piece that works hard, looks unique, and can move wherever you need it, bedroom, dorm room, porch, or living room. You may also find this How to Shop For Vintage Decor Online post helpful when looking for old cheese crates.
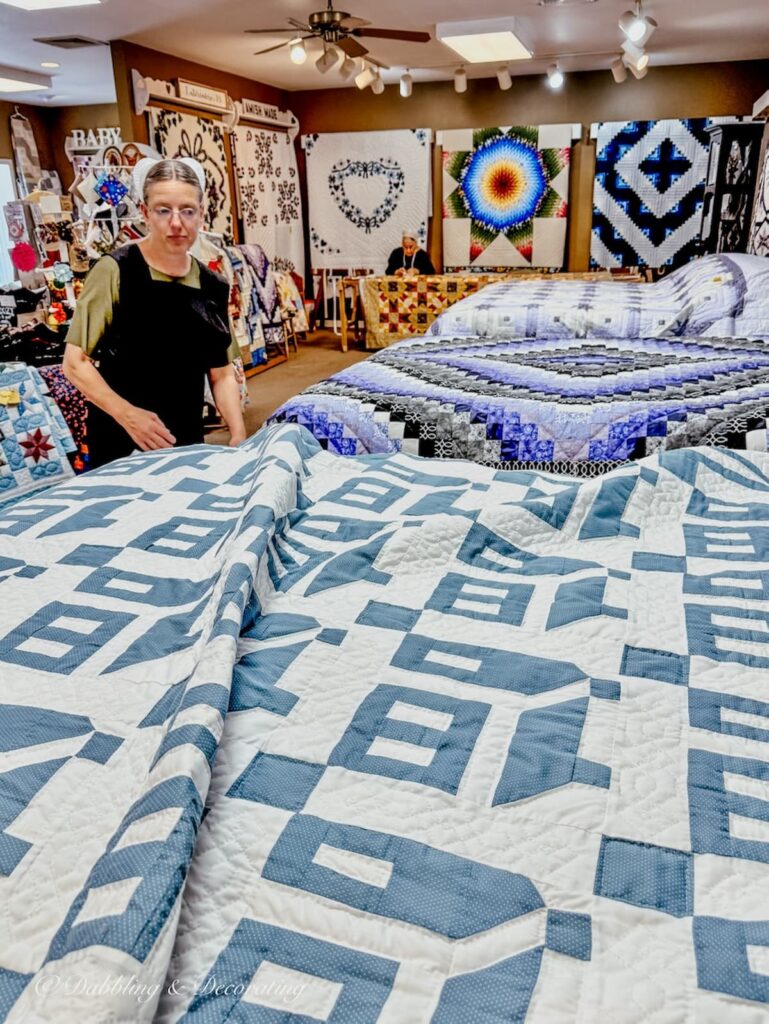
Antiquing & Thrifting New England Shopping Guides: Vintage Stores, Markets & Must-Visit Stops
Join me as I explore the best antique and thrift stores from Maine to Vermont, and even Paris and Canada. It’s your go-to guide for planning your next treasure-hunting adventure.
How to Make a DIY Cheese Box Side Table with Casters
Once you’ve found two sturdy crates that stack neatly, the build is quick and beginner-friendly. In this section, you’ll see exactly how to attach casters, keep everything level, and create a DIY cheese box side table that rolls smoothly and feels finished. It’s a simple upgrade that adds function without losing that vintage, collected look.
Materials for a DIY Cheese Box Side Table
I used two screws per caster instead of four. The casters felt secure with just two, and I didn’t want to add extra holes or stress the wood more than necessary.

To make this DIY cheese box side table, simply stack the two crates and attach casters to the bottom so it rolls smoothly. In just a few steps, you’ll have a unique little side table with hidden storage that feels vintage, collected, and boutique-style. And don’t limit it to the bedroom. This easy rolling table works as a nightstand, bathroom helper, small-space side table in a living room, or a fun dorm-room piece that can move wherever you need it.
The Secret Cupboard: One-Day Seasonal Vintage Decorating Ideas
The Secret Cupboard is filled with one-day vintage decorating ideas. You’ll find what to look for, how to style it, and what it might cost, perfect for gathering ideas and decorating with confidence.
Choose Your Top and Bottom Cheese Crates
Before you grab your drill, decide which crate you want on top, because that one becomes the tabletop of your DIY cheese box side table. I chose the crate with the best lettering and details so the writing would show when the lid was on. The bottom crate can be a little more plain since it’ll sit closer to the floor and hold the casters.

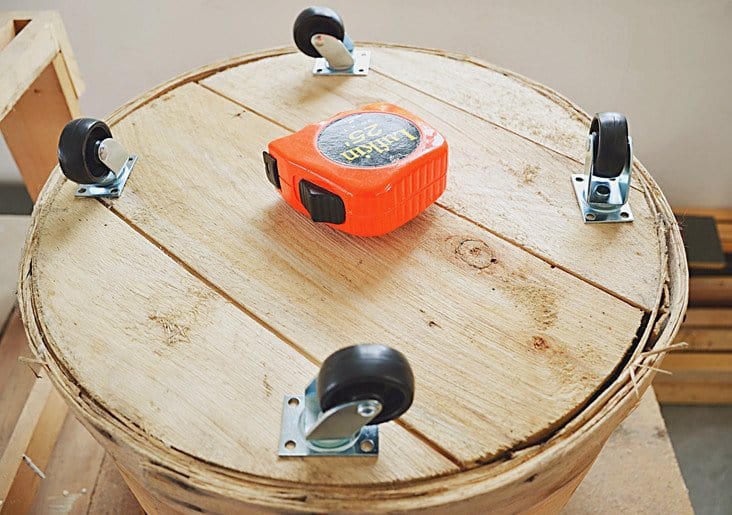
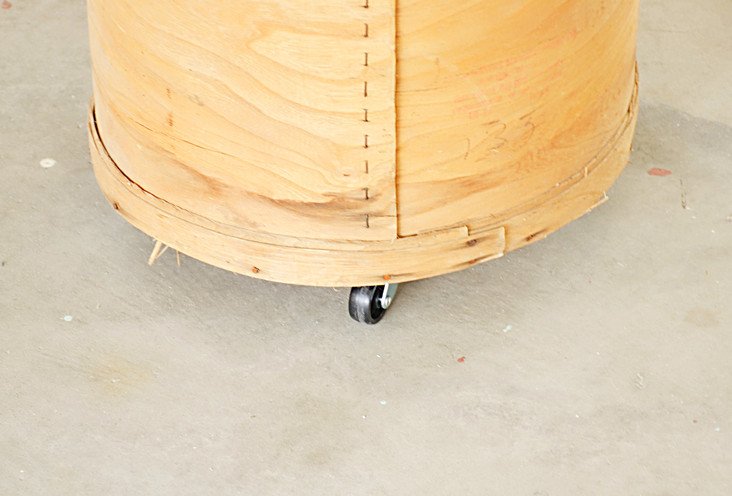
Step 2: Flip the Bottom Crate and Position the Casters
Turn the crate you chose for the bottom upside down so you can attach the casters. Place four swivel casters evenly around the base, spacing them out so the table rolls smoothly and feels balanced. I positioned each caster about 1 inch in from the rim of the cheese crate, which gave the wheels a solid hold without crowding the edge.
Vintage Home Decorating Guides and Styling Inspiration
Are you curious about vintage decor but don’t know where to start? These cornerstone guides are packed with seasonal styling tips, how-tos, and inspiration to help you confidently decorate with charm and character.
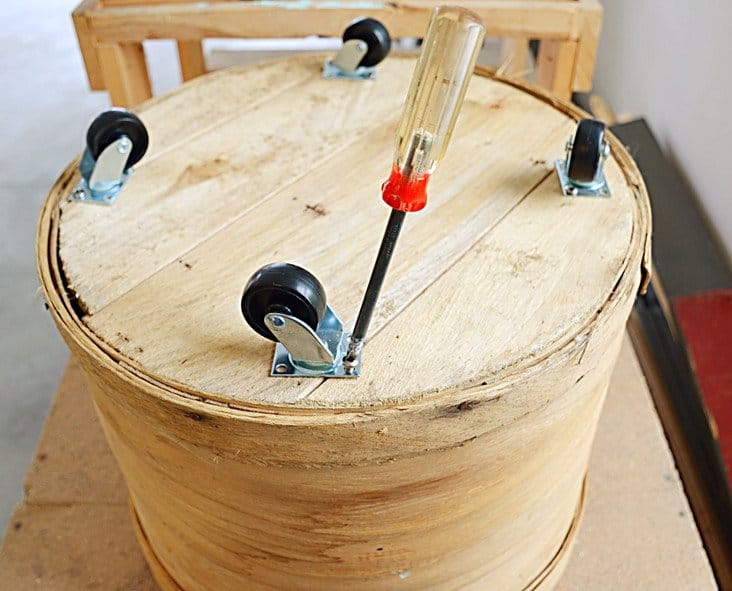
Step 3: Attach the Casters with Screws
Using a screwdriver, screw each caster into the bottom of the crate. The screws should go in fairly easily, so you don’t need an electric drill, and using one can actually split or stress the older wood. For this DIY cheese box side table, I used two screws per caster instead of all four holes. The casters held tight, and I wanted to keep the cheese box as sturdy as possible with fewer holes.

Step 4: Stack the Crates to Finish Your DIY Cheese Box Side Table
Once the casters are attached, flip the bottom crate upright and roll it into place. Then set your chosen top crate right on top to create the tabletop. That’s it, your DIY cheese box side table is finished, and you’ve got a rolling vintage-style nightstand with hidden storage in minutes.

The Vintage Posts Readers Love Most
Start with the posts readers come back to again and again. These vintage decorating ideas are rooted in New England, styled with thrifted and antique finds, and filled with real-life tips you can use in your own home. Familiar Finds, Styled Your Way.
Eclectic Decorating Style Guide: How to Layer Vintage, Antique, and Thrifted Decor
How to Start a Vintage Booth: Tips, Display Ideas, and Lessons Learned
7 Things I’ll Never Thrift Again—and the Vintage Decor I Buy Now Instead
Scandinavian Spring Homes: 10 Light and Airy Cottage Tours to Inspire
Easy DIY Wicker Basket Makeover with a Leather Belt That Adds Instant Charm
DIY Cheese Box Side Table Styling Ideas for a Bedside Table and Small Spaces
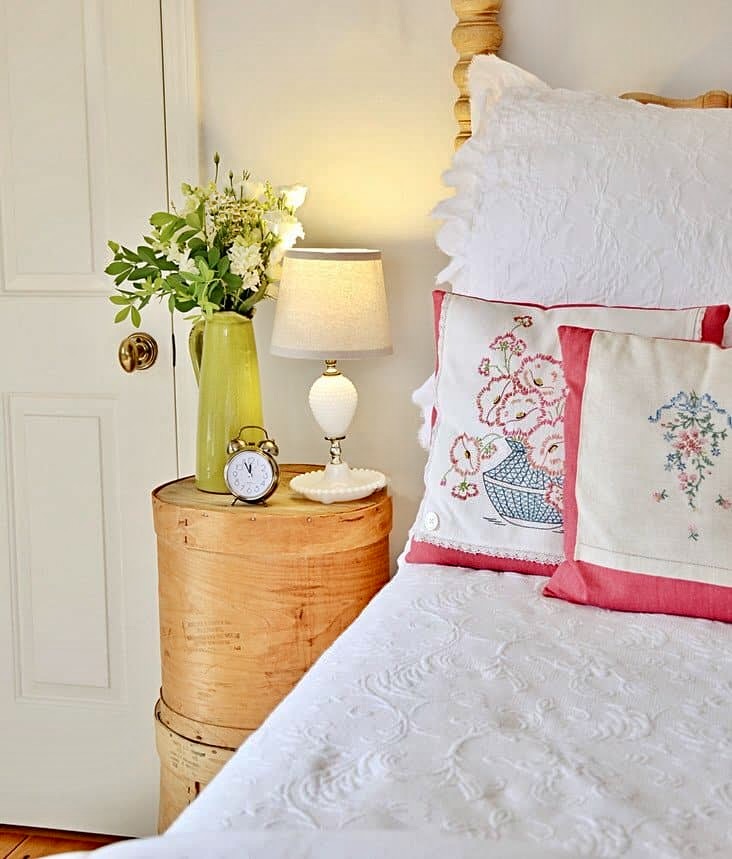
This DIY cheese box side table makes an especially great rolling bedside table because it gives you a tabletop surface plus hidden storage inside the crates. It’s the kind of piece that feels unique and boutique-style, but it’s still practical, easy to move, and perfect for rooms where you don’t want bulky furniture.
Where this rolling side table works beautifully:
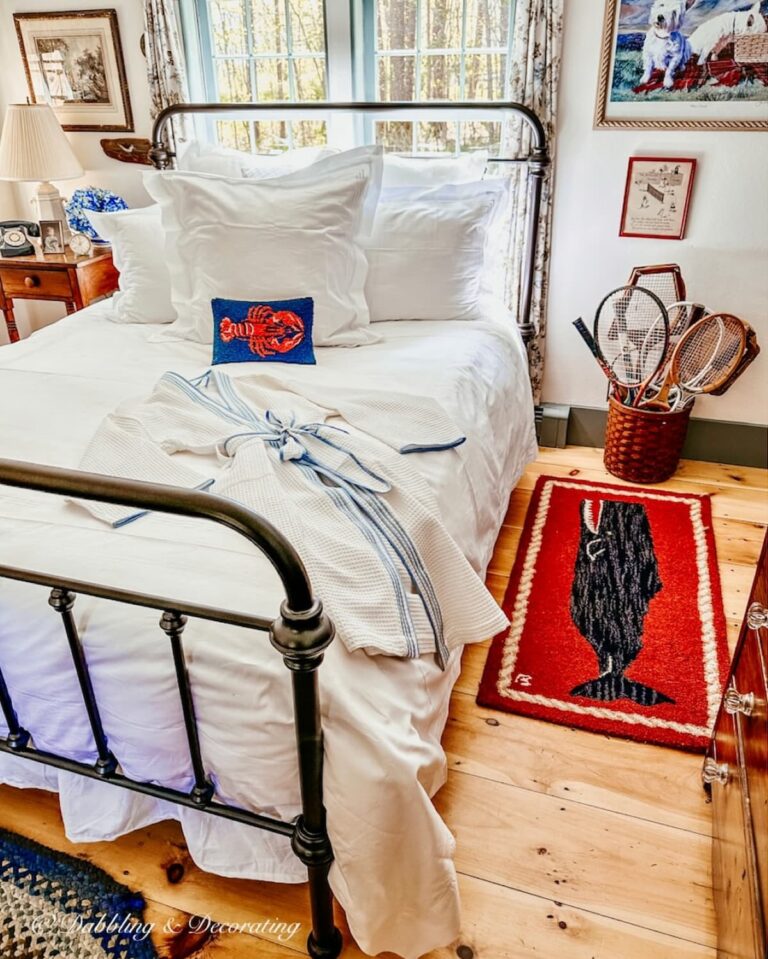
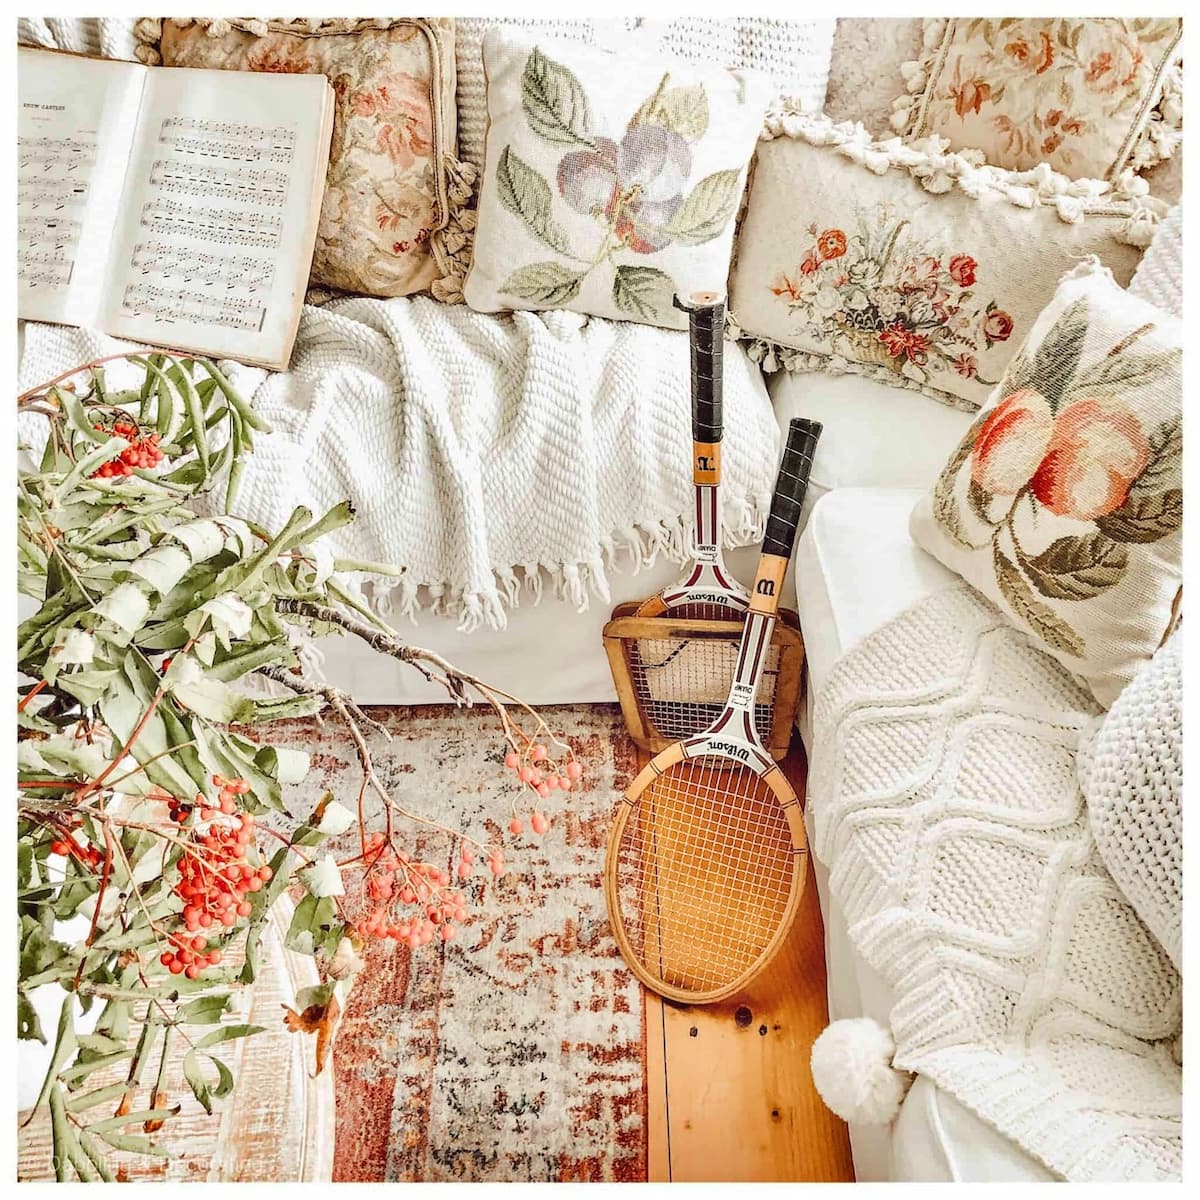
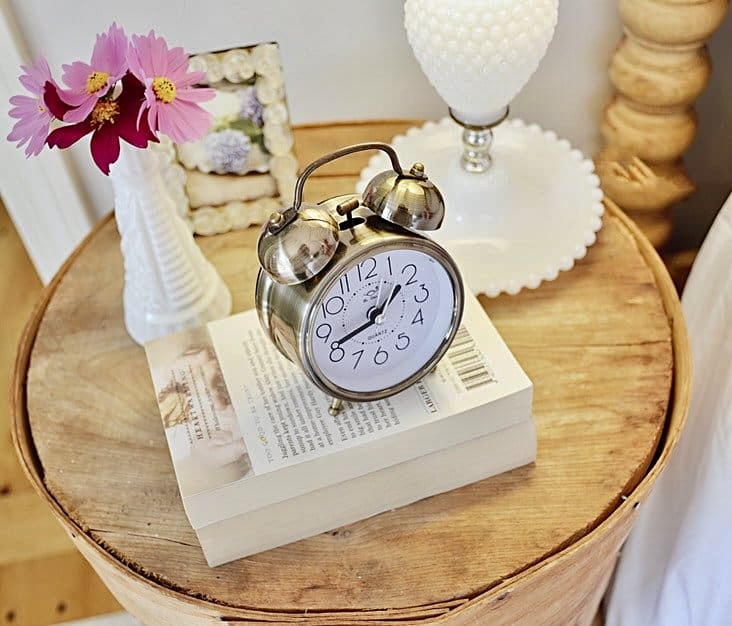
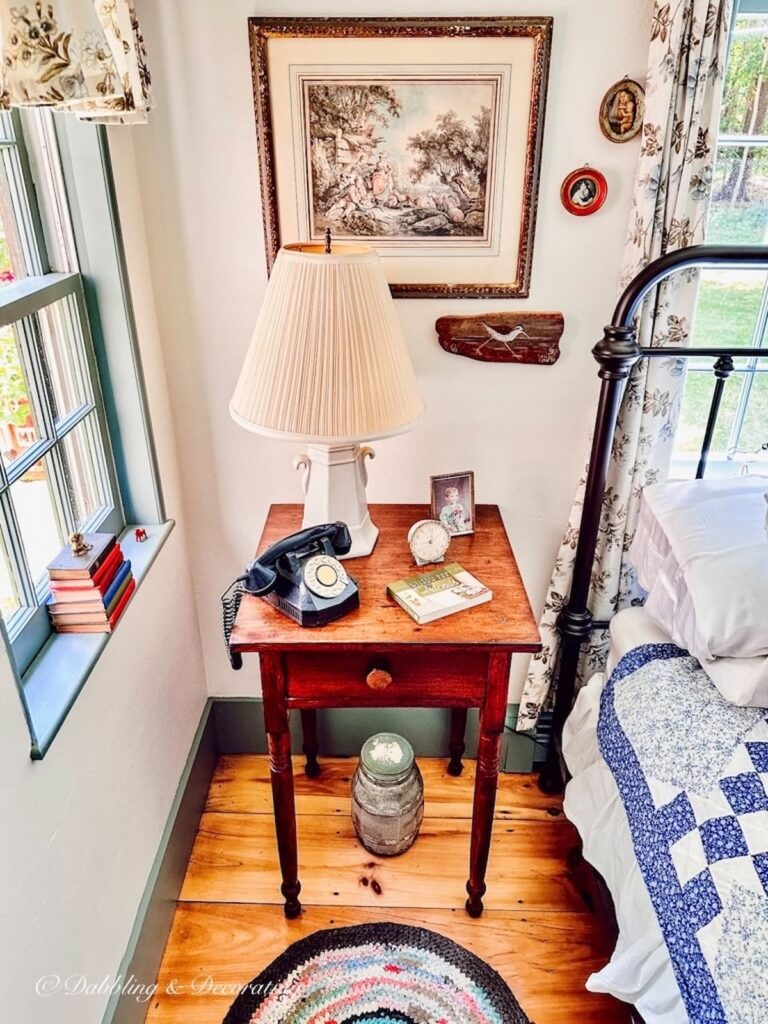
If you want to customize your DIY cheese box side table look, keep it simple. Try different casters (brass is pretty), add a tray on top, or style it with a small lamp and a stack of books so it feels finished without losing that vintage charm.
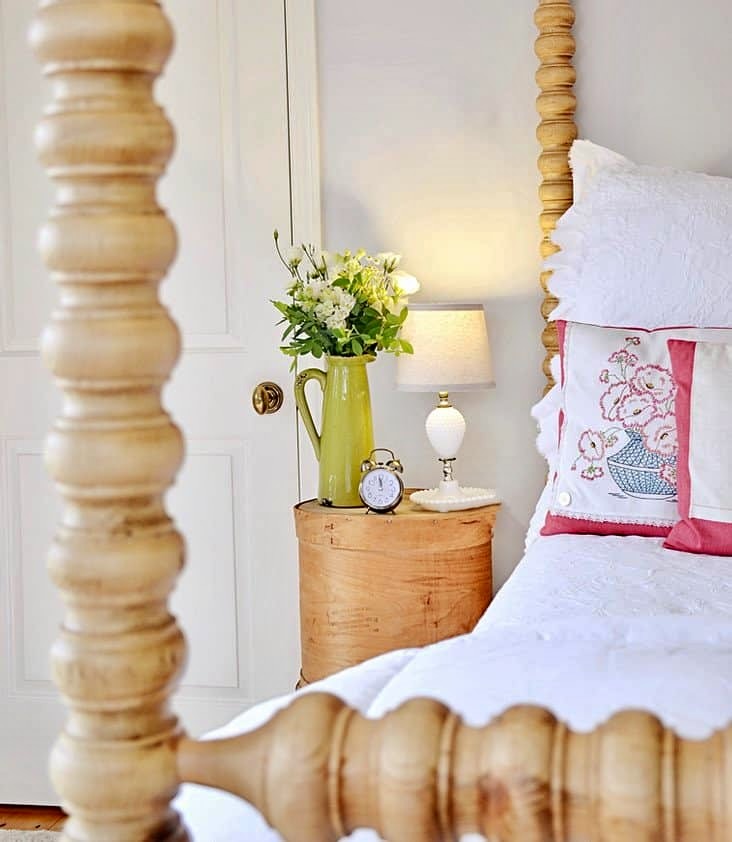
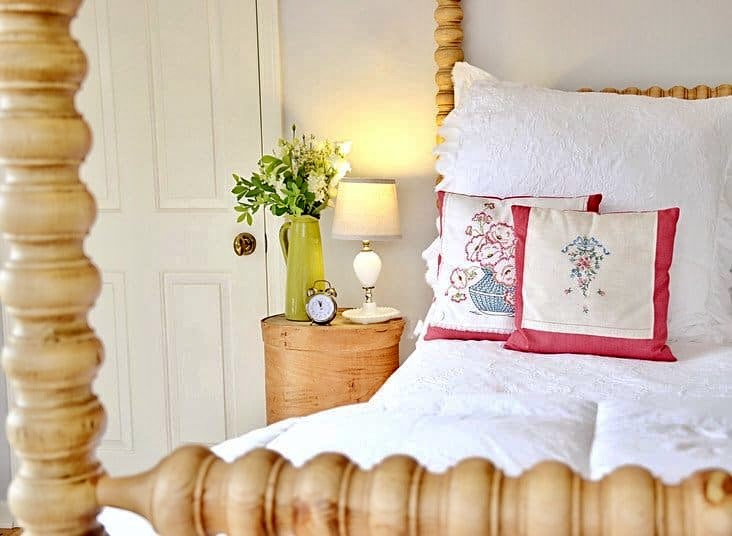

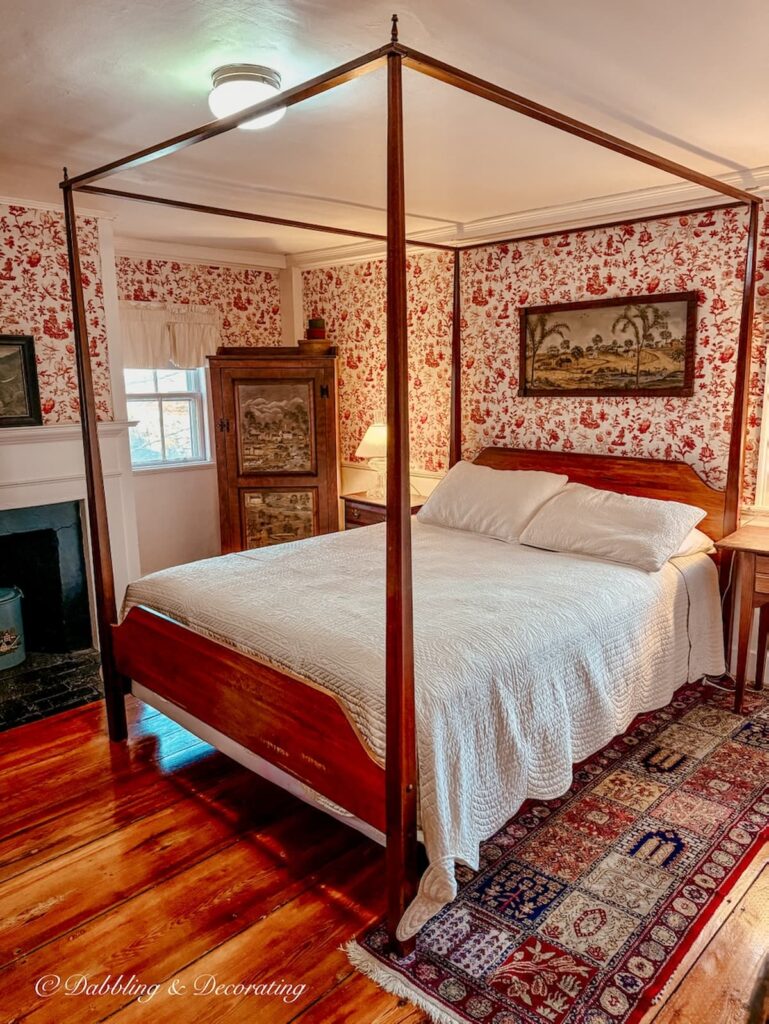
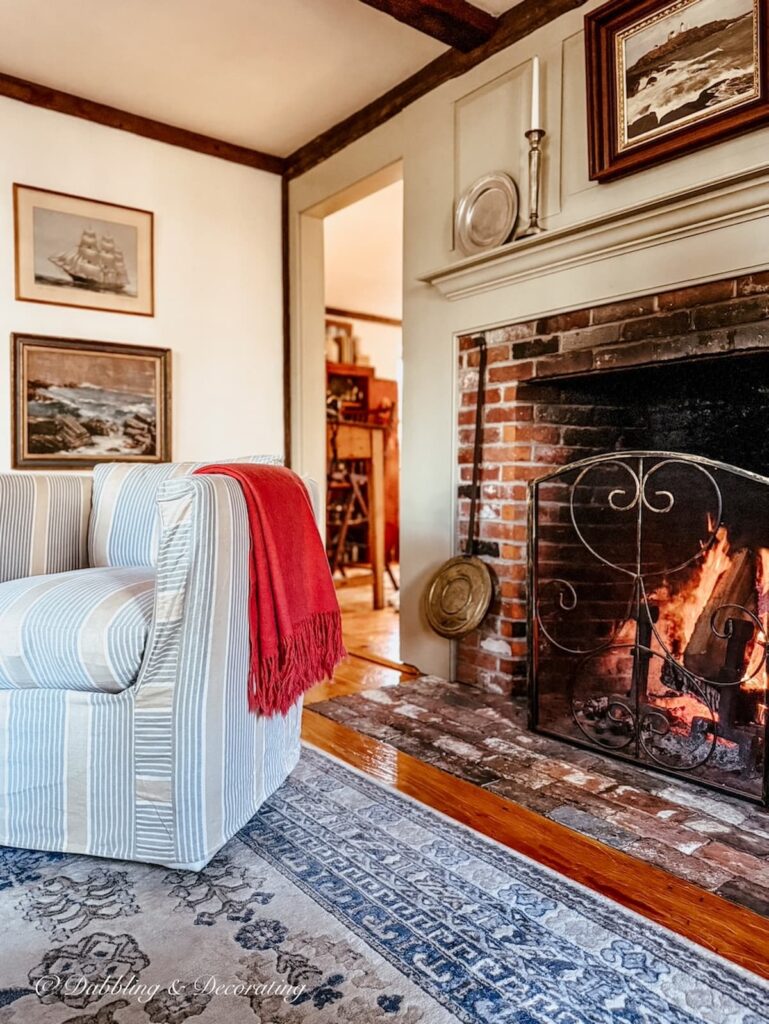
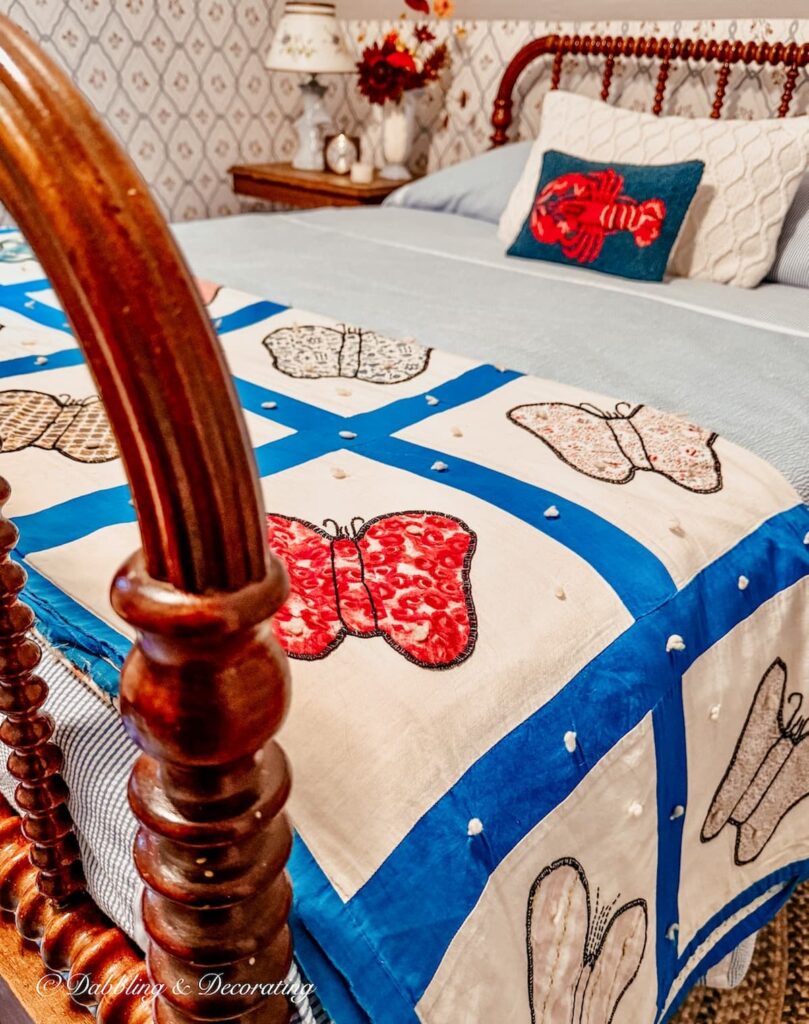
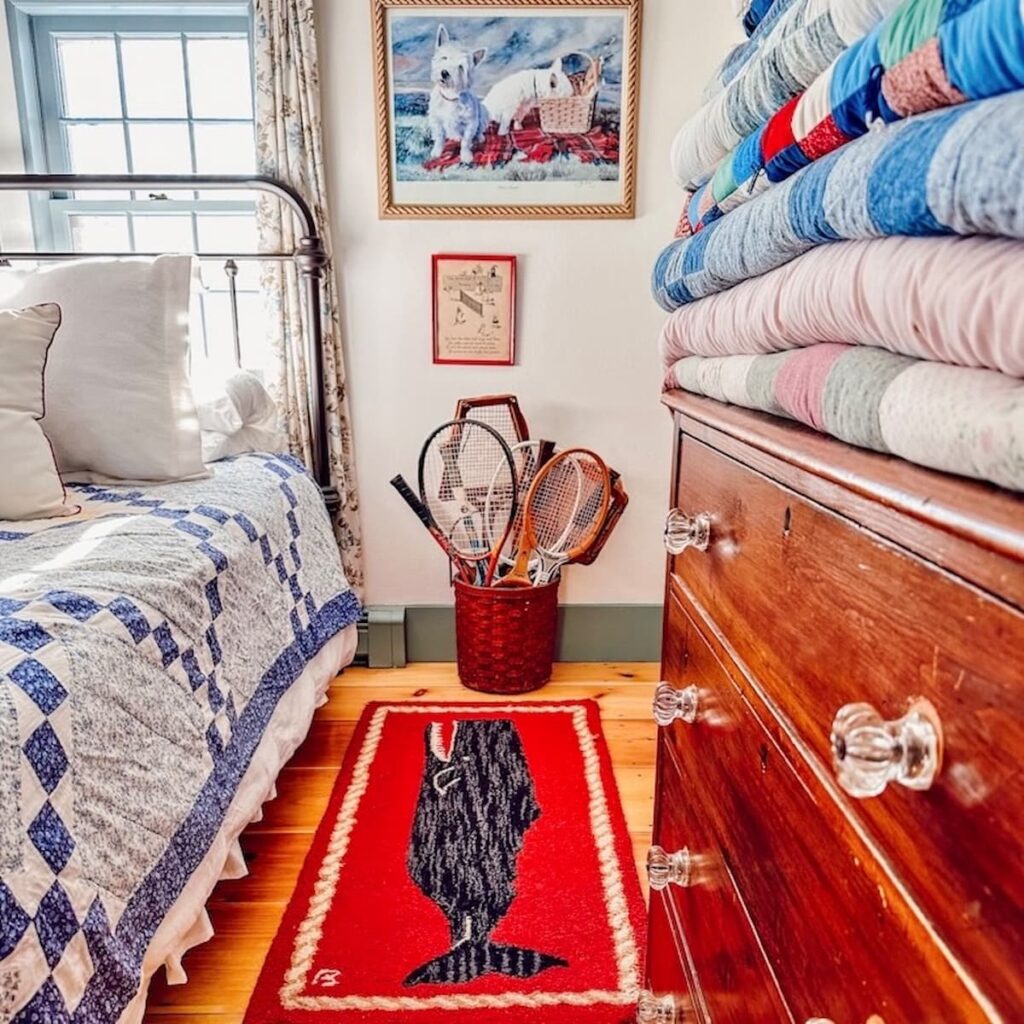
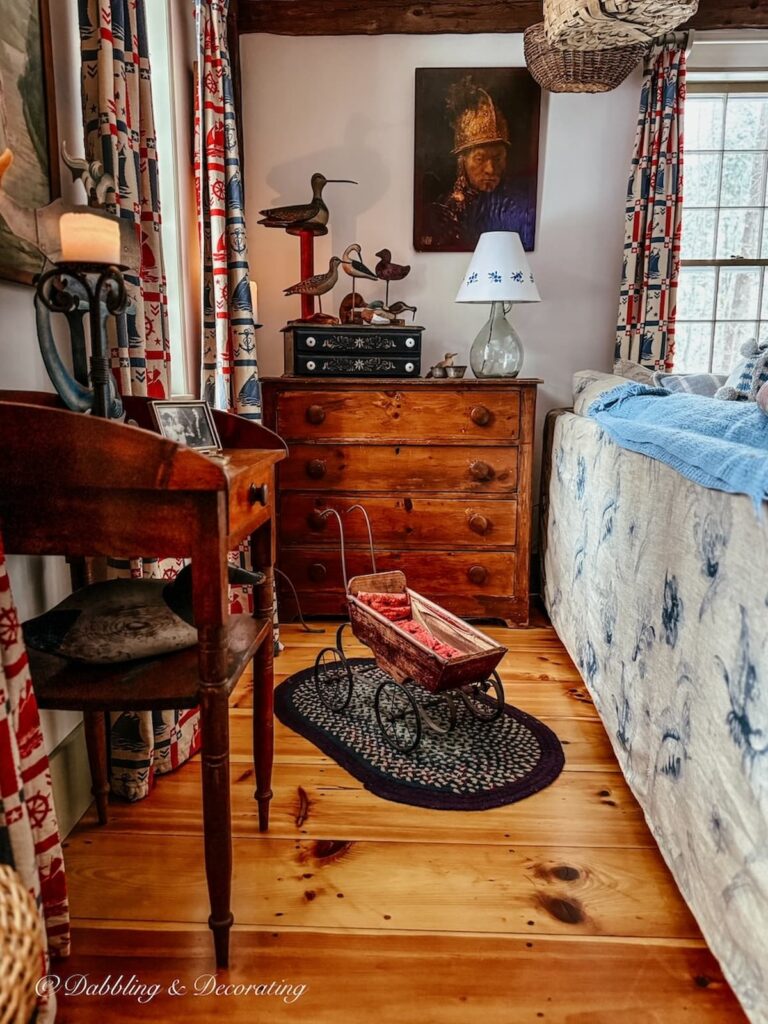
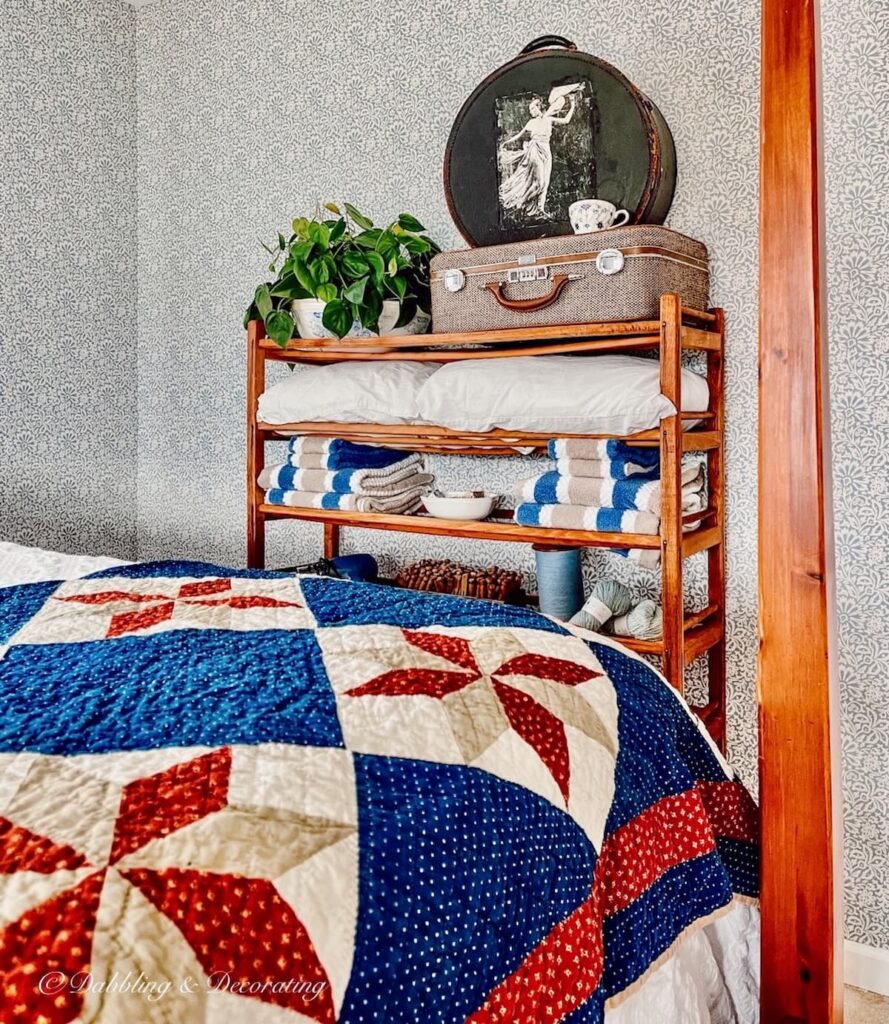
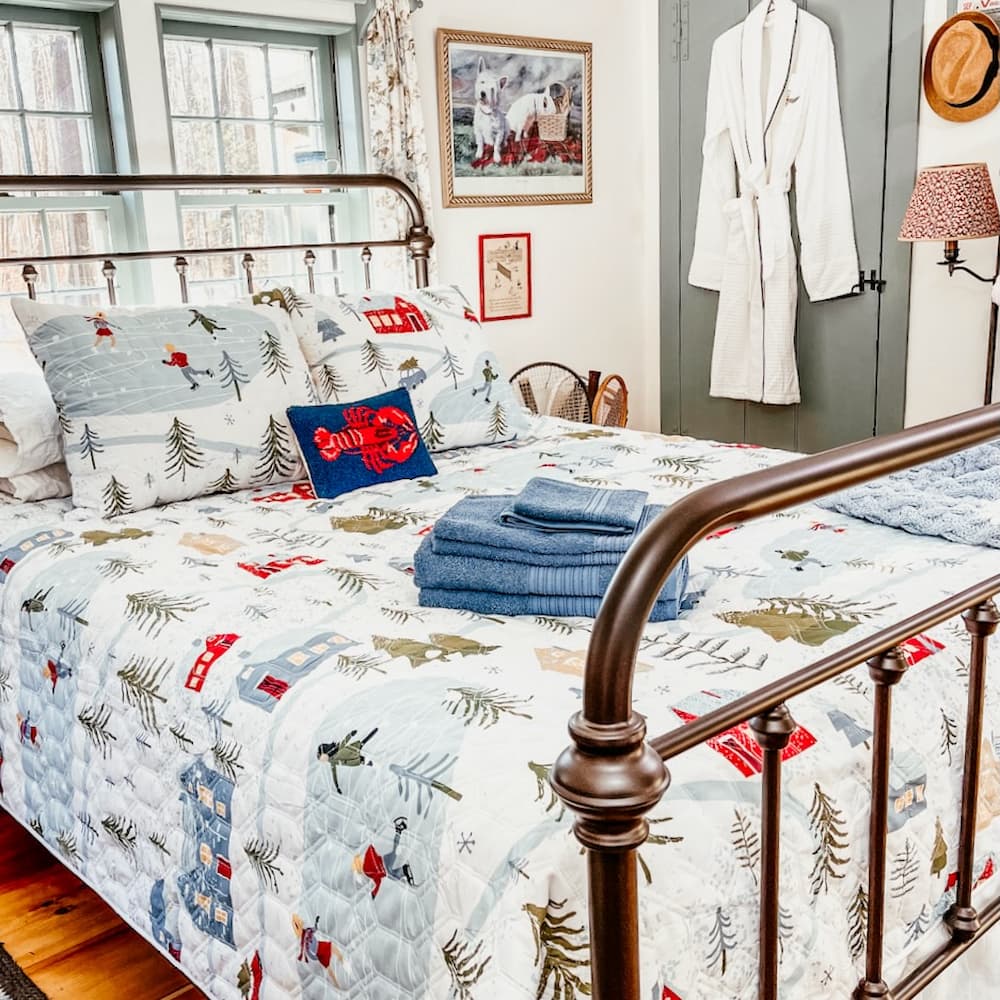
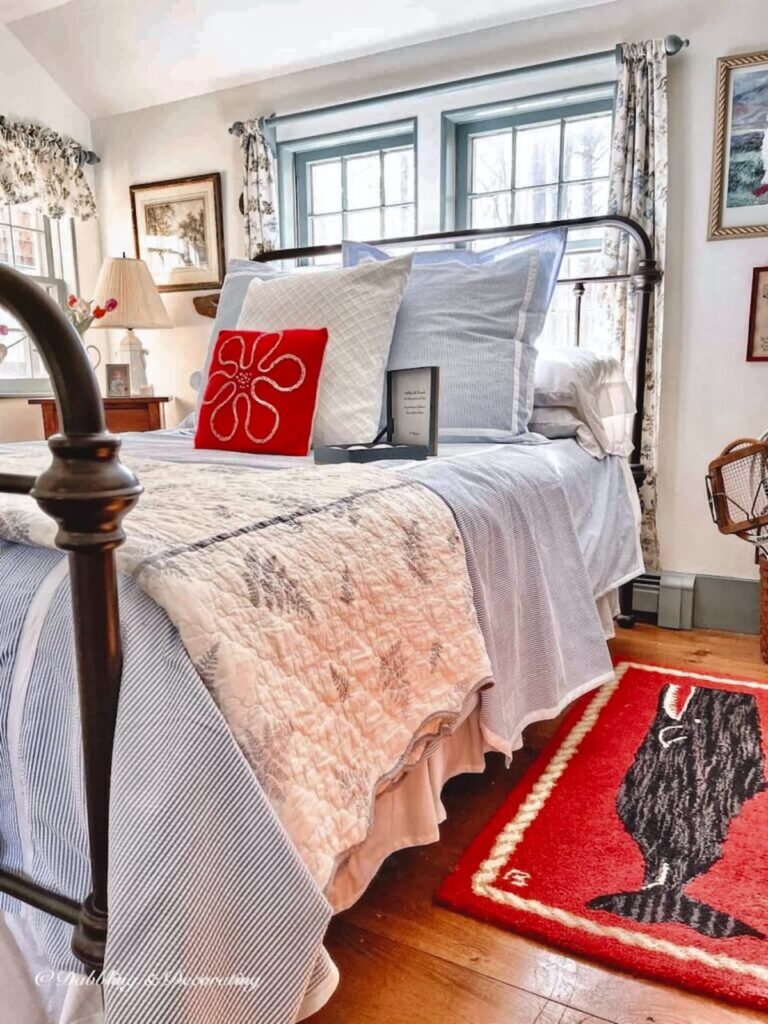
Vintage Bedroom Ideas, A Cozy Decorating Guide
Love the look of a cozy, collected bedroom? This guide is packed with vintage decorating ideas, from antique beds to thrifted quilts, that’ll help you style a space with warmth, charm, and timeless personality.
Final Thoughts on This DIY Cheese Box Side Table
This DIY cheese box side table is proof that the best furniture ideas don’t have to be complicated or expensive. With two vintage cheese crates and a set of casters, you get a rolling side table that feels one-of-a-kind, adds hidden storage, and brings that boutique-style look to any small space.
If you try this project, leave a comment and tell me where you’re using yours, bedside, porch, bathroom, or somewhere totally unexpected. And if you’re in the mood to keep styling, explore more vintage bedroom styling ideas here on the blog for simple ways to make your space feel more collected and personal.


Frequently Asked Questions About DIY Cheese Box Side Table
1. How do you make a DIY Cheese Box Side Table?
To make a DIY cheese box side table, stack two sturdy vintage cheese boxes, then attach four swivel casters to the bottom box so it becomes a rolling base. Place the second box on top as the tabletop, and use the lids for hidden storage. It’s a quick, beginner-friendly upcycle that looks finished with almost no tools.
2. What kind of casters should I use for a DIY Cheese Box Side Table?
Choose swivel casters that match how you’ll use the table, and always check the weight rating before buying. For a DIY cheese box side table used as a nightstand, small casters are usually perfect, but you’ll want a sturdier option if you plan to load it up with heavy books, pottery, or a chunky lamp. If your wood is older or softer, using fewer screws can help reduce stress on the box while still keeping the casters secure.
3. Where can I find vintage cheese boxes or cheese crates for this DIY?
Antique malls, flea markets, thrift stores, and estate sales are your best bets for finding the real deal. Try Facebook Marketplace too and search phrases like vintage cheese box, wooden cheese box, or round cheese box. These boxes were originally made to store and transport cheese, and many have great stamped lettering that adds that boutique-style look once you turn them into a table.
Thrifting with the Gals
Love the thrill of the hunt? Thrifting with the Gals is a blog series packed with secondhand scores, vintage styling ideas, and real-time thrift adventures you won’t want to miss.
Join the Vintage Circle — Familiar Finds, Styled Your Way™
Love vintage treasures, thrifted gems, and a home that tells your story? Leave a comment, share this post with a kindred spirit, or head to my Start Here page to explore more. Want fresh prompts and timeless ideas? Subscribe to join our Seasonal Vintage Decor Styling Challenge for weekly inspiration and behind-the-scenes peeks.
Pin forLater!